Here are the steps on how to create a new Audit Adjustment:
- From General Ledger > Activities > Click Audit Adjustment menu. Search Audit Adjustment screen will open.
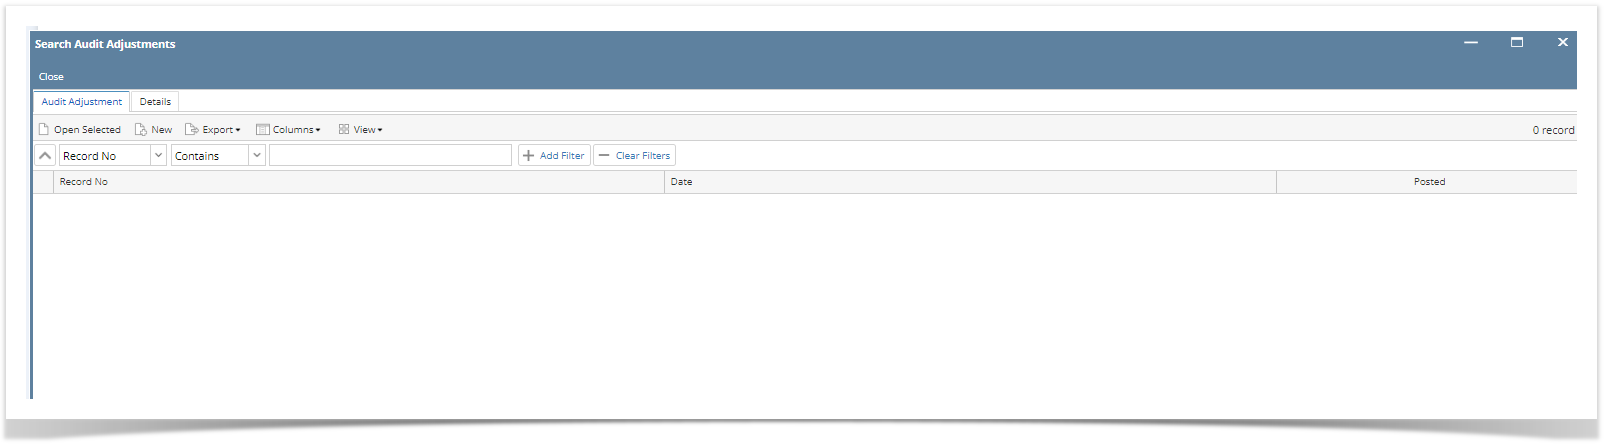
2. Click New toolbar button to open the blank Audit Adjustment screen.
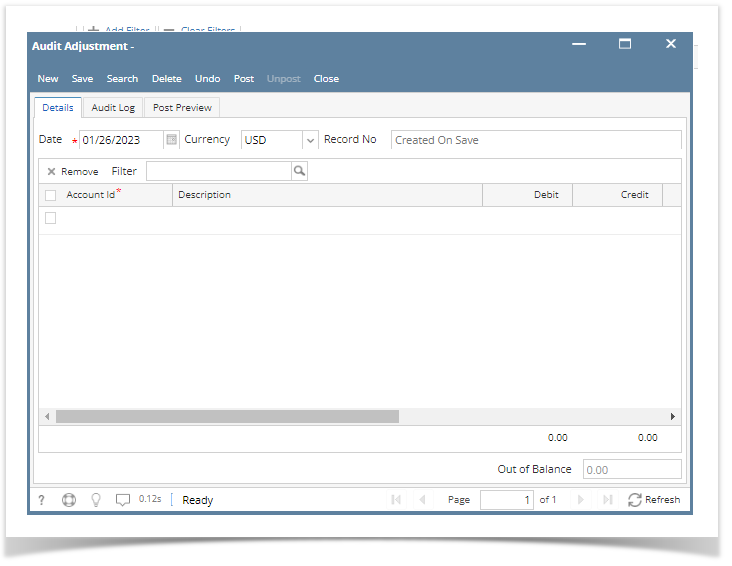
- Date defaults to today's date. To change the date, click on the combo box button to open the mini calendar and select date. Press the TAB key to move your cursor to the next field.
- The Currency field is automatically filled in with the default Currency set in the Company Preference. To change it for a specific Audit Adjustment entry, click combo box button and select different currency from the combo box list.
- Click the empty row of the grid to start adding details.
- Add Account Id by clicking the combo box button. Select account id from the combo box list.
- Description field will be automatically filled in with the account's description of the selected Account Id.
- Enter a Debit or a Credit amount.
- Enter Debit Unit or a Credit Unit. (If needed)
- Document, Reference and Comment fields are optional fields. You can either enter values in these fields or you can leave it blank. But in case you enter values on the previous row, succeeding rows will copy its values.
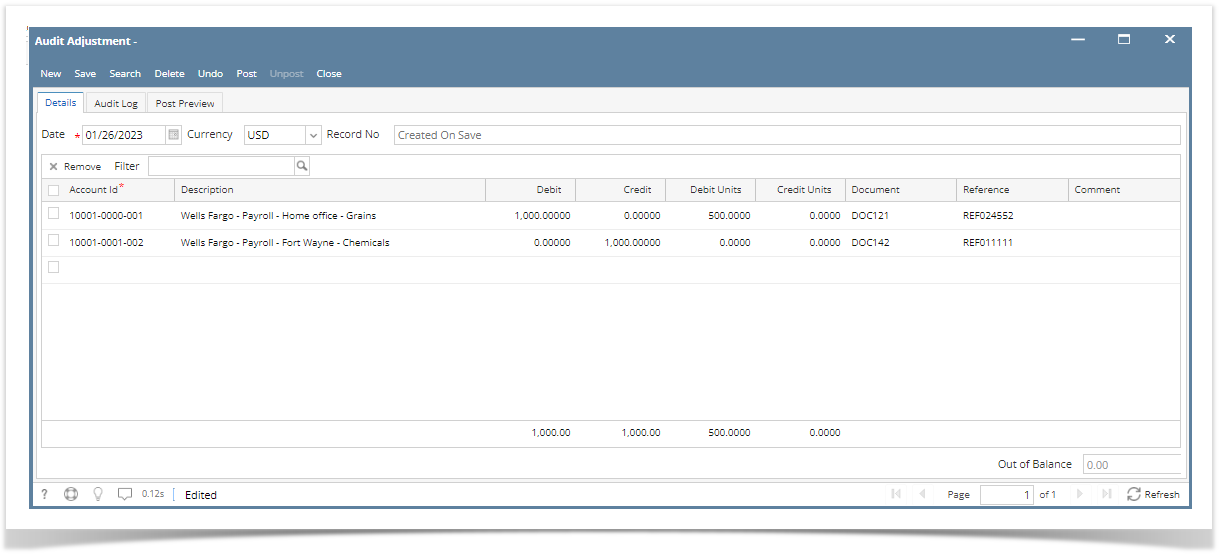
Note: The transaction has to be balanced.
3. Click Save button. This will be automatically creating a new Record No.
You can skip saving the record if the transaction is to be posted right away. This will be catered in the Posting process since it automatically saves the record before posting. (See How To Post Audit Adjustments)
Overview
Content Tools