- Before creating Scale Ticket, make sure you have completed the required setups in Scale Station Settings.
- From the Ticket Management menu, click on Tickets.
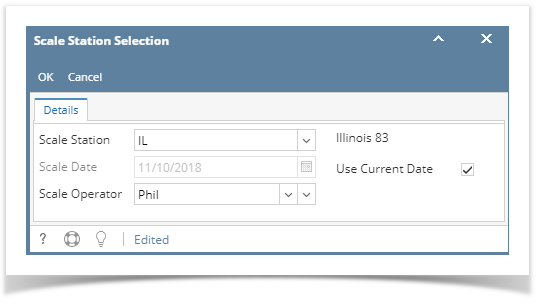
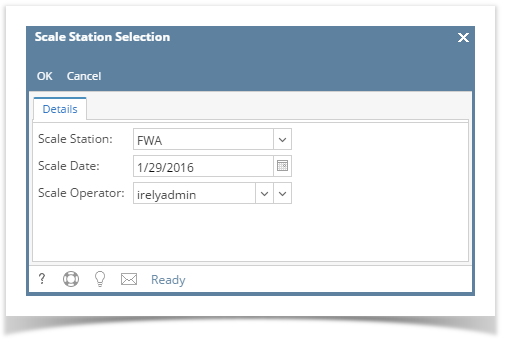
- Click the Station button in Tickets Search screen. Only active Scale Station Settings will be displayed in Scale Station combobox dropdown. The setup from the selected Scale Station will be used in processing Scale Ticket.
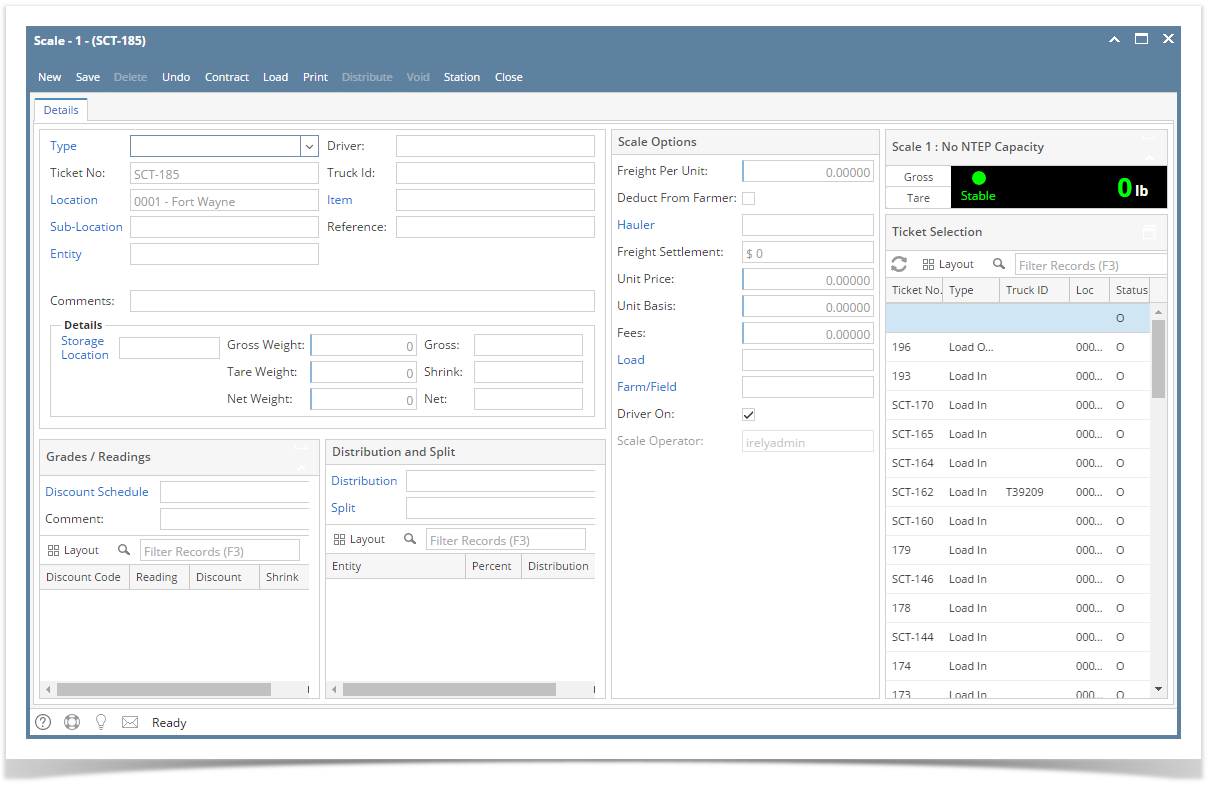
- Click the New button to create Scale Ticket. This is the initial loading of Scale Ticket screen.
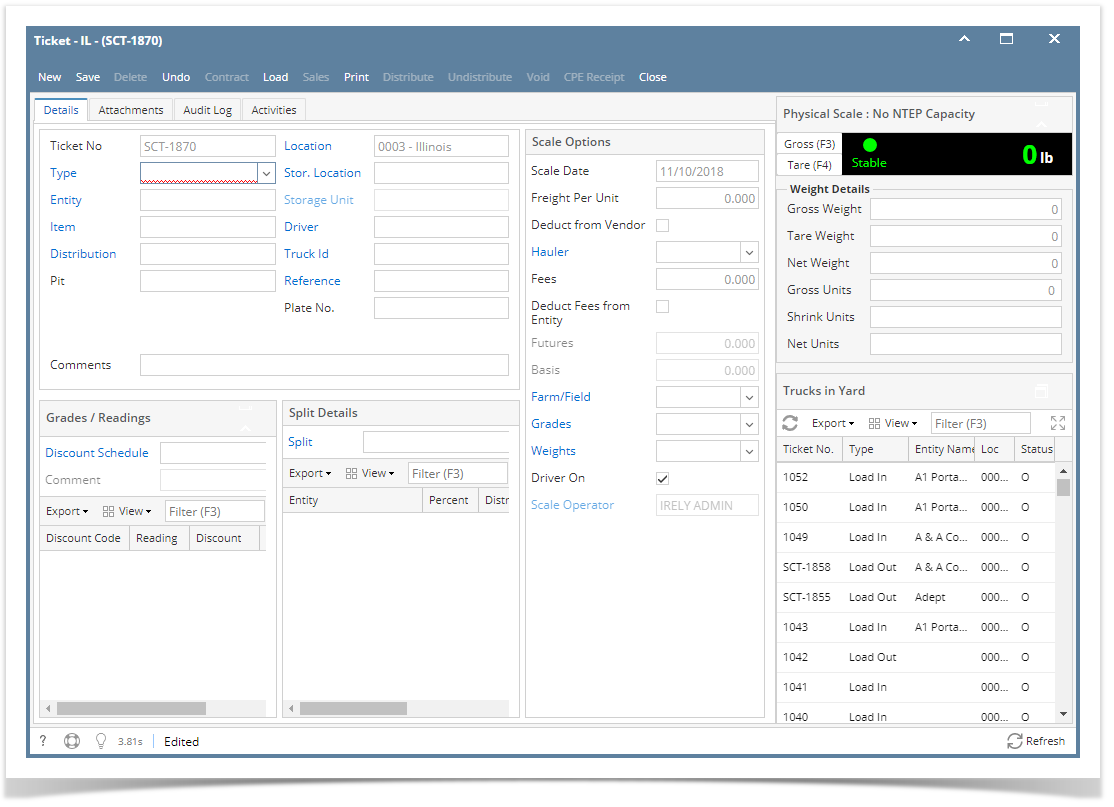
- Ticket No - if Allow Manual Tickets option from the selected Scale Station is disabled, temporary scale ticket number is displaying. Else, the user is required to enter Scale Ticket Number.
- Type - clicking on the combobox dropdown will lists the available types set from Ticket Pool Ticket Types lists.
- Select the Entity.
- If the selected Type is 'Load In', then the Entity label will change to Vendor.
- If the selected Type is 'Load Out', then the Entity label will change to Customer.
- Item - Items that are tag as 'Use Weigh Scales" and with available Location from the Item screen should only be displaying in the combobox dropdown.
- Discounts Schedule should automatically populated once the item is selected.
- Distribution - displays the available distribution lists from the Ticket Pool applied to selected Scale Station
- Location - Read-only field. Auto populate the location based on the Working Location of the selected Scale Station.
- Stor.Location - displays available storage location in selected Scale Station Location
- Storage Unit - available storage unit will display if the selected Item Commodity is added in Inventory menu > Storage Unit > Item Categories Allowed tab
- Driver - User-define. Can manually enter Driver name on the fly.
- Truck Id - User-define. Can manually enter Truck Id on the fly.
- Reference - User-define. Can manually enter Reference on the fly.
- Plate No. - User-define. Can manually enter Plate No. on the fly.
- Comments - User-define. Can manually enter comments on the fly
- Scale Date - field is enabled and editable not until the user save the Scale Ticket.
- Freight Per Unit or Gross or Amount - enter the Freight charge
- Deduct From Vendor - if this is enabled, Freight charge should be deducted to Vendor
- Hauler - select Hauler (Third-party Vendor)
- Freight Charge should be charged to selected Hauler (Third-party Vendor)
- Fees - enter Fees as other charge
- Deduct Fees from Vendor - Fees charge should be deducted to Vendor
- Futures - This is the unit cost/price of the item. Not applicable for Storage distribution
- Basis - This is the basis price from the Traders. Not applicable for Storage distribution
- Farm Field - available Vendor Farm/Field should be listed here and can be selected
- Grades - determine if the item in scale ticket will be graded (ex. Destination or Origin)
- Weights - determine if the item in scale ticket will be weighed (ex. Destination or Origin)
- Delivery Sheet - if there is available Delivery Sheet for the selected Entity, it will be listed in the combo box dropdown
- Enter Gross Weight
- Enter Tare Weight
- Net Weight will auto calculate based on entered Gross and Tare weights using Scale UOM
- Gross Units, Shrink Units and Net Units are auto calculated using the item Stock UOM
Click the Save toolbar button. The created Scale Ticket will be saved.
- Before creating Scale Ticket, make sure you have completed the required setups in Scale Station Settings.
- From the Ticket Management menu, click on Tickets.
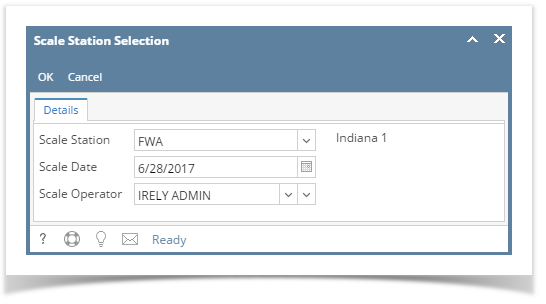
- Click the Station button in Tickets Search screen. Only active Scale Station Settings will be displayed in Scale Station combobox dropdown. The setup from the selected Scale Station will be used in processing Scale Ticket.
- Click the New button to create Scale Ticket. This is the initial loading of Scale Ticket screen.
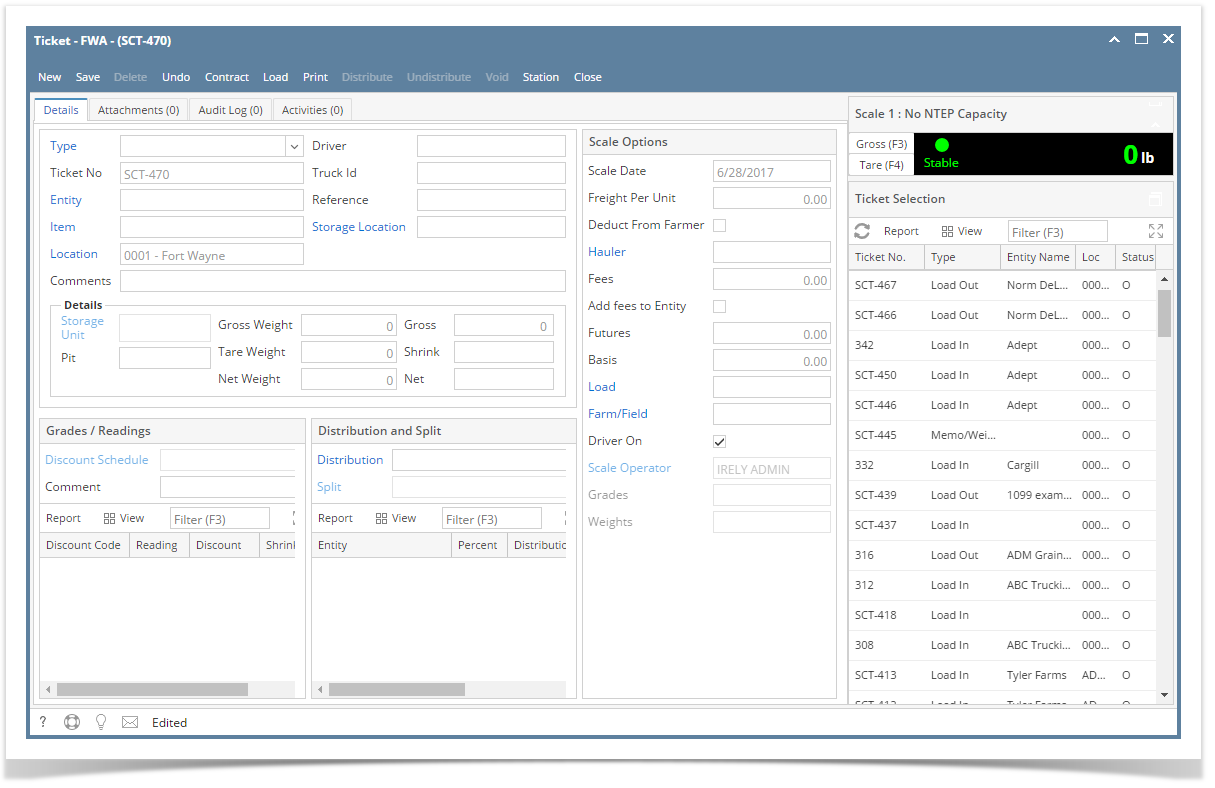
- Click the Type combobox field. The lists of available types should be coming from the Ticket Pool Ticket Types lists.Ticket No field:
- If the Allow Manual Tickets checkbox from selected Scale Station Setting is disabled,Ticket No. field in Scale Ticket screen is read-only and it is a system auto generated number. If the Scale Ticket is not yet saved, the prefix SCT should be used. Once the Scale Ticket is saved, the Ticket No will become whole number. It should get the Next Pool Ticket Number based on the selected Ticket Types from Ticket Pool.
- If the Allow Manual Tickets checkbox from selected Scale Station Setting is enable, Ticket No. field in Scale Ticket screen is editable. The user should enter a unique Ticket Number.Select the Entity.
- If the selected Type is 'Load In', then the Entity label will change to Vendor.
- If the selected Type is 'Load Out', then the Entity label will change to Customer.
- Item field. Items that are tag as 'Use Weigh Scales" from the Item screen should only be displaying in the combobox dropdown. Discounts Schedule should automatically populated once the item is selected.
- Location will auto populate based on the Working Location of the selected Scale Station.
- Enter the Driver.
- Enter the Truck Id.
- Enter Reference.
- Select Storage Location
- Select available Storage Unit based on the selected Storage Location
- Enter the Gross Weight.
- Enter the Tare Weight.
- Select the Distribution Type from the lists.
- Select Scale Date
- Enter the Freight Per Unit.
- Select Hauler.
- Enable the Deduct From Farmer checkbox if the Freight will be deducted to Hauler.
- Add Fees. This can be misc fee or other charges.
- Enable the Add Fees to Vendor checkbox if the Fees amount will be accrued to Vendor
- Enter Futures. This is the unit cost/price of the item
- Enter Basis. This is the basis price that can be coming from the Contract.
- Click the Save toolbar button. The created Scale Ticket will be saved.
- Before creating Scale Ticket, make sure you have the completed the required setups in Scale Station Settings.
- From the Ticket Management menu, click on Tickets.
- Click the Station button in Tickets Search screen. The setup from the selected Scale Station will be used in processing Scale Ticket.
- Click the New button to create Scale Ticket. This is the initial loading of Scale Ticket screen.
- Click the Type combobox field. The lists of available types should be coming from the Ticket Pool Ticket Types lists.
- Ticket No field is read-only and it is a system auto generated number.
- If the Scale Ticket is not yet saved, there is a prefix SCT.
- Once the Scale Ticket is saved, the Ticket No will become whole number. It should get the Next Pool Ticket Number based on the selected Ticket Types from Ticket Pool.
- Location will auto populate based on the Working Location of the selected Scale Station.
- Select the Entity.
- If the selected Type is 'Load In', then the Entity label will change to Vendor.
- If the selected Type is 'Load Out', then the Entity label will change to Customer.
- Enter the Driver.
- Enter the Truck Id.
- Click the Item combo box. The lists of available Items displayed are based on the selected Location.
- Enter Reference.
- Enter the Gross Weight.
- Enter the Tare Weight.
- Select the Distribution Type from the lists.
- Enter the Freight Per Unit.
- Click the Save toolbar button. The created Scale Ticket will be saved.
Overview
Content Tools