Here are the steps on how to create eCheck payments:
- Open blank Pay Voucher Details screen.
- Fill in fields.
- Click on Vendor No. combo box button to select vendor.
- Select Vendor Pay To.
- Date Paid will default to today’s date. Change date if necessary by selecting from the mini calendar dropdown or by entering the date manually.
- All posted but unpaid transactions for the selected vendor based on the selected Vendor Pay To will be displayed on the grid.
- Select eCheck as your Payment Method and enter eCheck No on Check No field.
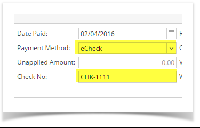
You can also leave the Check No field blank and on posting, it will automatically use the pre-setup for Check No on Common Info > Payments Method screen.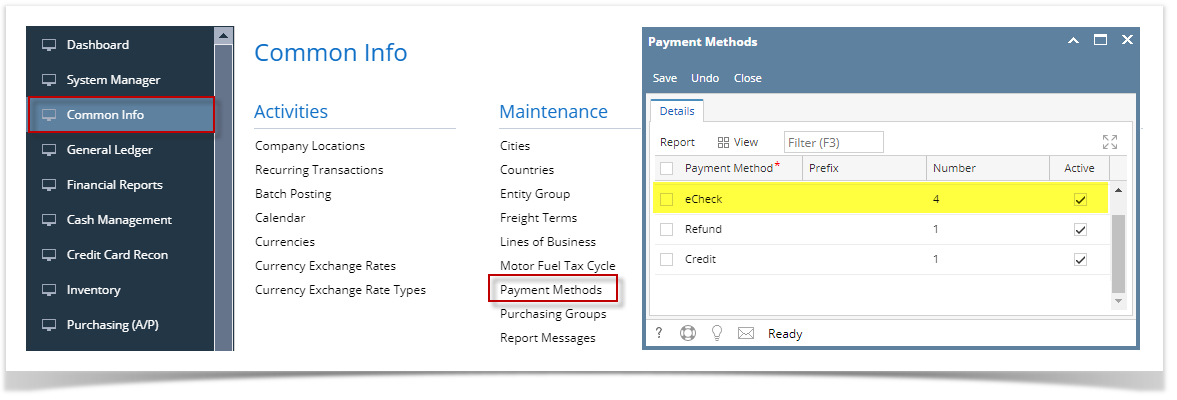
- On Bank Account field, click combo box and select a bank account from the list where payments will be deducted. Currency and Bank Balance set for the selected Bank Account will be displayed.
- Select detail from the grid. Payment will be computed.
- if there's no discount nor an interest, Payment will be the same as Amount Due.
- if there's a discount, Payment is Amount Due less Discount.
- if there's an interest, Payment is Amount Due plus Interest.
- If you wish to create partial payments, change the payment amount lower than the amount due.
- Amount Paid field will automatically be filled in by the payment amount and Unapplied Amount will display 0.00.
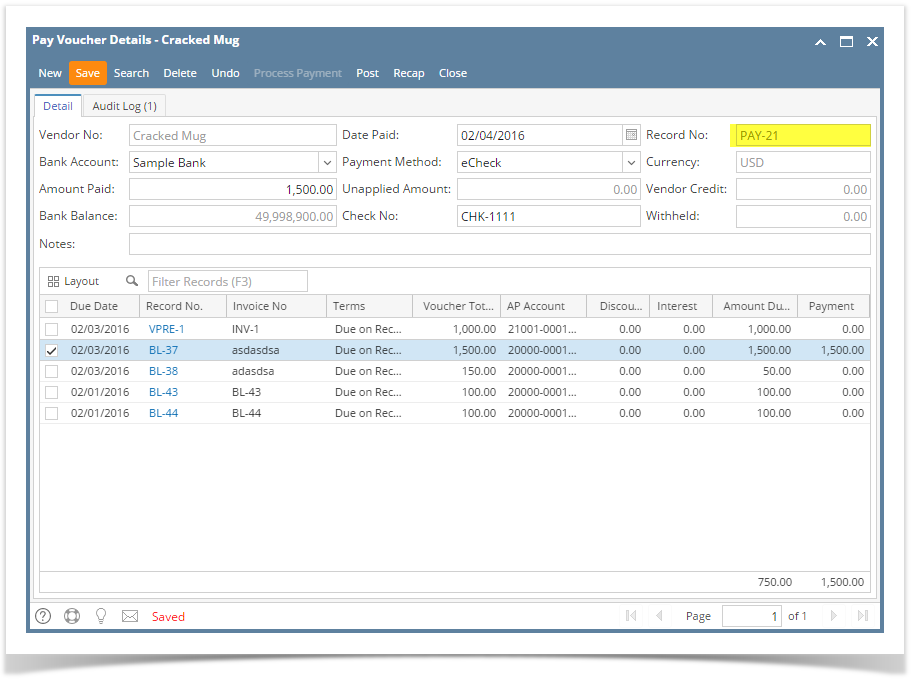
Save record by clicking Save toolbar button. A system-generated ID will be displayed in the Record No field.
Here are the steps on how to create eCheck payments:
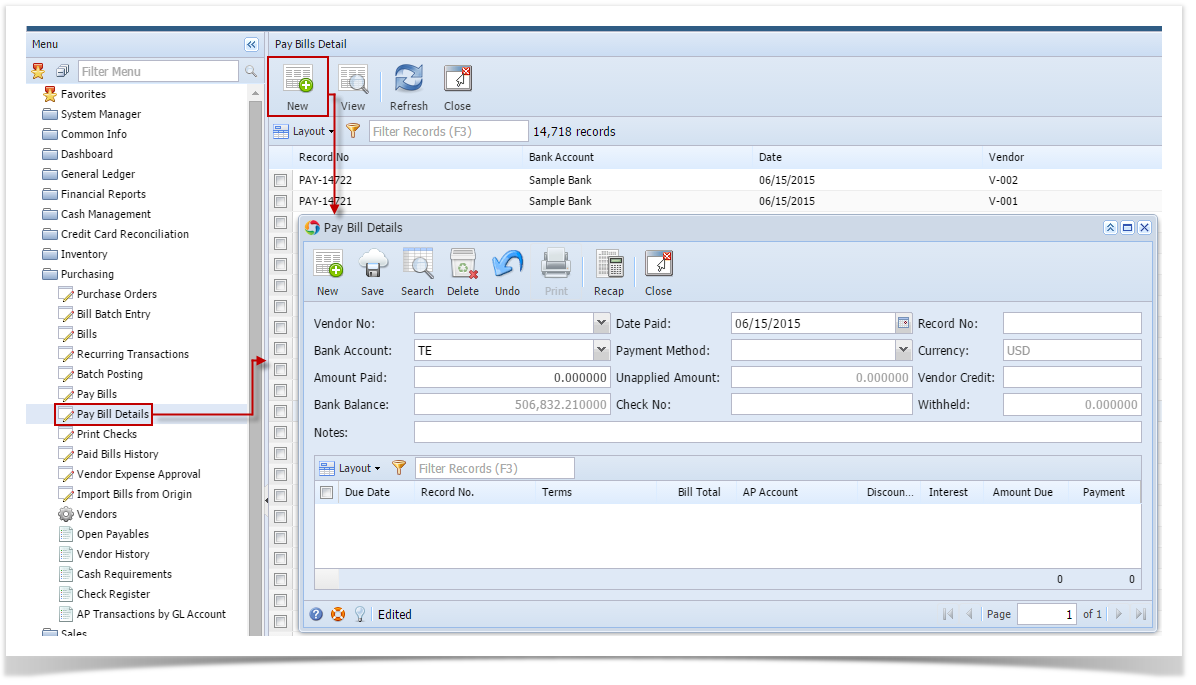
- From the Main Menu, expand Purchasing menu and click Pay Voucher Details to open Search Pay Voucher Details screen.
- Click New toolbar button to open blank Pay Voucher Details screen.

- Fill in fields.
- Click on Vendor No. combo box button to select vendor.
- Date Paid will default to today’s date. Change date if necessary by selecting from the mini calendar dropdown or by entering the date manually.
- All posted voucher transactions for the selected vendor will be displayed on the grid.
- Select eCheck as your Payment Method and enter eCheck No on Check No field.
- On Bank Account field, click combo box and select a bank account from the list where payments will be deducted. Currency and Bank Balance set for the selected Bank Account will be displayed.
- Select detail from the grid. Payment will be computed.
- if there's no discount nor an interest, Payment will be the same as Amount Due.
- if there's a discount, Payment is Amount Due less Discount.
- if there's an interest, Payment is Amount Due plus Interest.
- If you wish to create partial payments, change the payment amount lower than the amount due.
- The entered payment amount will also appear in the Unapplied Amount field.
- Enter the same amount in the Amount Paid field. This will change the Unapplied Amount back to 0.00.
Save record by clicking Save toolbar button. A system-generated ID will be displayed in the Record No field.
You can skip saving the record if the transaction is to be posted right away. This will be catered in the Posting process since it automatically saves the record before posting. (See How To Post Payments)
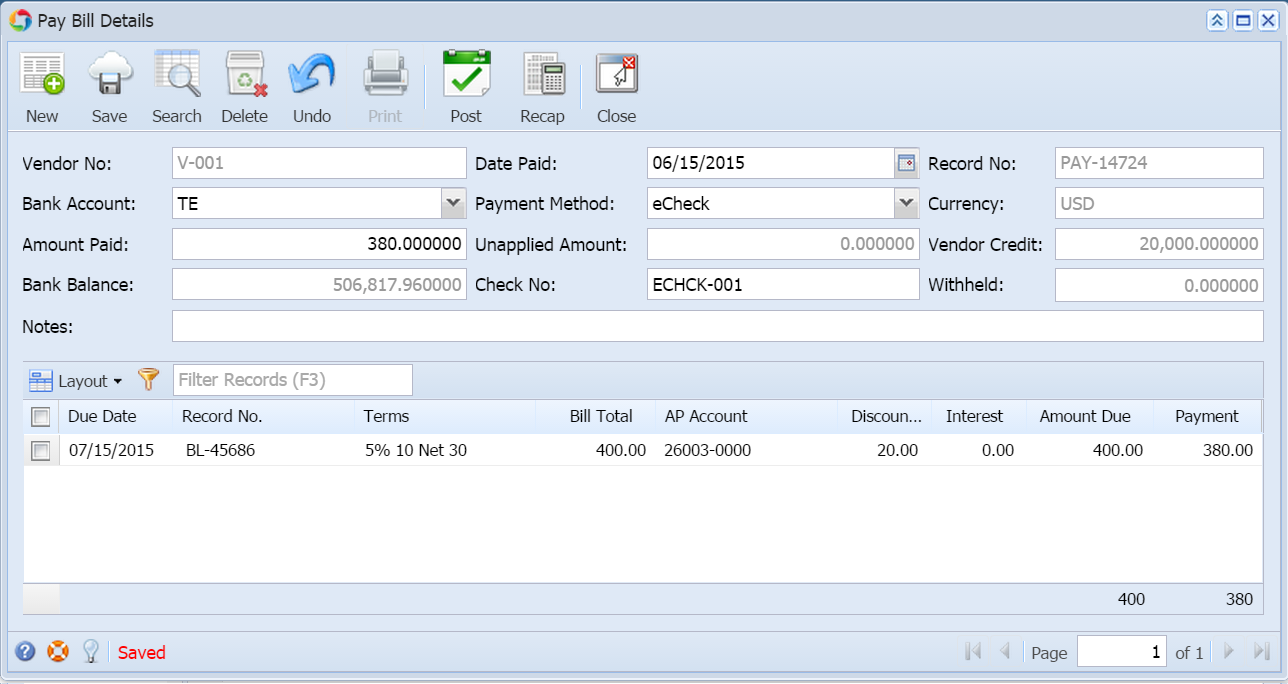
Here are the steps on how to create pay bills:
- From the Main Menu, click Purchasing and click Pay Bill Details. If there is an existing record, docked Search Pay Bills Detail screen will open. Otherwise, blank Pay Bills Detail screen will open automatically.
- If Search Pay Bills screen opens, click New toolbar button to open blank Pay Bills Detail screen.
- Fill in fields.
- Click on Vendor No. combo box button to select vendor.
- Date Paid will default to today’s date. Change date if necessary by selecting from the mini calendar dropdown or by entering the date manually.
- All posted bill transaction for the selected vendor will be displayed on the grid.
- Select eCheck as your Payment Method and enter eCheck No on Check No field.
- On Bank Account field, click combo box and select a bank account from the list where payments will be deducted. Currency and Bank Balance set for the selected Bank Account will be displayed.
- Select detail from the grid. Payment will be computed.
- if there's no discount nor an interest, Payment will be the same as Amount Due.
- if there's a discount, Payment is Amount Due less Discount.
- if there's an interest, Payment is Amount Due plus Interest.
- If you wish to create partial payments, change the payment amount lower than the amount due.
- The entered payment amount will also appear in the Unapplied Amount field.
- Enter the same amount in the Amount Paid field. This will change the Unapplied Amount back to 0.00.
Save record by clicking Save toolbar button. A system-generated ID will be displayed in the Record No field.
You can skip saving the record if the transaction is to be posted right away. This will be catered in the Posting process since it automatically saves the record before posting. (See How To Post Payments)
Overview
Content Tools