Here are the steps on how to print Open Clearing Report:
Open Reports Viewer screen of Open Clearing: (See How To Print Accounts Payable Reports)
- Fill out on the Selection Criteria section. User can either select on the drop down list or manually enter values on the criteria fields.If fields are left blank , all transaction records will be included on the report.

- Save - Users can save their preferred multiple filters using the 'Save' button. The next time that user will open the screen, filters are automatically saved without entering a new one.
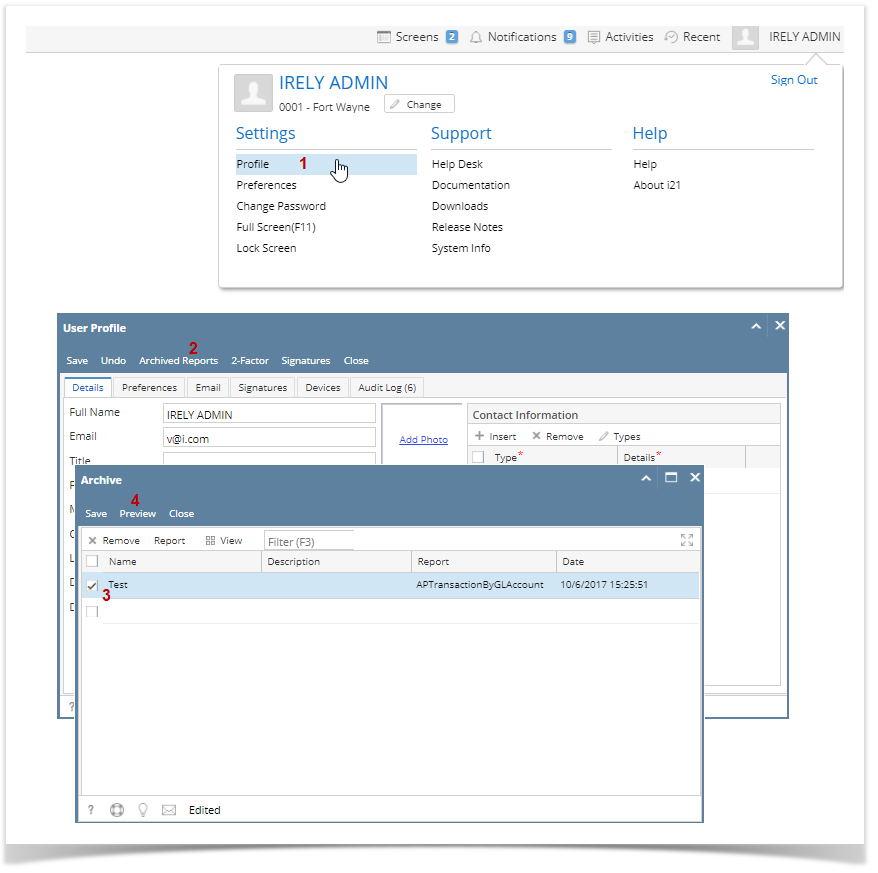
- Archive
- Users can archive the reports by Generating the report > Click Archive > Enter the Name and Description.
- View the archived report in Users Profile > Archived Reports > Archive
- Default - Users enter a new filters and want to set back their default filters. Just click the Defaults toolbar button to automatically reflect the default filters that has been set.
- Remove - Users can remove the filters by selecting the filters > click Remove.
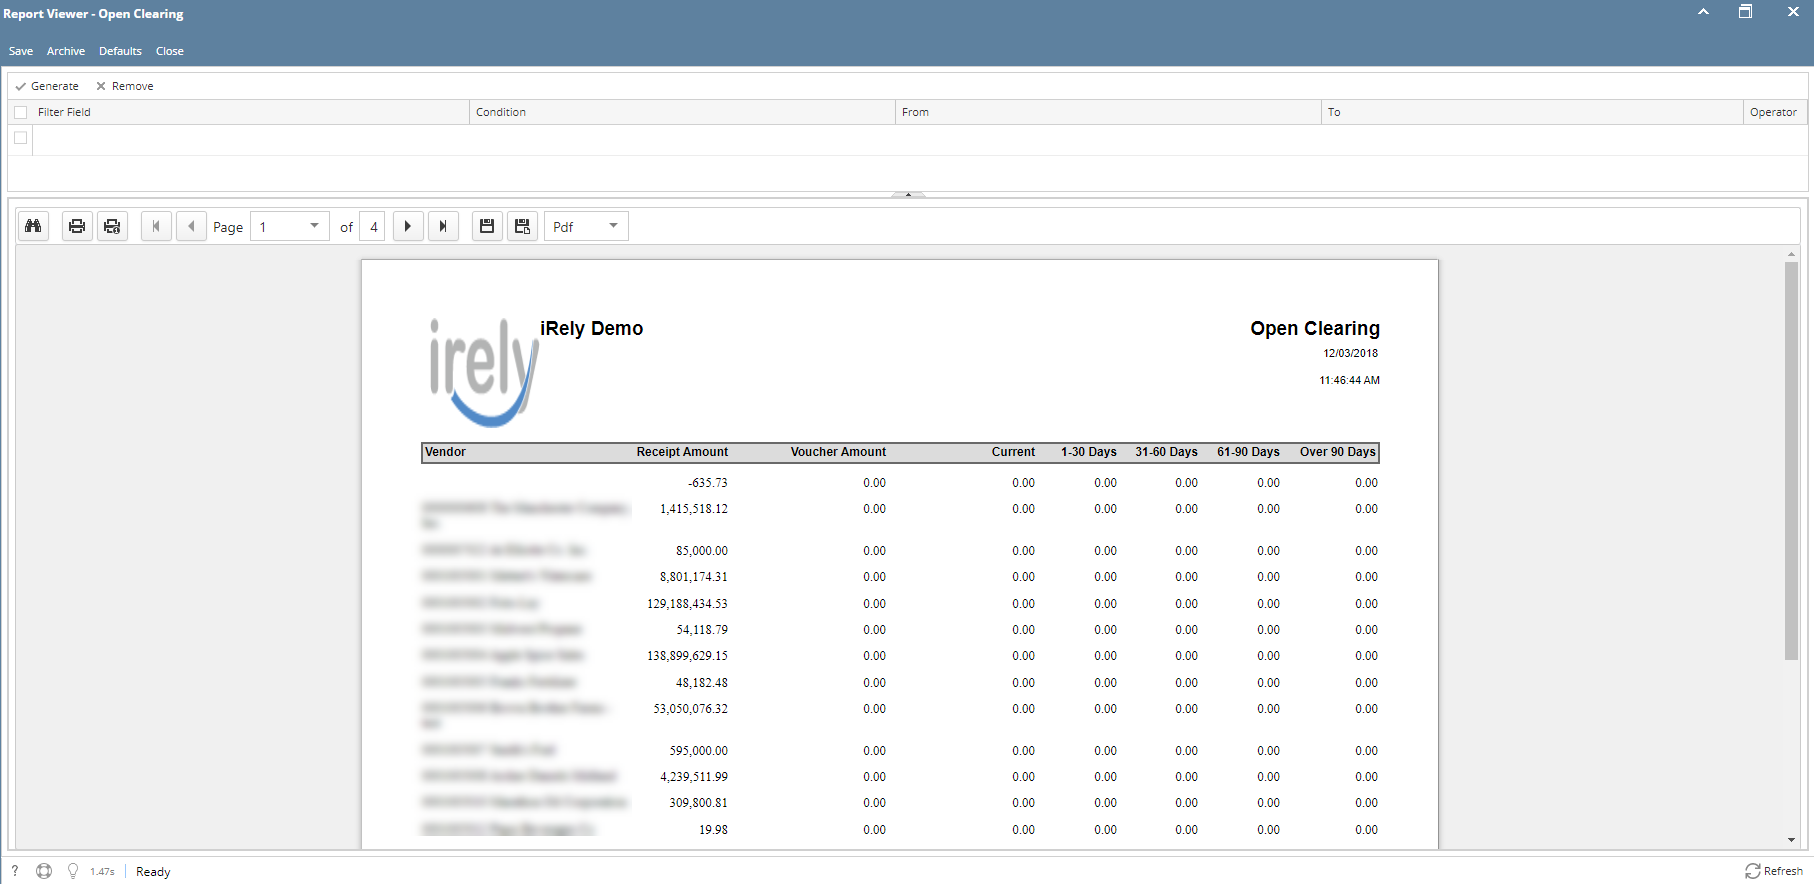
Preview and Print Reports
- Generate - Click the 'Generate' button to preview the report.
- Search - Search a sentence or word and the results will be highlighted.
- Print - Print the report. After clicking Generate > Transactions are generated > Click Print.
- Print the Current Page - Only the current page will be printed.
- Set Page Number - If transactions are more than one (1) pages, user has options to view to either select or manually enter the number of page. Or user can also navigate to other pages as soon as they can using first page, previous page, next page, and last page buttons.
- Export - Export buttons using different file type are also available. Click Generate > Select file type > Export a report and save to disk button. This automatically downloads the exported file based on the selected file type.
- Export a Report and Open in New Window - Report will be exported and open in a new window

Overview
Content Tools