The Ticket Priorities screen is used to enter the available Priorities for a ticket. The values from this screen will be used in the Ticket entry screens Priority combo box.
Priority examples
- Standard
- Major
- Blocker
To add new Ticket Priority:
- On the Menu Panel, click Help Desk.
Click Ticket Priorities submenu to open the Ticket Priorities screen.
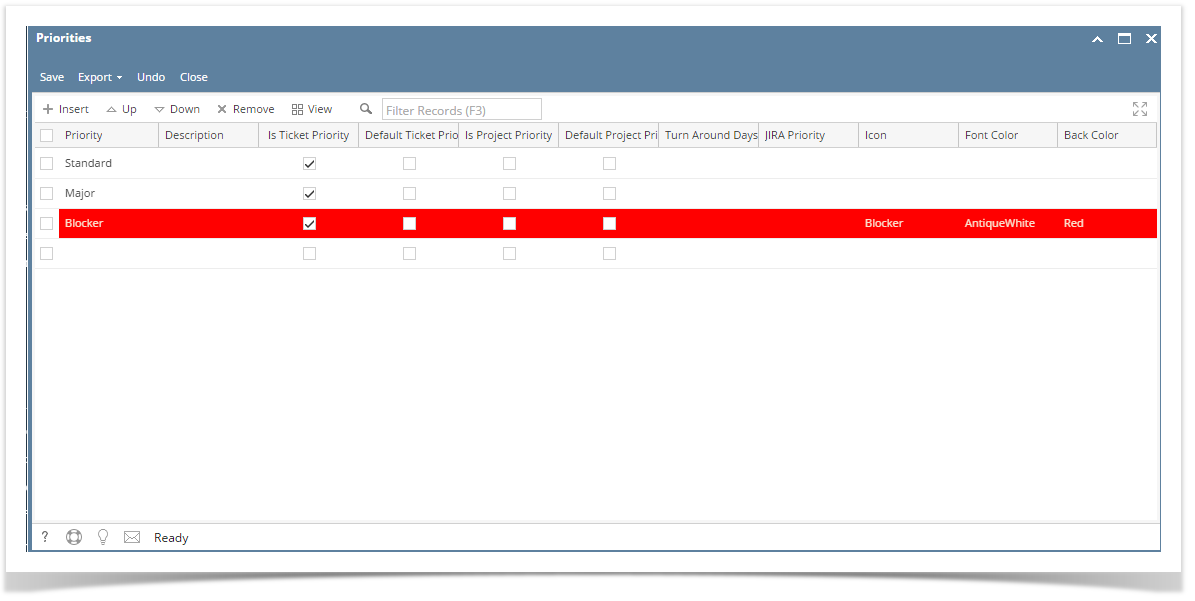
- Go to available row in a grid and enter unique Priority name and its Description.
- In the JIRA Priority drop down list, you can associate Ticket Priority if you have integration with JIRA Issue & Project Tracking Software.
- The screens where the priorities can be available can also be managed through the following checkboxes:
- Is Ticket Priority
- Is Default Ticket Priority
- Is Project Priority
- Is Default Project Priority
- You can also select Icon from the list for each Priority. Available icons are Information, Warning, Critical and Blocker.
- In the Font Color and Background Color columns, you can also optionally select color for each Ticket Priority.
Overview
Content Tools