The following will guide you on how to create Item that is a Non-Lot Tracked item.
- There are 2 ways where you can create a new Item.
- From Inventory module > click on Item menu. The Item search will be shown. Click New.
If there are no existing records yet, upon clicking Item menu, it will open a new Item screen. - From an existing Item record, click New.
- From Inventory module > click on Item menu. The Item search will be shown. Click New.
- This will open a new Item screen.
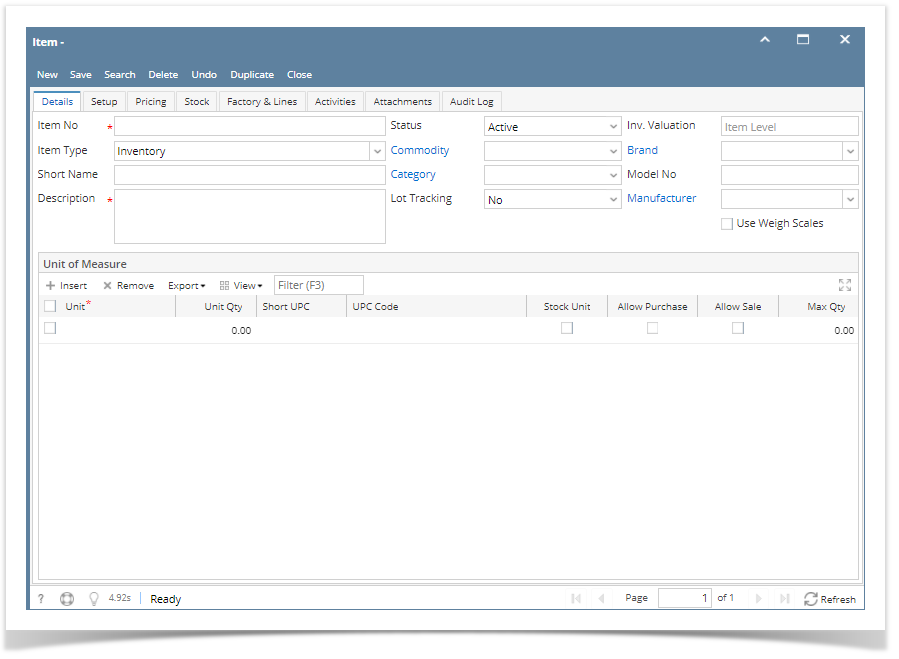
- In the Details tab,
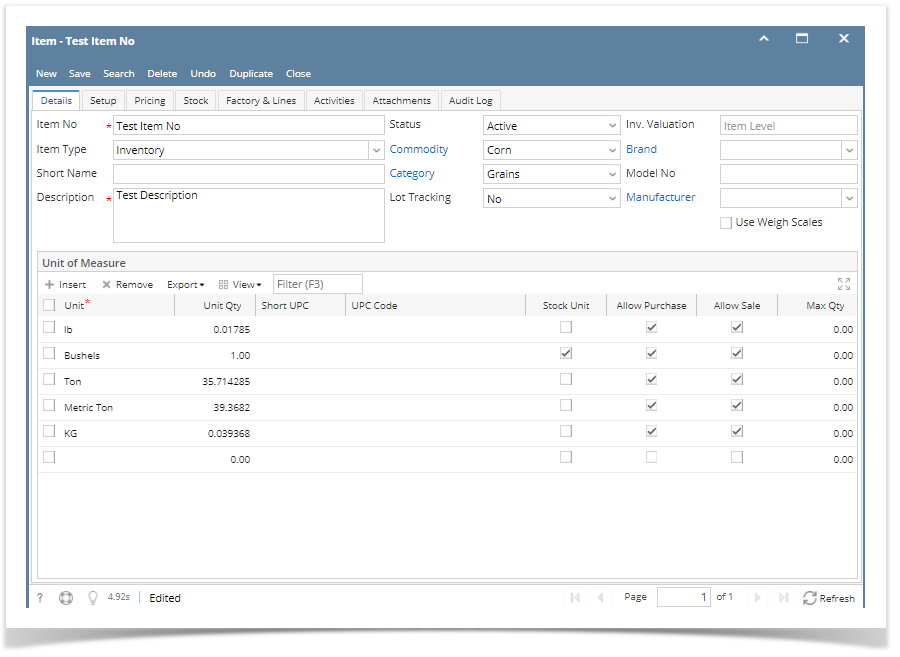
- Enter Item No.
- In the Item Type field select the type of item you will add.
- Bundle - The Bundle type is used to enter a group of individual items for sales or purchase transactions. Since this item type groups other inventory item types, it will follow those inventory types for tracking stock. The Bundle Details tab will then be visible to allow you to specify items that are part of the bundle.Can be used for 'Basket' concept of international trading. Basket is a selection of items from which an item will be finally received or sold.
- Inventory - The Inventory Item type is used for regular items you purchase. This item type tracks stock quantities.
- Finished Good - The Finished Good type is used for items which are finished goods of a manufacturing process. This type tracks stock.Similar to Assembly type but has more complex application and can have work in progress stock.
- Non-Inventory - The Non-Inventory type is used for items you purchase like materials or office supplies. This item type does not track stock quantities.Miscellaneous description can be entered in transaction screens for this item type.
- Other Charge - The Other Charge type is used for miscellaneous charges such as setup fees, delivery charges, permits, surcharge, brokerage, rent etc. These charges can be added to inventory cost and can be setup to calculate based on the volume of inventory involved. For example, freight and surcharges on freight for inventory receipt. These appear on Other Charges tab of Inventory Receipt and Shipment. This type does not track stock quantities.
- Raw Material - The Raw Material Type can be used as an ingredient to manufacture, blend, mill or assemble an item. This type tracks stock quantities.Level 4 (Materials) could be used in any formula as an ingredient but could not be a formula (Summit)
- Service - The Service type is used for services which the company provide like consulting, labor, fees, etc. This item type does not track stock quantities.
- Software - This is a non inventory type used to purchase and sell software products.
- Enter item description in the Description field.
- Enter Short Name for the item.
- Select a Category for this item in the Category field. (Master for grouping all inventory items. Department is also merged to this maintenance. )
- If this item is a commodity, Select a commodity this item is part of, else leave it blank. UOM setup of selected commodity will display in item UOM grid. See How to Add New Commodity.
- In the Lot Tracking field select "No". Notice that Inv. Valuation field that follows will automatically be set to Item Level.
- Use Weigh Scales is unchecked by default. User can check it if the item will be used for Scale Tickets module.
- Select Brand name. (optional)
- Select a Manufacturer. (optional)
- Enter a model number this is usually added to hardware items like laptops, computers, printers etc. (optional)
- Enter other relevant item information. See Items - Field Description.
- Setup item's Unit of Measure. See How to Setup Item UOM
- In the Setup tab,
- GL Accounts tab, assign GL Accounts. See How to Setup GL Accounts for the items.
- Location tab, select locations where item will be available. See How to Setup Item Location.
- In the Pricing tab,
- Enter pricing information for each location added to the item. See How to Setup Item Pricing.
- Enter pricing level information as needed. See How to Setup Pricing Level.
- Enter promotional pricing information as needed. See How to Setup Promotional Pricing.
- In the Comments tab,
- Use this tab to enter any notes/comments you may have for this item. See How to Use Comments tab.
- In the Attachments tab,
- Use this tab to attach files for this item. See How to Use Attachment tab.
- In the Audit Log tab,
- This is where you will see the log for this item. This log will have a record when it was originally created and who created it. Every edits done for this item is also recorded here.
- Save the record. You can click Save or use the shortcut key Ctrl+S. In case you miss to save it and you click the Close or the x button at the top right corner of the screen or use the shortcut key Alt+X or Esc , i21 will prompt you if you would like to save it before closing the screen.
Overview
Content Tools