By default, all existing countries will have the following format:
Countries that start with a Country Code of 1
- Country = Space
- Area/City = Parenthesis + Space
- Local Number = 3 + Dash
The rest of the Countries:
- Country = Dash
- Area/City = Dash
- Local Number = 3 + Dash
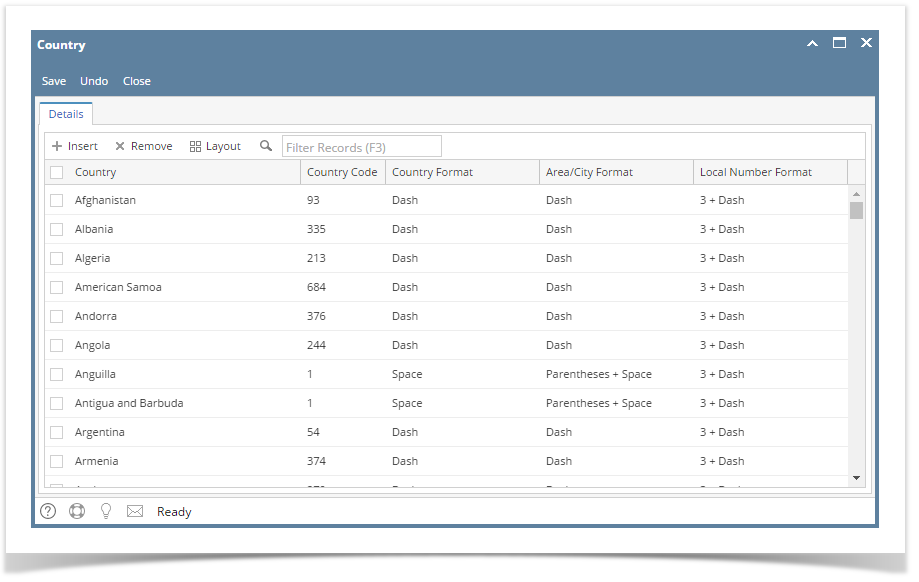
Here are the steps on how to add and format a country:
- On the user’s menu panel go to Common Info menu then click Countries
- From Countries search screen, click the New button
Input details(Country, Country Code, Country Format, Area/City Format, Area/City Length, Local Number Format, and ISO Code) on the blank fields in the Country screen
Fields Description Country A text field that will store the name of the Country Country Code Country Code Country Format Determines how the Country Code will be formatted. The selected option will occur after the Country Code. (ex: Dash = Country Code and then a dash, 1-)
- Dash
- Period
- Space
- None
Area/City Format Determines how the Area/City Code will be formatted. The selected option will occur after the Area/City Code except for Parentheses which will surround the Area/City Code. (ex: Parentheses = Area/City Code surrounded by Parentheses, (281) )
- Parentheses
- Parentheses + Space
- Dash
- Period
- Space
- None
Area/City Length Determines how many numbers in the Area/City Local Number Format Determines how the Local Number will be formatted. The selected option will occur after the Local Number. (ex: 3 + Dash = The first 3 digits of the Local Number followed by a dash and then the rest of the digits, 586-9669)
- 3 + Dash
- 4 + Dash
- 3 + Space
- 4 + Space
- 3 + Period
- 4 + Period
- None
ISO Code Accepts up to 3 characters - Click Save toolbar button
Here are the steps on how to add and format a country:
- On the user’s menu panel go to Common Info folder then click Countries
- Click the Insert button to add a new line at the last row
Input details(Country name, Country Code, City/Area Digits, City/Area Mask, Local Digits and Display Country Code) on the blank row in Country screen
Column Fields Description Country A text field that will store the name of the Country Country Code Country Code Country Format Determines how the Country Code will be formatted. The selected option will occur after the Country Code. (ex: Dash = Country Code and then a dash, 1-)
- Dash
- Period
- Space
- None
Area/City Format Determines how the Area/City Code will be formatted. The selected option will occur after the Area/City Code except for Parentheses which will surround the Area/City Code. (ex: Parentheses = Area/City Code surrounded by Parentheses, (281) )
- Parentheses
- Parentheses + Space
- Dash
- Period
- Space
- None
Local Number Format Determines how the Local Number will be formatted. The selected option will occur after the Local Number. (ex: 3 + Dash = The first 3 digits of the Local Number followed by a dash and then the rest of the digits, 586-9669)
- 3 + Dash
- 4 + Dash
- 3 + Space
- 4 + Space
- 3 + Period
- 4 + Period
- None
- Click Save toolbar button
- On the user’s menu panel go to Common Info folder then click Countries
Input details(Country name, Country Code, City/Area Digits, City/Area Mask, Local Digits and Display Country Code) on the blank row in Country screen
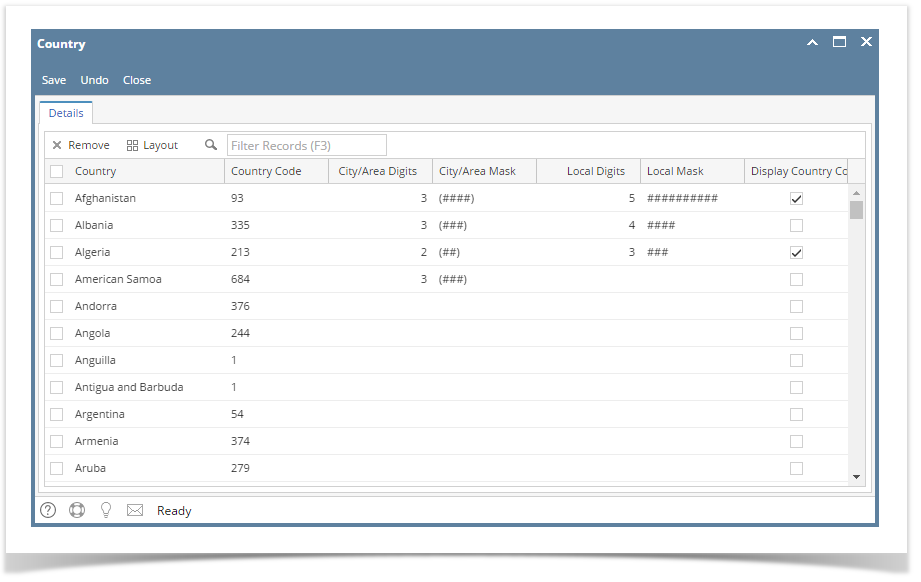
Column Fields Description Country A text field that will store the name of the Country Country Code Country Code City/Area Digits Defines the number of characters in the City/Area Mask City/Area Mask Defines the format of the City/Area for the selected Country Local Digits Defines the number of characters in the Local Mask Local Mask Defines the format of the Local Digits for the selected Country Display Country Code If true, will display the country code - Click Save toolbar button
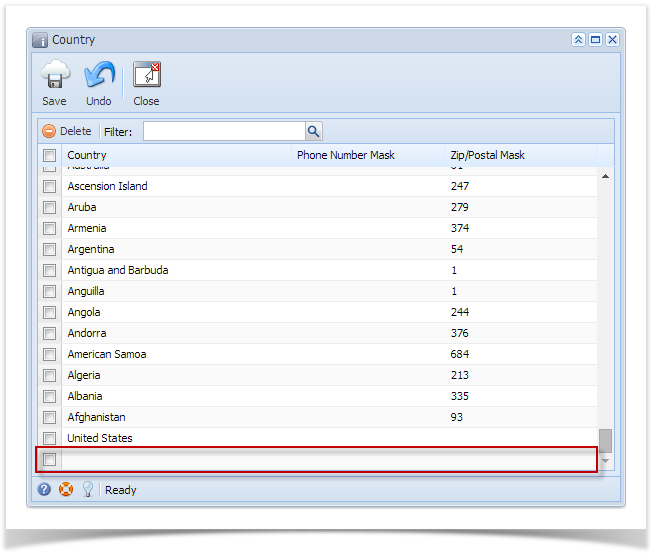
- On the user’s menu panel go to Common Info folder then click Countries
- Input details(Country name, Phone Number and Zip/Postal Mask) on the blank row in Country screen
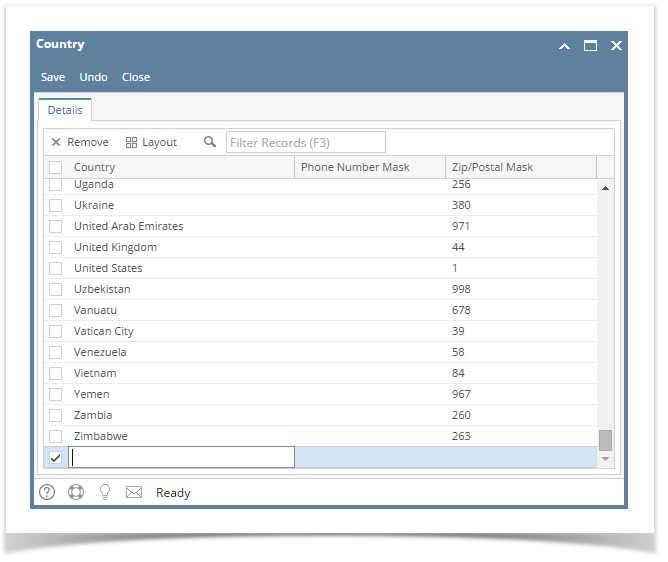
- Click Save toolbar button
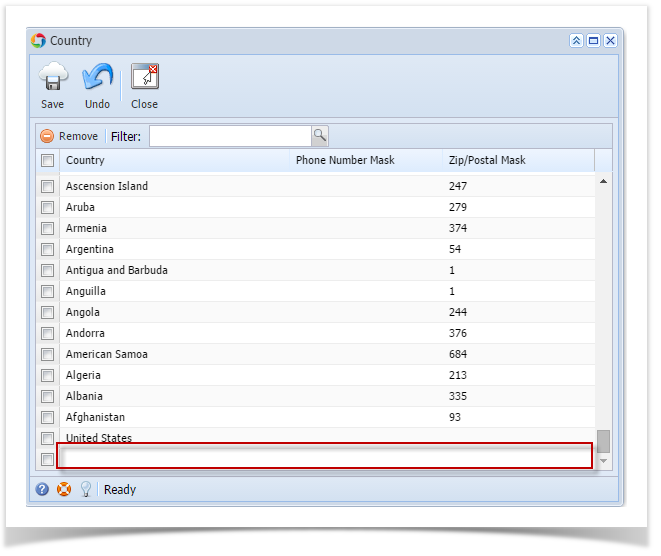
- On the user’s menu panel go to Common Info folder then click Countries
- Input details(Country name, Phone Number and Zip/Postal Mask) on the blank row in Country screen
- Click Save toolbar button
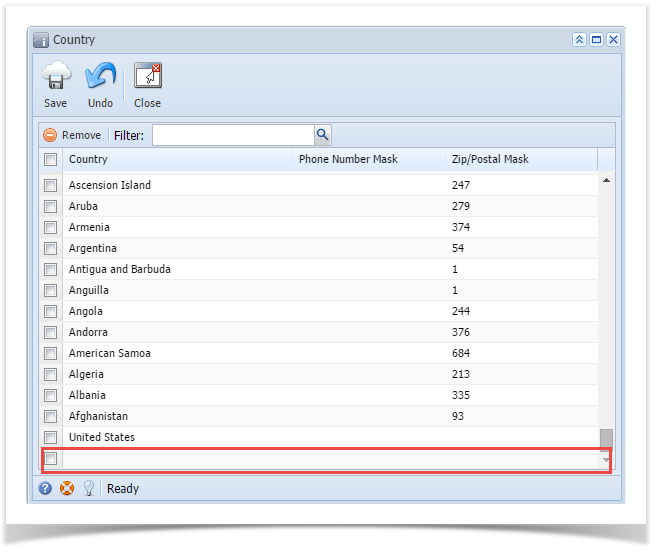
- On the user’s menu panel go to Common Info folder then click Countries
- Input details(Country name, Phone Number and Zip/Postal Mask) on the blank row in Country screen
- Click Save toolbar button
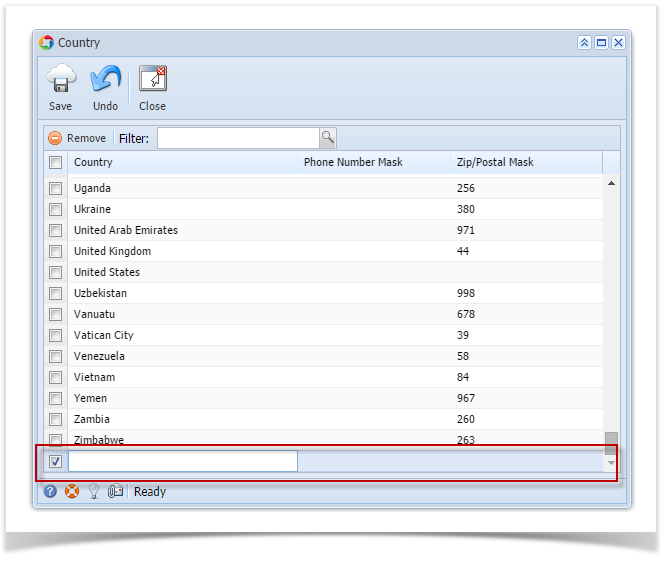
- On the user’s menu panel go to Common Info folder then double click Country
- Input details(Country name, Phone Number and Zip/Postal Mask) on the blank row in Country screen
- Click Save toolbar button
- On the user’s menu panel go to Common Info folder then double click Country
- Input details(Country name, Phone Number and Zip/Postal Mask) on the blank row in Country screen
- Click Save toolbar button
Overview
Content Tools