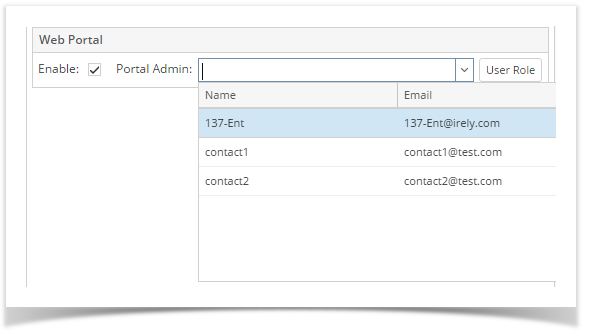
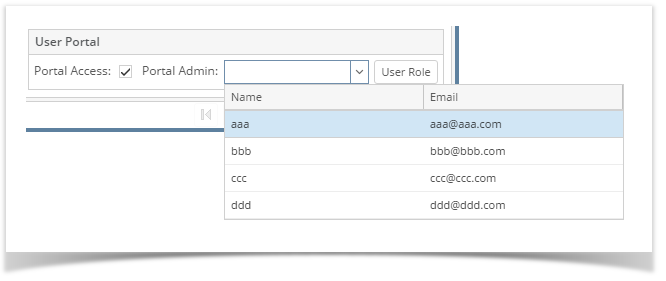
Pre-requisite: There should be an email address before you can assign a Portal Admin:
Here are the steps on how to assign a Portal Admin:
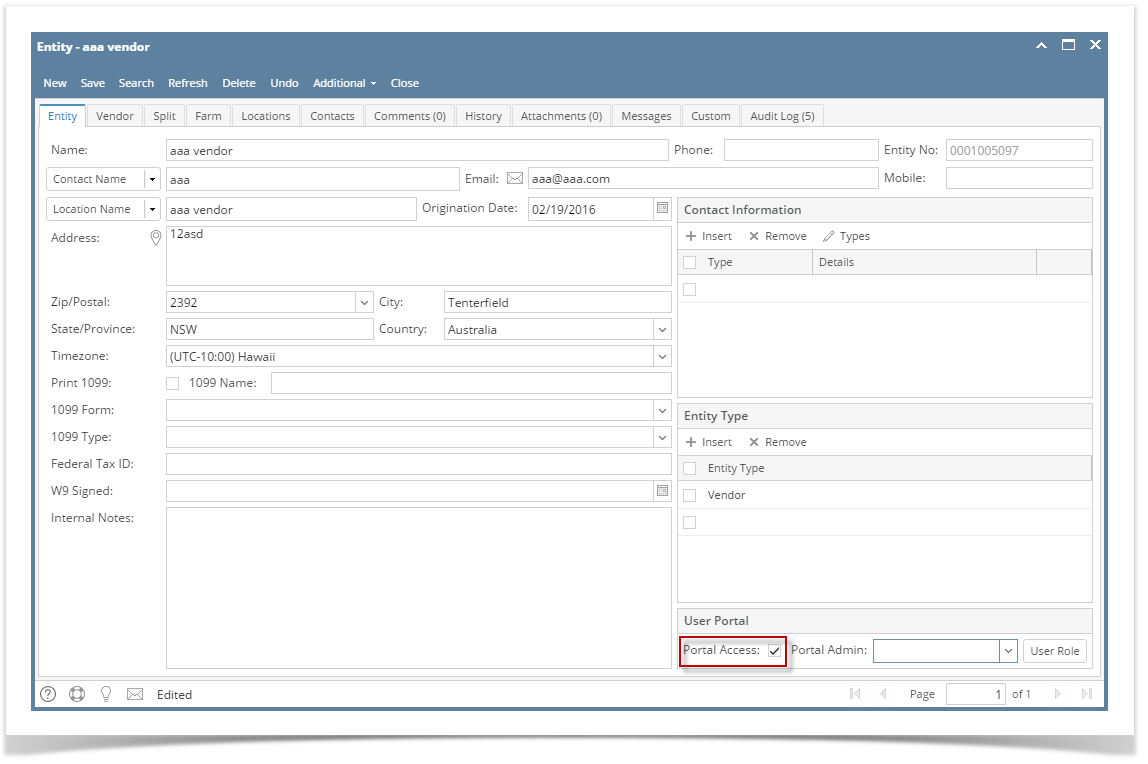
- Log in as an Admin/internal user
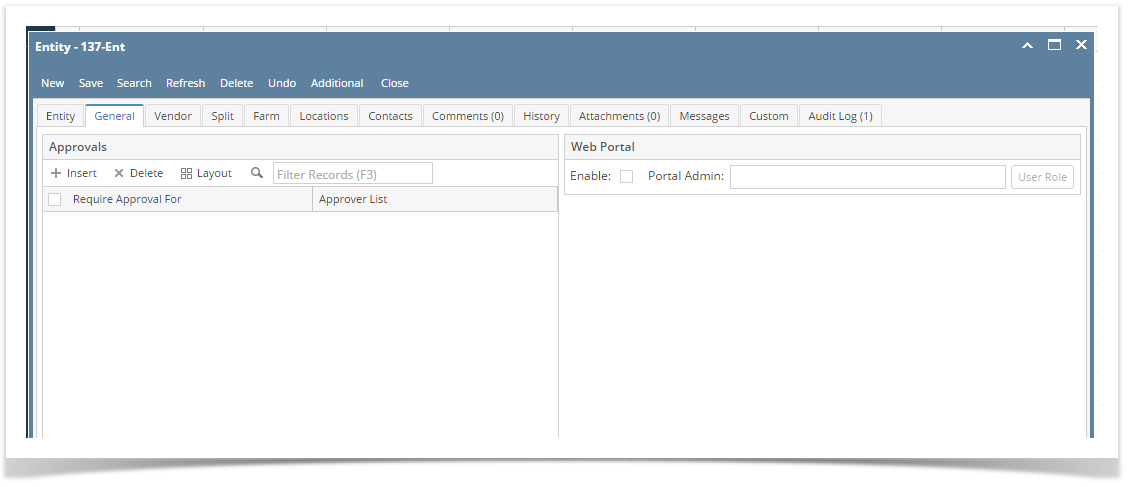
- Open an entity record
- Click the General tab
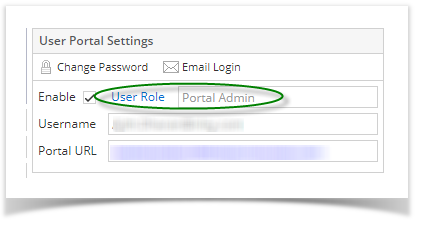
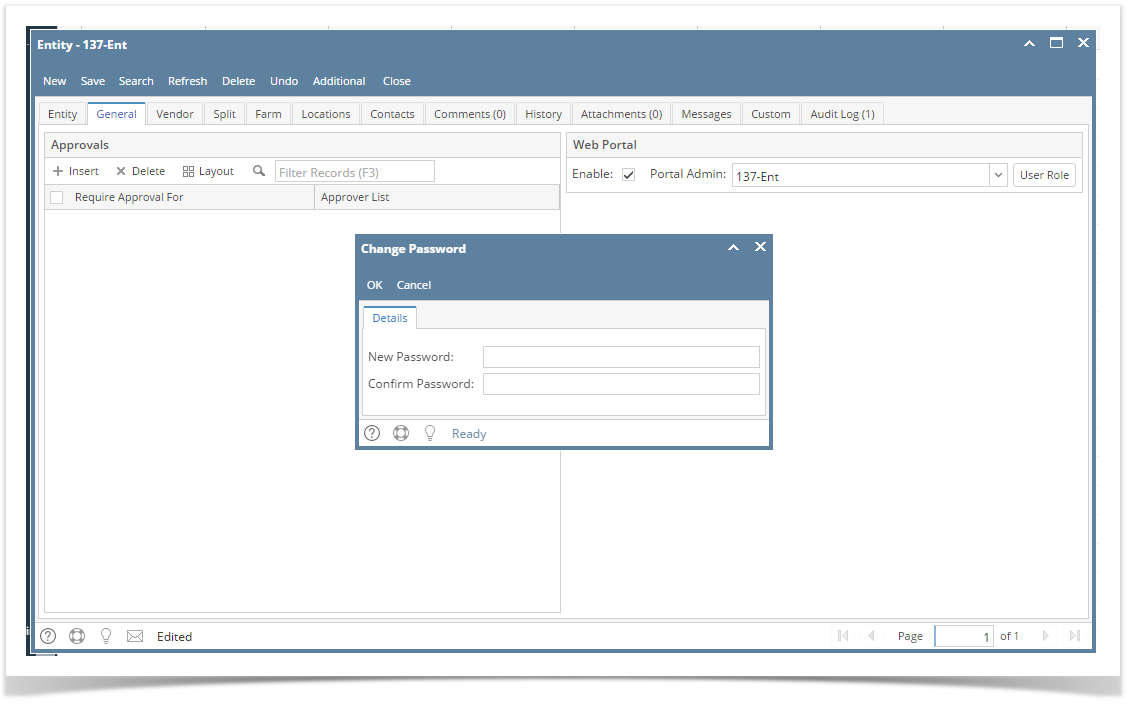
- After selecting a portal admin, a change of password will be required. Enter the New Password and Confirm Password.

Note: If Change Password is cancelled, portal access will be removed. - Select a Portal Role
Pre-requisite: The following fields must be filled in before you can assign a Portal Admin:
- Timezone
- Approval List (if the entity is vendor)
Here are the steps on how to assign a Portal Admin:
- Log in as an Admin/internal user
- Open an entity record
- Click the General tab
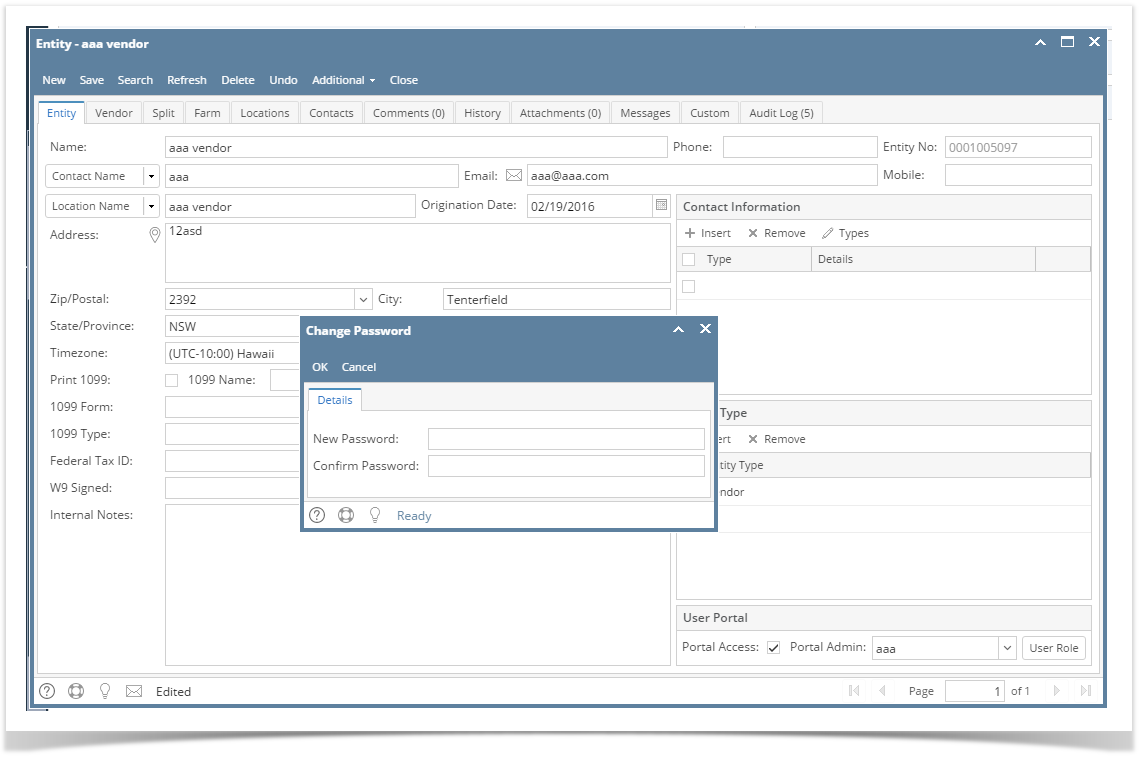
- After selecting a portal admin, a change of password will be required. Enter the New Password and Confirm Password.
Note: If Change Password is cancelled, portal access will be removed.
Here are the steps on how to assign a Portal Admin:
- Log in as an Admin/internal user
- Open an entity record
- After selecting a portal admin, a change of password will be required. Enter the New Password and Confirm Password.
Note: If Change Password is cancelled, portal access will be removed.
Overview
Content Tools