A work order is closed either because it has been completed or the customer cancelled it.
Generally, these are what happens during closing of work order.
- In grid area, the work order will be moved from Status: Open to Status: Closed group. The Date Closed field (grid area) will be auto-populated.
- The Status field will automatically set to Close.
- Date Scheduled, Performer, and Additional Info fields will be disabled.
- The Date Closed field will be enabled and will default to the system date when the work order was closed.
- The Close Reason field will be enabled and will show blank by default. Select a reason from Close Reason combo box list. If the reason is not on the list, you can add it to Close Reason screen. Note that this is a required field.
- Comments field will be enabled. This is where you can enter comments provided by the performer, or more info on why the work order is closed. This field is optional.
Here's how to close the work order:
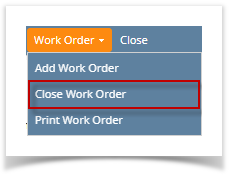
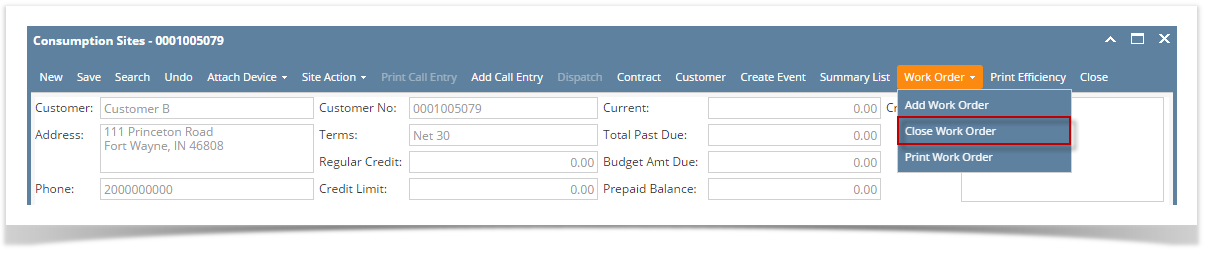
- Via the Close Work Order toolbar button:
- Open the Consumption Sites record.
- Navigate to the Work Orders tab. Select the work order that needs to be closed.
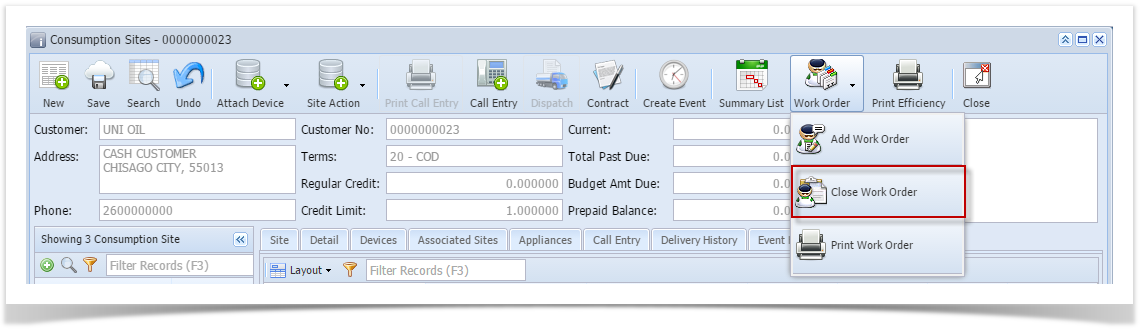
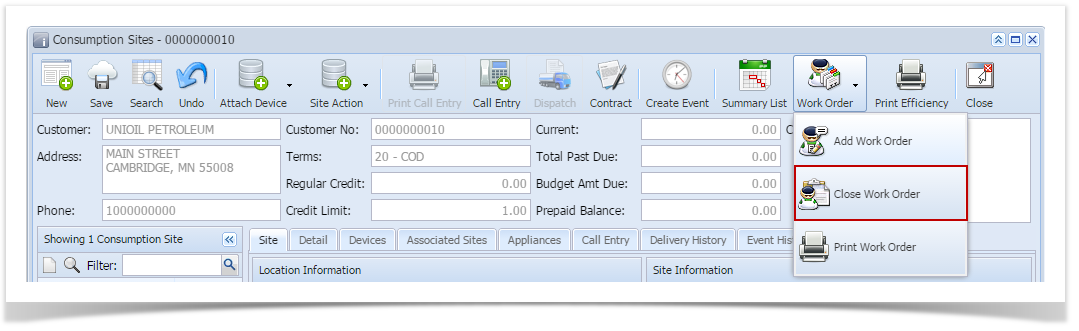
- Click the Work Order > Close Work Order toolbar button.
If there are To Do Items that are not yet completed, this message will be displayed. Select Yes to this confirmation message.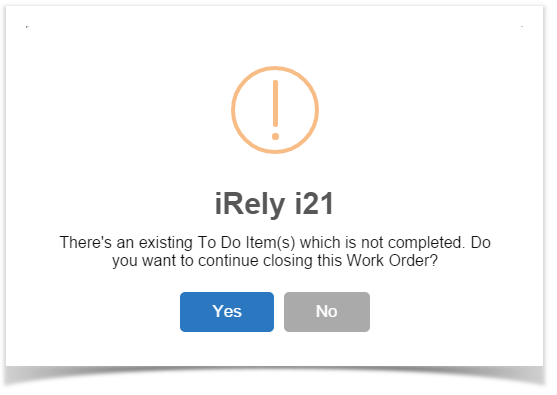
- Fill out the fields – Date Closed, Close Reason, and Comments – on the lower part of the Work Order Details panel.
- Save the changes in the Consumption Sites record.
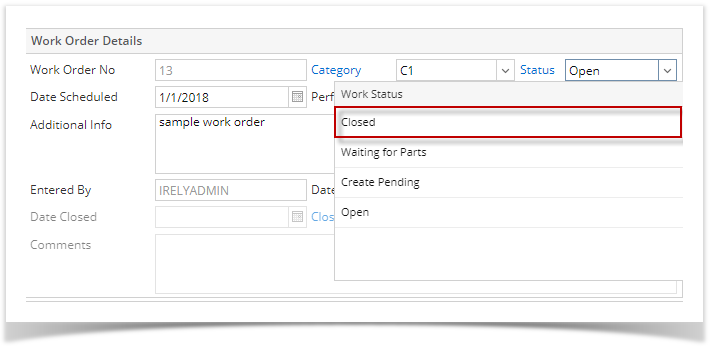
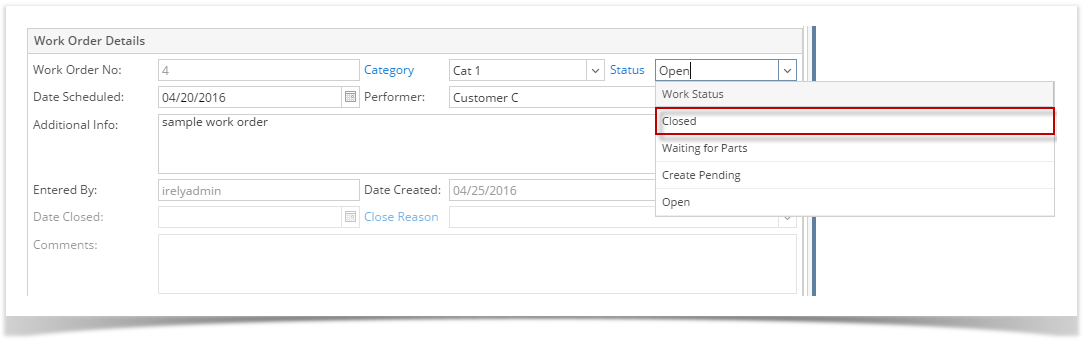
- Via the Status field:
- Open the Consumption Sites record.
- Navigate to the Work Orders tab. Select the work order that needs to be closed.
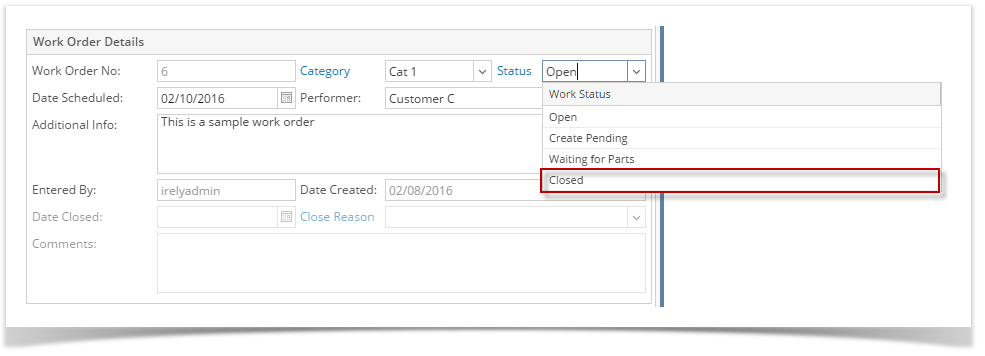
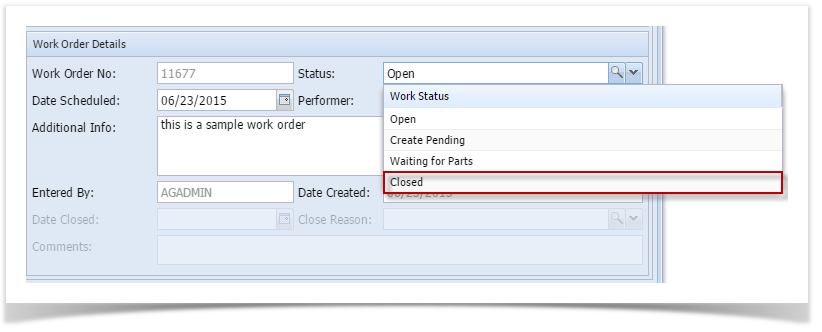
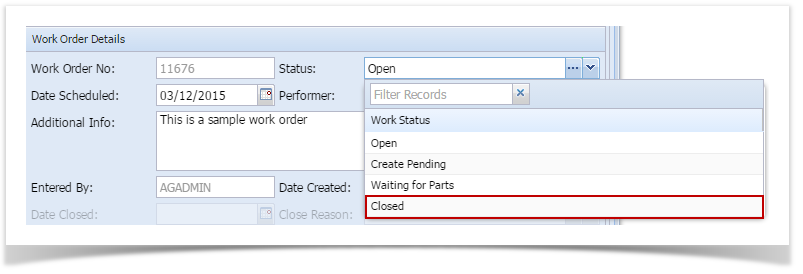
- Select ‘Closed’ from the Status combo box list.
If there are To Do Items that are not yet completed, this message will be displayed. Select Yes to this confirmation message. - Fill out the fields – Date Closed, Close Reason, and Comments – on the lower part of the Work Order Details panel. Close Reason field is required.
Save the changes in the Consumption Sites record.
A work order is closed either because it has been completed or the customer cancelled it.
Here is a sample closed work order.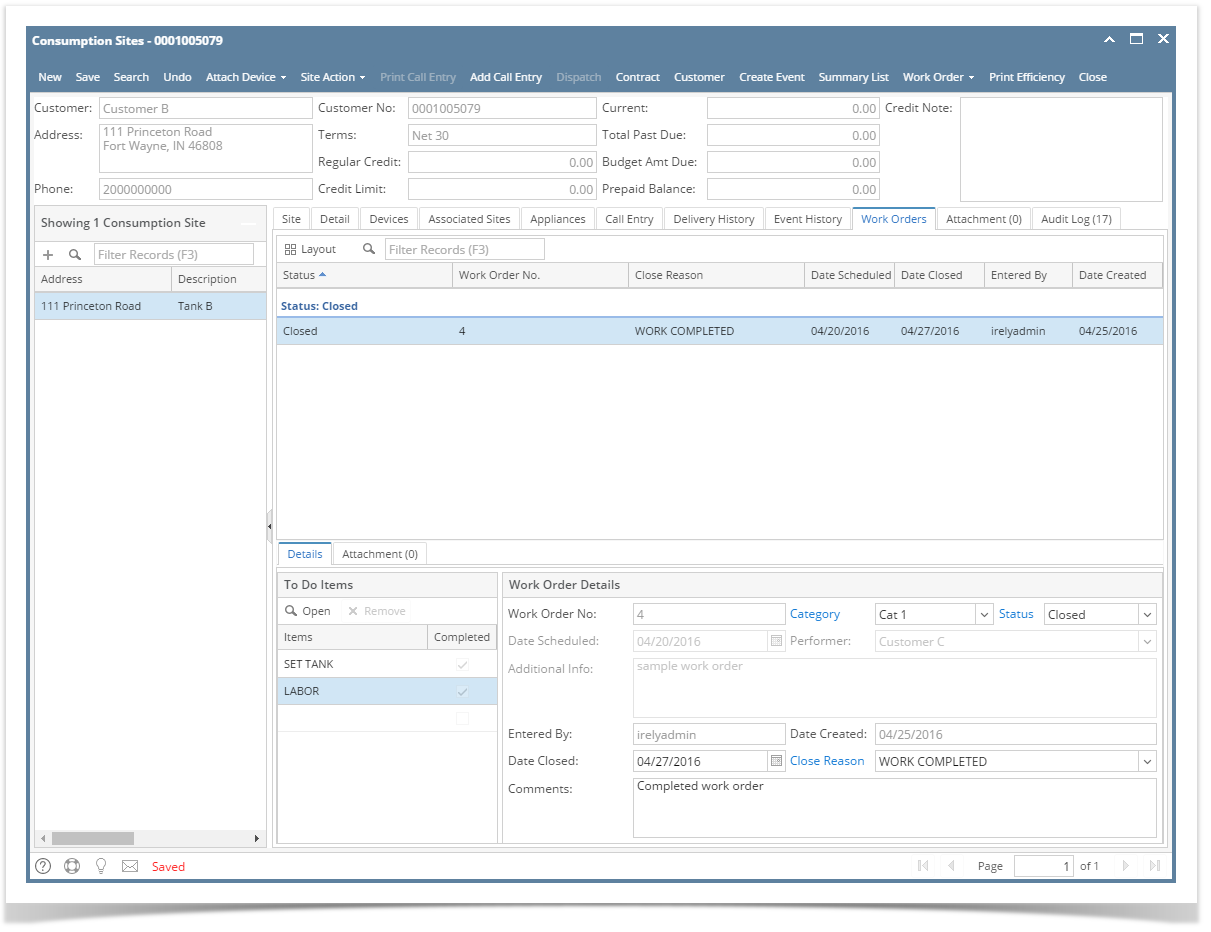
Generally, these are what happens during closing of work order.
- In grid area, the work order will be moved from Status: Open to Status: Closed group. The Date Closed field (grid area) will be auto-populated.
- The Status field will automatically set to Close.
- Date Scheduled, Performer, and Additional Info fields will be disabled.
- The Date Closed field will be enabled and will default to the system date when the work order was closed.
- The Close Reason field will be enabled and will show blank by default. Select a reason from Close Reason combo box list. If the reason is not on the list, you can add it to Close Reason screen. Note that this is a required field.
- Comments field will be enabled. This is where you can enter comments provided by the performer, or more info on why the work order is closed. This field is optional.
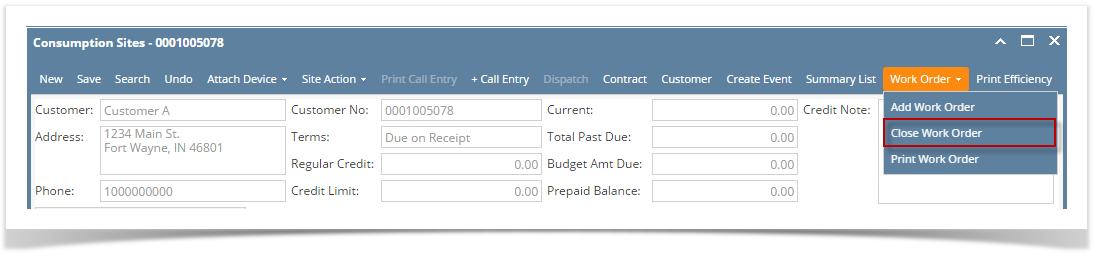
- Via the Close Work Order toolbar button:
- Open the Consumption Sites record.
- Navigate to the Work Orders tab. Select the work order that needs to be closed.
- Click the Work Order > Close Work Order toolbar button.
If there are To Do Items that are not yet completed, then this message will be displayed. Select Yes to this confirmation message. - Fill out the fields – Date Closed, Close Reason, and Comments – on the lower part of the Work Order Details panel.
- Save the changes in the Consumption Sites record.
- Via the Status field:
- Open the Consumption Sites record.
- Navigate to the Work Orders tab. Select the work order that needs to be closed.
- Select ‘Closed’ from the Status combo box list.
If there are To Do Items that are not yet completed, then this message will be displayed. Select Yes to this confirmation message. - Fill out the fields – Date Closed, Close Reason, and Comments – on the lower part of the Work Order Details panel. Close Reason field is required.
Save the changes in the Consumption Sites record.
Here is a sample closed work order.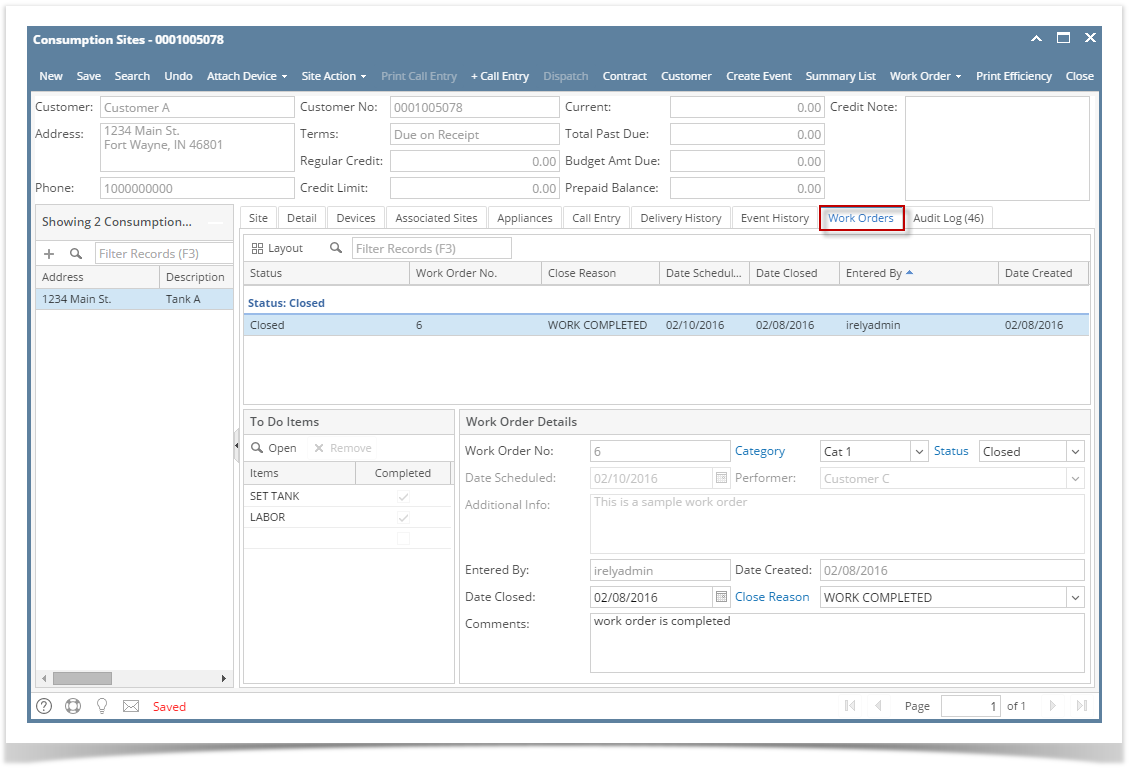
Generally, these are what happens during closing of work order.
- In grid area, the work order will be moved from Status: Open to Status: Closed group. The Date Closed field (grid area) will be auto-populated.
- The Status field will automatically set to Close.
- Date Scheduled, Performer, and Additional Info fields will be disabled.
- The Date Closed field will be enabled and will default to the system date when the work order was closed.
- The Close Reason field will be enabled and will show blank by default. Select a reason from Close Reason combo box list. If the reason is not on the list, you can add it to Close Reason screen. Note that this is a required field.
- Comments field will be enabled. This is where you can enter comments provided by the performer, or more info on why the work order is closed. This field is optional.
- Via the Close Work Order toolbar button:
- Open the Consumption Sites record.
- Navigate to the Work Orders tab. Select the work order that needs to be closed.
- Click the Work Order > Close Work Order toolbar button.
If there are To Do Items that are not yet completed, then this message will be displayed. Select Yes to this confirmation message. - Fill out the fields – Date Closed, Close Reason, and Comments – on the lower part of the Work Order Details panel.
- Save the changes in the Consumption Sites record.
- Via the Status field:
- Open the Consumption Sites record.
- Navigate to the Work Orders tab. Select the work order that needs to be closed.
- Select ‘Closed’ from the Status combo box list.
If there are To Do Items that are not yet completed, then this message will be displayed. Select Yes to this confirmation message. - Fill out the fields – Date Closed, Close Reason, and Comments – on the lower part of the Work Order Details panel. Close Reason field is required.
Save the changes in the Consumption Sites record.
Here is a sample closed work order.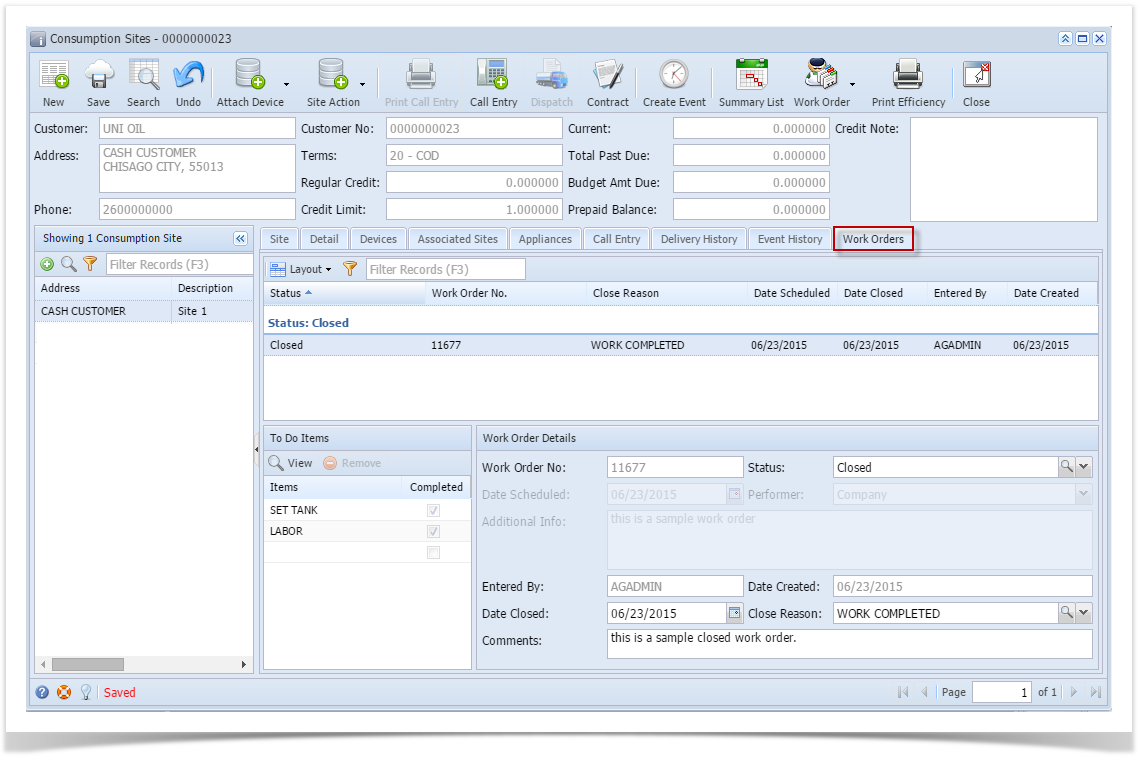
Generally, these are what happens during closing of work order.
- In grid area, the work order will be moved from Status: Open to Status: Closed group. The Date Closed field (grid area) will be auto-populated.
- The Status field will automatically set to Close.
- Date Scheduled, Performer, and Additional Info fields will be disabled.
- The Date Closed field will be enabled and will default to the system date when the work order was closed.
- The Close Reason field will be enabled and will show blank by default. Select a reason from Close Reason combo box list. If the reason is not on the list, you can add it to Close Reason screen. Note that this is a required field.
- Comments field will be enabled. This is where you can enter comments provided by the performer, or more info on why the work order is closed. This field is optional.
- Via the Close Work Order toolbar button:
- Open the Consumption Sites record.
- Navigate to the Work Orders tab. Select the work order that needs to be closed.
- Click the Work Order > Close Work Order toolbar button.
If there are To Do Items that are not yet completed, then this message will be displayed. Select Yes to this confirmation message.
- Fill out the fields – Date Closed, Close Reason, and Comments – on the lower part of the Work Order Details panel.
- Save the changes in the Consumption Sites record.
- Via the Status field:
- Open the Consumption Sites record.
- Navigate to the Work Orders tab. Select the work order that needs to be closed.
- Select ‘Closed’ from the Status combo box list.
If there are To Do Items that are not yet completed, then this message will be displayed. Select Yes to this confirmation message.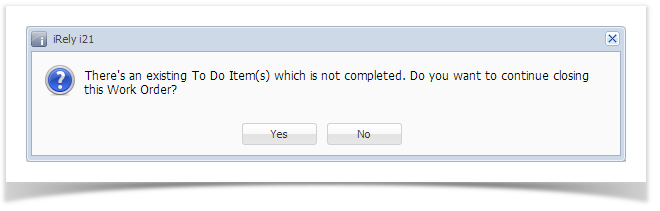
- Fill out the fields – Date Closed, Close Reason, and Comments – on the lower part of the Work Order Details panel. Close Reason field is required.
Save the changes in the Consumption Sites record.
Here is a sample closed work order.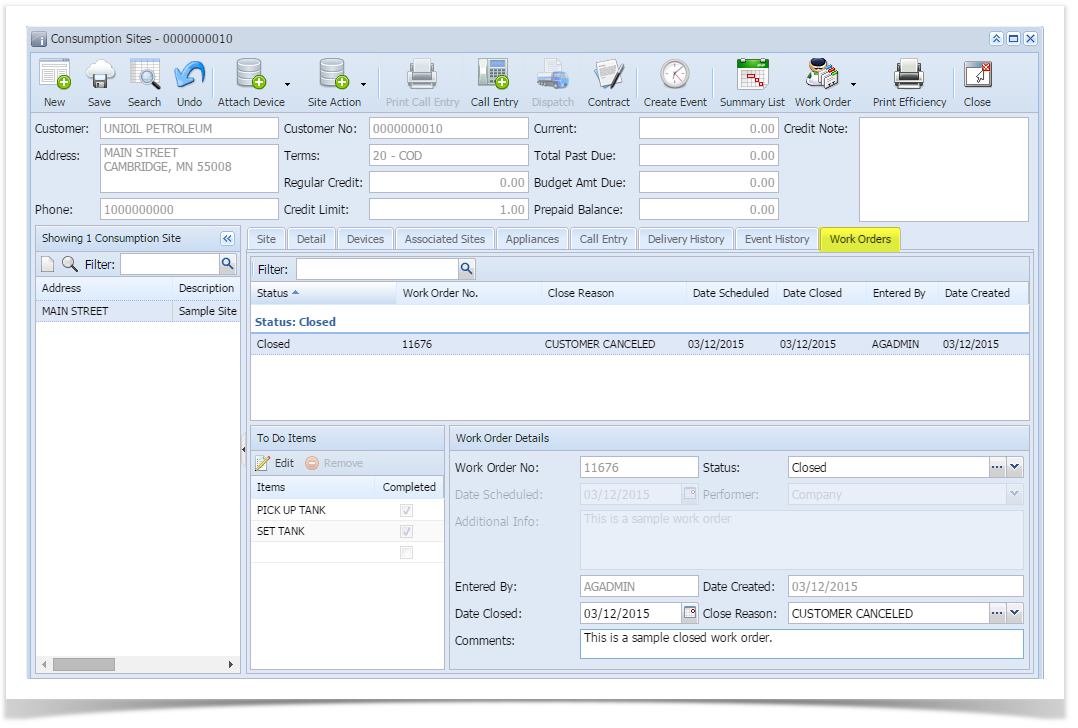
Generally, these are what happens during closing of work order.
- In grid area, the work order will be moved from Status: Open to Status: Closed group. The Date Closed field (grid area) will be auto-populated.
- The Status field will automatically set to Close.
- Date Scheduled, Performer, and Additional Info fields will be disabled.
- The Date Closed field will be enabled and will default to the system date when the work order was closed.
- The Close Reason field will be enabled and will show blank by default. Select a reason from Close Reason combo box list. If the reason is not on the list, you can add it to Close Reason screen. Note that this is a required field.
- Comments field will be enabled. This is where you can enter comments provided by the performer, or more info on why the work order is closed. This field is optional.
- Via the Close Work Order toolbar button:
- Open the Consumption Sites record.
- Navigate to the Work Orders tab. Select the work order that needs to be closed.
- Click the Work Order > Close Work Order toolbar button.
If there are To Do Items that are not yet completed, then this message will be displayed. Select Yes to this confirmation message. - Fill out the fields – Date Closed, Close Reason, and Comments – on the lower part of the Work Order Details panel.
- Save the changes in the Consumption Sites record.
- Via the Status field:
- Open the Consumption Sites record.
- Navigate to the Work Orders tab. Select the work order that needs to be closed.
- Select ‘Closed’ from the Status combo box list.
If there are To Do Items that are not yet completed, then this message will be displayed. Select Yes to this confirmation message. - Fill out the fields – Date Closed, Close Reason, and Comments – on the lower part of the Work Order Details panel. Close Reason field is required.
Save the changes in the Consumption Sites record.
Overview
Content Tools