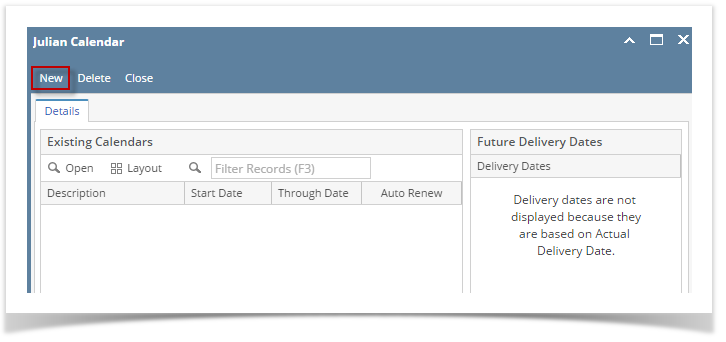
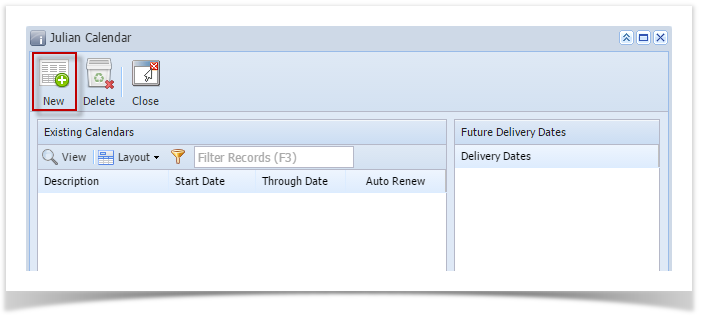
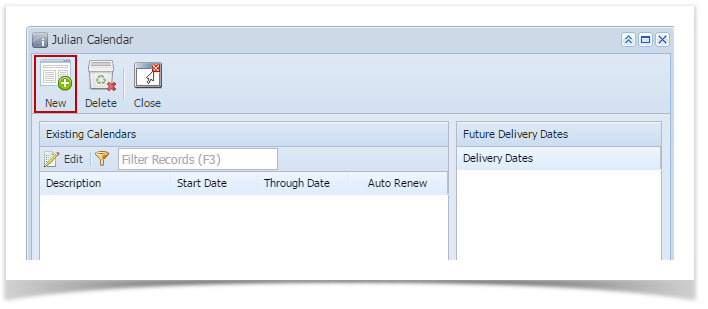
- Open the Julian Calendar screen.
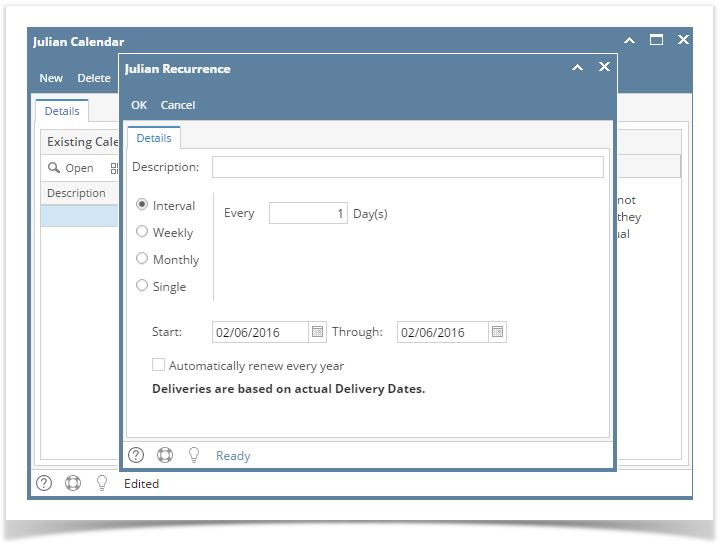
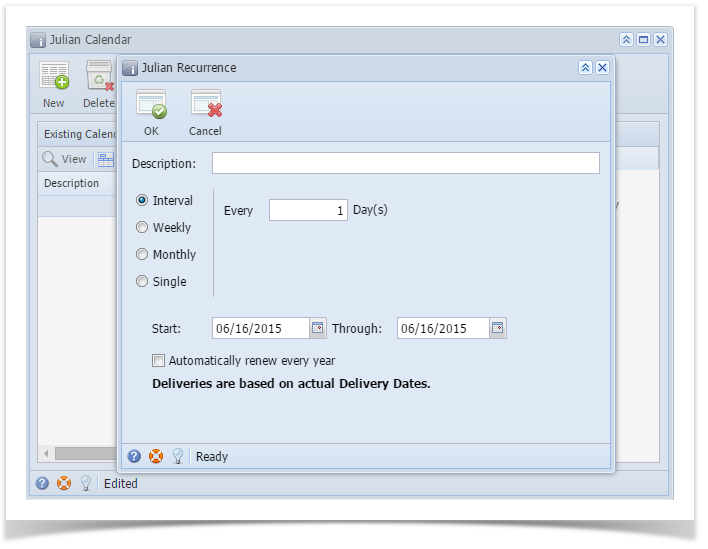
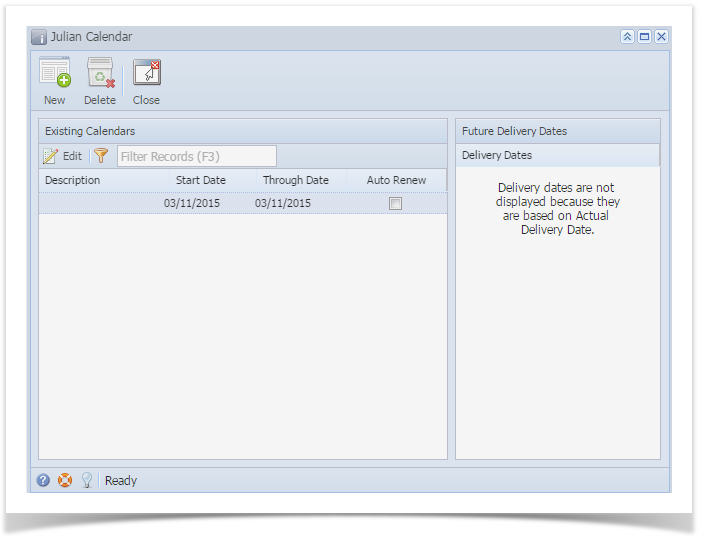
- Click the New toolbar button. This will open the Julian Recurrence screen. By default, the grid will display the system's date in Start and Through dates and frequency is set to Interval. Refer to Julian Recurrence for the field description.
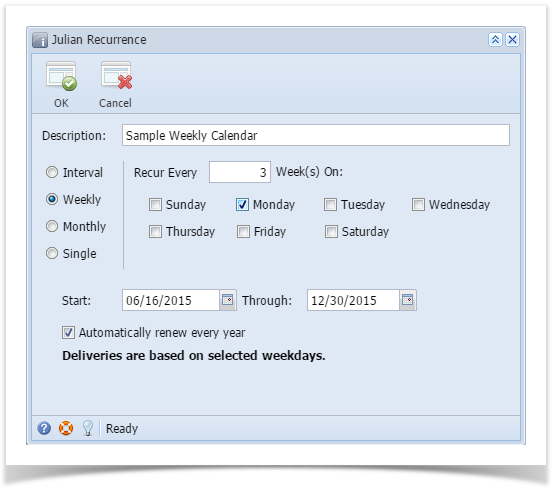
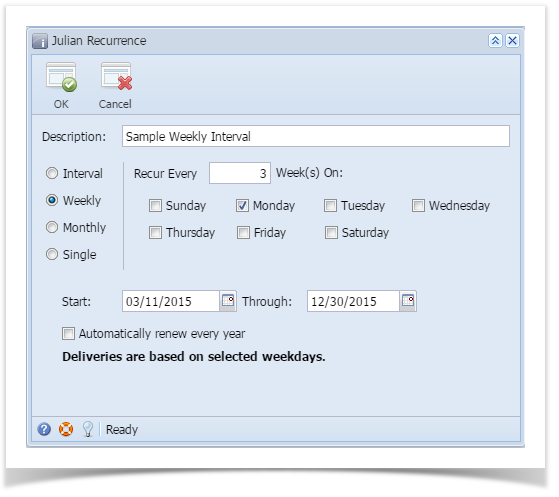
- Enter the calendar Description.
- Tick the Weekly radio button.
- Enter the other details like the delivery frequency, delivery day, Start date, and Through date.
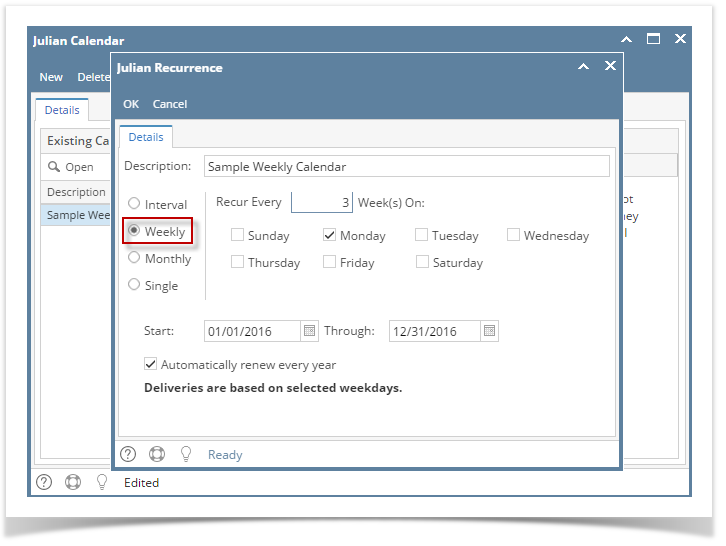
- If you want to use this same calendar in the future, select the ‘Automatically renew every year’ option.
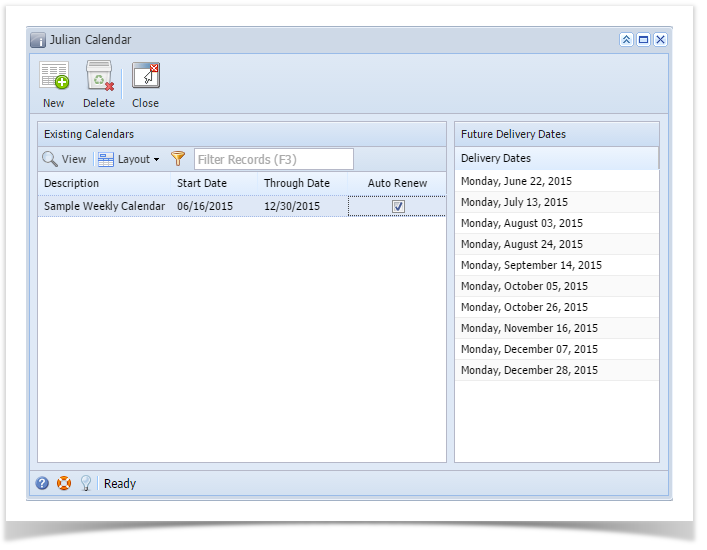
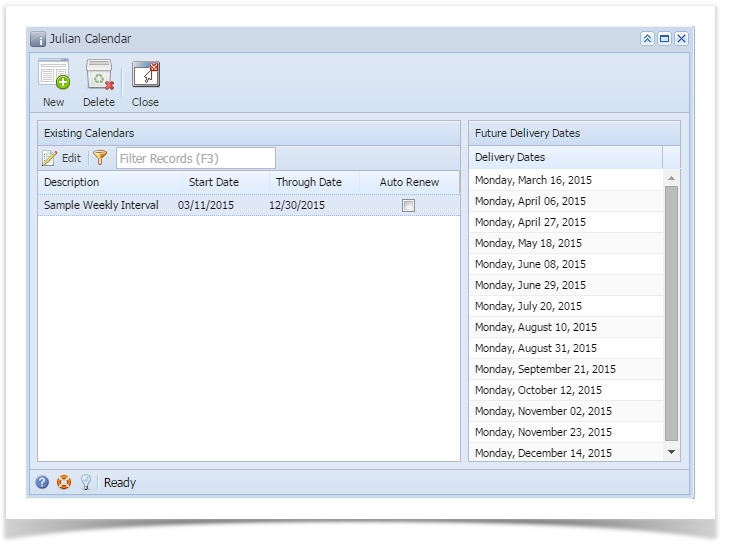
- Click the OK button. The newly created calendar will be displayed in the Existing Calendars grid on the Julian Calendar screen. And its future deliveries will be displayed in the Future Delivery Dates grid.
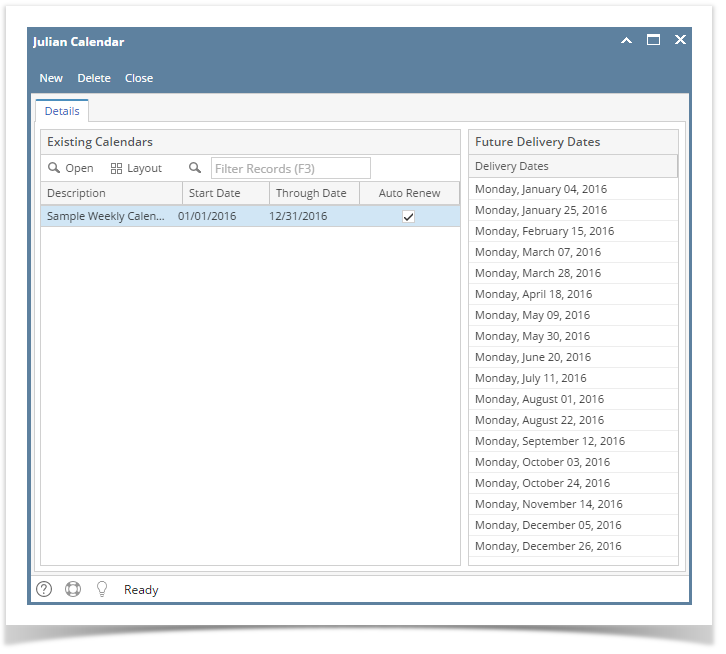
- Close the Julian Calendar screen.
- Save the changes in the Consumption Sites screen.
- Open the Julian Calendar screen.
- Click the New toolbar button. This will open the Julian Recurrence screen. By default, the grid will display the system's date in Start and Through dates and frequency is set to Interval. Refer to Julian Recurrence for the field description.
- Enter the calendar Description.
- Tick the Weekly radio button.
- Enter the other details like the delivery frequency, delivery day, Start date, and Through date.
- If you want to use this same calendar in the future, select the ‘Automatically renew every year’ option.
- Click the OK button. The newly created calendar will be displayed in the Existing Calendars grid on the Julian Calendar screen. And its future deliveries will be displayed in the Future Delivery Dates grid.
- Close the Julian Calendar screen.
- Save the changes in the Consumption Sites screen.
- Open the Julian Calendar screen.
- Click the New toolbar button. This will open the Julian Recurrence screen. By default, the grid will display the system's date in Start and Through dates. Refer to Julian Recurrence for the field description.
- Enter the calendar Description.
- Tick the Weekly radio button.
- Enter the other details like the delivery frequency, delivery day, Start date, and Through date.
- If you want to use this same calendar in the future, select the ‘Automatically renew every year’ option.
- Click the OK button. The newly created calendar will be displayed in the Existing Calendars grid on the Julian Calendar screen. And its future deliveries will be displayed in the Future Delivery Dates grid.
- Close the Julian Calendar screen.
- Save the changes in the Consumption Sites screen.
Overview
Content Tools