- On the user’s menu panel go to Common Info folder then click Approval List
- If there are existing records, Search Approval List screen will open
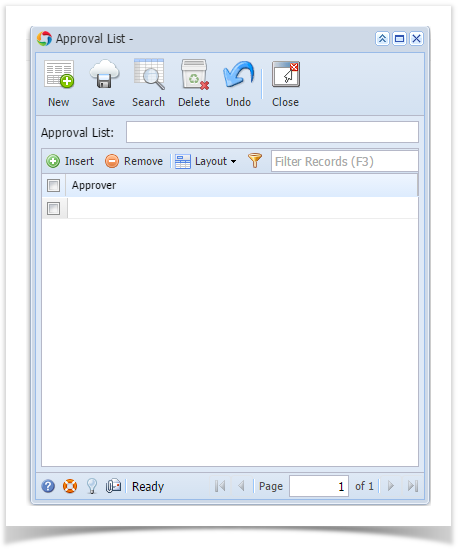
- If there are no existing record, the new Approval List screen will open
- From Search Approval List screen click New toolbar button
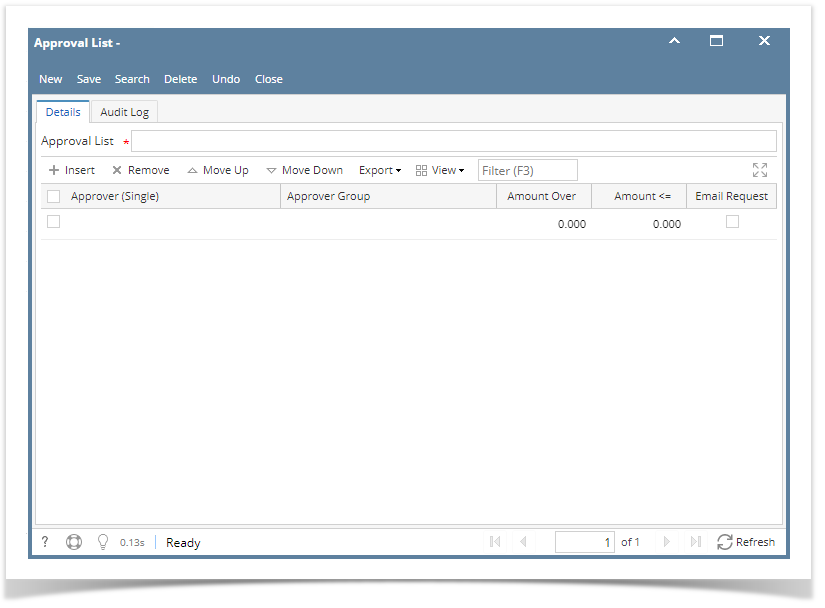
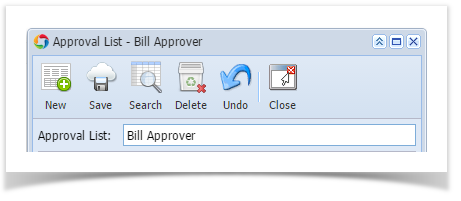
- Enter the Approval List name
- Fill in the appropriate Approver (Single), Approver Group, Amount Over, Amount Equal to or Less than and Email Request
- Approver (Single) - User entity set in a Vendor to approve vouchers.
- If there is already a single approver in a row, Approver Group should be disabled
- Approver Group - If the approver is a group, any of the users in the group can approve the transaction
- Amount Over - Amount to approve by the approver
- Amount Equal to or Less than - Amount to approve by the approver
- Email Request - When a transaction is set for approval, approver/s will receive an email notification that he/she has Vouchers to approve
- Approver (Single) - User entity set in a Vendor to approve vouchers.
- If the Email Request is checked, but the Approver does not have an email address, the system will prompt the user if he/she would like to add an email address
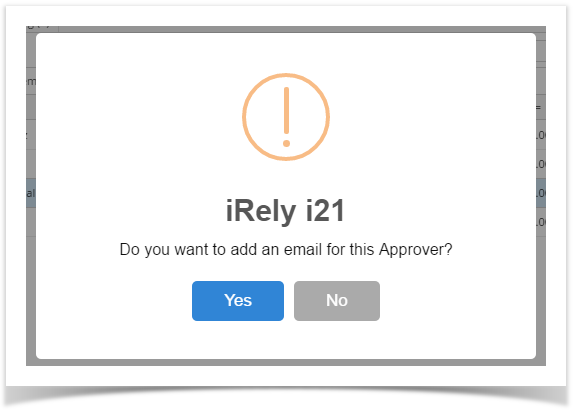
- If the Yes button is clicked, User Entity screen will open to be able to add the email address.
- If the No button is clicked, Email Request will not be marked as checked
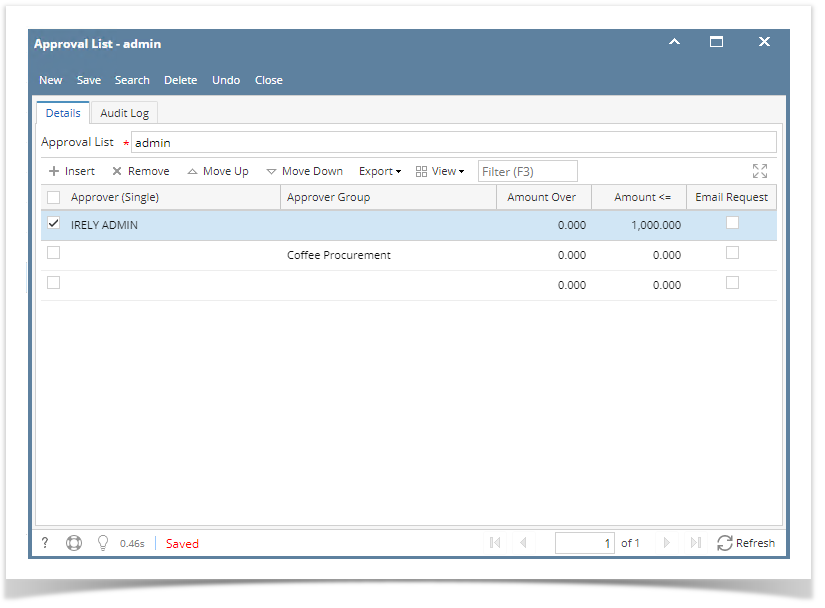
- Click Save toolbar button to save the setup
- On the user’s menu panel go to Common Info folder then click Approval List
- If there are existing records, Search Approval List screen will open
- If there are no existing record, the new Approval List screen will open
- From Search Approval List screen click New toolbar button
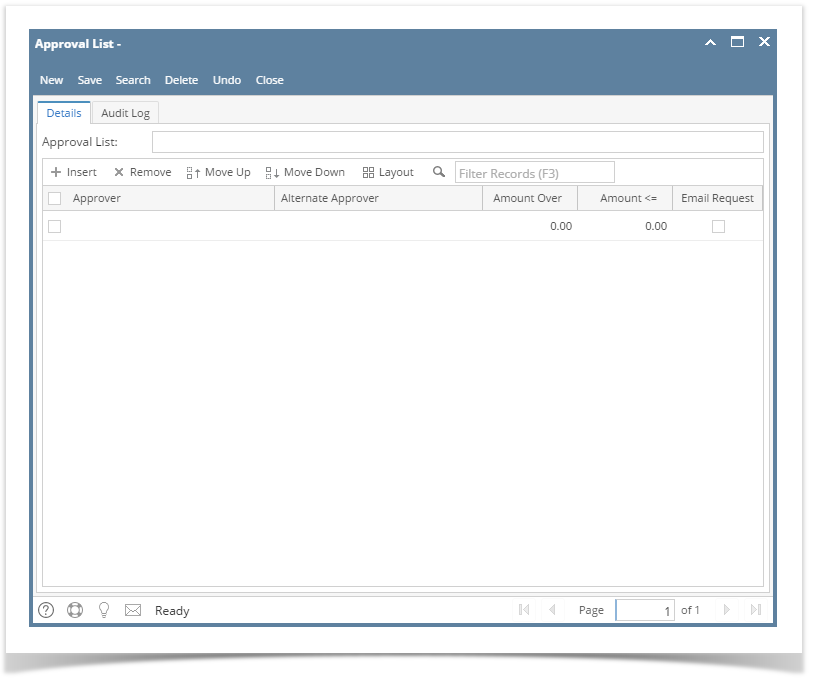
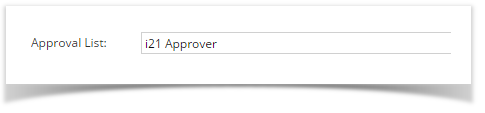
- Enter the Approval List name
- Fill in the appropriate Approver, Alternate, Amount Over, Amount Equal to or Less than and Email Request
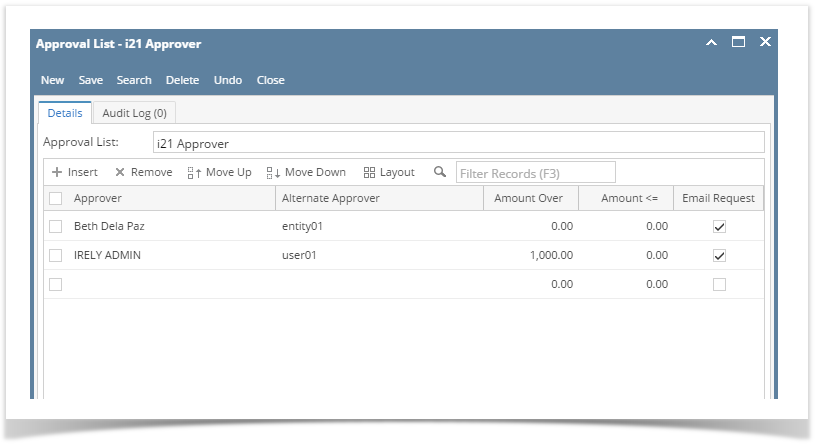
- Approver - User entity set in a Vendor to approve vouchers
- Alternate Approver - If the primary approver was unable to update the status, the Alternate approver can approve
- Amount Over - Amount to approve by the approver
- Amount Equal to or Less than - Amount to approve by the approver
- Email Request - When a transaction is set for approval, approver/s will receive an email notification that he/she has Vouchers to approve
- If the Email Request is checked, but the Approver does not have an email address, the system will prompt the user if he/she would like to add an email address
- If the Yes button is clicked, User Entity screen will open to be able to add the email address.
- If the No button is clicked, Email Request will not be marked as checked
- Click Save toolbar button to save the setup
- On the user’s menu panel go to Common Info folder then click Approval List
- If there are existing records, Search Approval List screen will open
- If there are no existing record, the new Approval List screen will open
- From Search Approval List screen click New toolbar button
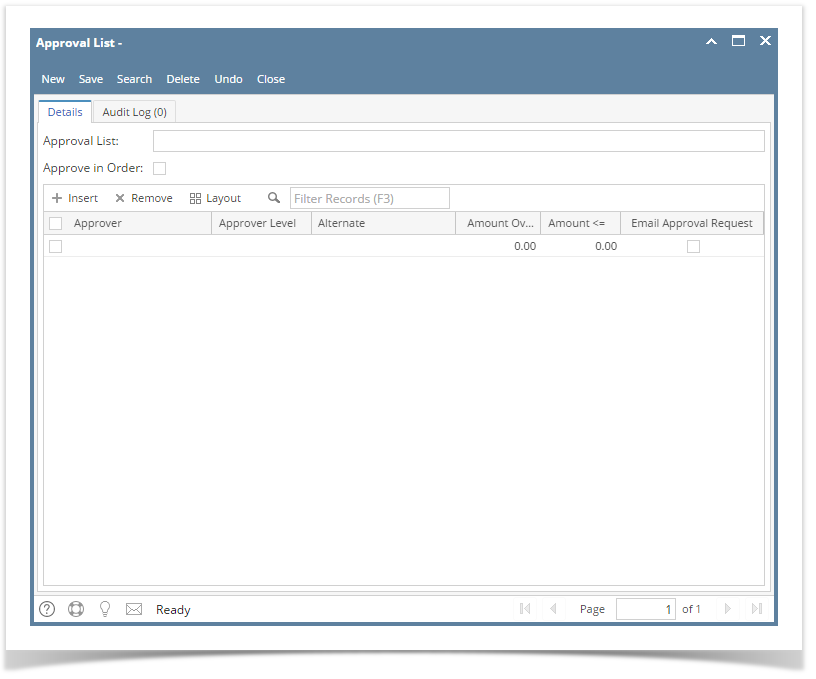
- Enter the Approval List name
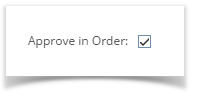
- Tick Approve in Order check box. Approve in Order shows that approvals are done one by one
- Fill in the appropriate Approver, Approver Level, Alternate, Amount Over, Amount Equal to or Less than and Email Approval Request
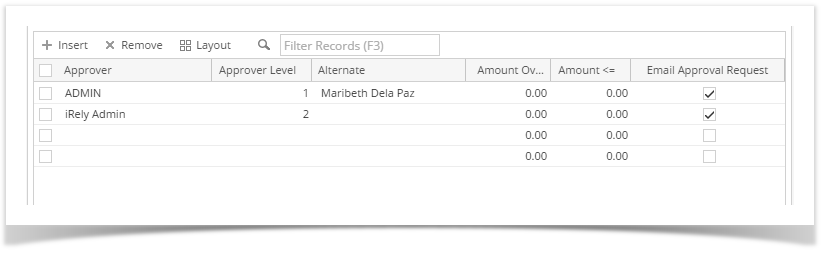
- Approver - User entity set in a Vendor to approve vouchers
- Approver Level - indicates who should approve first
- Alternate - If the primary approver was unable to update the status, the Alternate approver can approve
- Amount Over - Amount to approve by the approver
- Amount Equal to or Less than - Amount to approve by the approver
- Email Approval Request - When a voucher is set for approval, approver/s will receive an email notification that he/she has Vouchers to approve
- If the Email Approval Request is checked, but the Approver does not have an email address, the system will propmt the user if he/she would like to add an email address
- If the Yes button is clicked, User Entity screen will open to be able to add the email address.
- If the No button is clicked, Email Request will not be marked as checked
- Click Save toolbar button
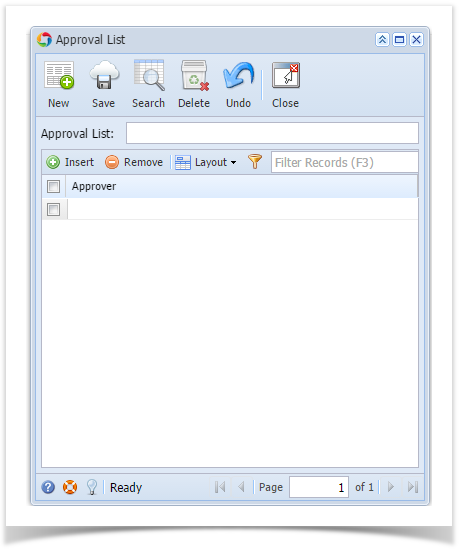
- On the user’s menu panel go to Common Info folder then click Approval List
- If there are existing records, Search Approval List screen will open
- If there are no existing record, the new Approval List screen will open
- From Search Approval List screen click New toolbar button
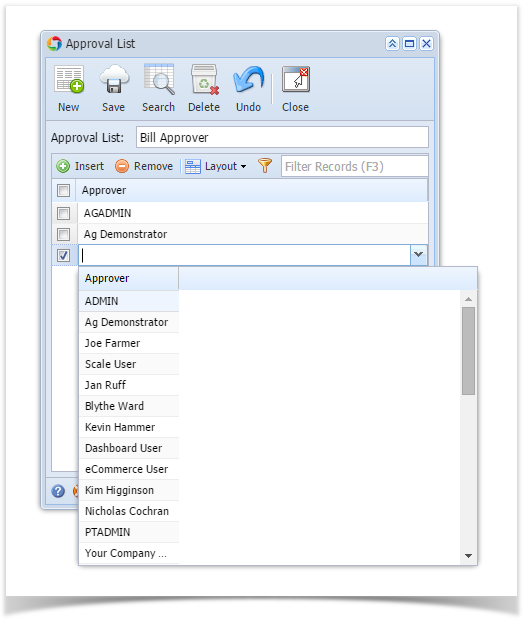
- Enter the Approval List name
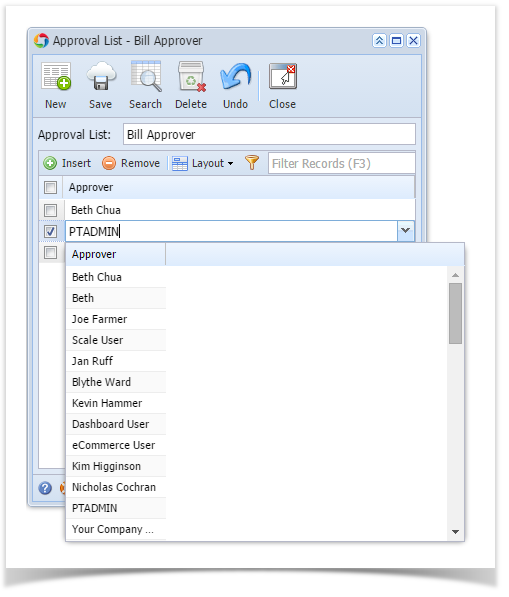
- Click Insert button or click the blank row on the grid to select an approver
- Click Save toolbar button
- On the user’s menu panel go to Common Info folder then click Approval List
- If there are existing records, Search Approval List screen will open
- If there are no existing record, the new Approval List screen will open
- From Search Approval List screen click New toolbar button
- Enter the Approval List name

- Click Insert button or click the blank row on the grid to select an approver
- Click Save toolbar button
Overview
Content Tools