- Via the Consumption Sites screen:
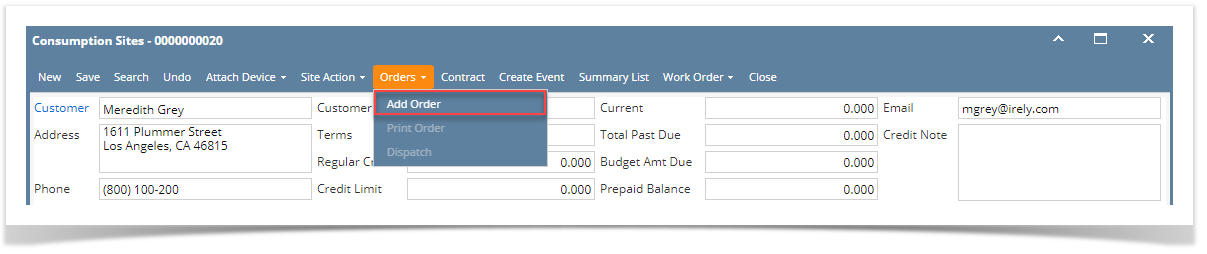
- Open the Consumption Sites record wherein the site has no Call Order. This means that the Add Order button is visible on the toolbar.
- Click the Orders > Add Order toolbar button.
- Via the Generate Orders screen:
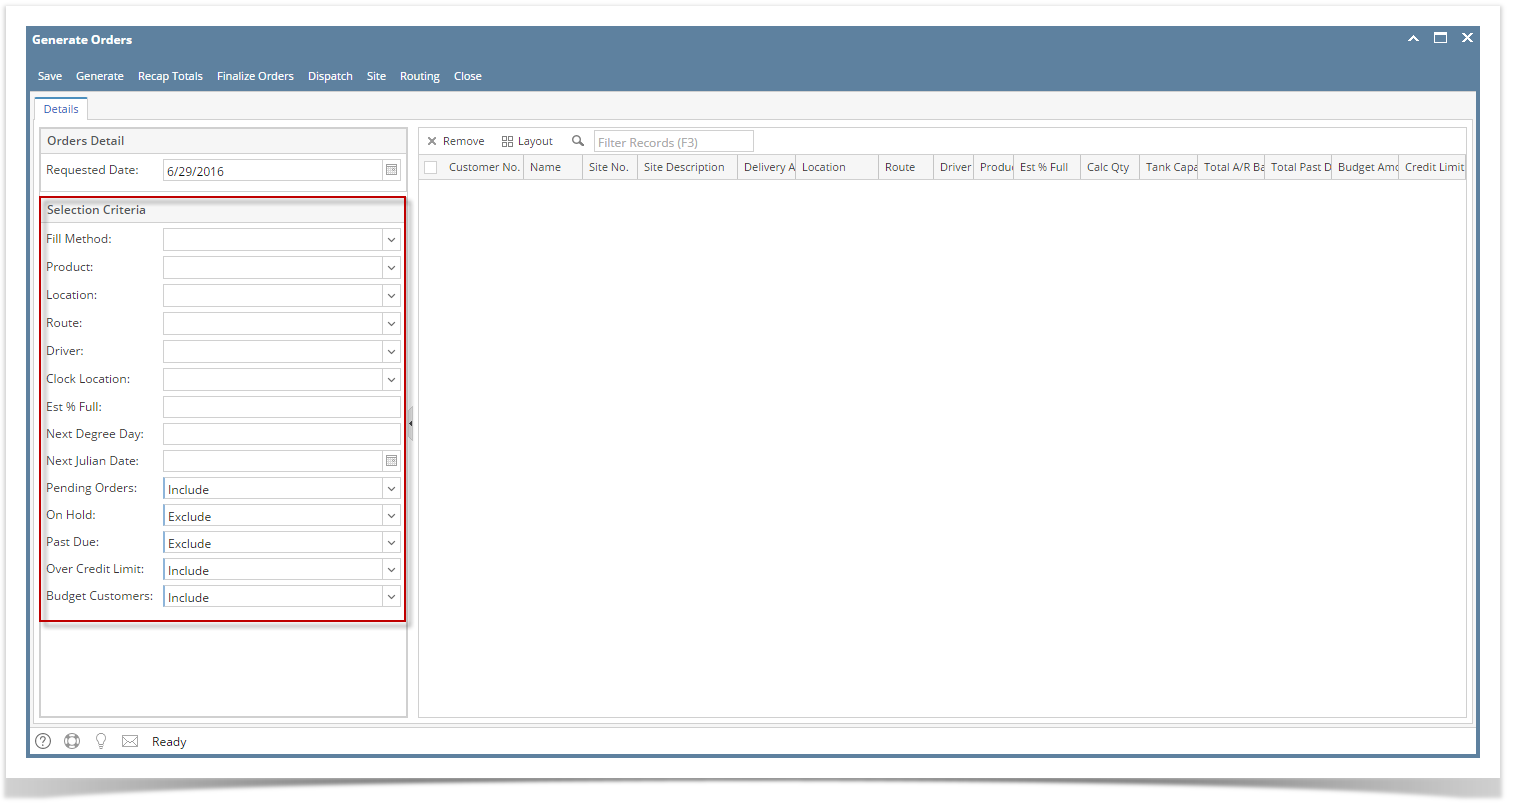
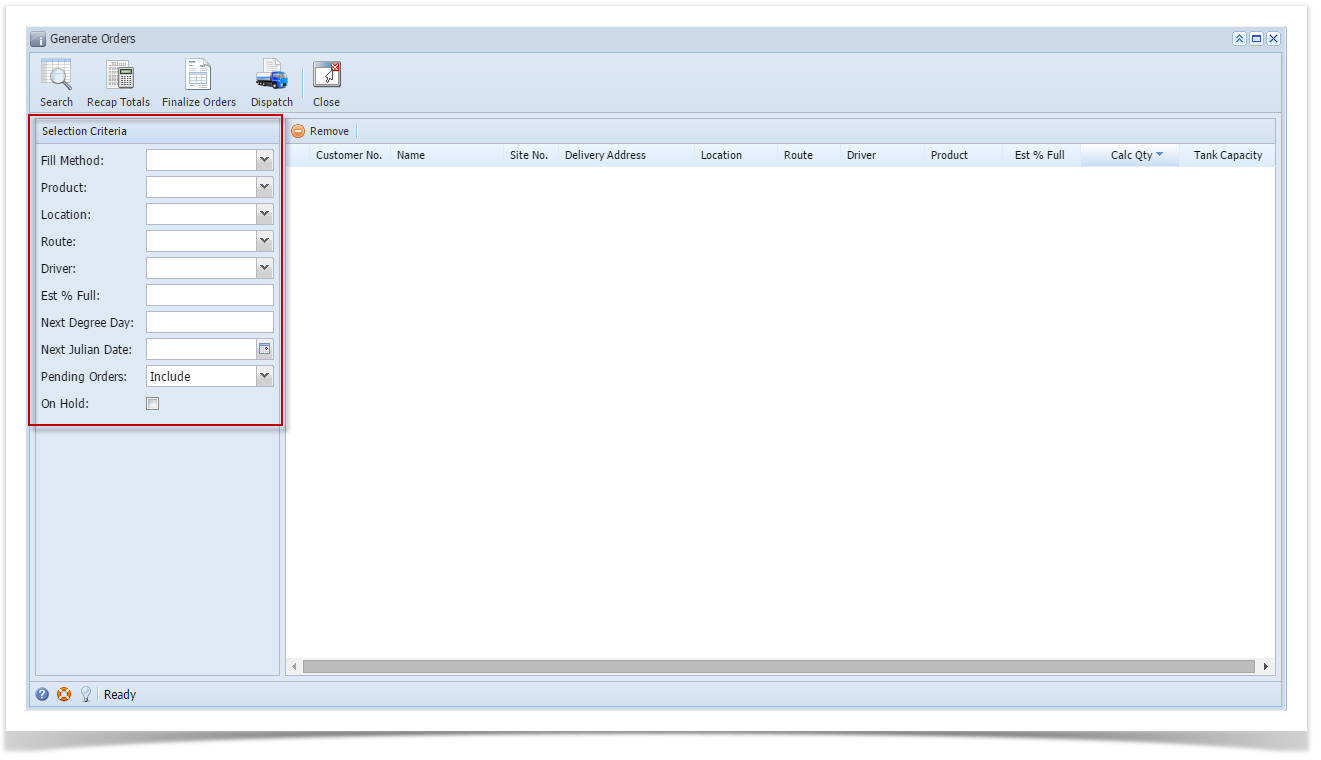
- On the Menu panel, click the Generate Orders menu. This will open the Generate Orders screen.
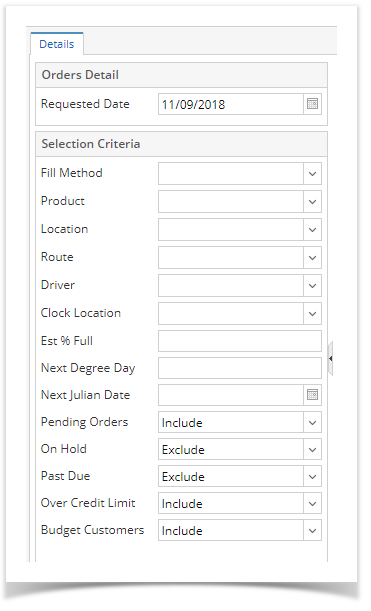
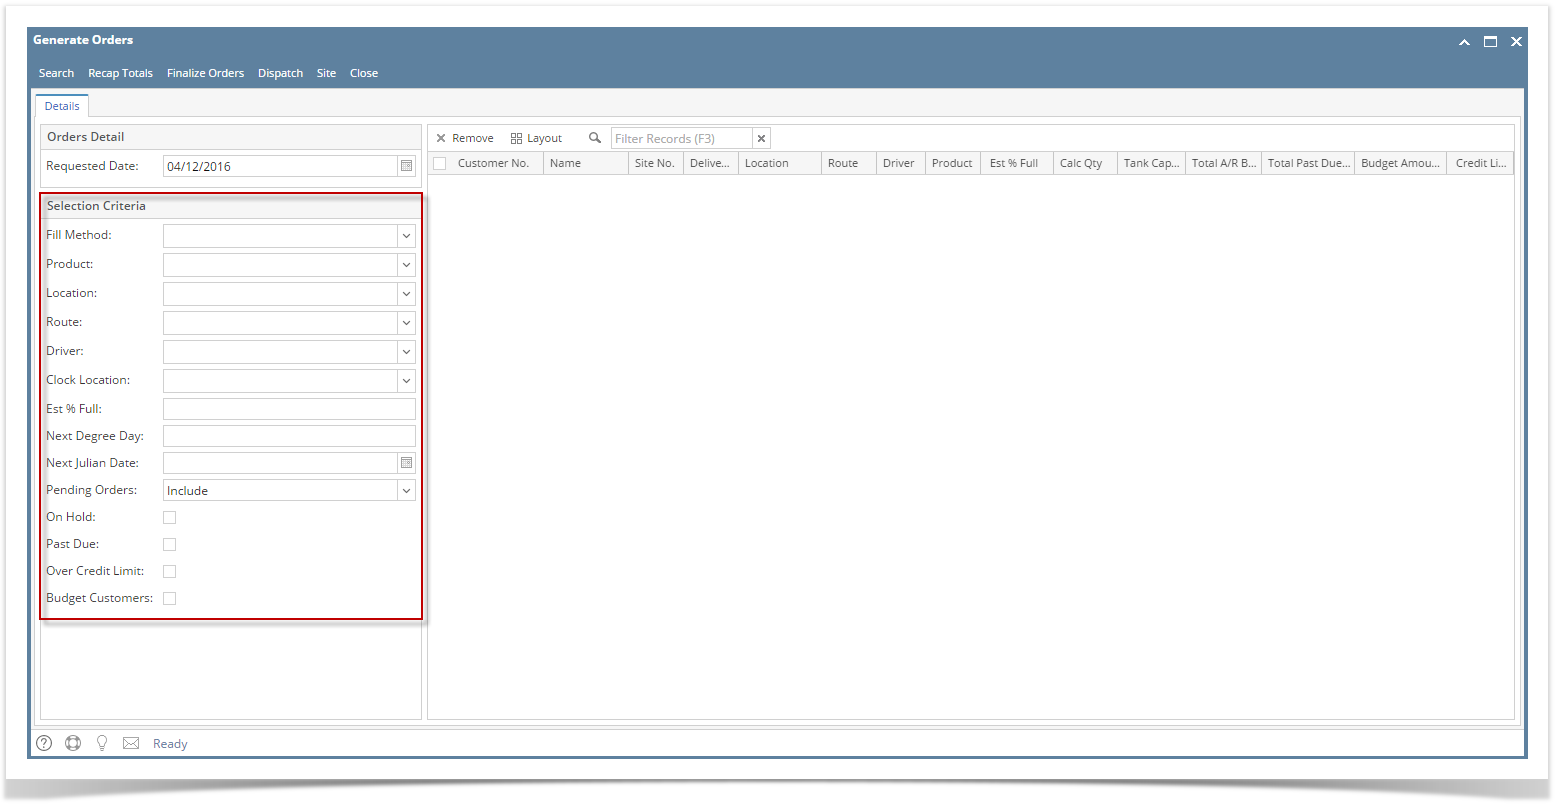
- Filter the records in the grid using the fields in the Selection Criteria panel.
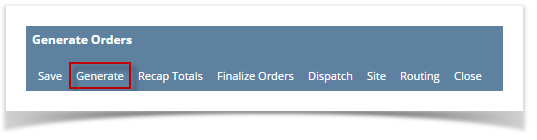
- Click the Generate toolbar button.
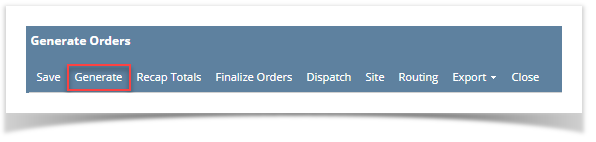
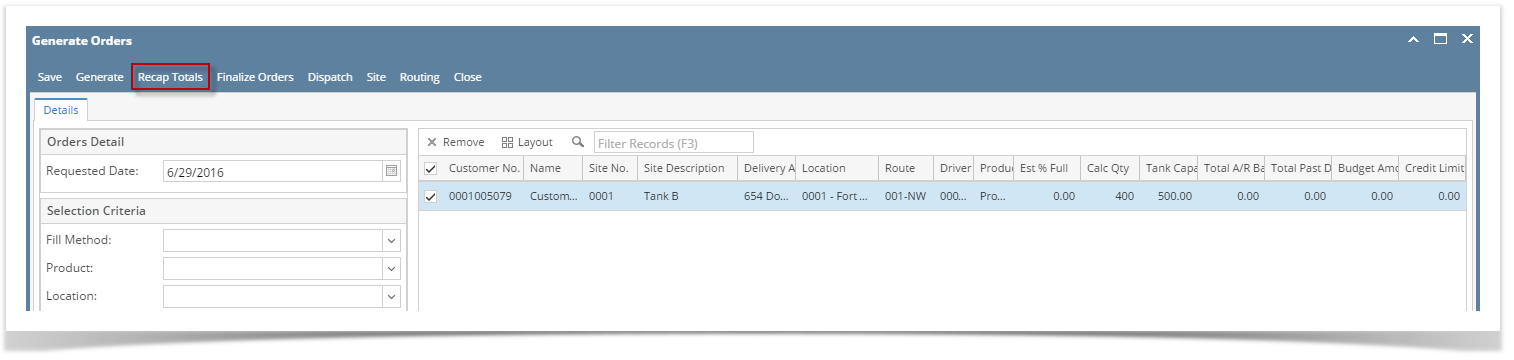
- To review the generated drivers and total number of deliveries and calculated quantity, select the specific customer sites then click the Recap Totals toolbar button.

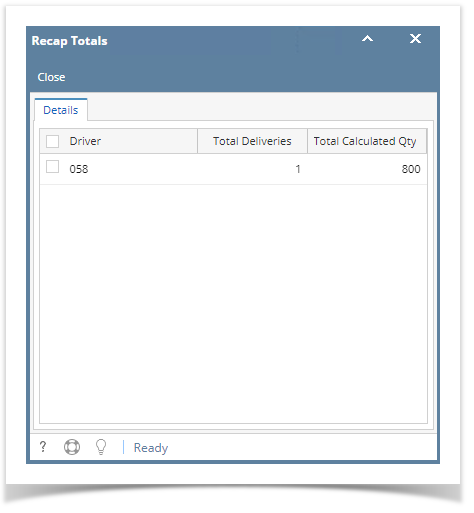
- Recap Totals screen will display. This will list the driver, total deliveries and total calculated quantity of the selected customer sites.
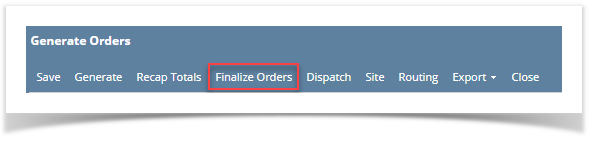
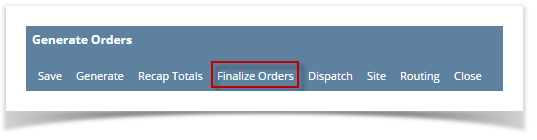
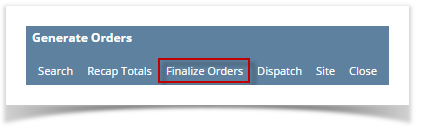
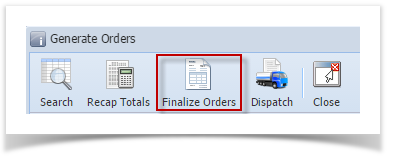
- Select the consumption site record in the grid, and then click the Finalize Orders toolbar button. This will create orders on the selected records.
- Via the Consumption Sites screen:
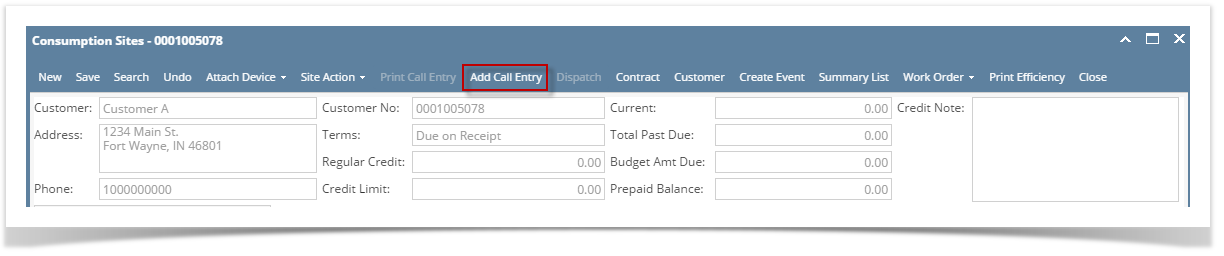
- Open the Consumption Sites record wherein the site has no Call Entry. This means that the Add Call Entry button is visible on the toolbar.
- Click the Add Call Entry toolbar button.

- Via the Generate Orders screen:
- On the Menu panel, click the Generate Orders menu. This will open the Generate Orders screen.
- Filter the records in the grid using the fields in the Selection Criteria panel.
- Click the Generate toolbar button.
- To review the generated drivers and total number of deliveries and calculated quantity, select the specific customer sites then click the Recap Totals toolbar button.
- Recap Totals screen will display. This will list the driver, total deliveries and total calculated quantity of the selected customer sites.

- Select the consumption site record in the grid, and then click the Finalize Orders toolbar button. This will create orders on the selected records.
- Via the Consumption Sites screen:
- Open the Consumption Sites record wherein the site has no Call Entry. This means that the Add Call Entry button is visible on the toolbar.
- Click the Add Call Entry toolbar button.
- Via the Generate Orders screen:
- On the Menu panel, click the Generate Orders menu. This will open the Generate Orders screen.
- Filter the records in the grid using the fields in the Selection Criteria panel.
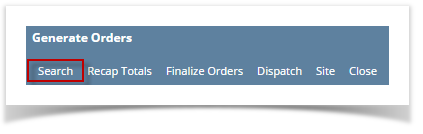
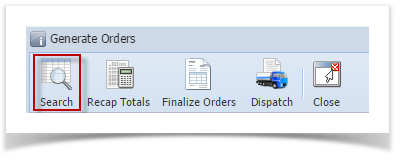
- Click the Search toolbar button.
- Select the consumption site record in the grid, and then click the Finalize Orders toolbar button.
- Via the Consumption Sites screen:
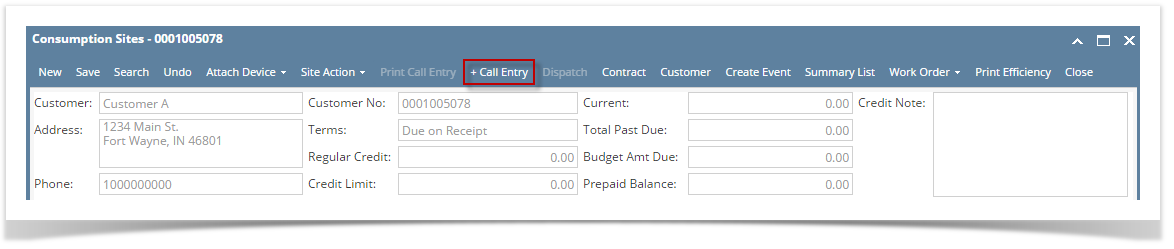
- Open the Consumption Sites record wherein the site has no Call Entry. This means that the Call Entry button has a + sign on its icon.
- Click the +Call Entry toolbar button.
- Via the Generate Orders screen:
- On the Menu panel, click the Generate Orders menu. This will open the Generate Orders screen.
- Filter the records in the grid using the fields in the Selection Criteria panel.
- Click the Search toolbar button.
- Select the consumption site record in the grid, and then click the Finalize Orders toolbar button.
- Via the Consumption Sites screen:
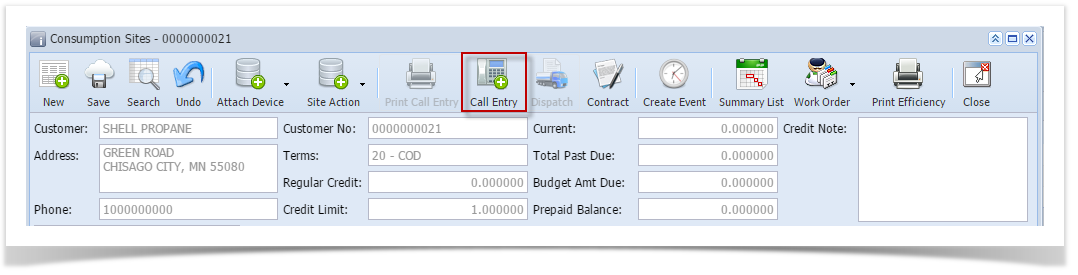
- Open the Consumption Sites record wherein the site has no Call Entry. This means that the Call Entry button has a + sign on its icon.
- Click the Call Entry toolbar button.
- Via the Generate Orders screen:
- On the Menu panel, click the Generate Orders menu. This will open the Generate Orders screen.
- Filter the records in the grid using the fields in the Selection Criteria panel.
- Click the Search toolbar button.
- Select the consumption site record in the grid, and then click the Finalize Orders toolbar button.
Overview
Content Tools