- Welcome Screen
- Select Installation folder.
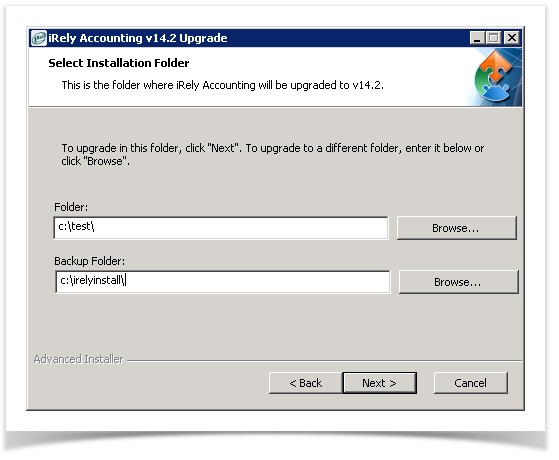
- Install Folder - By default, Install Folder field will display D:\irely\. Click Browse to change the folder path.
- Backup Folder - By default, Backup Folder field will display D:\irelyinstall\. Click Browse to change the folder path.
NOTE: Make sure that there is a backslash (\) at the end of the path(s).
Create folder "iRely" on the install folder if you will install for 01 and 99. Some of the customers may have another company like 02, 03. This will be configured in "iRely" too.
Create folder "EOM" on the install folder if you will install for EOM.
Create folder "Test" on the install folder if you will install for TE.
- Check list before starting the installation

Above is the check list to make sure, the AG & GA End of Day Process has been completed and all the users out of the iRely Accounting system. - Running Audit process
Click on the 'Install' will first run the data audit process to check the data error that may stop the Data Conversion.
Installer will proceed to the next level only if the audit process is successful, else the below pop up will notify the user, if there is any error occurred in audit process.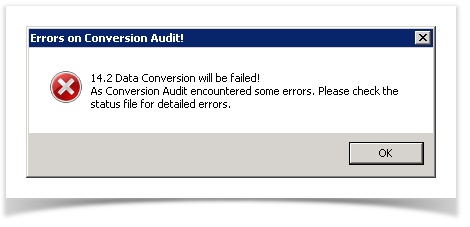
NOTE: Another screen should pop-up with the ssaudit log. Search for "File Status" or EOD errors.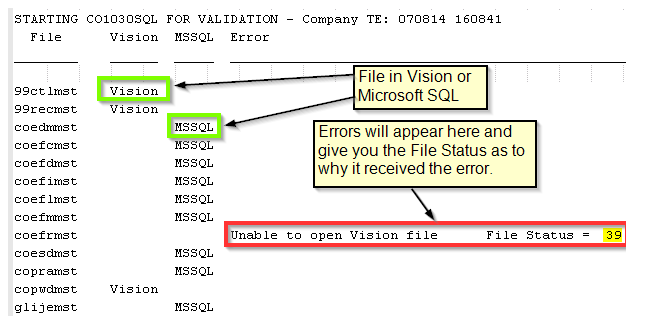
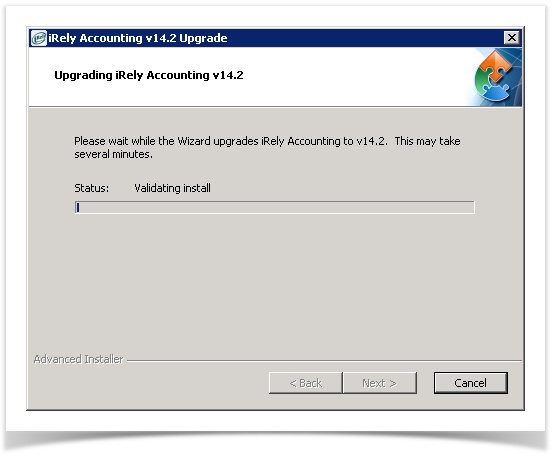
- Installation process screen
- Data Conversion
Once the backup process is completed, the installer will start with the Data Conversion process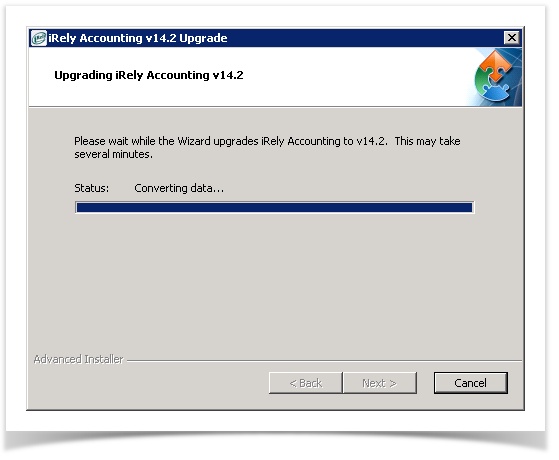
- Conversion Status log
Once the Data Conversion process is completed, it will open the conversion status log to validate the Data conversion.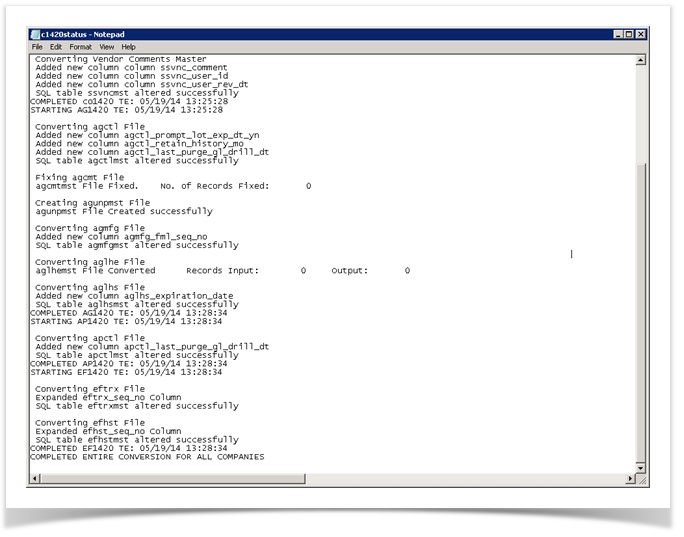
- Confirmation screen.
Overview
Content Tools