There are three ways a customer can have a tax exemption.
Use the Customer's 'Exempt All Taxes' option
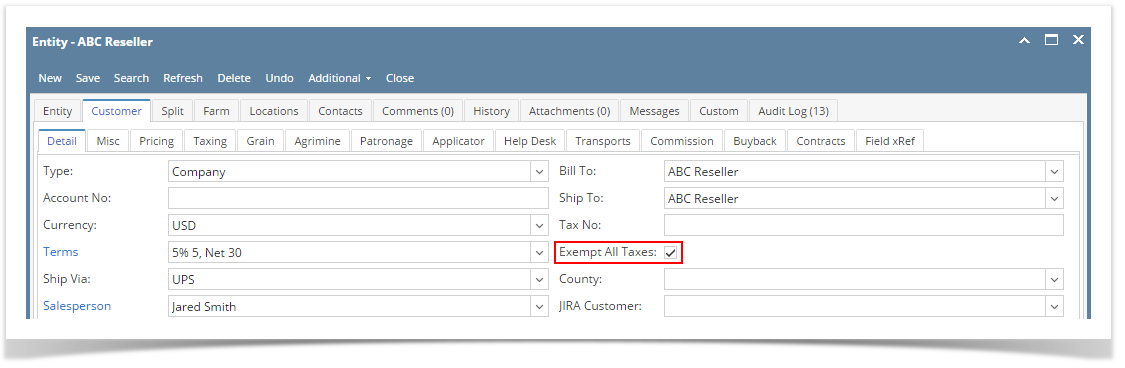
This option will exempt the customer from all taxes regardless of the item setup. Note that Consumption Site tax setup can override this exemption setup.
- Open the customer record and navigate to Customer tab | Detail tab.
- Check the Exempt All Taxes check box button.
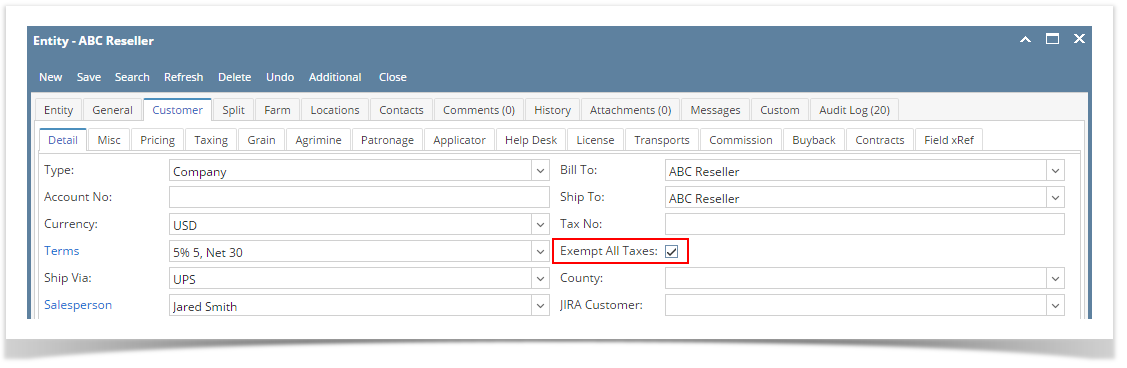
- Save the record.
Use the Customer's Tax Exemption setup
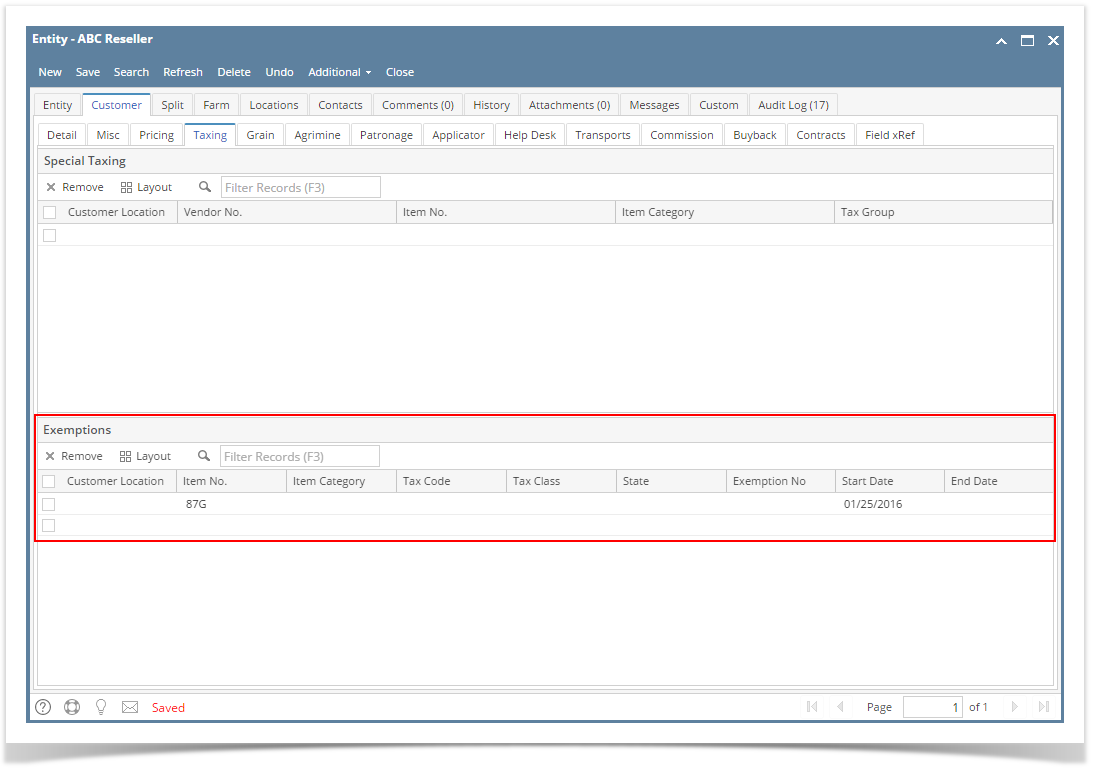
This option will exempt the customer based on the tax exemption details provided.
- Open the customer record and navigate to Customer tab | Taxing tab.
- Fill out the Exemptions grid area. You can be as detailed as you see necessary. Note that Start Date is a required detail.
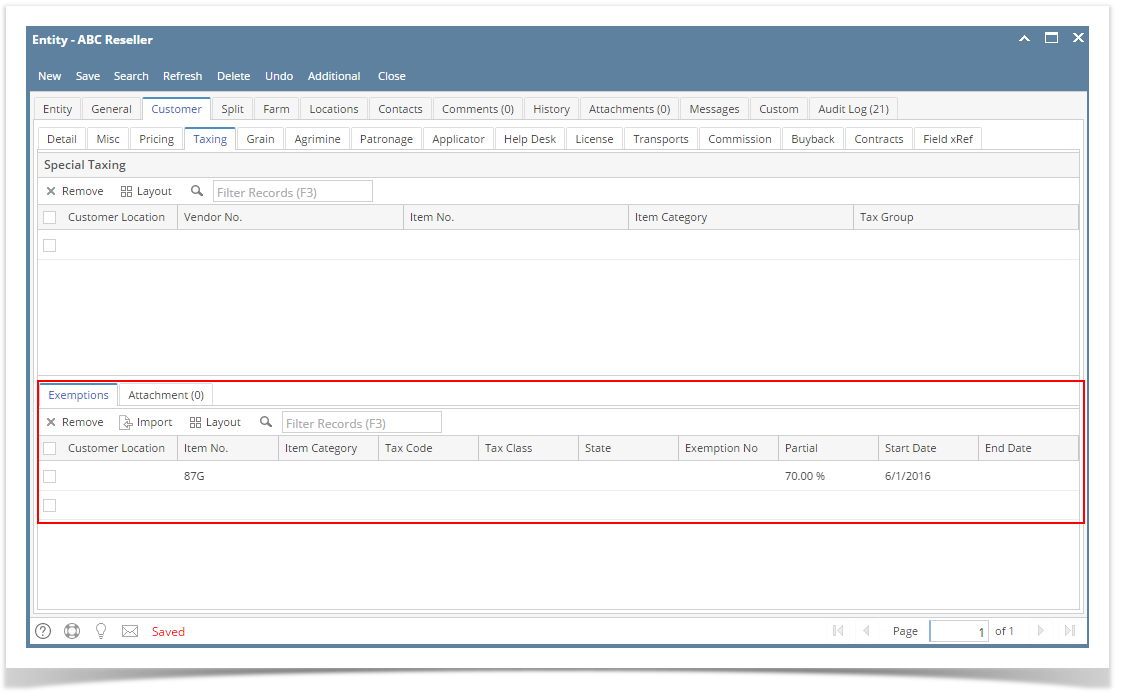
- Customer Location. Use this field to define the customer location to be exempted. Click combo box button and select the location from the list. The list will display active customer locations only. If left blank, the exemption will be applied to all customer locations. This detail is optional.
- Item No. Use this field to define the item to be exempted. Click combo box button and select the item number from the list. If left blank, the exemption will be applied to all items. This detail is optional.
- Tax Code. Use this field to define the tax code to be exempted. Click combo box button and select the tax code from the list. If left blank, the exemption will be applied to all tax codes. This detail is optional.
- Tax Class. Use this field to define the tax class to be exempted. Click combo box button and select the tax class from the list. If left blank, the exemption will be applied to all tax classes. This detail is optional.
- State. Use this field to define the state to be exempted. Click combo box button and select the state from the list. If left blank, the exemption will be applied to all states. This detail is optional.
- Exemption No. Enter a reference number/ info for the exemption. This detail is optional.
- Partial - Enter the partial exemption percentage.
- Start Date. Manually type the date, or click the calendar button and select from the mini-calendar. This detail is required.
- End Date. Use this field to define the date the exemption will expire. Manually type the date, or click the calendar button and select from the mini-calendar. This detail is optional.
- Save the record.
Use the Tax Exempt on Item Taxes screen
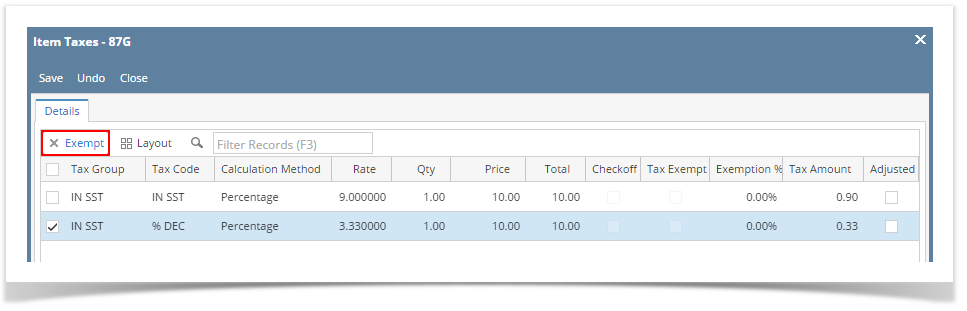
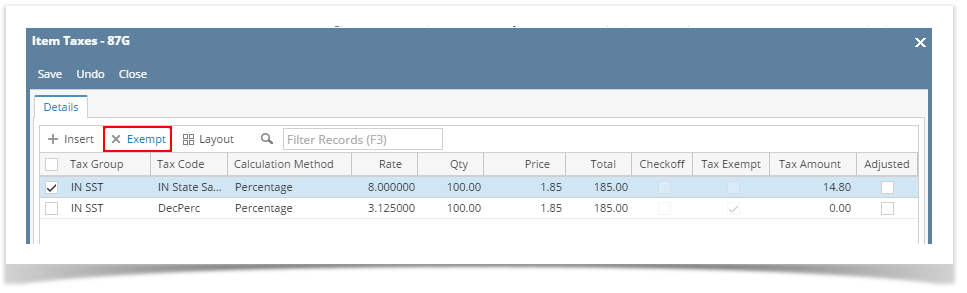
This option will allow you to manually exempt a tax code/s applied to the item.
- On sales transaction, click Tax field of line item to be exempted. This will open the Item Taxes screen.

- Select the tax code/s to be exempted.
- Click the Exempt button.
If you are sure to apply the exemption, click Yes on the confirmation message. Note that this action cannot be reverted once saved.
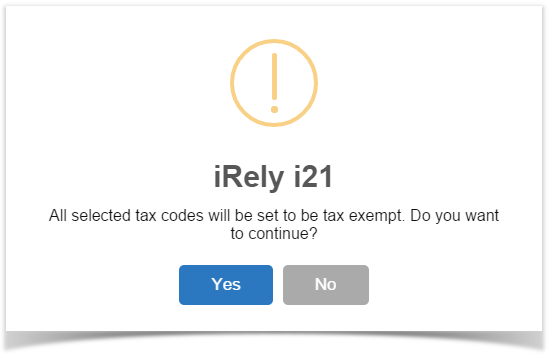
Notice that the Adjusted check box button automatically get checked.- Click Save button. You will be returned to the sales transaction where the Tax amount is already updated.
There are three ways a customer can have a tax exemption.
Use the 'Exempt All Taxes' option
This option will exempt the customer from all taxes regardless of the item setup. Note that Consumption Site tax setup can override this exemption setup.
- Open the customer record and navigate to Customer tab | Detail tab.
- Check the Exempt All Taxes check box button.
- Save the record.
Use the Tax Exemption setup
This option will exempt the customer based on the tax exemption details provided.
- Open the customer record and navigate to Customer tab | Taxing tab.
- Fill out the Exemptions grid area. You can be as detailed as you see necessary. Note that Start Date is a required detail.
- Customer Location. Use this field to define the customer location to be exempted. Click combo box button and select the location from the list. The list will display active customer locations only. If left blank, the exemption will be applied to all customer locations. This detail is optional.
- Item No. Use this field to define the item to be exempted. Click combo box button and select the item number from the list. If left blank, the exemption will be applied to all items. This detail is optional.
- Tax Code. Use this field to define the tax code to be exempted. Click combo box button and select the tax code from the list. If left blank, the exemption will be applied to all tax codes. This detail is optional.
- Tax Class. Use this field to define the tax class to be exempted. Click combo box button and select the tax class from the list. If left blank, the exemption will be applied to all tax classes. This detail is optional.
- State. Use this field to define the state to be exempted. Click combo box button and select the state from the list. If left blank, the exemption will be applied to all states. This detail is optional.
- Exemption No. Enter a reference number/ info for the exemption. This detail is optional.
- Start Date. Manually type the date, or click the calendar button and select from the mini-calendar. This detail is required.
- End Date. Use this field to define the date the exemption will expire. Manually type the date, or click the calendar button and select from the mini-calendar. This detail is optional.
- Save the record.
Use the Tax Exempt on Item Taxes screen
This option will allow you to manually exempt a tax code/s applied to the item.
- On sales transaction, click Tax field of line item to be exempted. This will open the Item Taxes screen.

- Select the tax code/s to be exempted.
- Click the Exempt button.
If you are sure to apply the exemption. click Yes on the confirmation message. Note that this action cannot be reverted.
Notice that the Adjusted check box button automatically get checked.- Click Save button. You will be returned to the sales transaction where the Tax amount is already updated.
Overview
Content Tools