| Description | How To | |
|---|---|---|
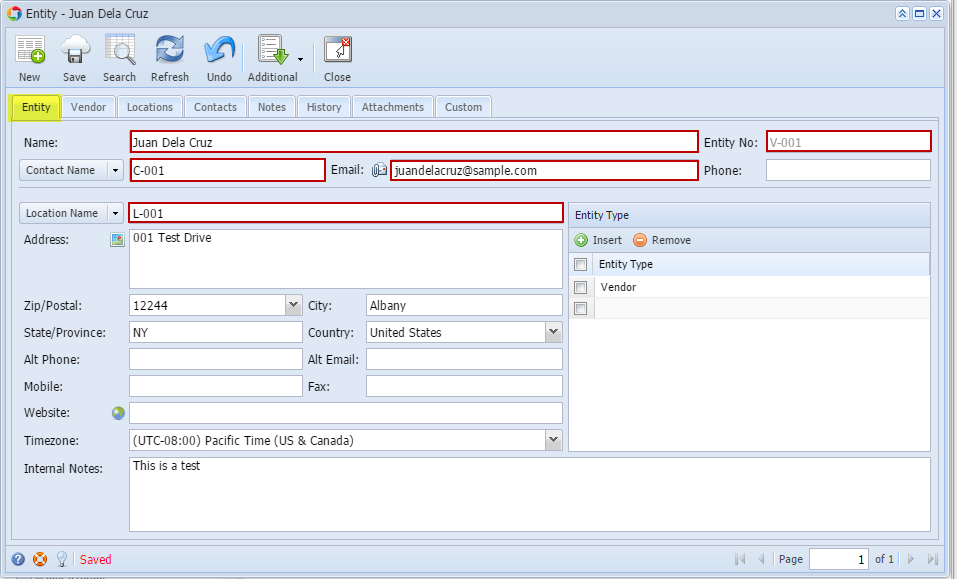
| Go to Purchasing > Vendors > click New button
| |
On Entity Tab enter values on the ff fields:
Fill in the other fields.
| ||
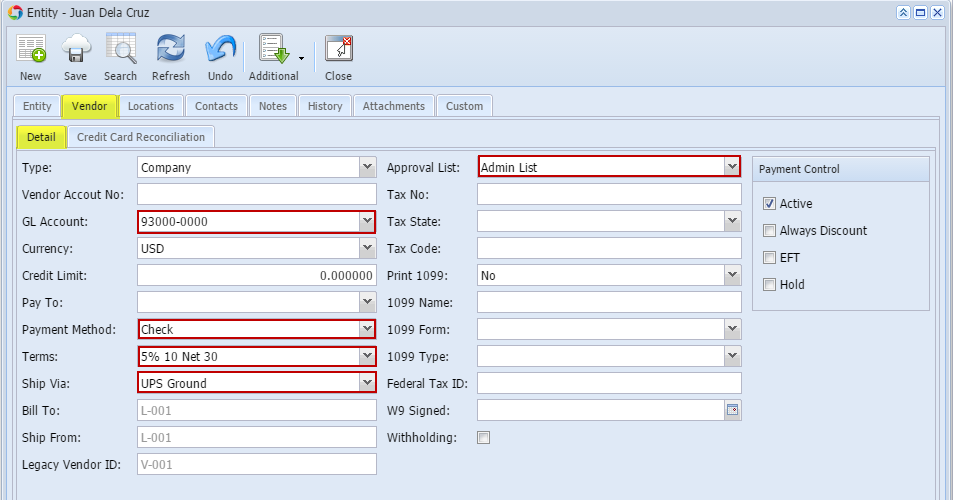
On Vendor Tab > Detail Tab, select values on the ff fields:
Fill in the other fields.
| ||
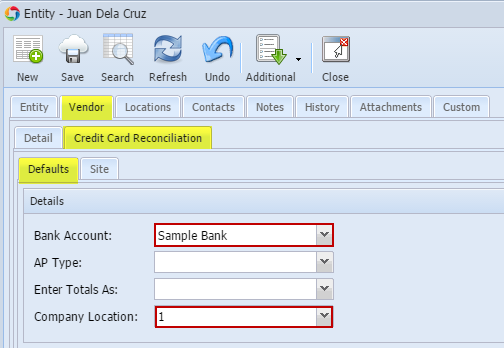
On Vendor Tab > Credit Card Reconciliation Tab > Defaults Tab, select values on the ff fields:
| ||
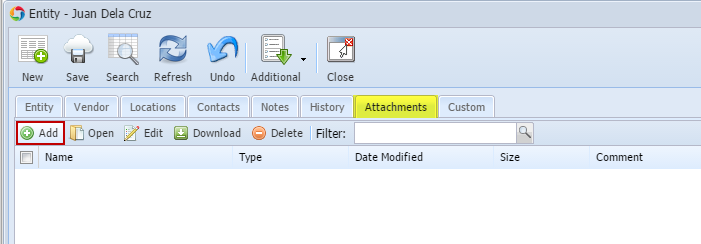
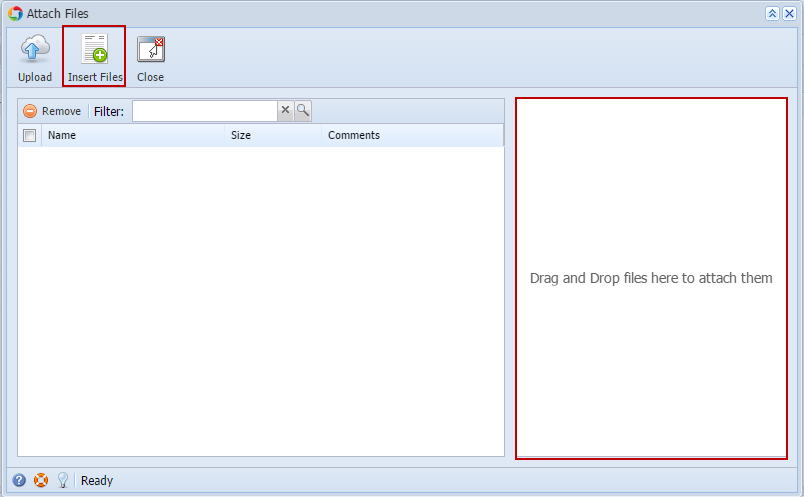
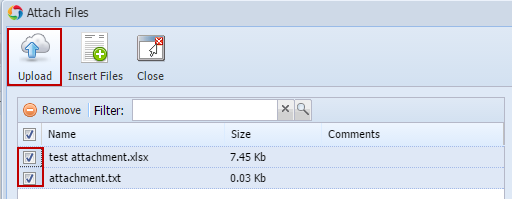
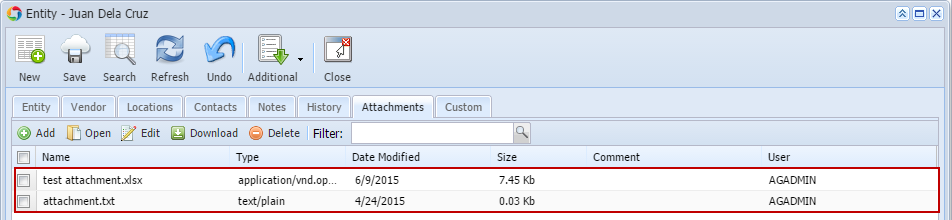
On Attachments Tab, add attachment.
| ||
| Click Save button. | ||
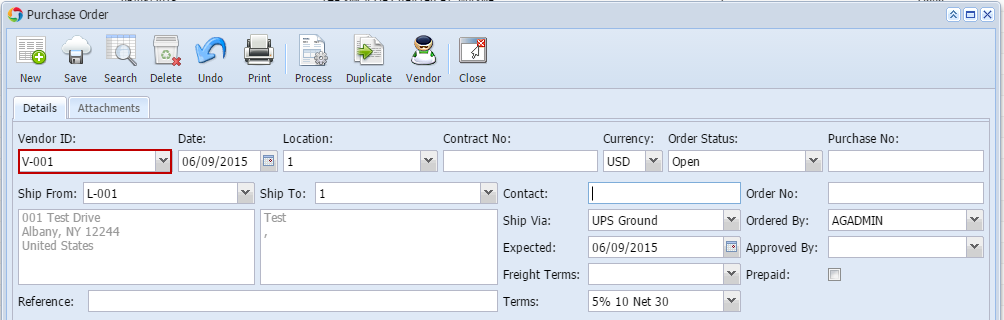
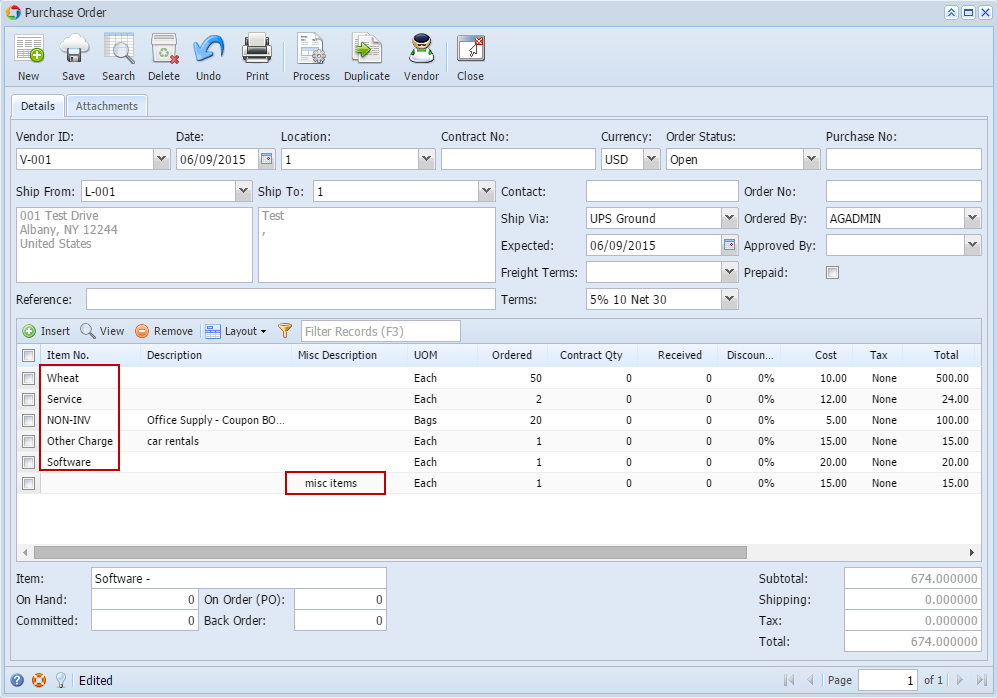
| 2. Create Purchase Order | Go to Purchasing > Purchase Orders > click New button
| |
Select Vendor. Location will display default location.
| ||
Add items in the grid area.
| ||
| Click Process button to create Inventory Receipt. | ||
| 3. Create a bill for the vendor | Use either of 2 ways: via Bills or via Bill Batch Entry screen | |
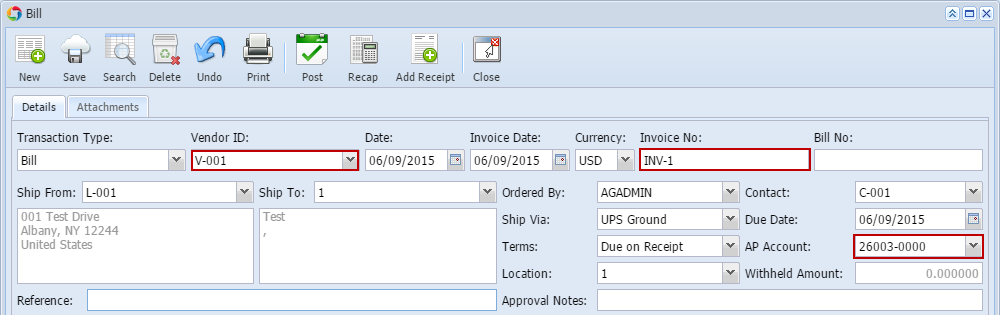
| Via Bills | Go to Purchasing > Bills > click New button
| |
Fill in the ff fields:
| ||
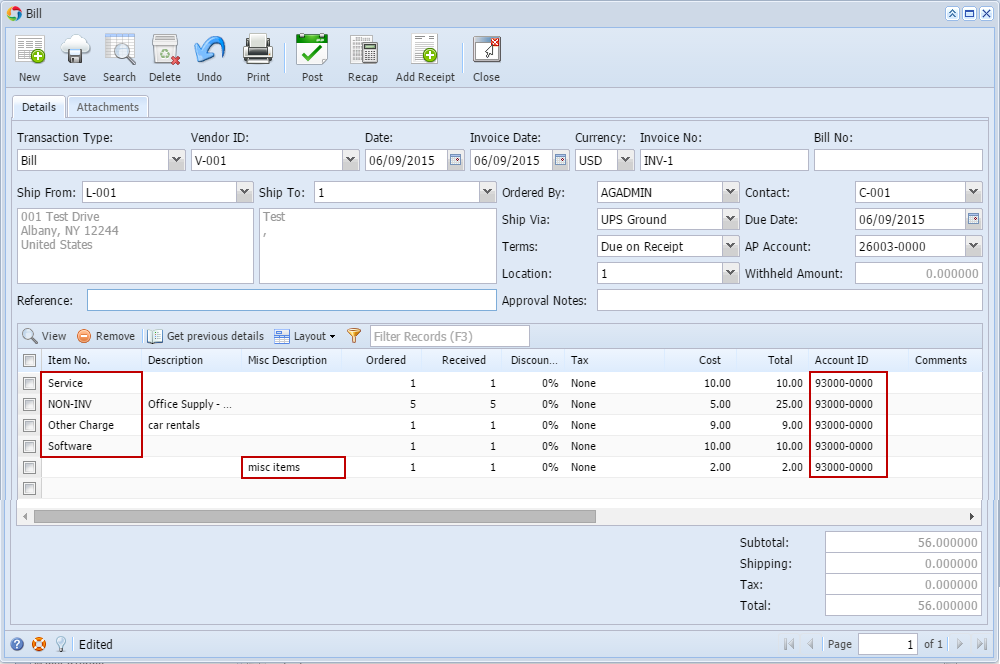
In the grid area:
| ||
Click Post button to post bill. If message below prompts, select No.
| ||
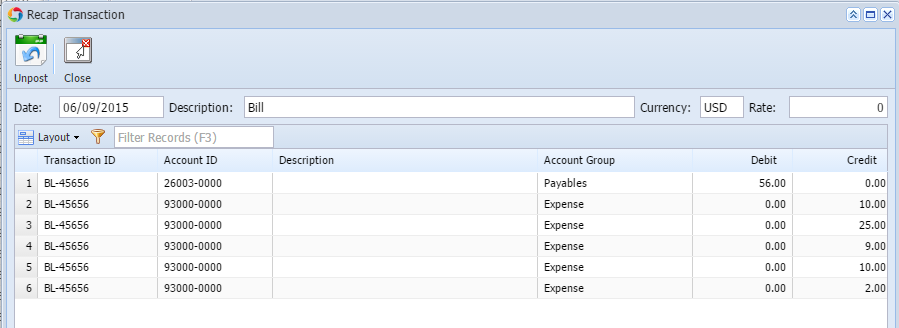
Click Recap to see entries posted to the General Ledger Detail.
| ||
| Via Bill Batch Entry | Go to Purchasing > Bill Batch Entry> click New button
| |
In the grid area:
| ||
| Enter Total and click Post button. | ||
| 4. Pay the bill. | Use either of 3 ways: via Pay Bills Detail, via Pay Bills or directly via Bill screen | |
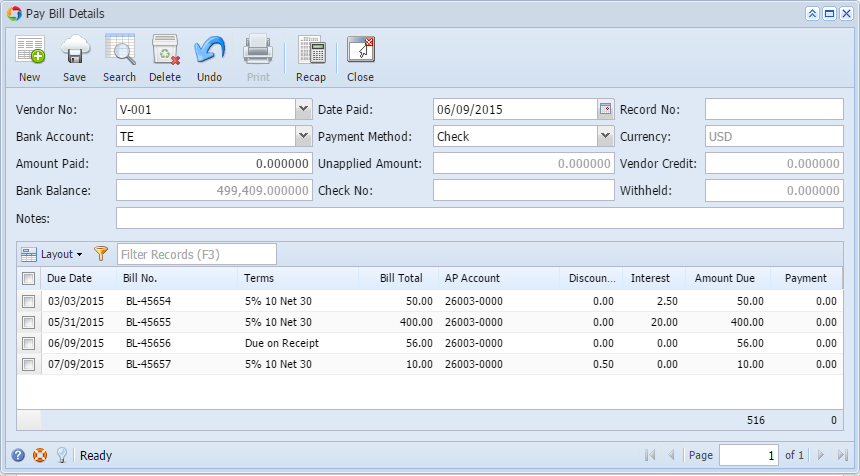
| Via Pay Bills Detail | Go to Purchasing > Pay Bills Detail > click New button
| |
If there is a default Bank Account:
If there is no default Bank Account:
| ||
Fill in remaining fields:
| ||
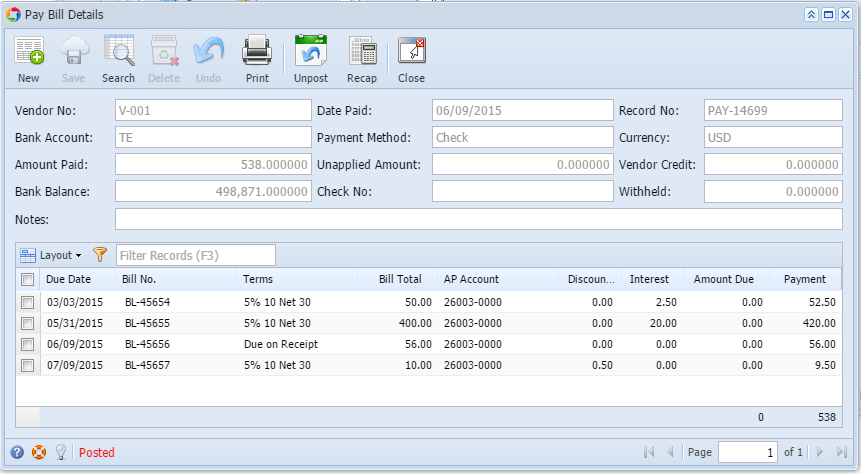
Pay in full and the Post.
| ||
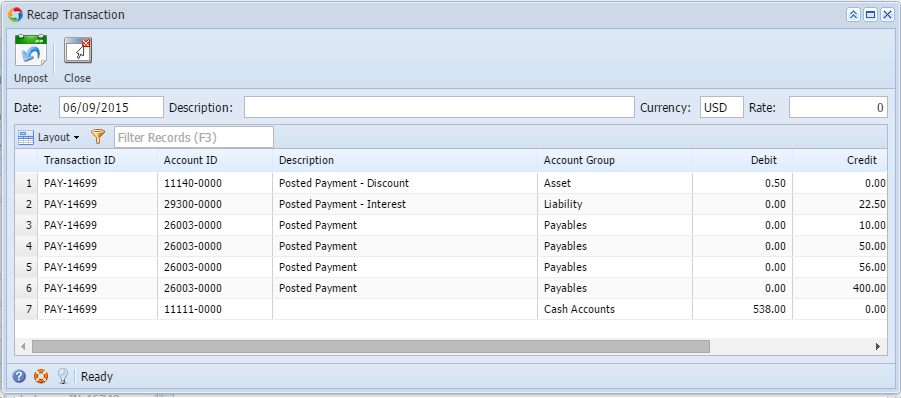
Click Recap to see entries posted to the General Ledger Detail.
| ||
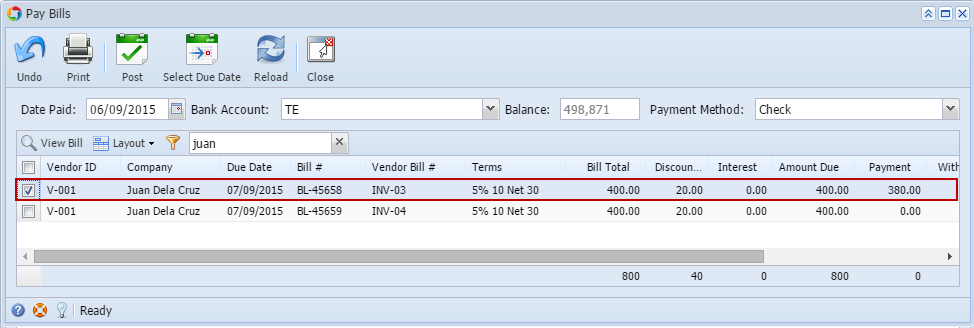
| Via Pay Bills | Go to Purchasing > Pay Bills
| |
| Select Check as Payment Method. | ||
Select transaction and pay in full then Post.
| ||
| Directly from Bills | After posting a bill, this message will prompt:
| |
| Select Yes. Pay Bills Detail will open with bills detail. | ||
| Post payment. | ||
| Click Recap to see entries posted to the General Ledger Detail. | ||
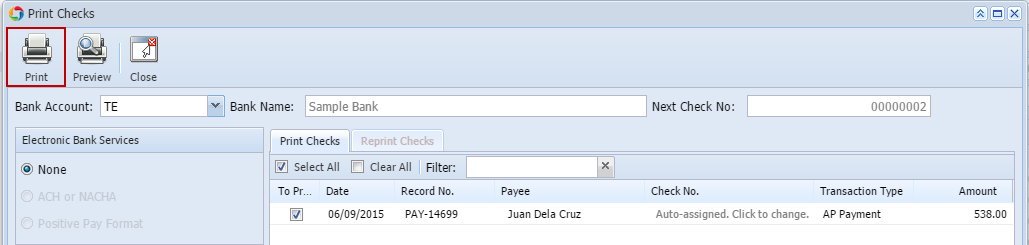
| 5. Print Checks | Set your default printer to snag it or to a file then use either of 2 ways: Direct Printing or Previewing first before printing. After posting payment with Check payment method, click Print button. | |
| Direct Printing | Print Checks screen will open. Click Print button.
| |
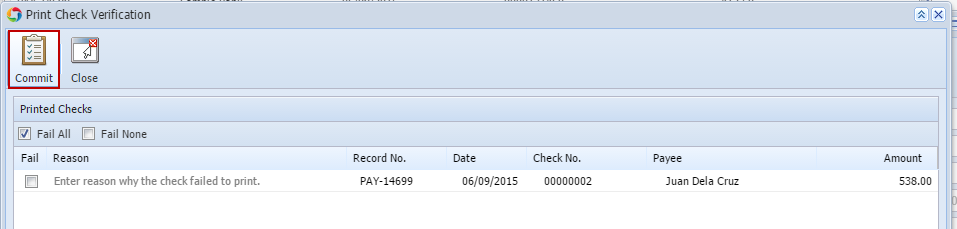
Print Check Verification screen will open. Commit the check.
| ||
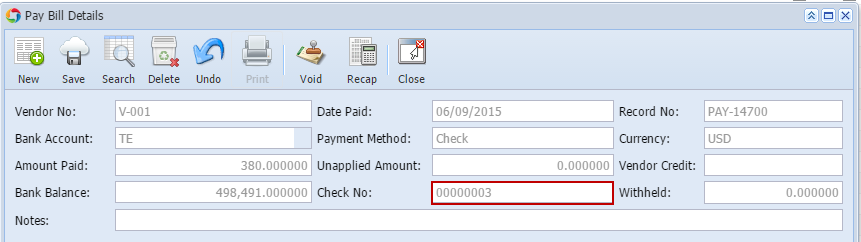
Printing of check is successful of the Check No is displayed on the Pay Bill Detail screen.
| ||
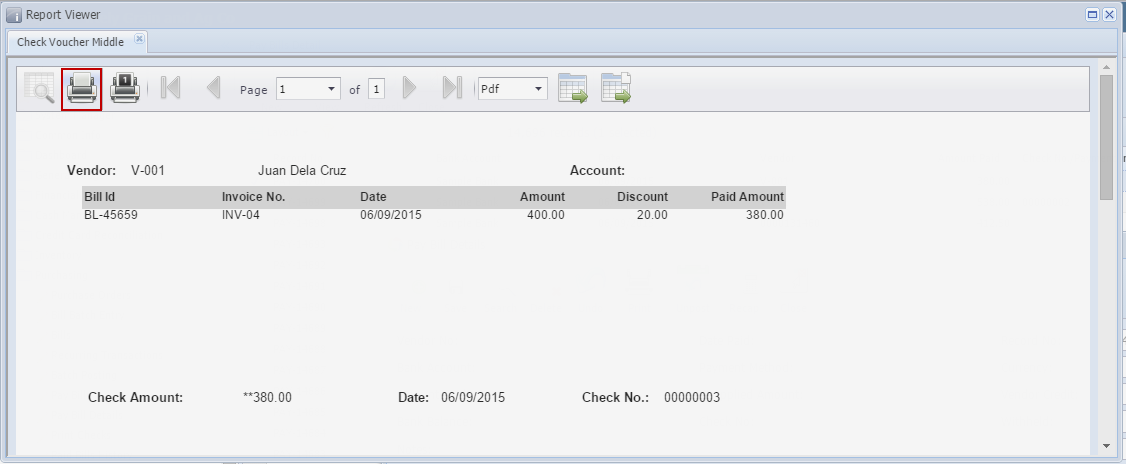
| Previewing before printing | Print Checks screen will open. Click Preview button.
| |
Report Viewer will open. Click Print button.
| ||
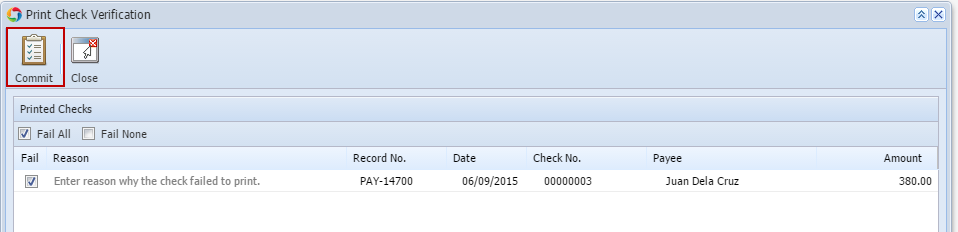
Click again Print button. Print Check Verification screen will open. Commit the check.
| ||
Printing of check is successful of the Check No is displayed on the Pay Bill Detail screen.
| ||


Overview
Content Tools