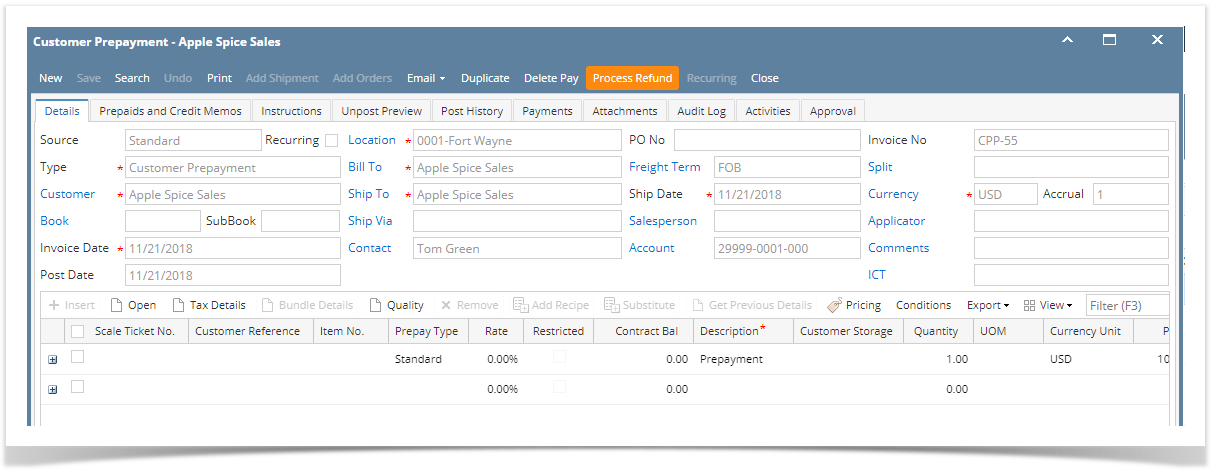
The following will guide you from Creating Customer Prepayment, Processing that Credit Memo to Cash Refund and Cutting a Check for that refund.
- Create a Customer Prepayment.
- Sales > Activities > Invoices
- Click New to open new Invoice screen.
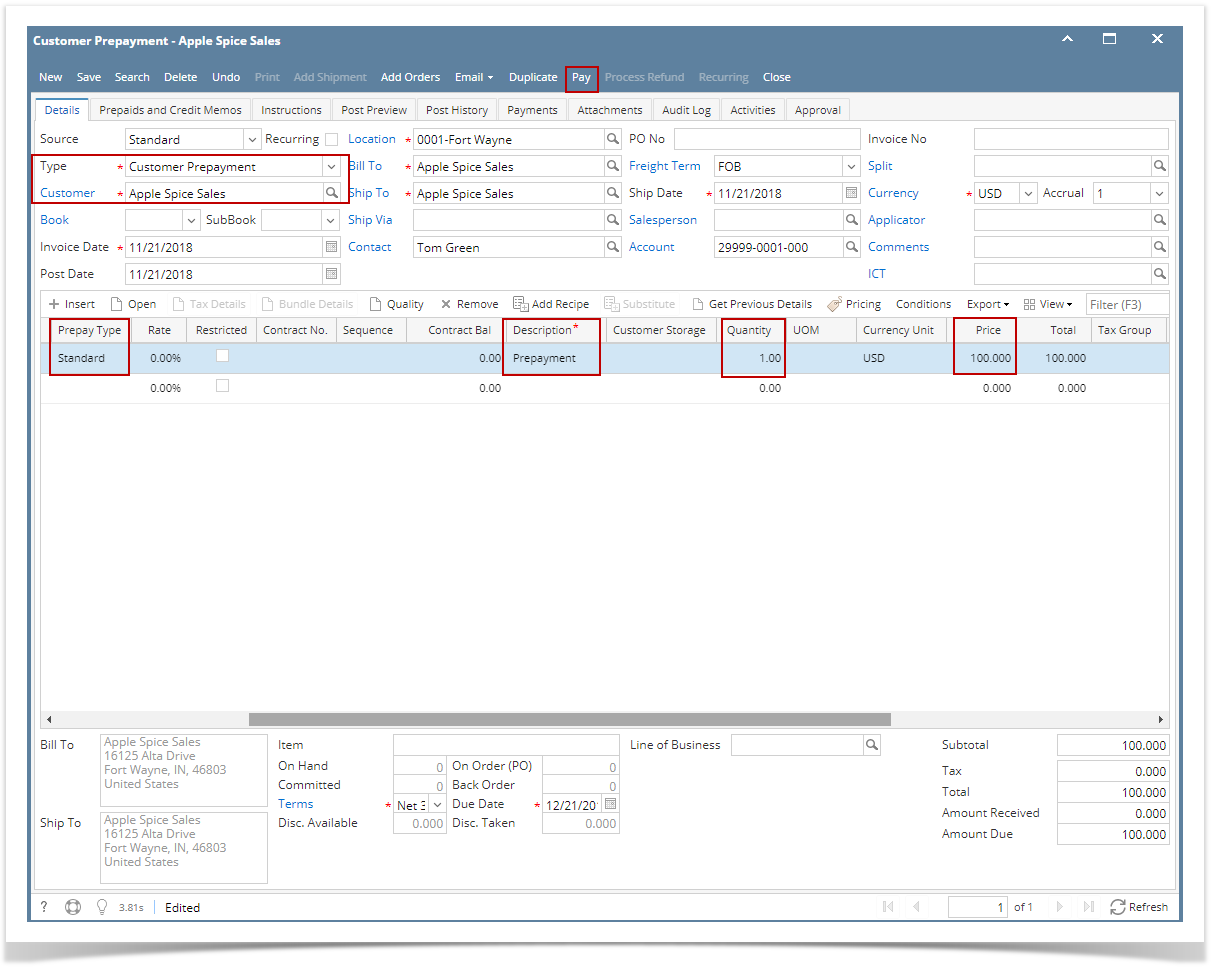
- In the header,
- Set Type field to Customer Prepayment.
- Select customer in the Customer field
- In the grid area,
- Prepay Type field select a prepay type. Options to select from are: Standard, Unit and Percentage. For this illustration, let's select Standard.
- Type in a description in the Description field, ex. Prepayment.
- Quantity field is defaulted to 1. Leave it as is.
- Type in the amount of the Prepayment in the Price field, ex. 100.00
- Click Pay to receive this Customer Prepayment.
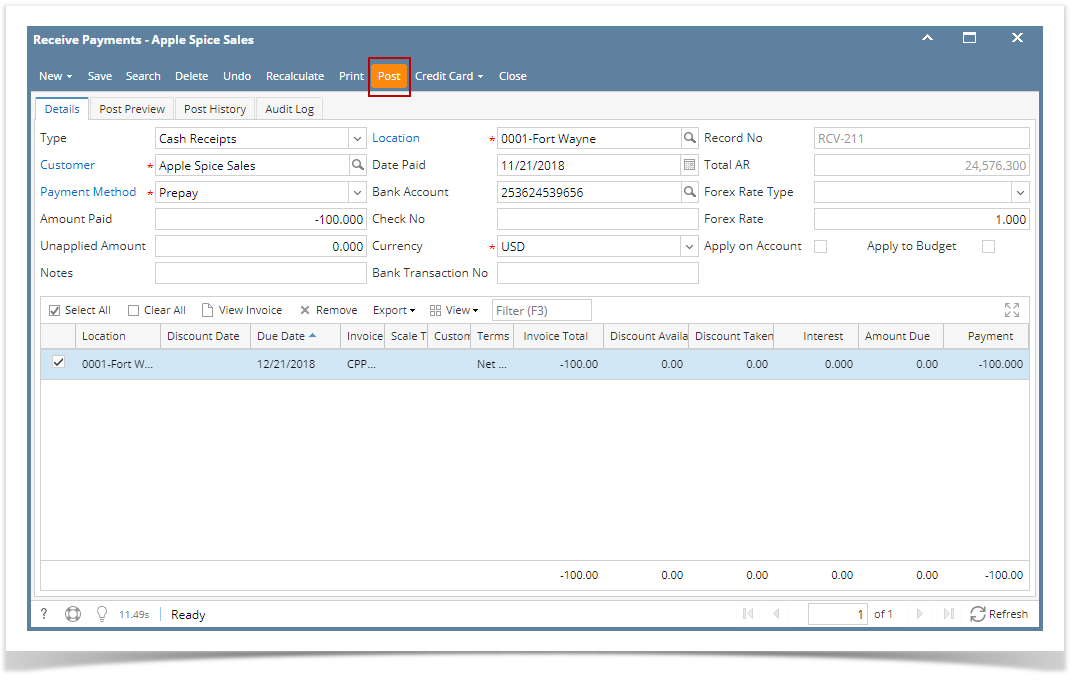
- When Receive Payments screen opens, click Post.
- GL entries for Receive Payments - Prepay are as follows:
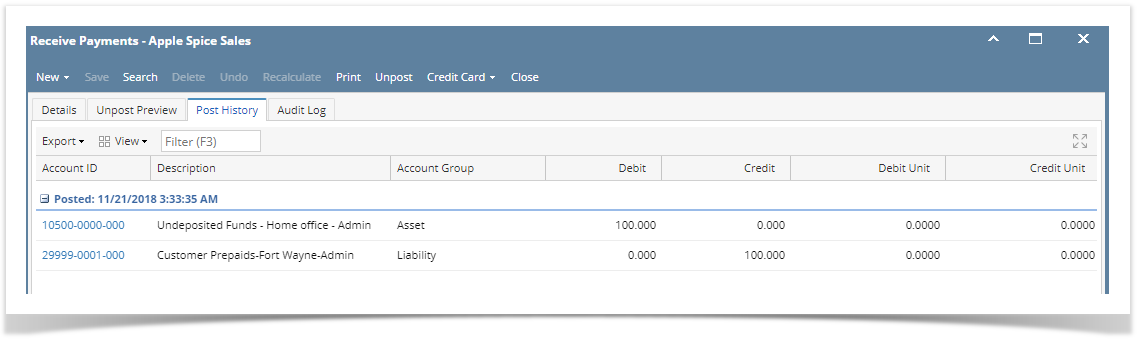
- GL entries for Receive Payments - Prepay are as follows:
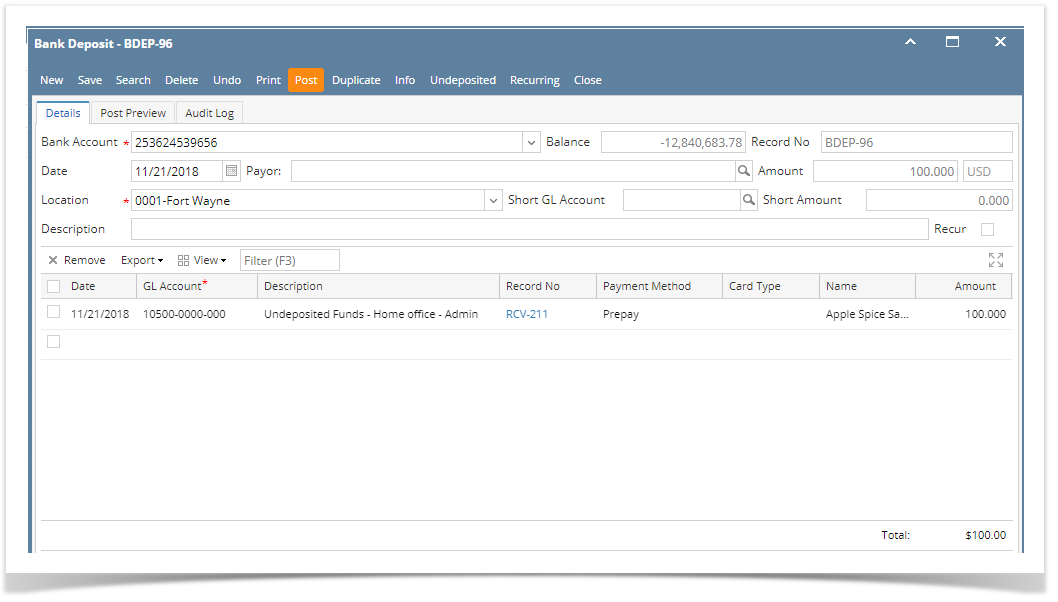
- Make a deposit for the Customer Payment received.
- Cash Management > Activities > Bank Deposits
- Click New to open new Bank Deposit screen.
- Click Undeposited, and look for the Receive Payment transaction.
- Select that transaction and click OK.
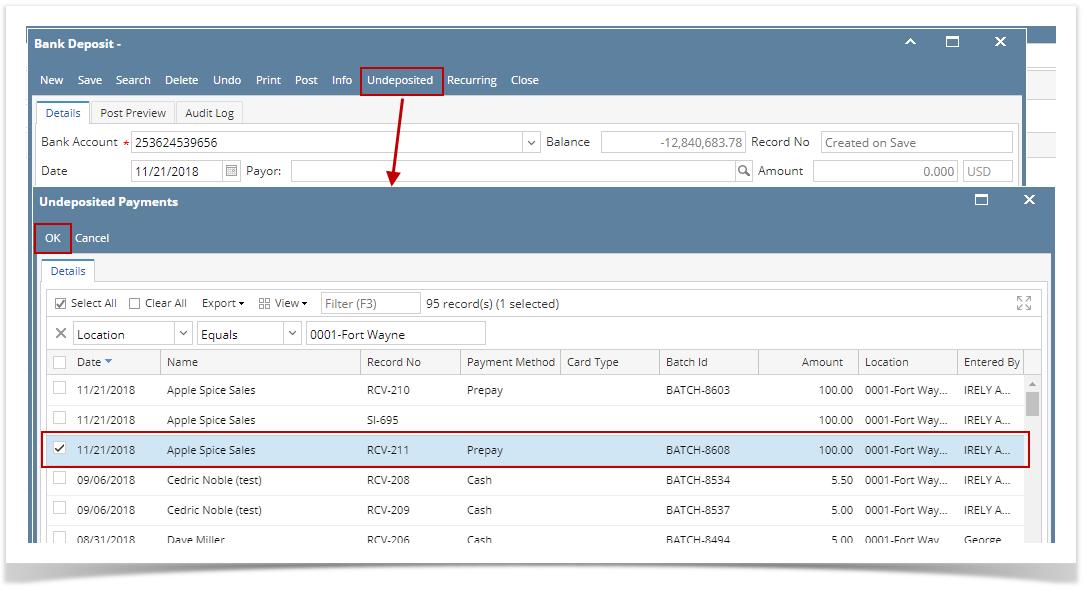
- Click Post.
- GL entries for Bank Deposit via Undeposited Funds.

- GL entries for Bank Deposit via Undeposited Funds.
Process Refund for Customer Prepayment.
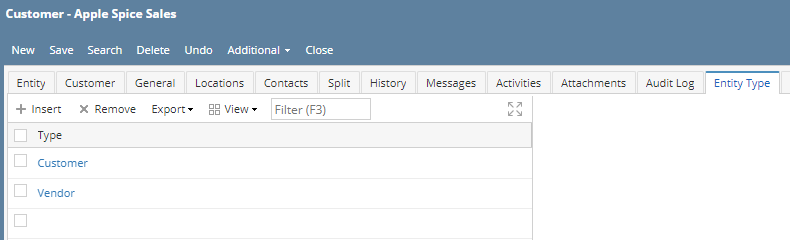
Note:
Before you can process a refund, make sure that the Customer is also a Vendor. To do that, open Customer record, click on Entity Type tab and add Vendor in the Type grid.
- Sales > Activities > Invoices
- Open Customer Prepayment transaction
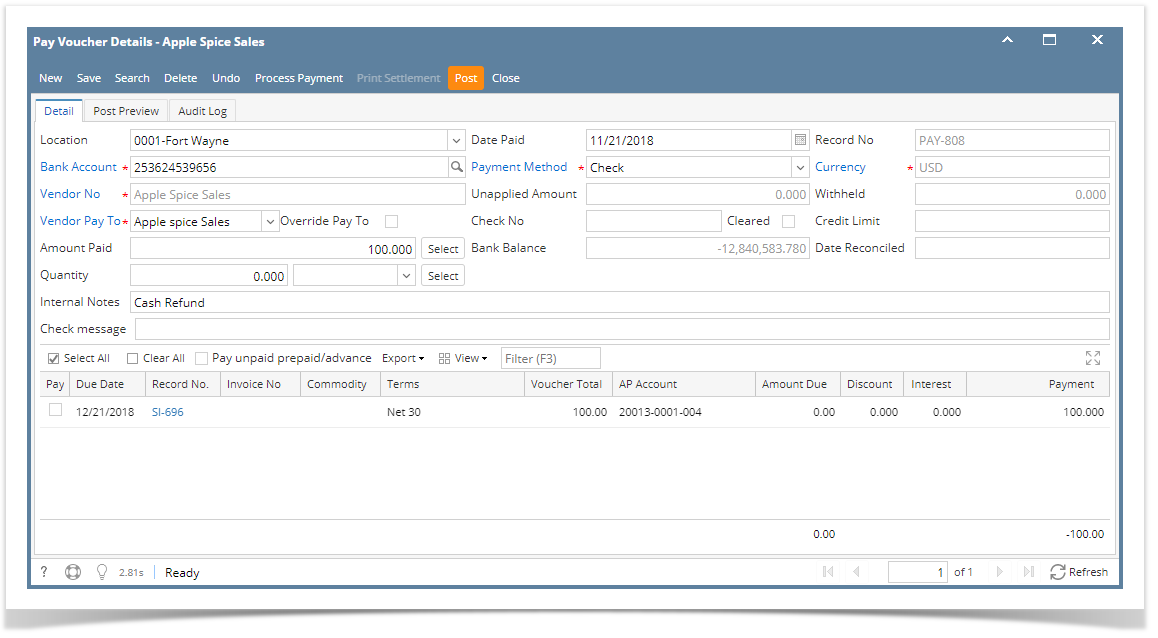
- Click Process Refund. This will automatically create a posted Invoice > Cash Refund type transaction and a ready to post Pay Voucher transaction
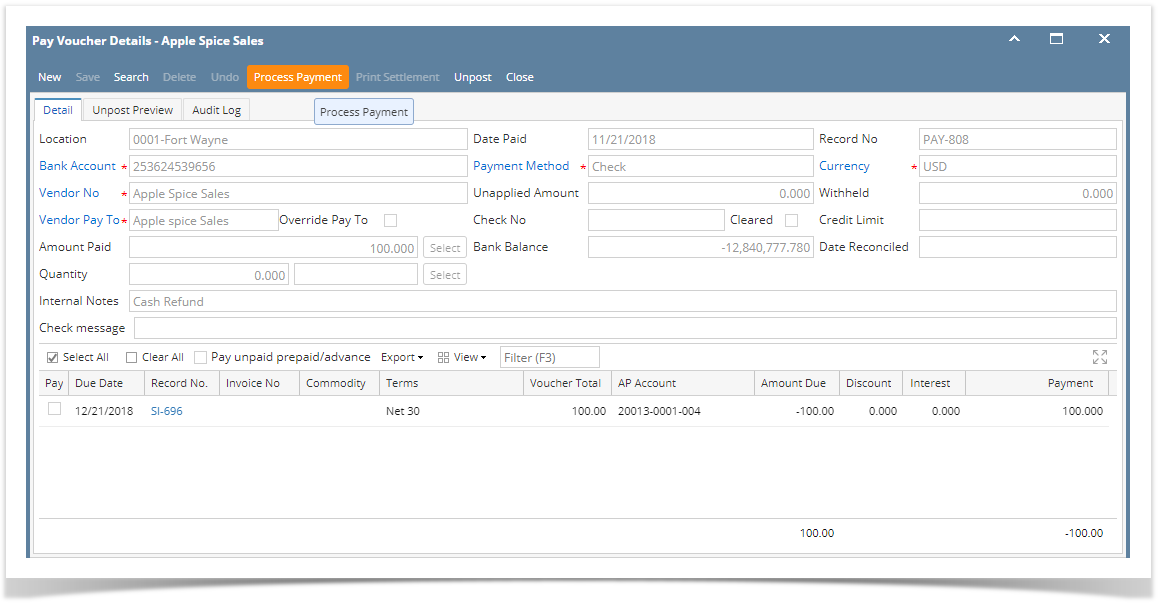
- Pay Voucher Details screen is automatically opened. Click Post.
- GL entries for Pay Voucher are as follows:

- GL entries for Pay Voucher are as follows:
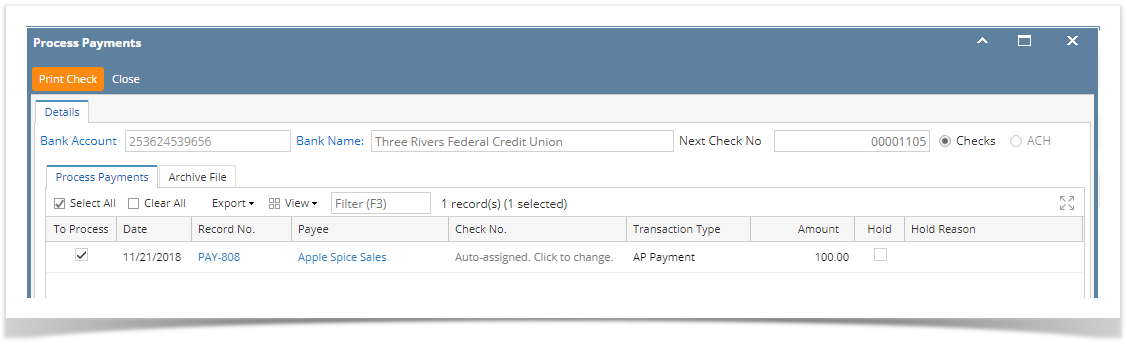
- Click Process Payment to cut a check.
- Click Print Check.
- Report Viewer - Check Voucher will then be opened. Click Print to print the Check.
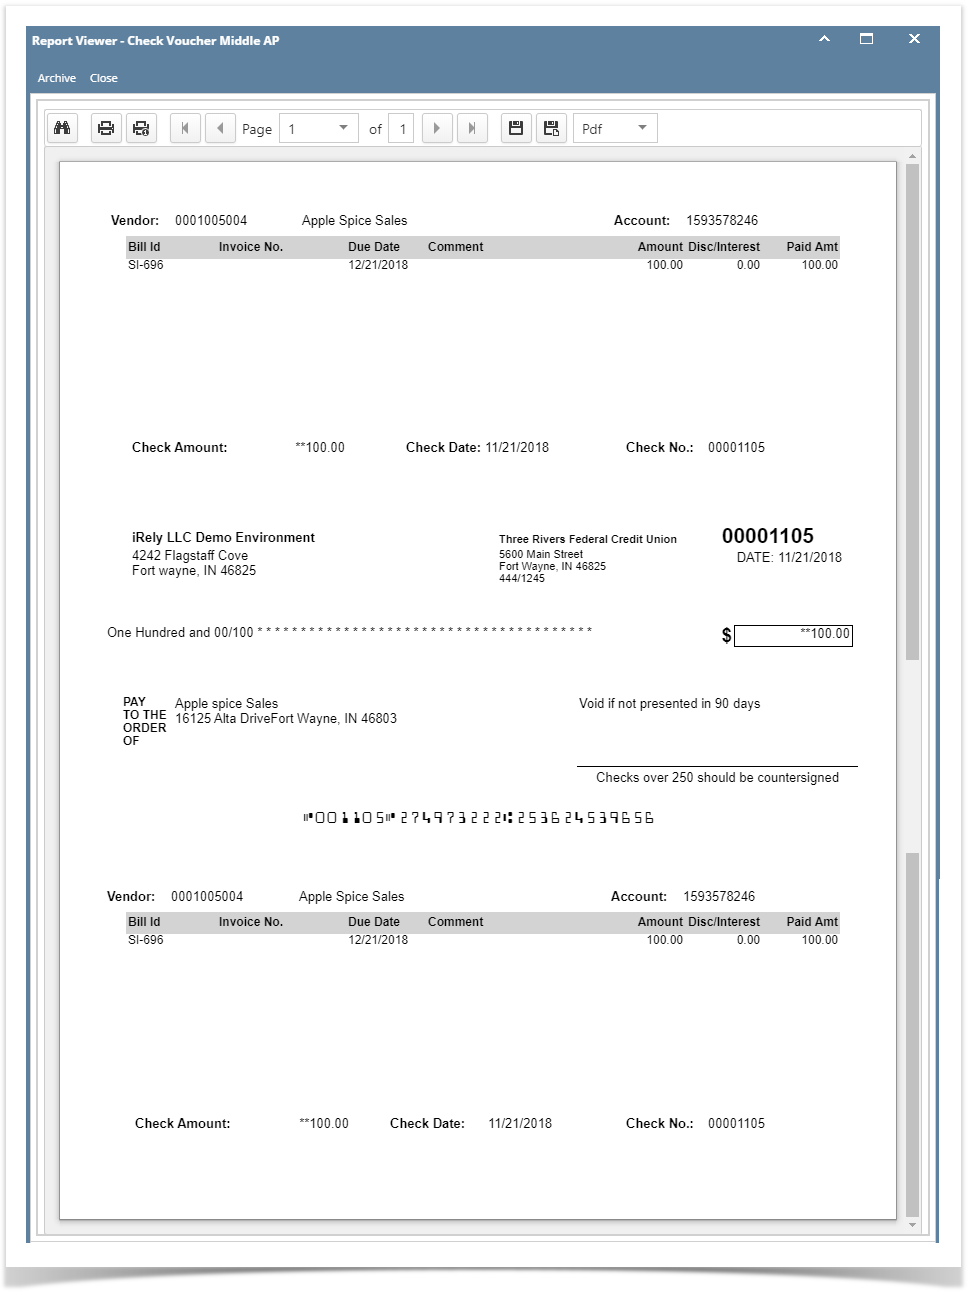
- Close the Report Viewer, then close the Process Payments screen.
Overview
Content Tools