Creating a Ticket:
Ticket Toolbar

- New - Click this to create new Ticket.
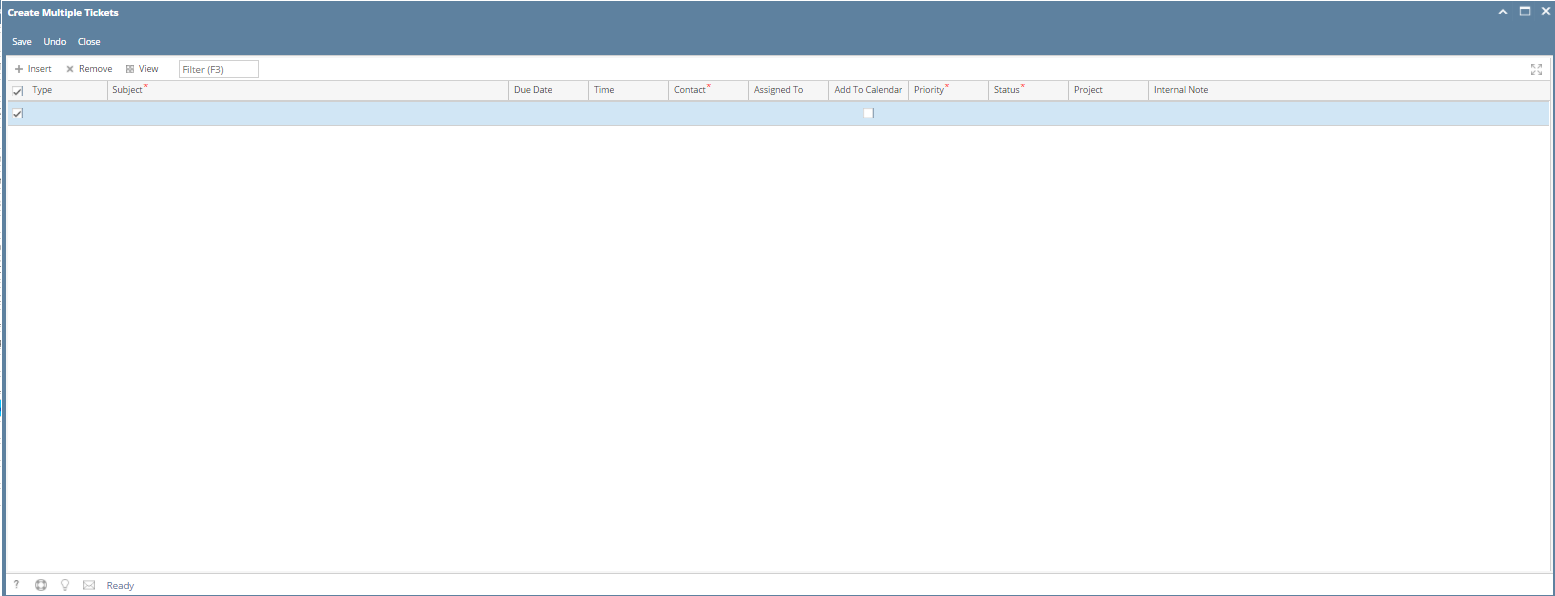
- Create Multiple Tickets - Click to create multiple ticket. Once Create Multiple Tickets screen appears, enter required fields then click Save.
- Save - Click this to Save the Ticket.
- Undo - Undo any changes since the last changes.
Duplicate- This will create a new Ticket copying the Customer Details and Ticket Details from the current opened Ticket. Duplicate button is not available to customers.
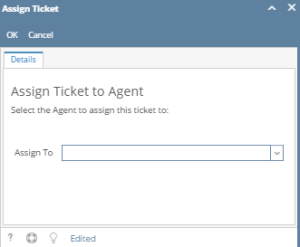
Assign To - Click to assign ticket to a selected agent
- Close Ticket - Click to close the current ticket
- Reopen Ticket - Click to reopen the closed ticket
- Watch - Click to open Watch Ticket screen (Customer contact only have the Details tab)
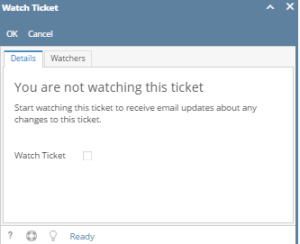
- See Watch Ticket for more details
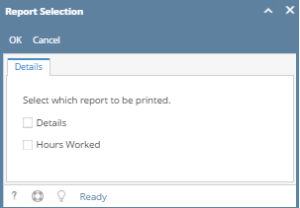
- Print - Click to print the ticket. User can print the Details or the Hours Worked.
- Escalate - Click to escalate ticket. Escalate is only available for tickets that are modified/created after an hour. Notification will be sent to the Agent wherein the Escalation is checked.
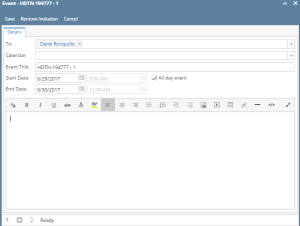
- Add to Calendar - Click to open the event invitation screen.
Subject
This can be the Title or Subject of the Ticket.

TABS
- Details - This will show the Details tab.
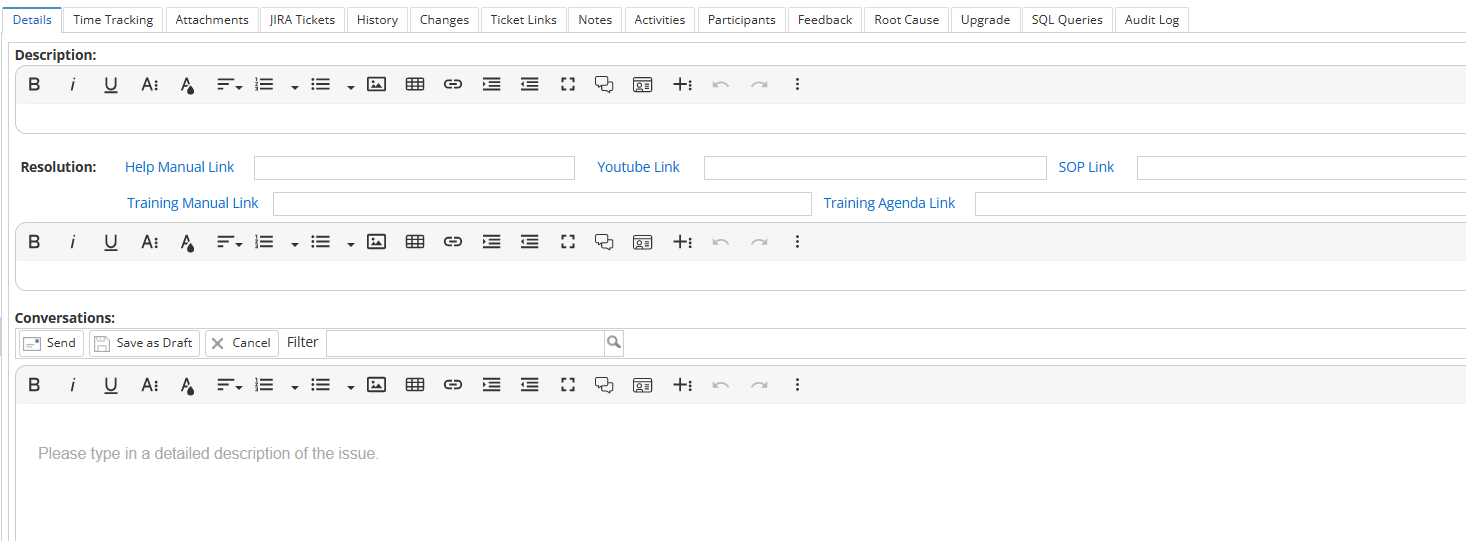
- Description - This is where the user must expound the details or the issue of the ticket. Steps of the issue must also be included here.
- Resolution - This is the area where all the links can be attached that may be helpful for the ticket. Resolution links may be found here.
- Conversations - This is the area where users may talk to other users to be able to consult or add comments to the tickets.
- Time Tracking- Clicking this will open the Time Tracking tab. Click Log hours to log your time entry. Adding of Hours Worked is not available to customers.

To add estimated hours to an agent view Adding Estimated Hours page
- Attachments - Clicking this will open Attachments tab and will allow the user to attach any file related to the Ticket.

- Jira Tickets - This will open Jira tickets tab. This will allow users to link Jira tickets associated to the Help Desk ticket. This also allows an i21 Agent to add an existing JIRA key by clicking Add button and Create Issue. Customer Contact will only be allowed to view JIRA added in this tab. This tab can be used provided that you have integration with JIRA Issue & Project Tracking Software.

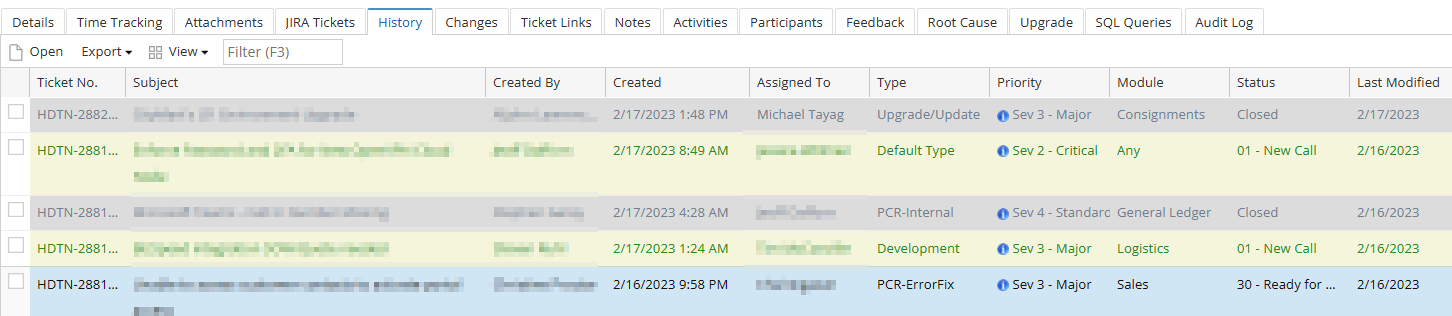
- History Tab - This tab will display all Tickets created for the Customer. This allows the user to open the Ticket for the current Ticket by clicking on the Open button.
- Changes - This will open the Changes tab. This will show the user all the changes made inside the ticket.

- Ticket Links - This will open the Ticket Link tab. This will list all tickes linkes or associated to this ticket.

- Notes - This will open Notes tab. This will allow the i21 Agent save information for the Ticket. This is not available on Customer Contact login.

- Activities - This will open the Activities tab. Users may book activities such as creating events, tasks, or log calls or send emails. This can also be a planner for activities for the ticket

- Participants - Click to open the Participants tab and allow user to add participants to the ticket.

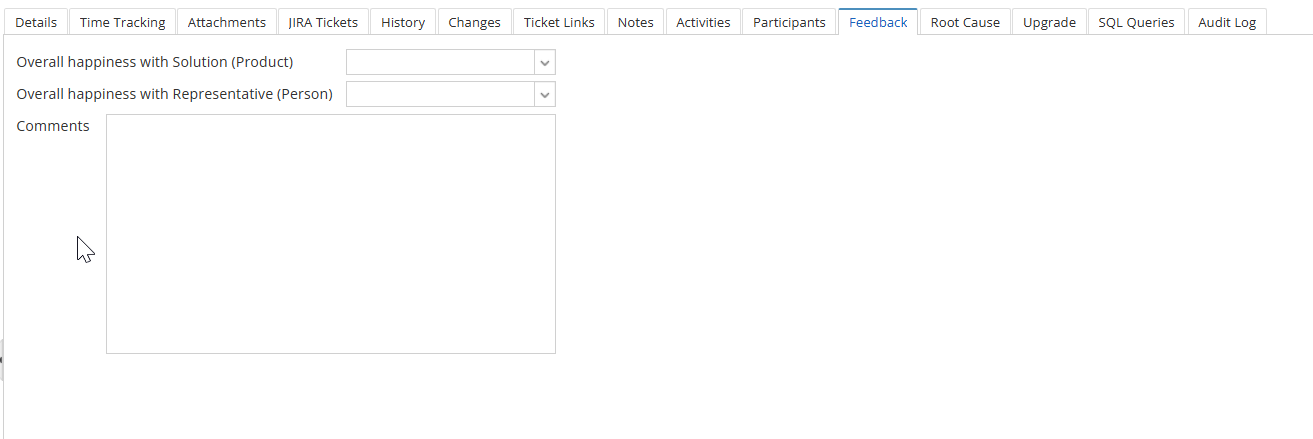
- Feedback - This will open the Feedback tab. Users can give a rating on the service given regarding the ticket.
- Overall Happiness with Solution (Product) - drop down contains [Very Satisfied, Satisfied, Neutral, Dissatisfied, Very Dissatisfied]
- Overall Happiness with Representative (Person) - drop down contains [Very Satisfied, Satisfied, Neutral, Dissatisfied, Very Dissatisfied]
- Comments - This is a free text field for additional comments, suggestions or feedback
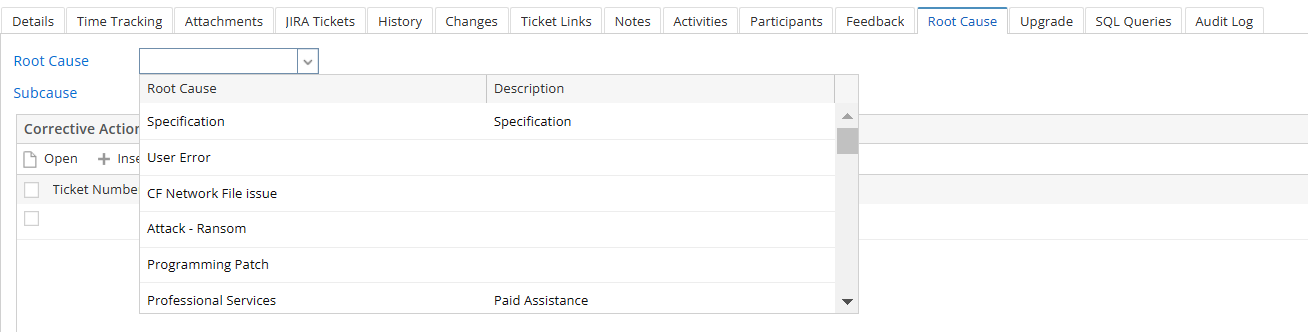
- Root Cause - This will open the Root Cause tab. Before closing a ticket, this tab should be filled in to be able to tag the root cause of the problem/issue of the ticket.
- Upgrade - This will open the Upgrade tab
- Type - drop down contains the upgrade types
- Environment - Test or Production
- Target Version - Target Version from Product setup
- Company
- Contacts to Notify - Contacts under the customer
- Upgrade Start Time
- Time Zone
- Upgrade End Time
- Time Upgrade Took (in hour)
- Copy Data From
- Copy Data To
- Special Instruction - free text field for other instructions

- SQL Queries - This will open the SQL Queries tab.

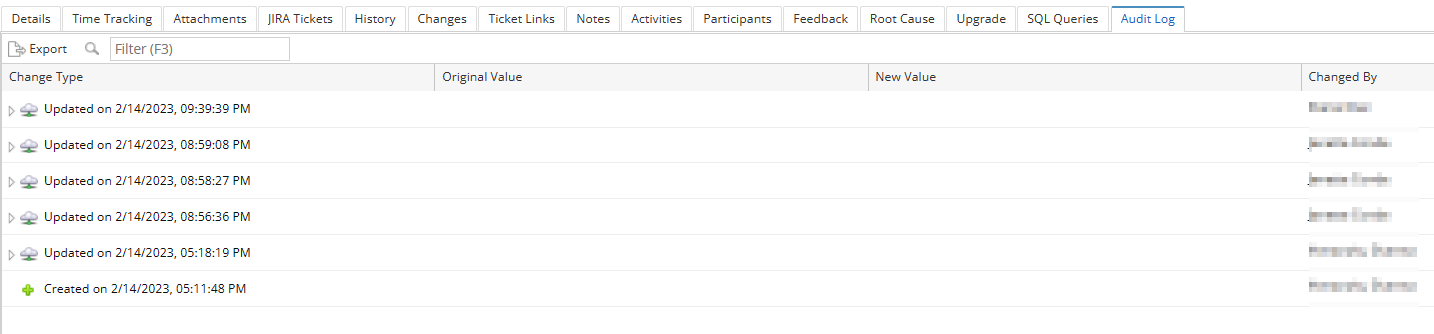
- Audit Log - This will open the Audit Log tab. All changes within the ticket will be shown here
Customer Details
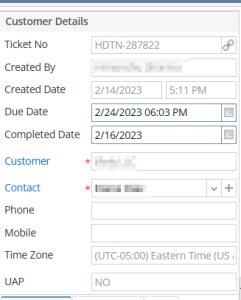
- Ticket No - This is unique Ticket No that is generated each time new ticket is created. This is based on Ticket Number entered in the Starting Numbers | Help Desk module.
- Created By- This is a read only field that displays the i21 agent or Customer Contact who created the Ticket.
- Created Date- This is a read only field and the date when the Ticket is created.
- Due Date - This is a calendar field where users may use when they need the ticket to be done.
- Completed Date - This is a calendar field where the users can put the actual date of completion of the ticket.
- Customer - This is the Name field in the Customer screen. When clicked, this will open the Customer screen. This is not available on Customer Contact login.
- Contact - This is the Full Name of selected Customer Contact screen. This will open the specific Customer Contact screen selected on the Ticket. This is not available on Customer Contact login.
- Phone - This is the Phone field set up in the Customer Contact screen.
- Mobile - This is the Mobile field set up in the Customer Contact screen.
- Timezone - This is selected Timezone in the Customer Contact screen.
- UAP - This is a read-only field. It will show if the ticket is tagged as UAP or not.
Ticket Details
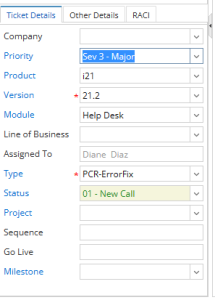
- Company - The company selected will be displayed in this field
- Priority -Drop down list box that displays the Tickets Priority. - See How to Add Ticket Priorities
- Product - Drop down list that displays the products of iRely. User must choose the affected product that the HD ticket is for.
- Version - Drop down list of the versions under i21. User must choose what version the issue is occurring in.
- Module- This will display the Modules entered for the Products selected.
- Line of Business - Drop down list that displays the Lines of business within Irely.
- Assigned To - The person who will be the one to accommodate the ticket.
- Type - Drop down list box that displays the Tickets Types. - See How to Add Ticket Types
- Status- Drop down list box that displays the Tickets Status. - See How to Add Ticket Status
- Project - Drop down that contains the Projects associated with the customer.
- Sequence - Ticket Sequence number (only have value if ticket is associated with a project)
- Go Live - Go Live date of the project
- Milestone - Drop down that contains the Milestone. Can only be saved to ticket with associated project.
Other Details
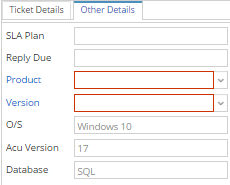
- SLA Plan - The Service Level Agreement Plan set up in Customer screen | Setup tab | Help Desk.
- Reply Due- Displays the number of Days, Hours and Minutes before a Ticket is due based on the SLA Plan. This time will reset after each reply from an agent.
- Product- Drop down list box that displays the Products. See How to Add Products
- Version- This will display the Version entered for the Products selected.
- O/S- This will display the O/S setup of the selected product.
- ACU Version- This will display the ACU Version setup of the selected product.
- Database- This will display the Database setup of the selected product.
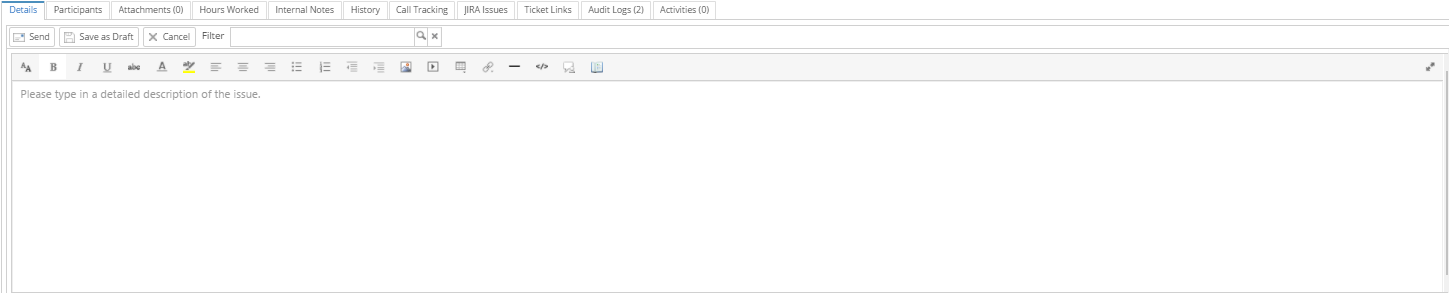
- Editor - The "What You See Is What You Get" (WYSIWYG) editor allows for a Word like entry of data in a ticket. This comes with the several features to format your data before sending.

- Send - This will save the Ticket created and notify the customer contact or i21 Agent through email for any reply created and sent.
- Save as Draft - This will save the data in the Editor area but will not send an email to the customer contact login nor assigned i21 Agent's email address. Drafts will not be visible from other customer contact or i21 agent.
- Cancel - Clicking this will ignore any draft that is being entered.
Call Tracking Tab
This tab is not available to customers.
This tab will display the changes in the following fields when an agent or customer changes these fields:
- Customer Contact
- Type
- Status
- Priority
- Module
- Assigned To
- Escalation is made
Overview
Content Tools