Page History
...
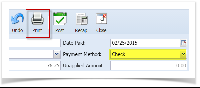
- During Pay Bills creation (see How To Create Pay BillsPayables), select Check as your payment method to enable Print button.

- Post the transaction.
- Click Print toolbar button. Print Checks screen will open.

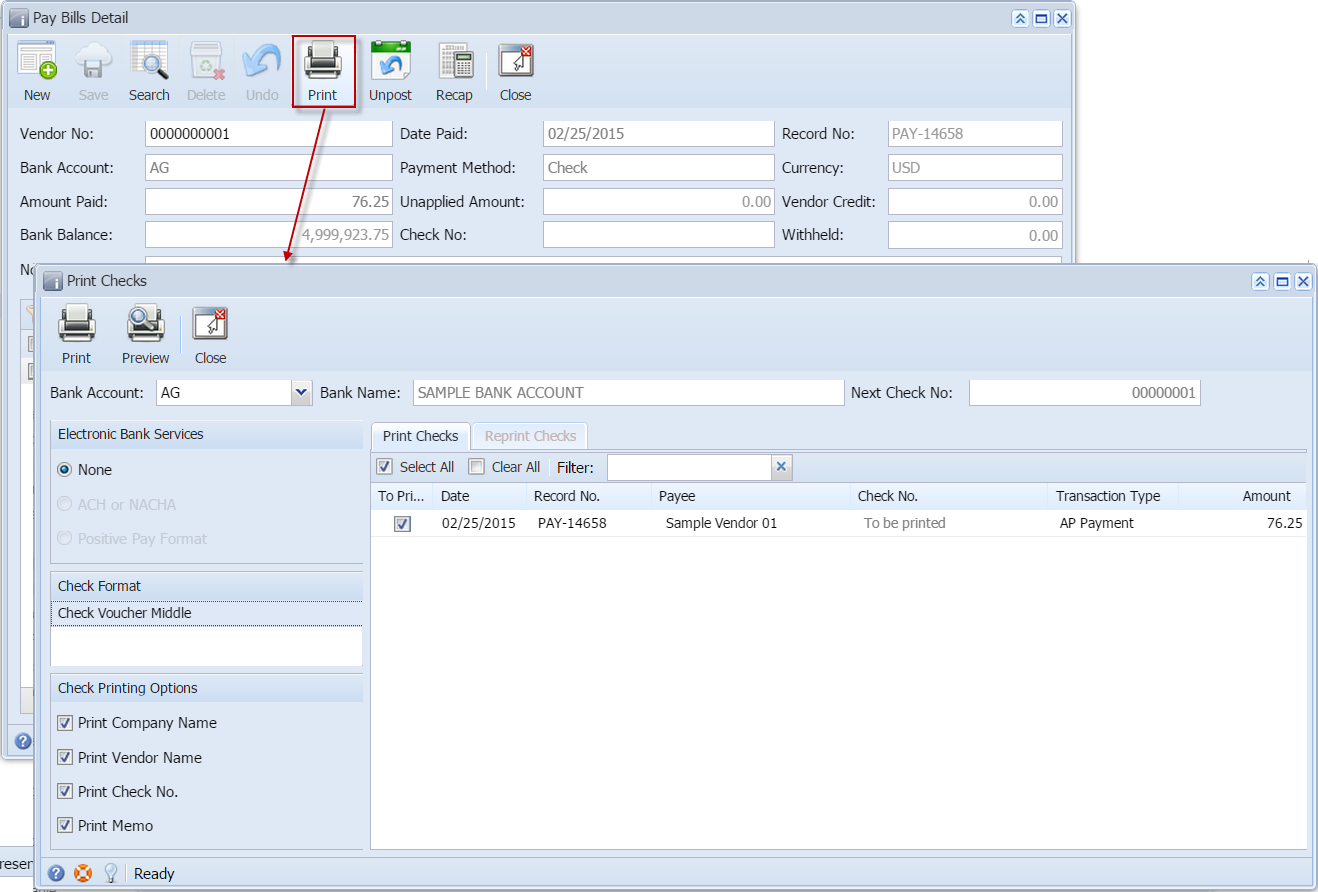
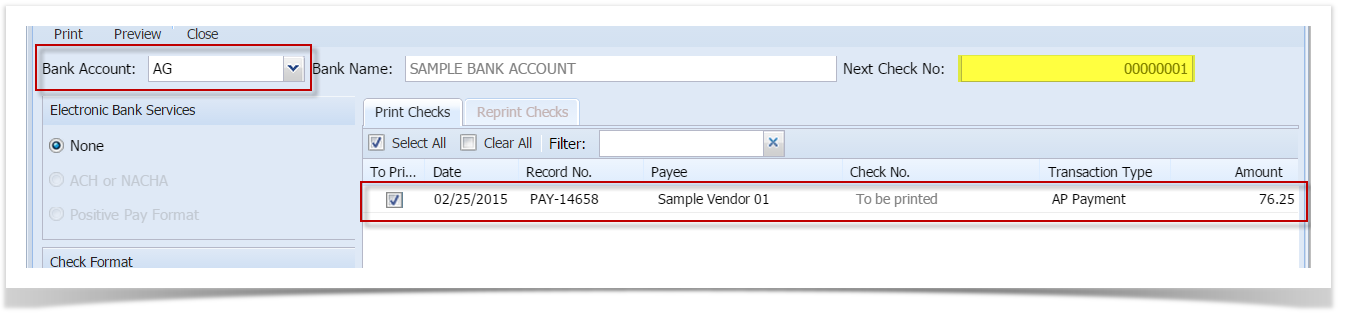
Bank Account selected in the Pay Bill Detail screen is automatically selected and on On the grid, all posted payables but not yet printed under the selected bank account newly posted payable will be displayed.
Select the payable you wish to print. You can either assign check number manually or let the system automatically assign the next check number available.
Note If ever that check number is assigned manually, the system will check if the number has not been assigned previously. A warning message will prompt, telling the user that it is already used in a different transaction.
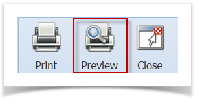
You can either directly print the Check or preview it first before printing.
Expand title A. Previewing Check before printing - Click Preview button to actually print the check.
- Preview Task List screen will open while the system is generating the report.

- Then, Report Preview screen will open.

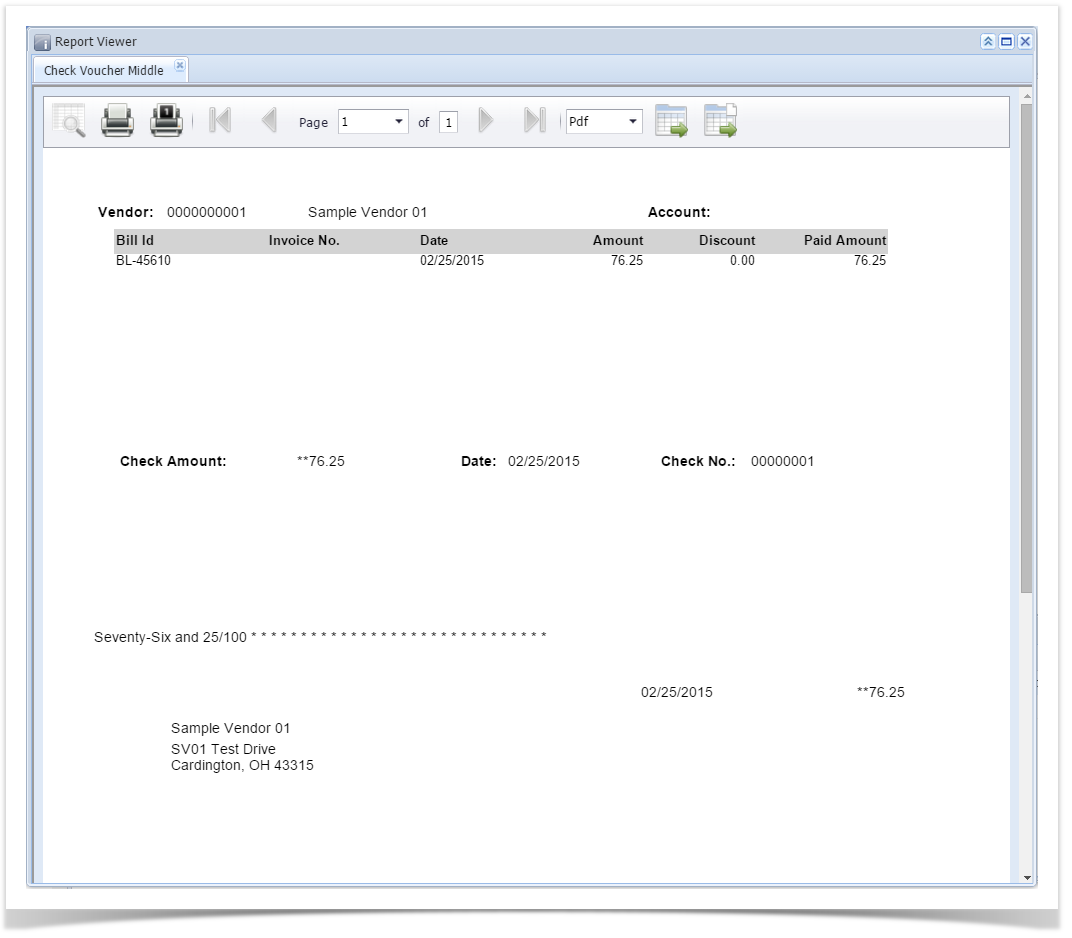
- On the Report Preview, click Print button and the one from the Print Dialog window to actually print the check.
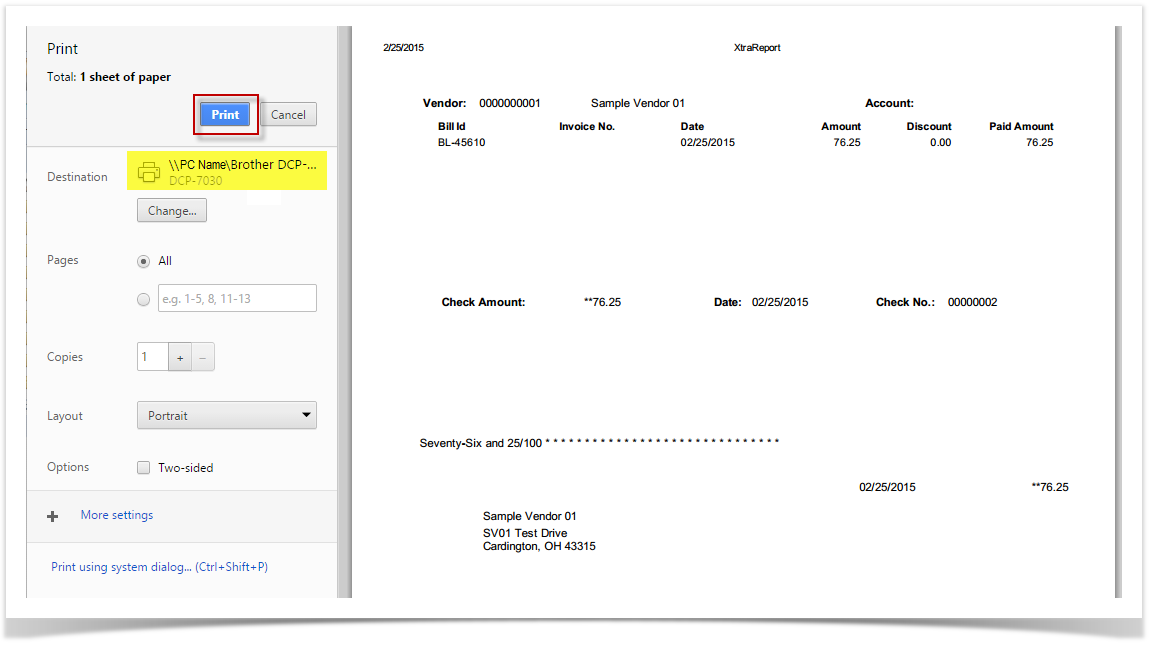
 . Another window will open where you can either Save or Print the Check depending on the selected Destination.
- Click Preview button to actually print the check.
Expand title B. Direct printing of Check - Click Print toolbar button
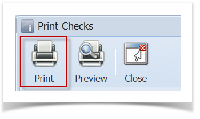
- Check will be printed automatically using your system's default printer.
- Click Print toolbar button
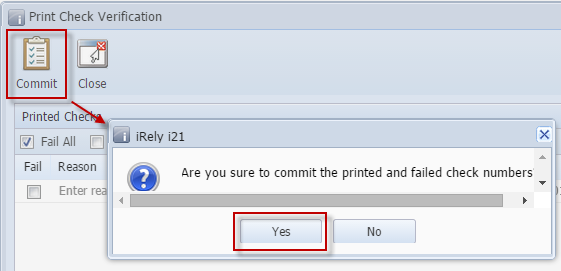
- After the actual printing of the Check, the Print Check Verification screen will open.

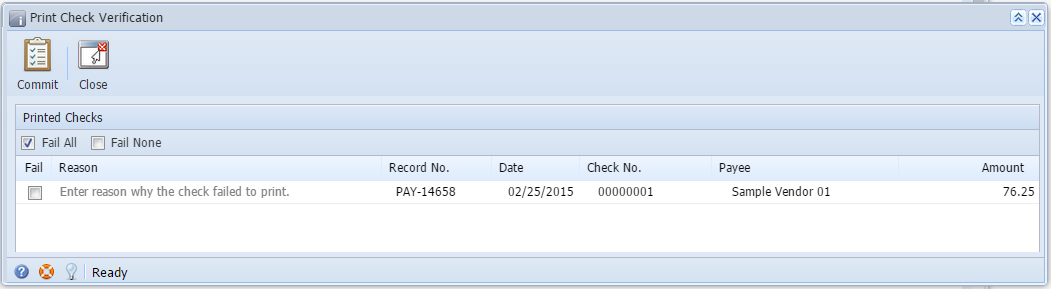
- Click Commit if the check is successfully printed and click Yes on message.

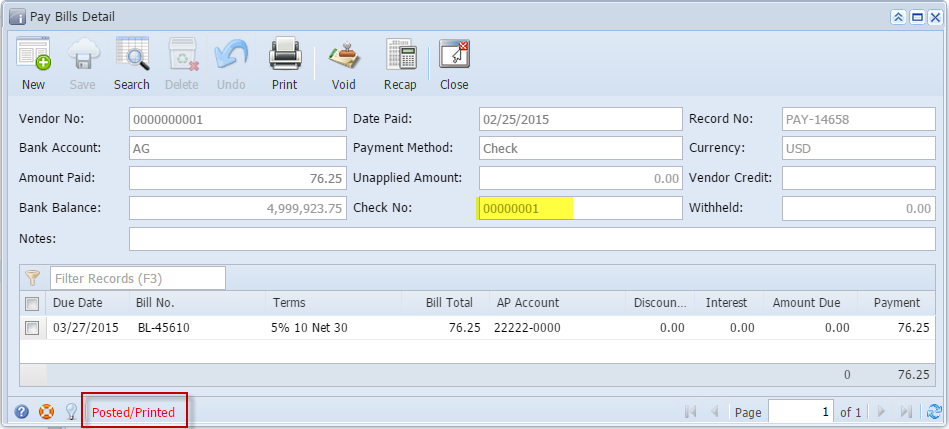
- Check number assigned to the Check will be displayed in the Check No. field. Printed status will also be displayed.

Overview
Content Tools