Page History
Here are the steps on how to create payablespayments:
- From the Main Menu, click Purchasing (A/P). Click Pay Voucher Details under Activities list to open Search Pay Voucher Details screen.
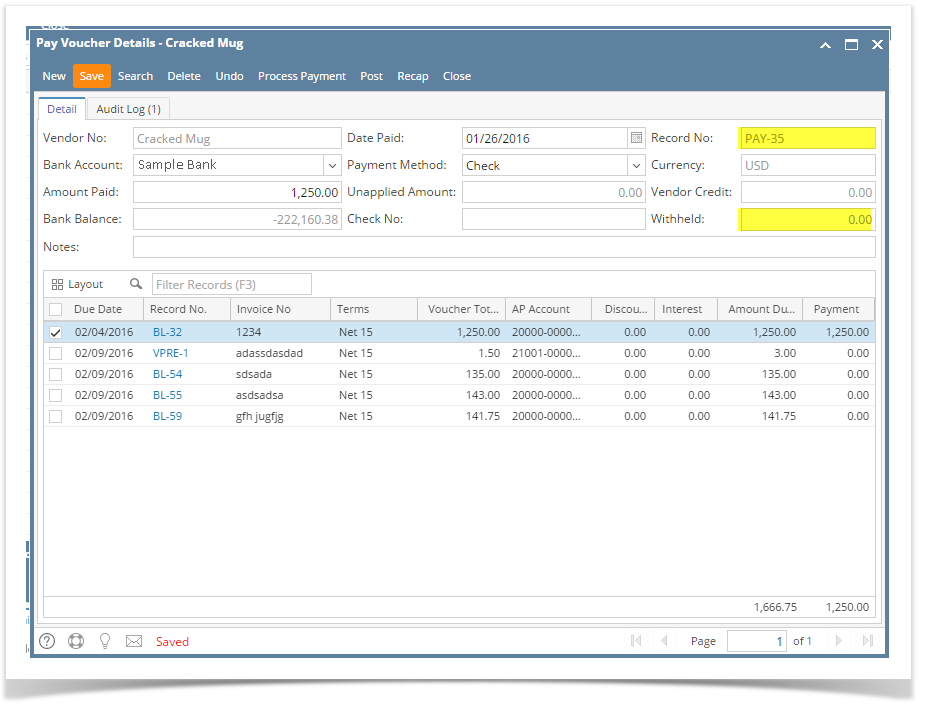
- Click New toolbar button to open blank Pay Voucher Details screen.
- Fill in fields.
- Click on Vendor No. combo box button and select vendor with no withholding setup (Withholding checkbox is unchecked in Vendor screen > Vendor Detail tab).
- Select Vendor Pay To.
- Date Paid will default to today’s date. Change date if necessary by selecting from the mini calendar dropdown or by entering the date manually.
- All posted but unpaid transactions for the selected vendor based on the selected Vendor Pay To will be displayed on the grid.
- Payment Method set for the selected vendor as well as the Vendor Credit will automatically be displayed.
- In any case that payment method is set to Check, the Print toolbar button will be enabled to allow printing of checks.
- If not, then Print button will be disabled.
- On Bank Account field, click combo box and select a bank account from the list where payments will be deducted. Currency and Bank Balance set for the selected Bank Account will be displayed.
- Select detail from the grid. Payment will be computed.
- if there's no discount nor an interest, Payment will be the same as Amount Due.
- if there's a discount, Payment is Amount Due less Discount.
- if there's an interest, Payment is Amount Due plus Interest.
- If you wish to create partial payments, change the payment amount lower than the amount due.
- Amount Paid field will automatically be filled in by the payment amount and Unapplied Amount will display 0.00.
Save record by clicking Save toolbar button. A system-generated ID will be displayed in the Record No field.
| Expand | ||
|---|---|---|
| ||
Here are the steps on how to create payablespayments:
|
...
Overview
Content Tools