Page History
...
- Open the entity record.
- Click the Contacts tab then click Insert button


- Enter the necessary details on the screen. Note that Full Name field is and Timezone fields are required

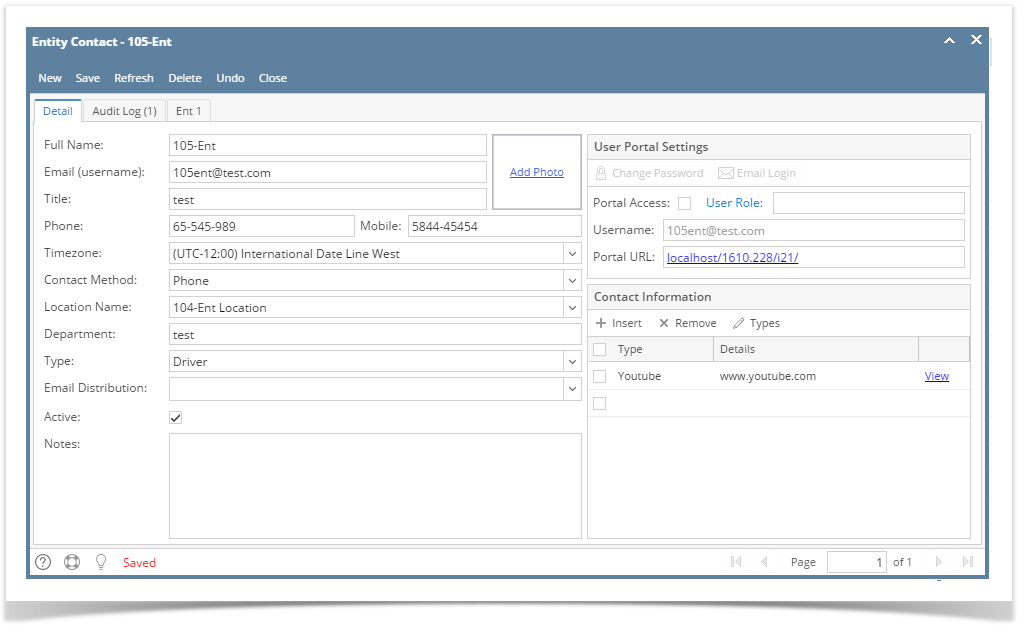
- Click Save toolbar button
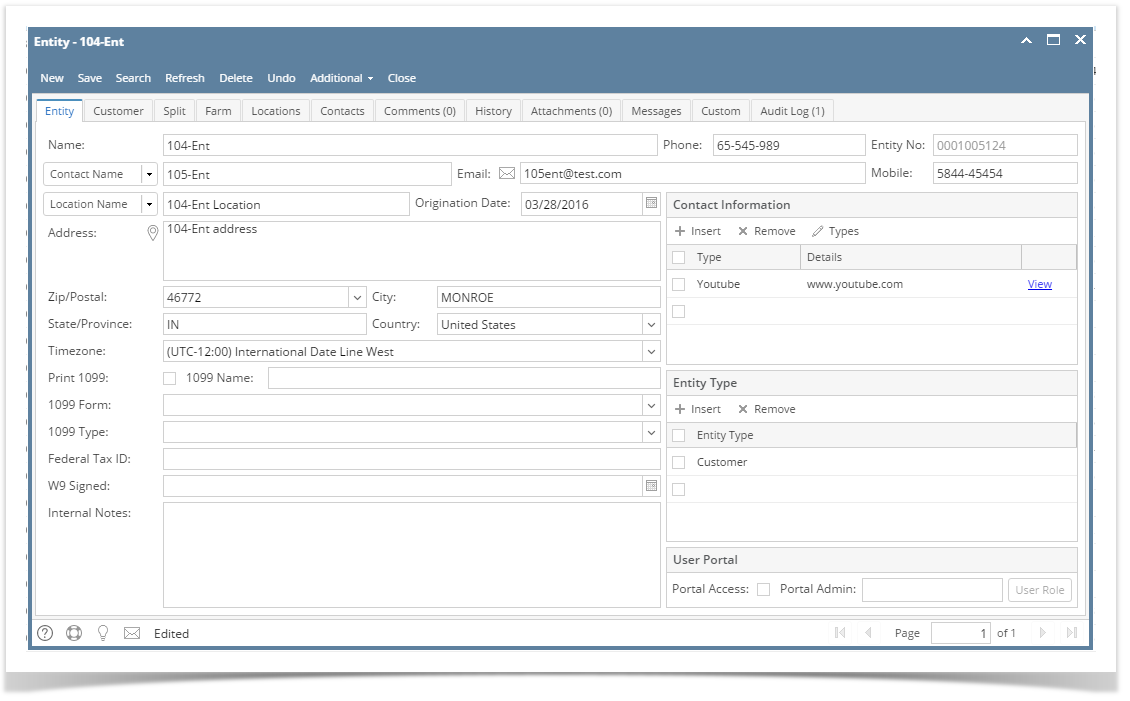
- The created contact will be available on the selection of default contact on Entity tab.

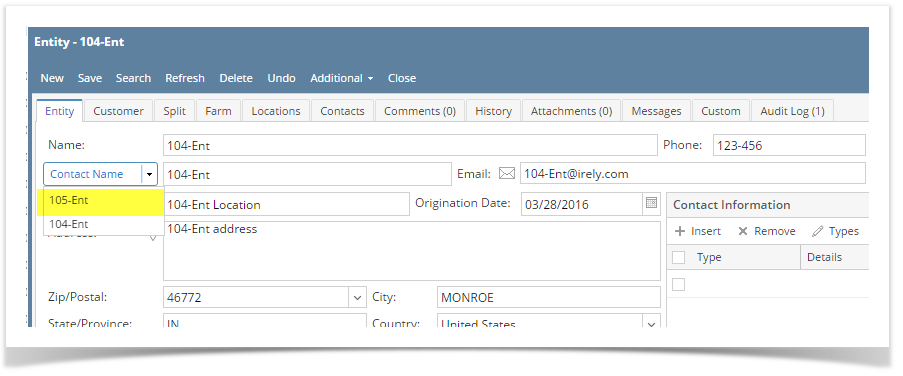
- When the created contact is selected, Contact Name, Phone, Email, Mobile, Fax, Alt Phone, Alt Email and Timezone fields Timezone and Contact Information fields will be updated as well.

| Field | Description | ||
|---|---|---|---|
| Full Name | The first and last name of the contact | ||
| Email (username) | The contacts Email address which is also their Username to log into the Customer Portal | ||
| Title | The contacts Title at the company | ||
| Phone | Phone number for the contact | Fax | Fax number for the contact |
| Contact Method | This is the contacts preferred method of communication. The Drop-down options will be (Email, Phone, Email or Phone). This information needs to appear on the HelpDesk > Transactions > Tickets screen for this contact. | ||
| Mobile | Mobile Phone number for the contact | ||
| Location Name | The contacts Location Name (Selected from the Locations tab) | ||
| Department | The contacts deparment | ||
| Portal Access | Enables/Disabled global access to the Customer Portal. This should be disabled by default. When it's disabled the "Portal Permissions" tab, "Email Login" button and "Change Password" buttons should be hidden. When enabled those buttons and tab are visible. | ||
| Timezone | The timezone the contact is in. This will be important when using the help desk so we know what timezone the contact is in. | ||
| Notes | General Notes for the contact. |
...
Overview
Content Tools