Page History
...
1. Make sure that driver has a specific email and dispatch email is enabled in agslmst. This can be set under Salesperson Maintenance screen. 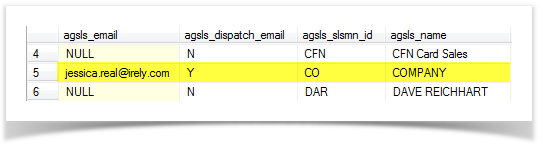
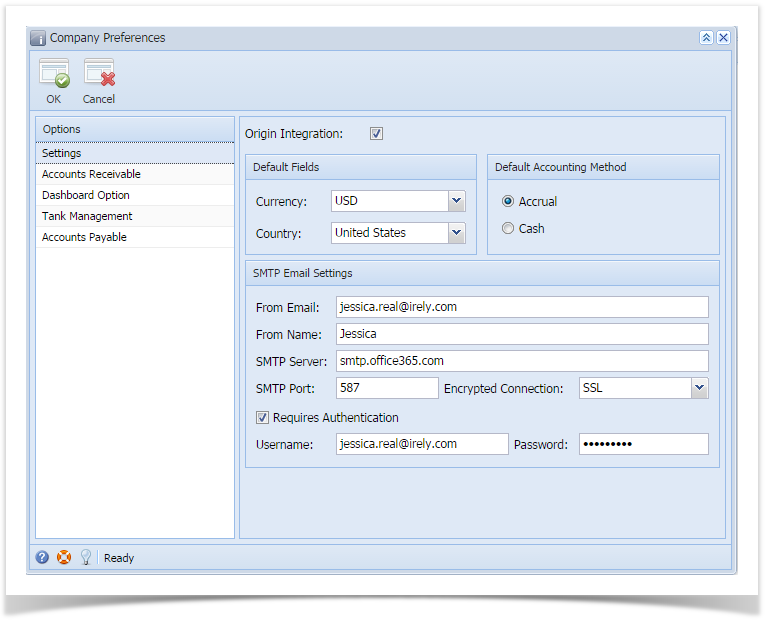
2. From System Manager > Company Preferences menu, setup the SMTP Email settings and provide the necessary details. 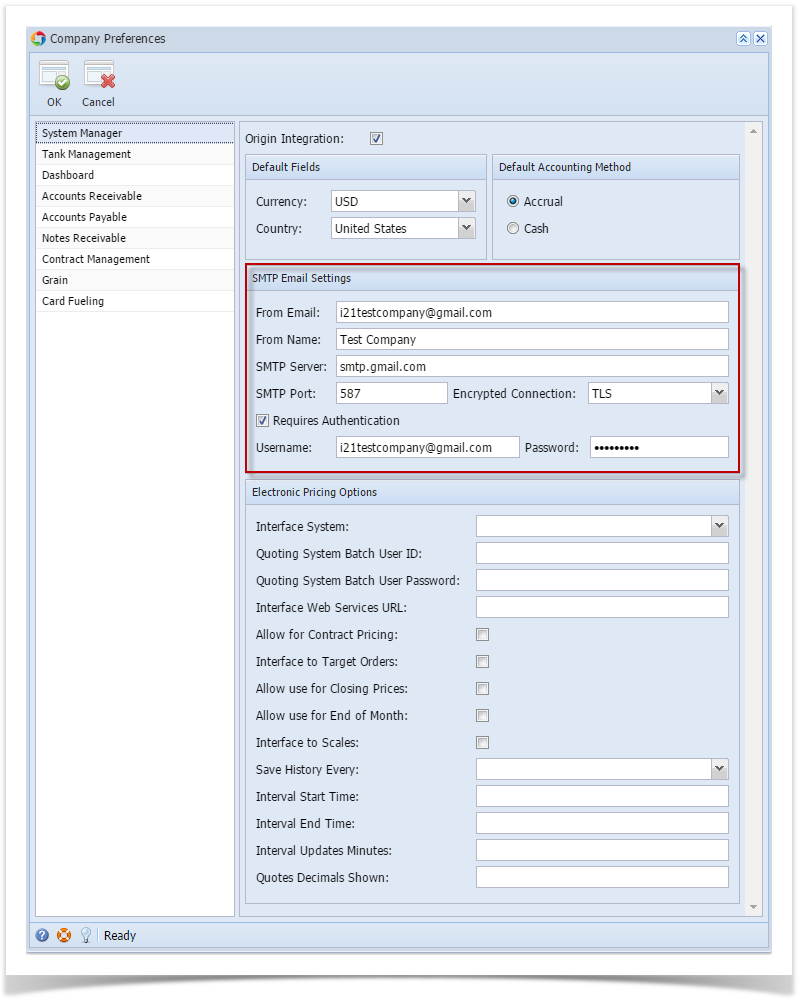
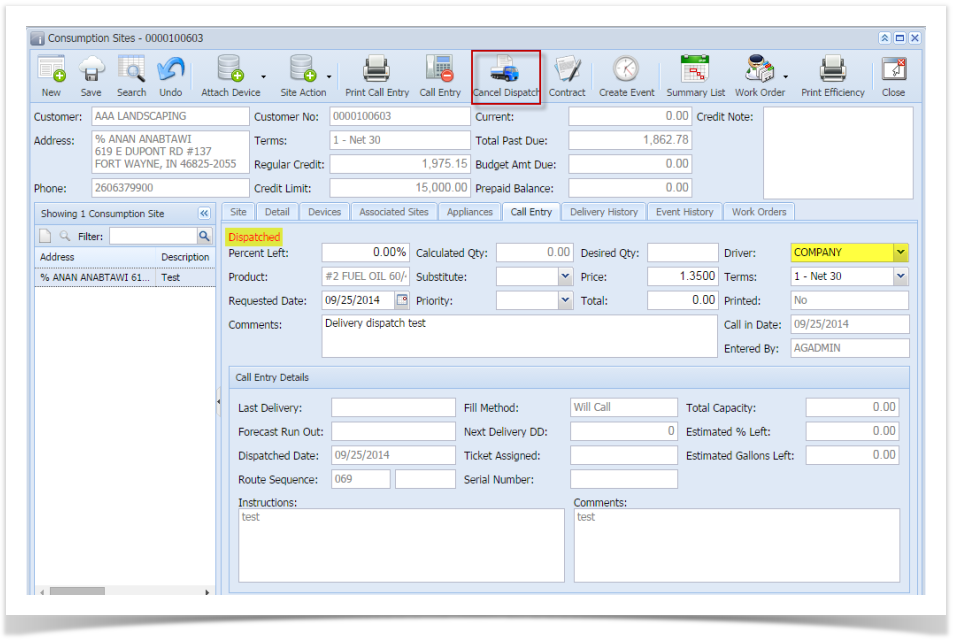
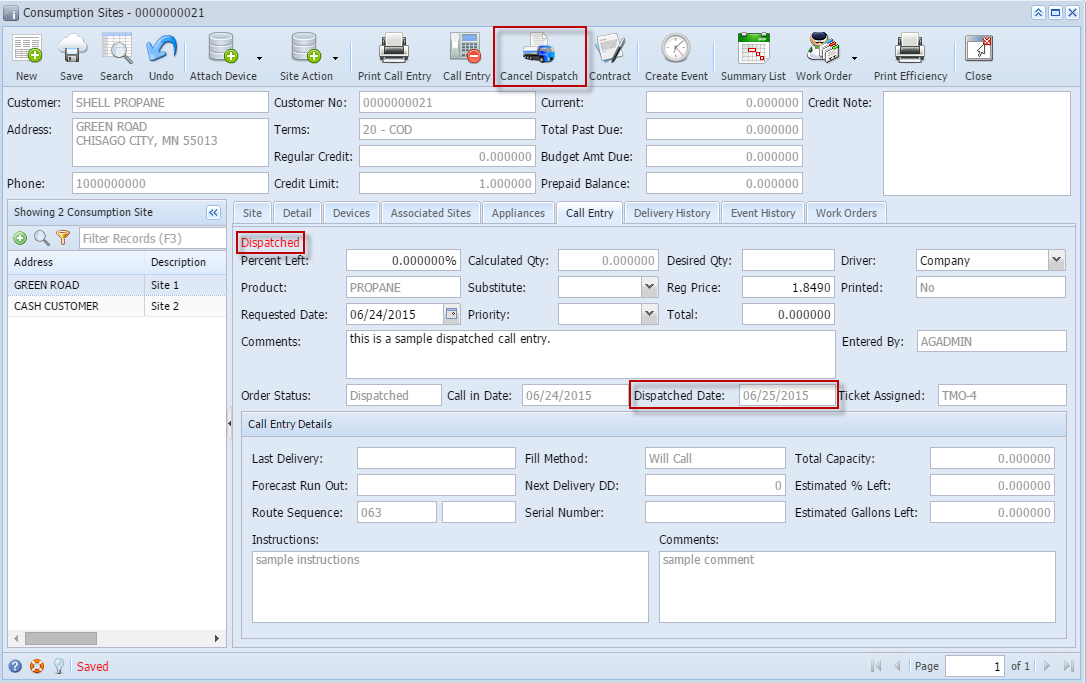
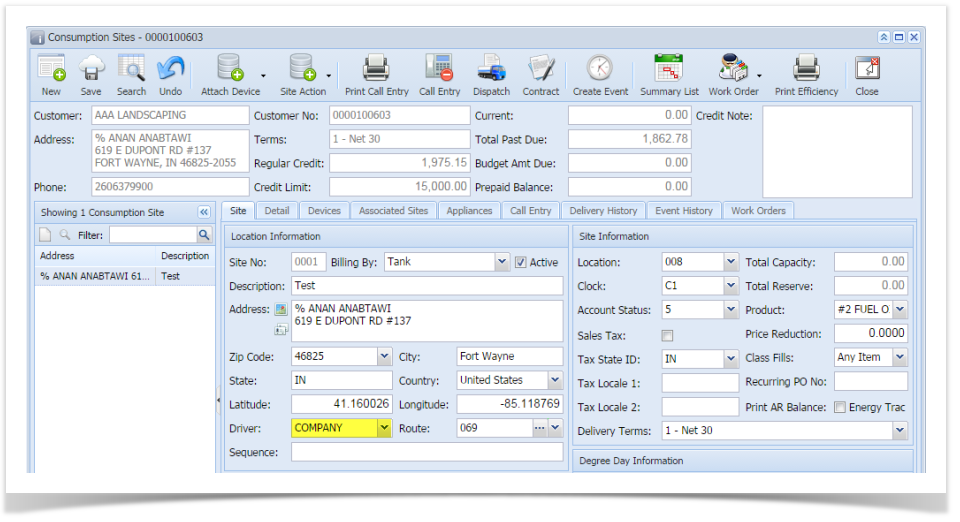
3. Open a site or create a new site and select a specific driver. I selected 'Company' as example. 
4. Create a Call Entry. Notice that Dispatch button will be enabled. You can either select a new driver or use the same driver from site. Save.
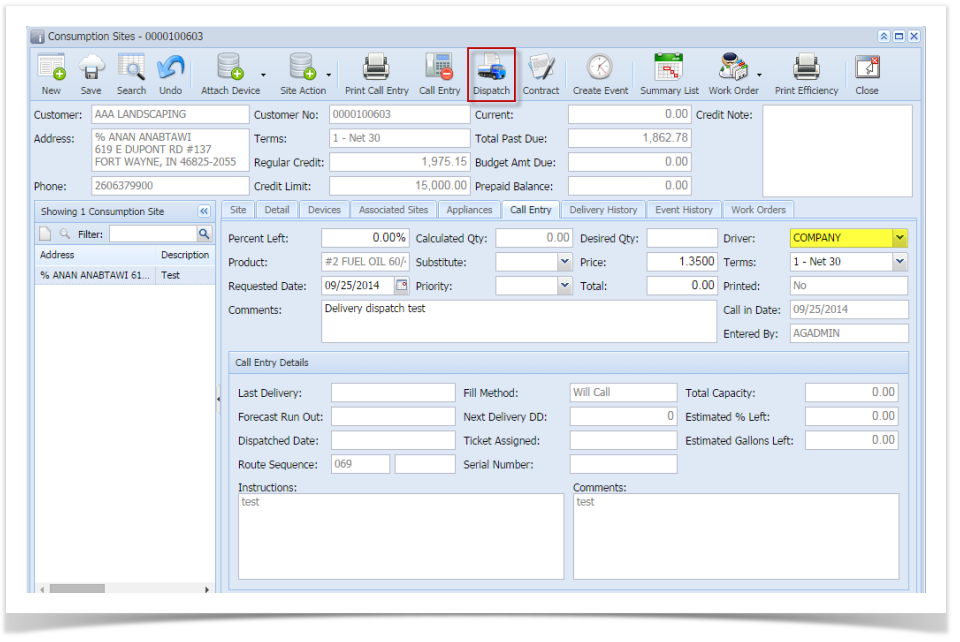
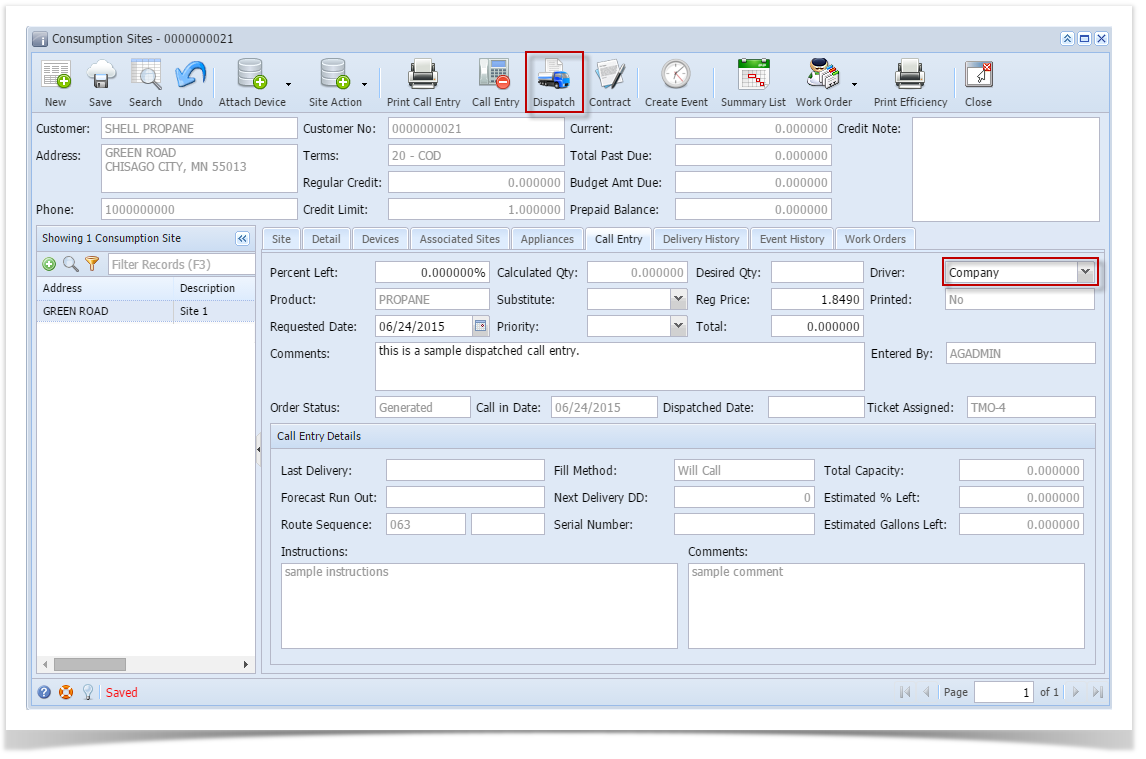
5. Click Dispatch button to mark this order as dispatched.


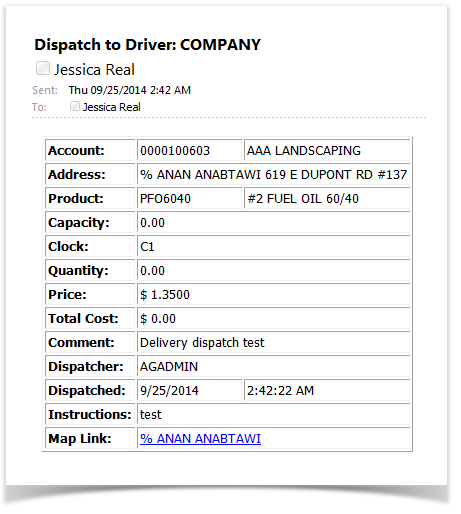
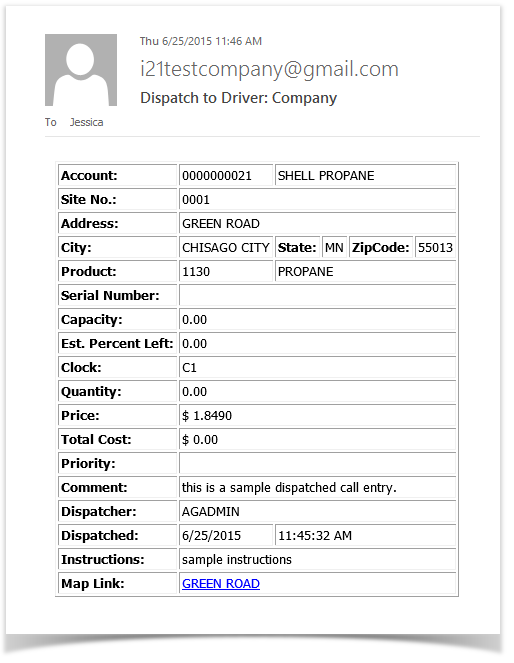
6. After the will call order has been tagged as dispatched, the system will automatically send an email to the driver containing the details of the site and call entry.
7. Click Cancel Dispatch button to cancel the dispatch.
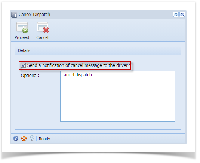
8. Cancel Dispatch form will display. If you wish to notify the driver that dispatched will call order has been cancelled, you should check the option 'Send a notification of cancel message to the driver?' else the driver will not be notified. You can either enter a message to the driver or not.

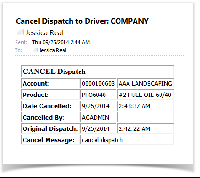
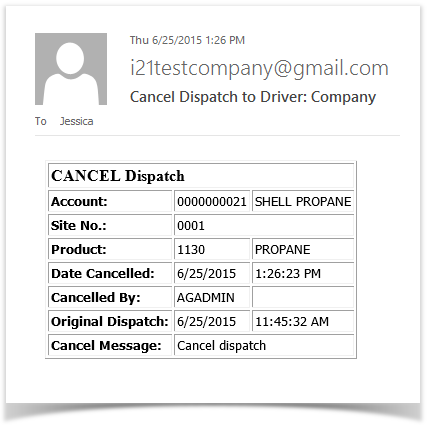
9. Click the Proceed button. Call Entry will be untagged as dispatched. An email will be sent to the driver that contains information such as the original dispatch date and time and the period it has been cancelled and who cancelled it.
| Expand | ||
|---|---|---|
| ||
Here's how to use Delivery Dispatch with Email Notification to Driver
1. Make sure that driver has a specific email and dispatch email is enabled in agslmst. This can be set under Salesperson Maintenance screen. 3. Open a site or create a new site and select a specific driver. I selected 'Company' as example. 4. Create a Call Entry. Notice that Dispatch button will be enabled. You can either select a new driver or use the same driver from site. Save. 5. Click Dispatch button to mark this order as dispatched. 6. After the will call order has been tagged as dispatched, the system will automatically send an email to the driver containing the details of the site and call entry. 7. Click Cancel Dispatch button to cancel the dispatch. 8. Cancel Dispatch form will display. If you wish to notify the driver that dispatched will call order has been cancelled, you should check the option 'Send a notification of cancel message to the driver?' else the driver will not be notified. You can either enter a message to the driver or not.
9. Click Proceed button. Call Entry will be untagged as dispatched. An email will be sent to the driver that contains information such as the original dispatch date and time and the period it has been cancelled and who cancelled it.
|
Overview
Content Tools