Page History
...
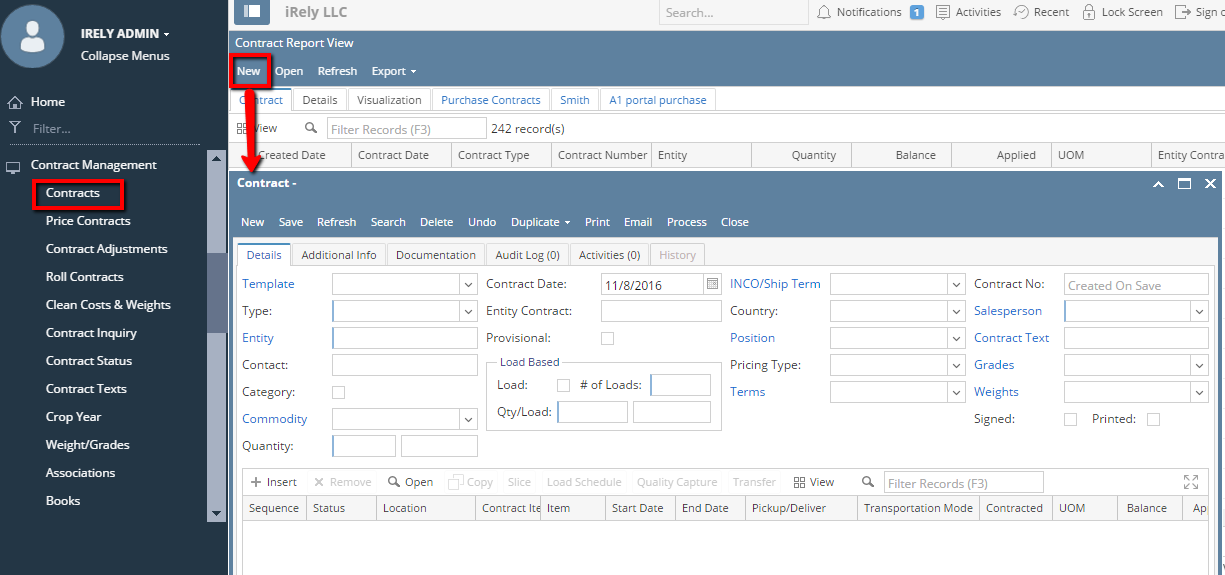
- From the Contract Management menu, click Contracts. If there's an existing contract, Search Contract screen will open. Otherwise, New contract screen will open automatically.
- If Contract search screen opens, click on New button to open blank contract screen.
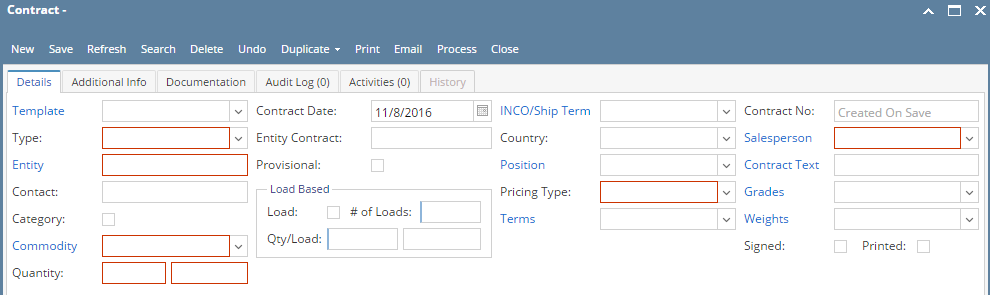
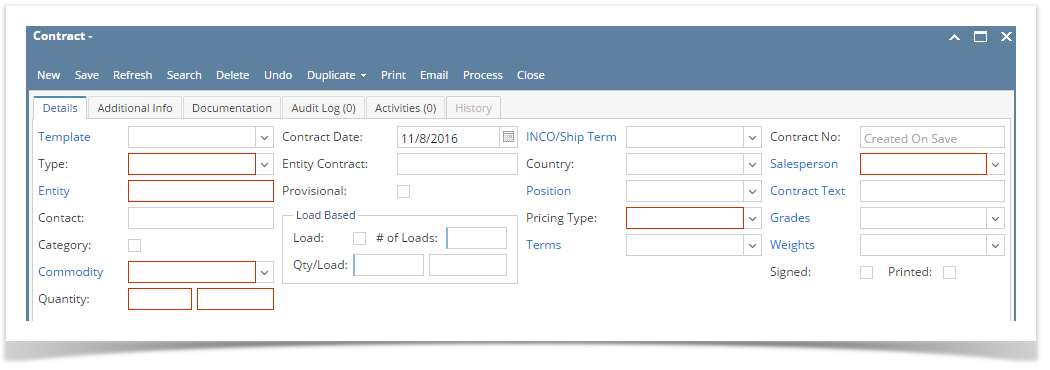
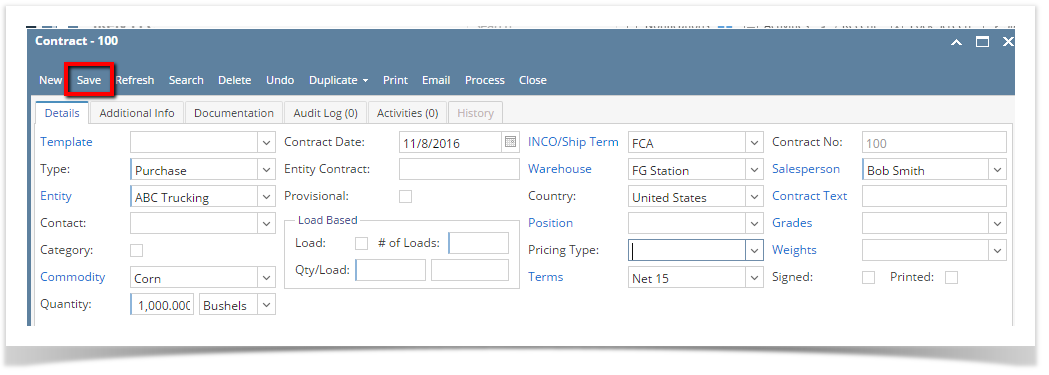
- Enter data in the Details tab.
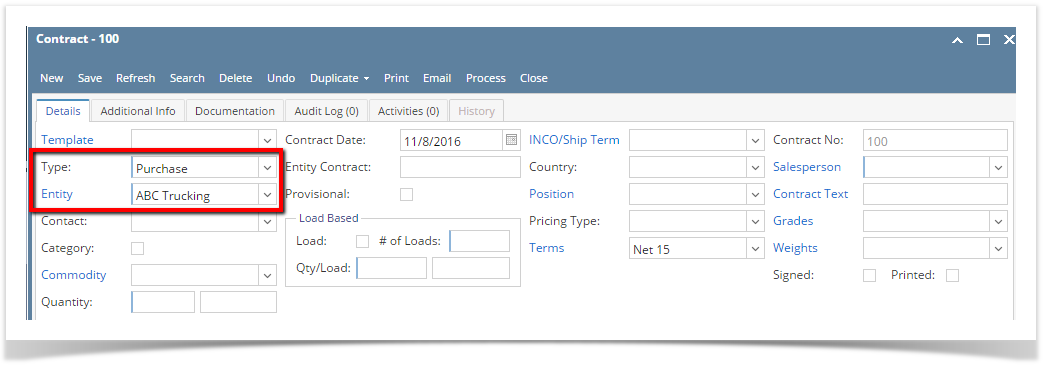
- The below highlighted fields are mandatory to save a contract header.
- To select the contract type, click on the drop down. Select Purchase/ Sales from the drop down.
- If Contract type is Purchase, select a Vendor from the vendor drop down.
If Contract type is Sales, select the Customer from the customer drop down.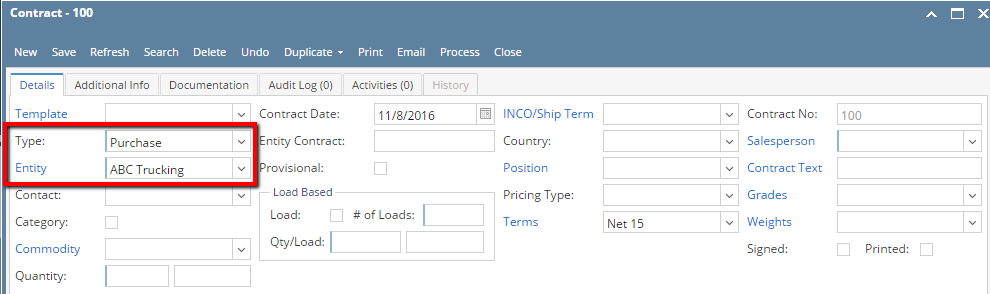
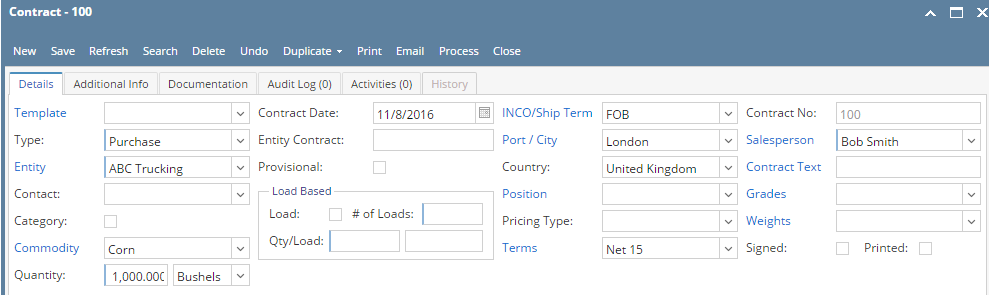
- To select a Commodity, click on the Commodity drop list.
- Enter the Contract Quantity.
- The UOM field is automatically filled in with the default UOM set in the Inventory> Commodity option. To change it for a specific contract, select different UOM from the drop list.

- Contract Date defaults to today's date. To change the date, click on the combo box button to open the mini calendar and select date. Press the TAB key to move your cursor to the next field.
- Enter customer contract info in Customer Contract field.
- The INCO/Ship term field is automatically filled in with the default set in the Contract Management> INCO/Ship term option. To change it for a specific contract, select different term from combo box.
- If INCO/ Ship term is configured as Port/City then, select the Port/City from the drop list.
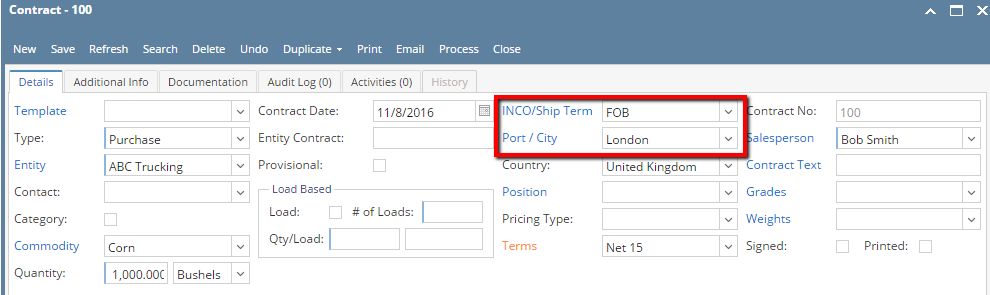
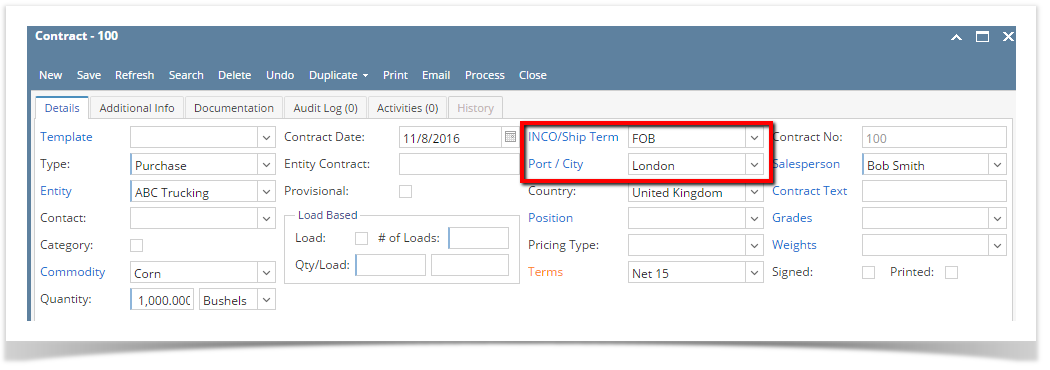
If INCO/ Ship term is configured as warehouse then, select the Warehouse from the drop list.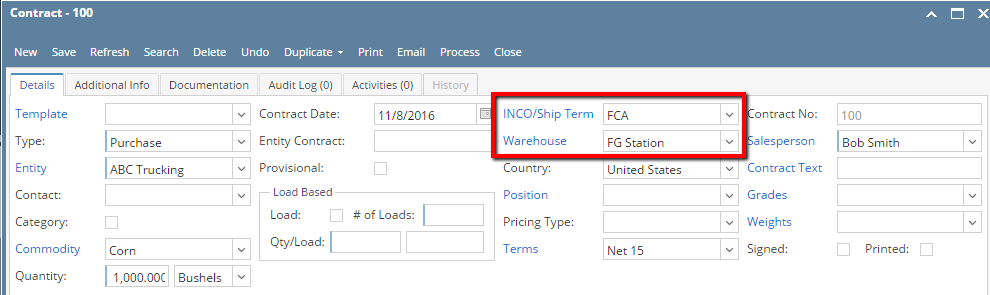

- Select the Country from the drop list.
- The Position field is automatically filled in with the default set in the Contract Management> Contract position option. To change it for a specific contract, select different Position from combo box.
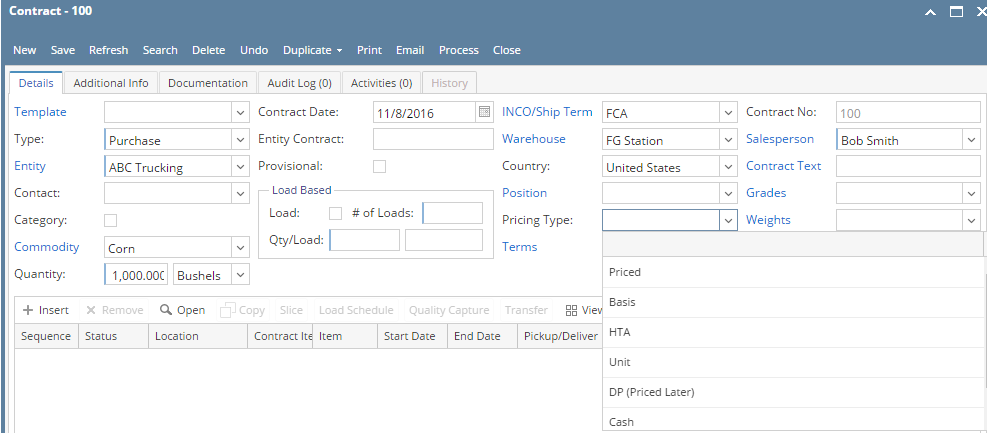
- To select the Pricing Type, click on the Pricing Type drop list. Select pricing type.

- The Terms field is automatically filled in with the default term set in the Vendor/Customer maintenance. To change it for a specific contract, select different Pay terms from combo box.
- Contract no is auto generated by the system. To change it for a specific contract, enter different contract no.
- Select the Sales Person from the drop list.
- The Contract Text field is automatically filled in with the default set in the Contract Management > Contract Text option. To change it for a specific contract, select different Text from combo box.
- Select Grades from the drop list.
- Select Weights from the drop list.
- Check the Signed check box as required.
- Printed is automatically checked once the contract is printed.
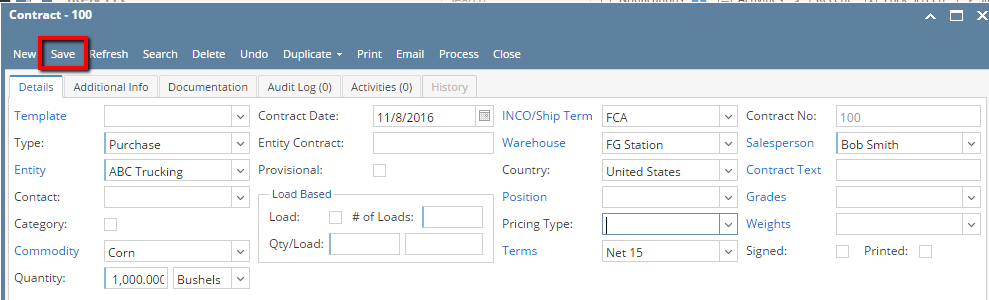
- Click on Save button.
Overview
Content Tools