Page History
...
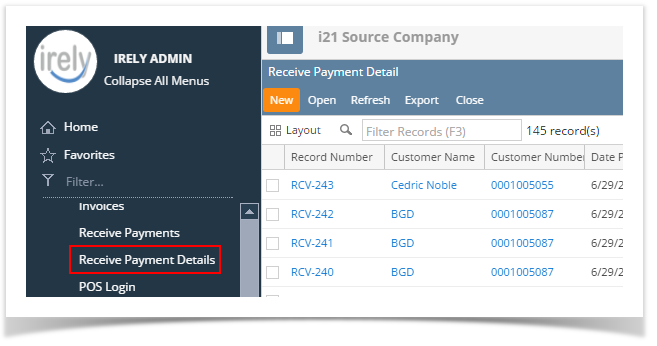
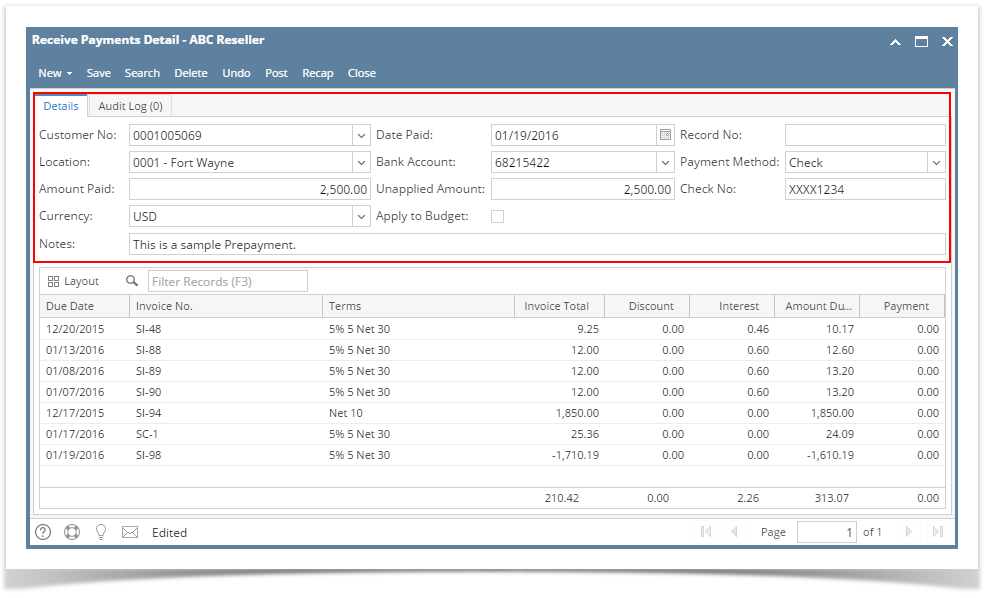
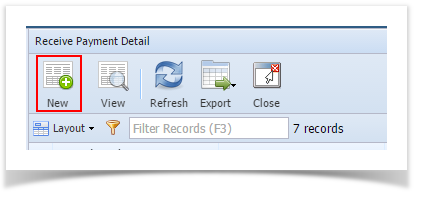
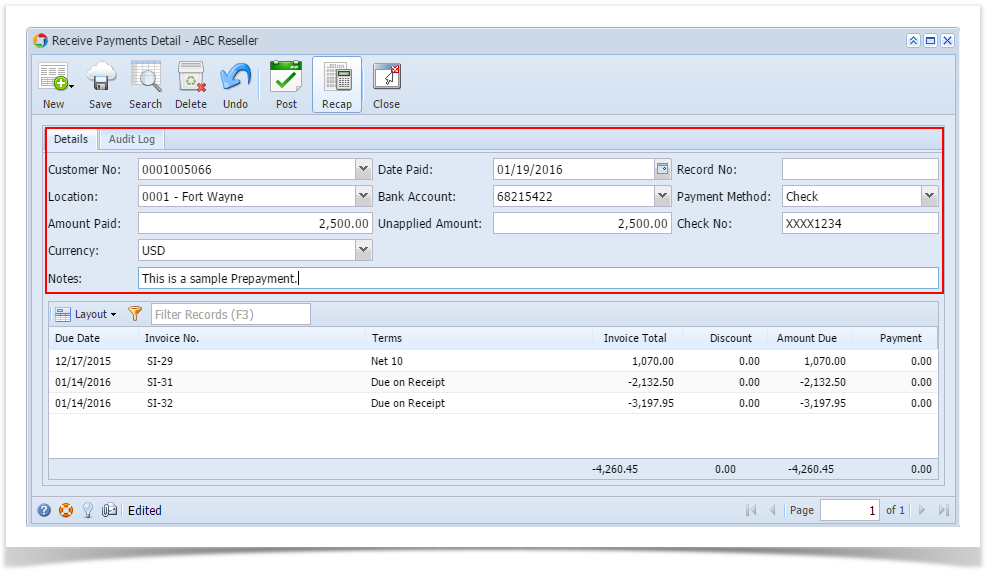
- Go to Sales | Receive Payment Details menu. Click New button on the integrated search grid to open a new Receive Payments Detail screen.
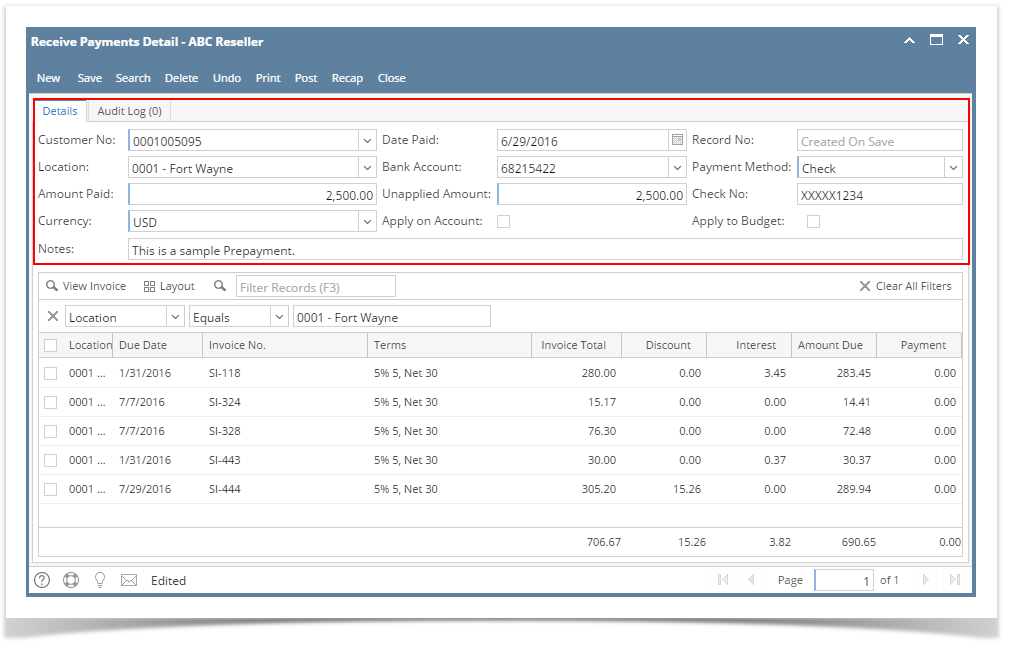
Some of the fields, like Location, Currency, Bank Account, andDate Paid are populated by default. You can still change the value of these fields if necessary. - Fill out the header fields.
- Select the Customer No the prepayment is from.
- Select the Location.
- Select a Payment Method.
- In the Amount Paid field, enter the prepayment amount from the customer.
- Fill out other fields as needed. Refer to Receive Payments Detail | Field Description | Header Details to help you in filling out the fields.
- Note: Do not select/pay any invoice on grid area.
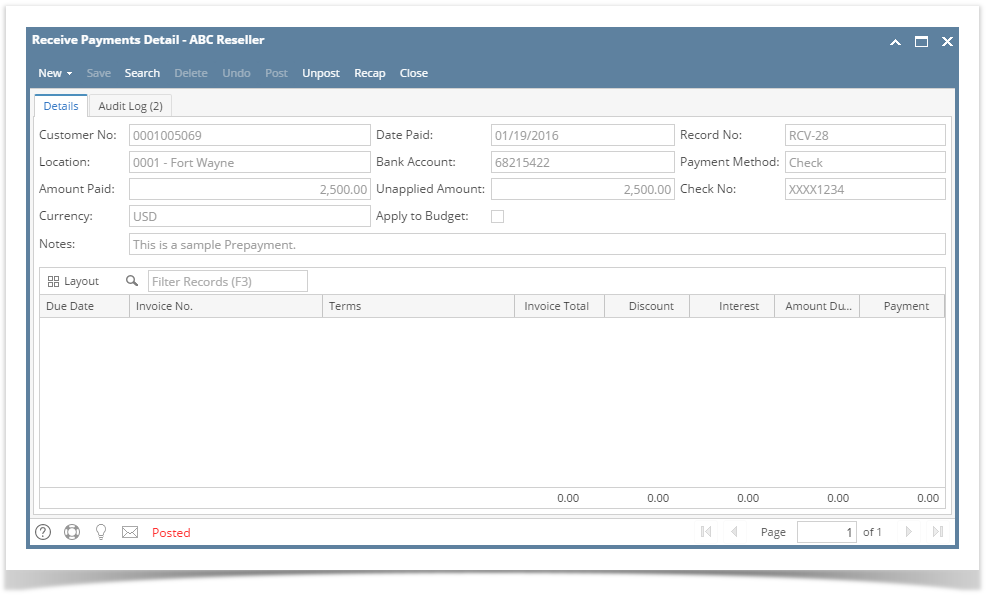
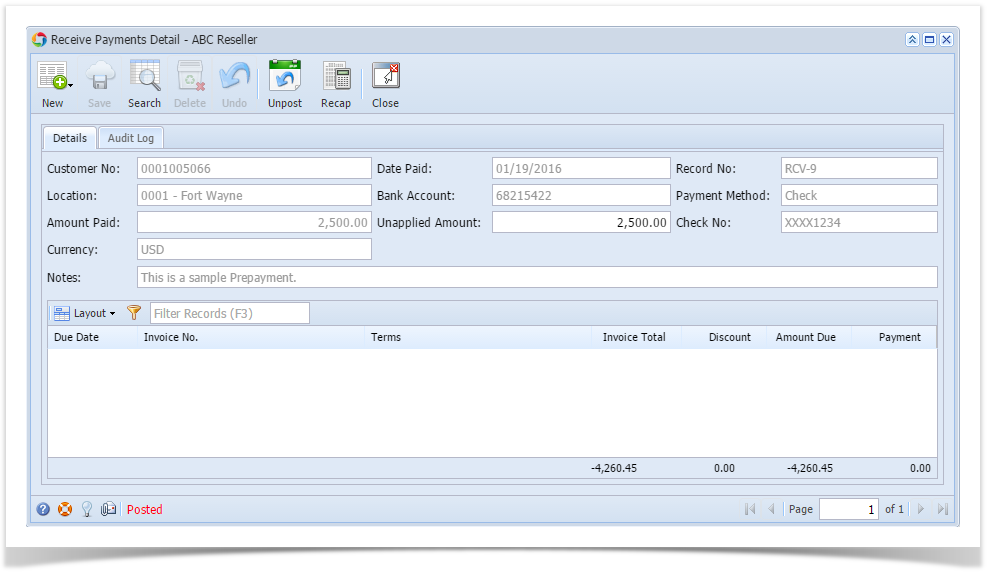
- Post the transaction.
- Click OK on the confirmation message.
Here is a sample posted prepayment.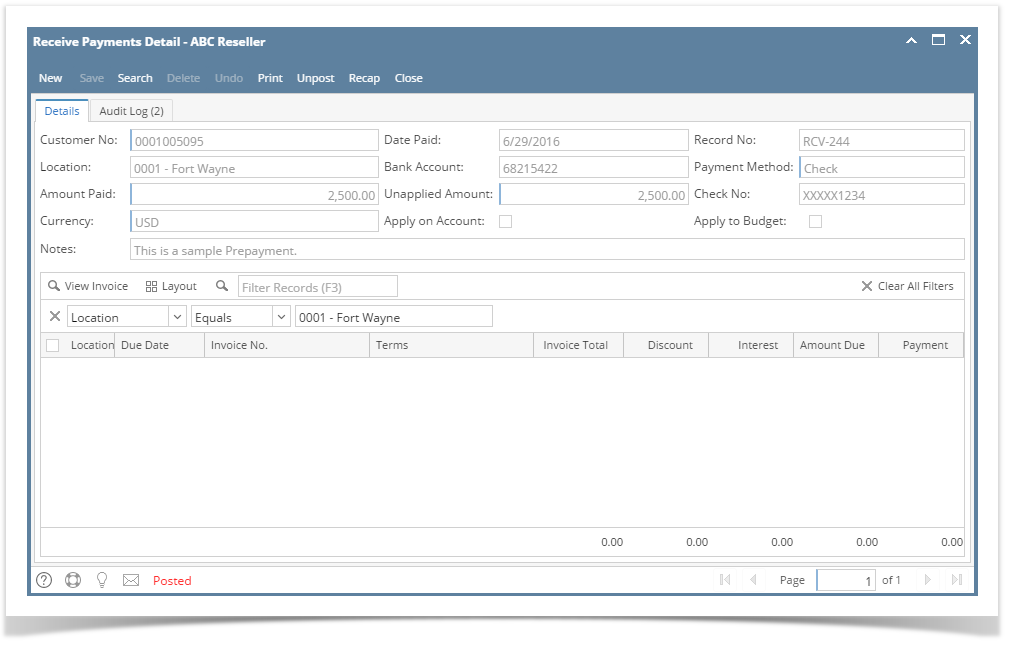
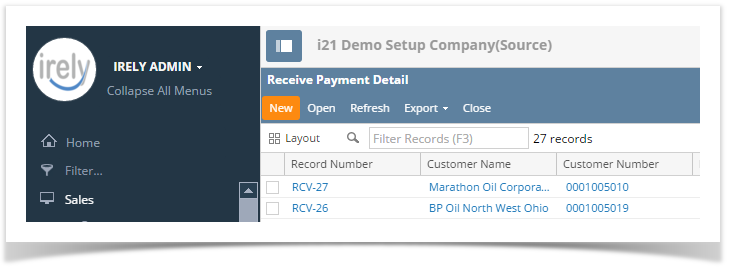
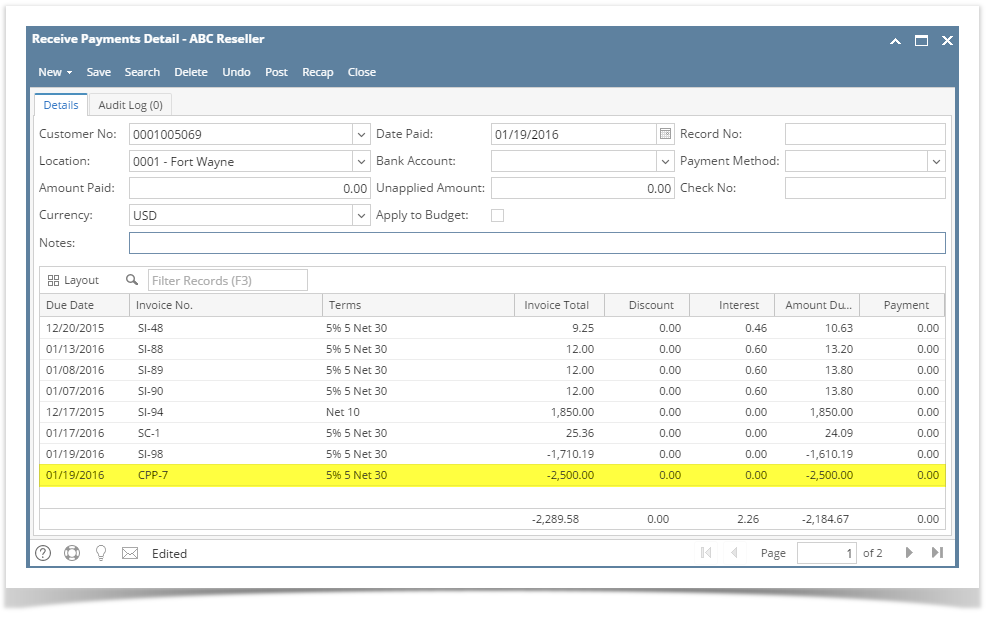
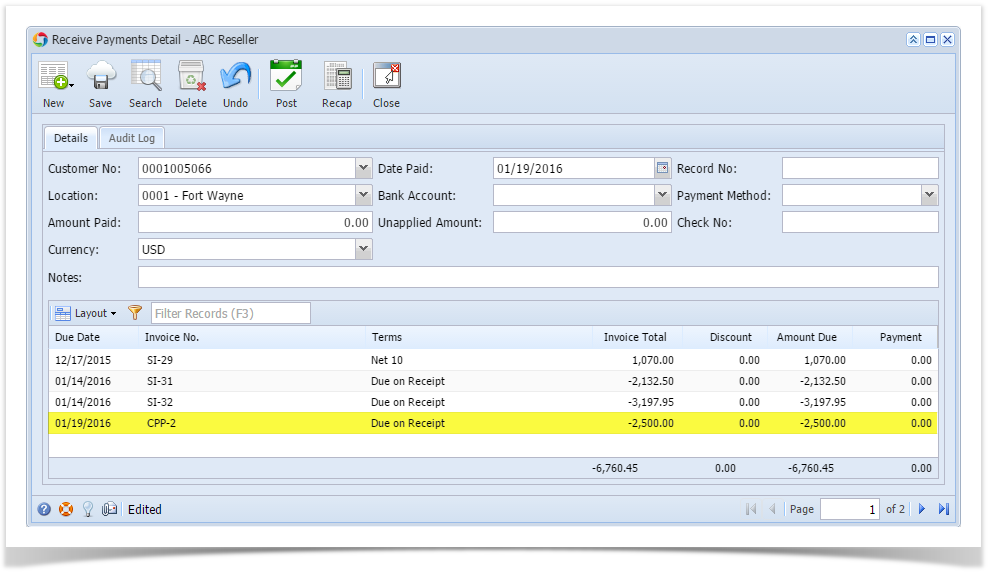
When you create another Receive Payments Detail for the customer, the prepayment will be displayed in the grid as a negative amount. You can then use it to offset or pay customer invoices (refer to How to Use Credits to Payoff Invoice).
| Expand | ||
|---|---|---|
| ||
|
| Expand | ||
|---|---|---|
| ||
|
| Expand | ||
|---|---|---|
| ||
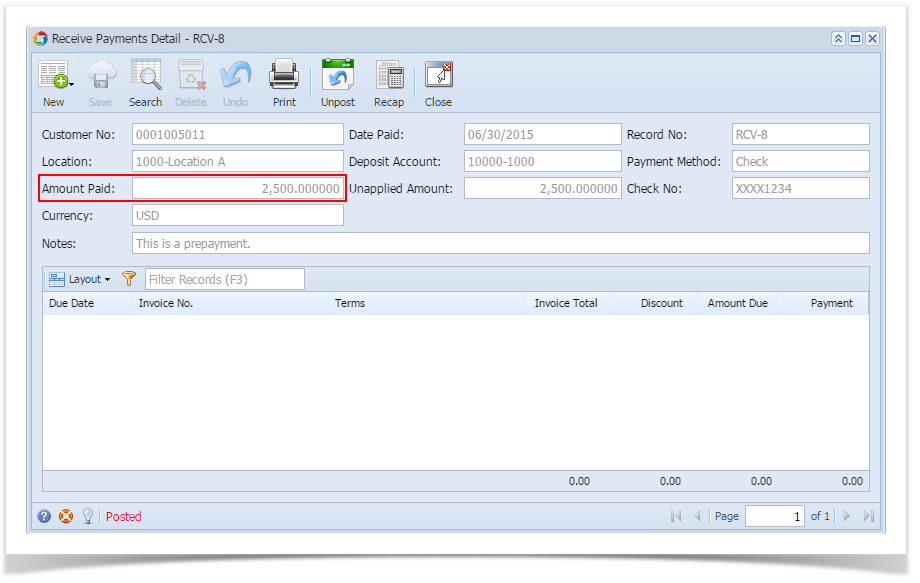
The Receive Payments Detail screen can be used to enter advanced deposits received from your customer. Below are the steps in doing this.
|
...
|
...
|
...
|
...
|
...
|
...
|

Overview
Content Tools