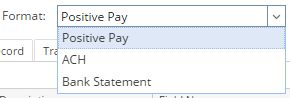
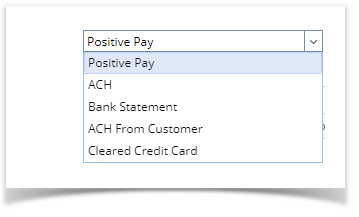
Image Added Image Added- In the Format field, click the dropdown button to show the combo box where Positive Pay, ACH, Bank Statement and ACH From Customer options are available. Select the format you would like to create.
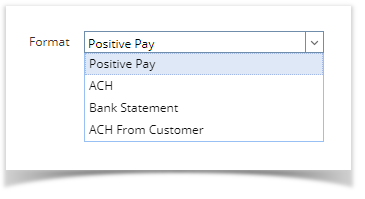 Image Added Image Added - In the File Type, select the type of file you would like to have as output file.
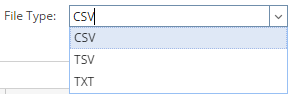 Image Added Image Added - Setup these tabs.
- Account Header Record
- Logon Record
- Check Record
- Trailer Record
- Void Trailer Record
*Note: - Bank Statement Format will enable Check Record tab only and for ACH and Positive Pay all tabs will be available.
- In ACH From Customer Format, Check Record tab will be Invoice Record tab.
- Click Save toolbar button to save the record.
- Click Close toolbar button to close the screen.
|


 There are a number of tabs on the Bank File Formats screen and each is described below: