Page History
...
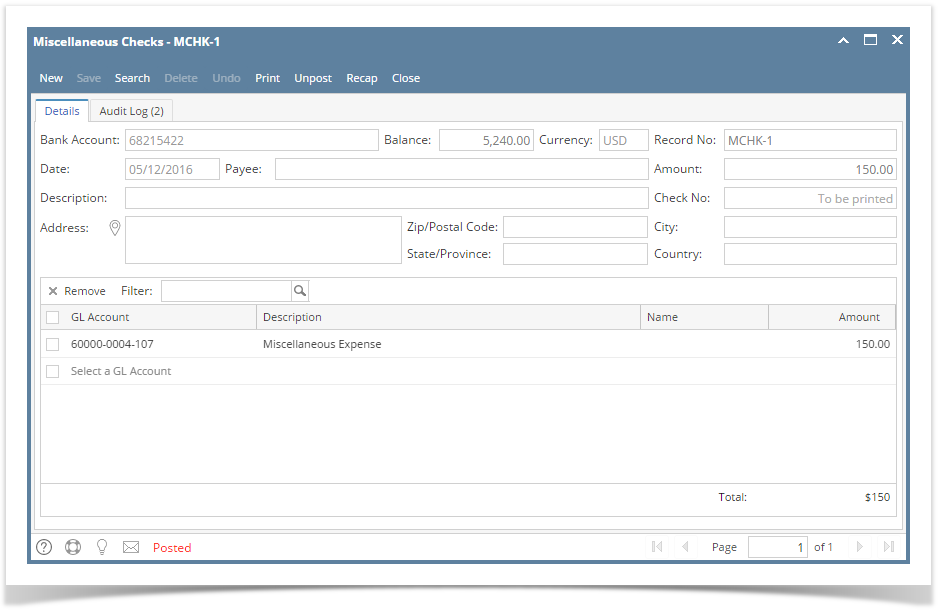
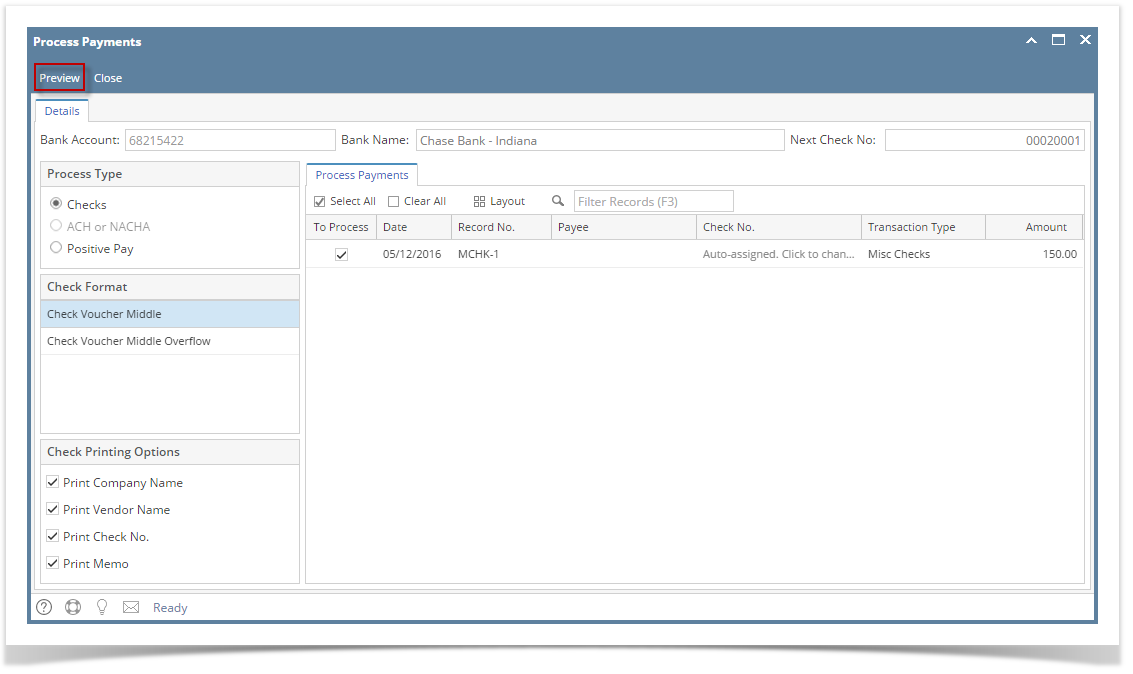
Select the miscellaneous check you want to print. Click Print toolbar button.

Note If the transaction is to be printed right away, you may skip posting it. Instead, click Print toolbar button and it will post and print the transaction. See How to Post Miscellaneous Check.
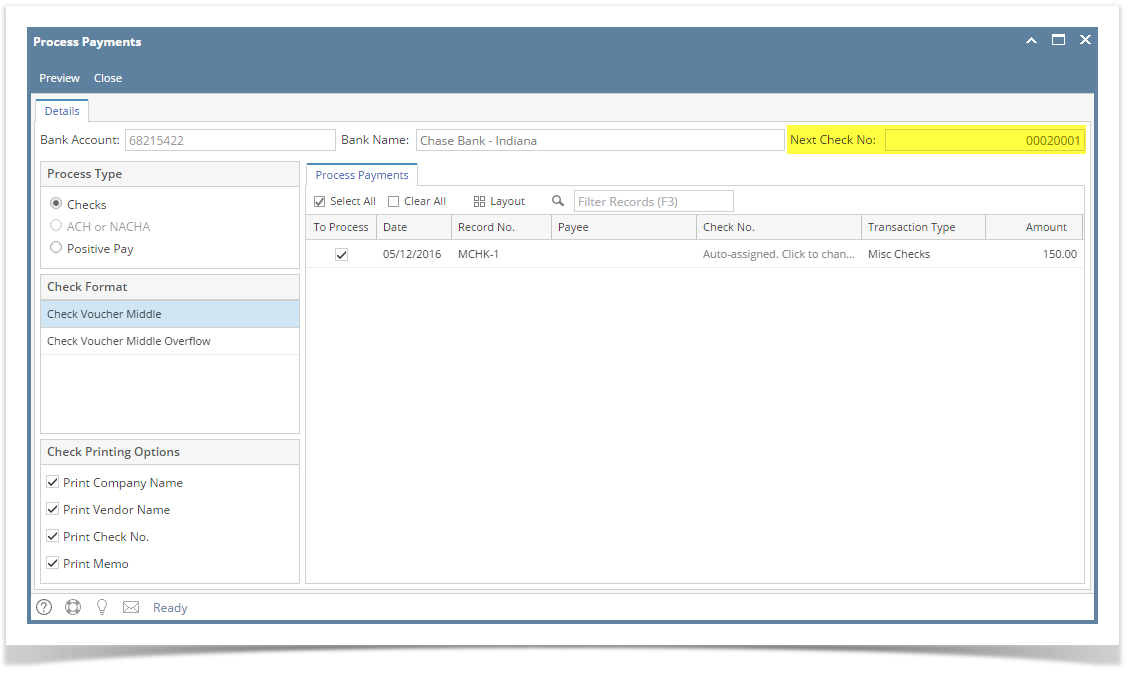
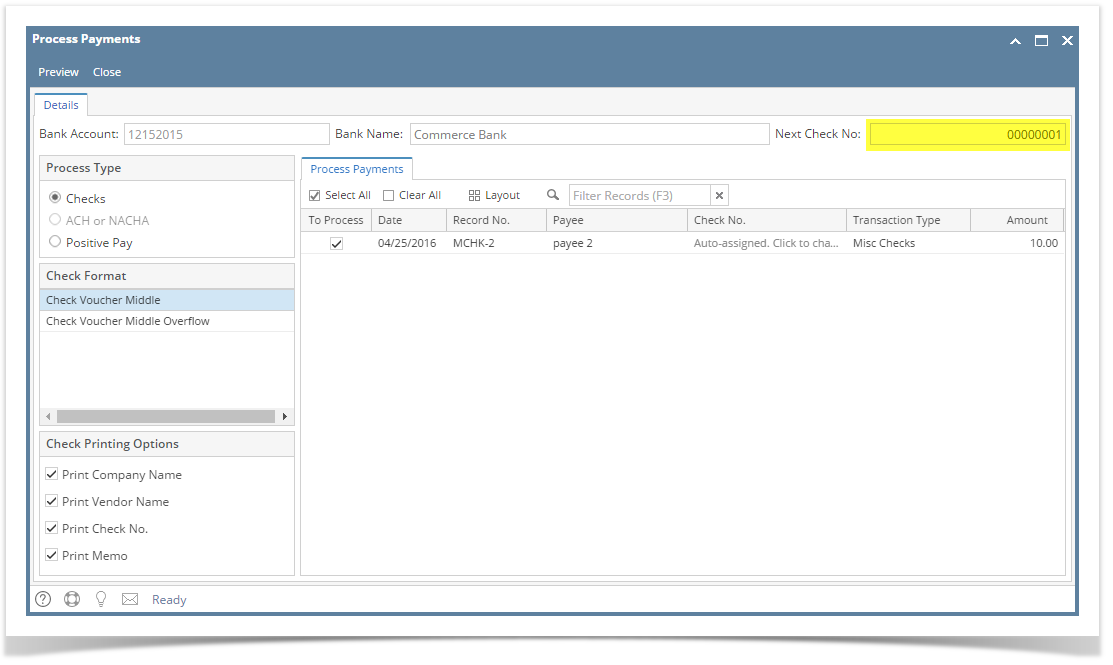
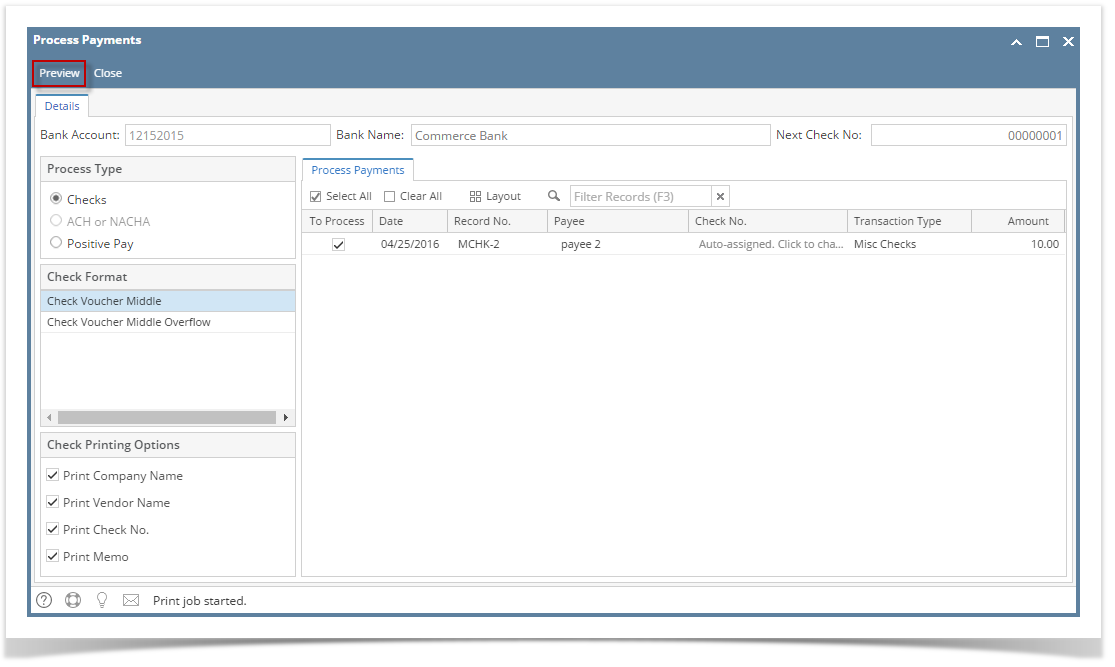
The Print Checks screen opens.
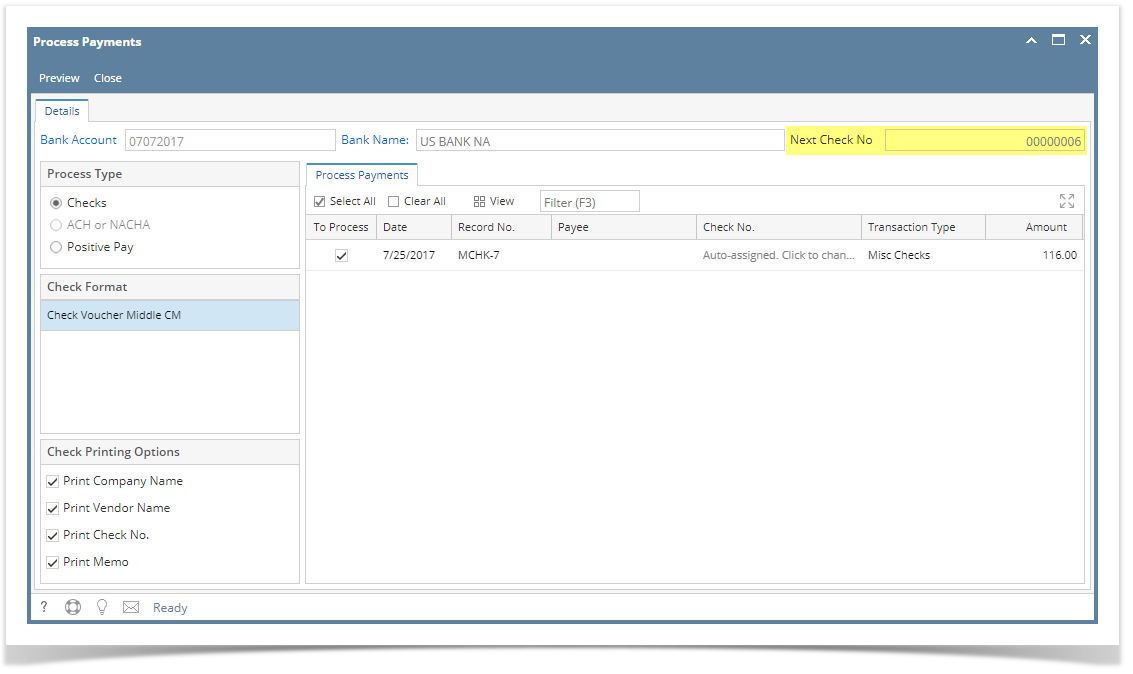
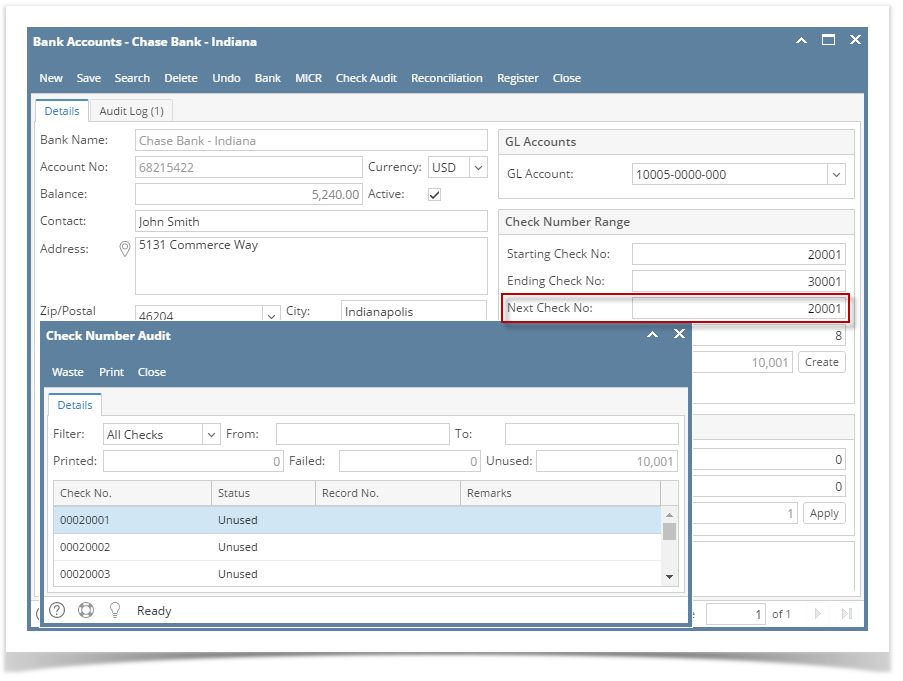
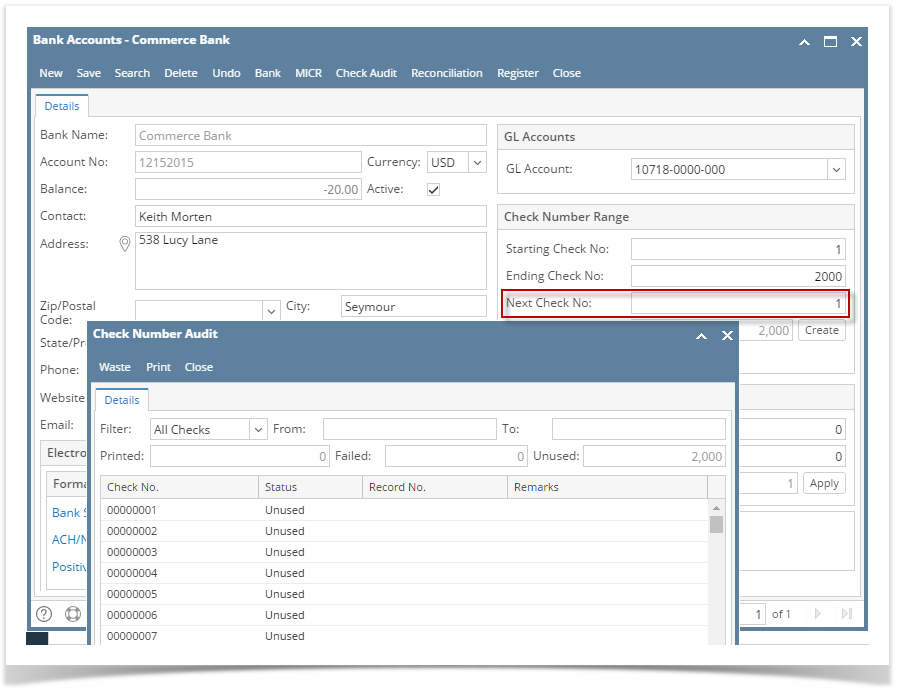
If you have setup Check Number Range for the bank account used for the Miscellaneous Check, the Next Check No field in the Print Checks screen will show the Next Check No setup in the Bank Accounts screen > Check Number Range panel > Next Check No field.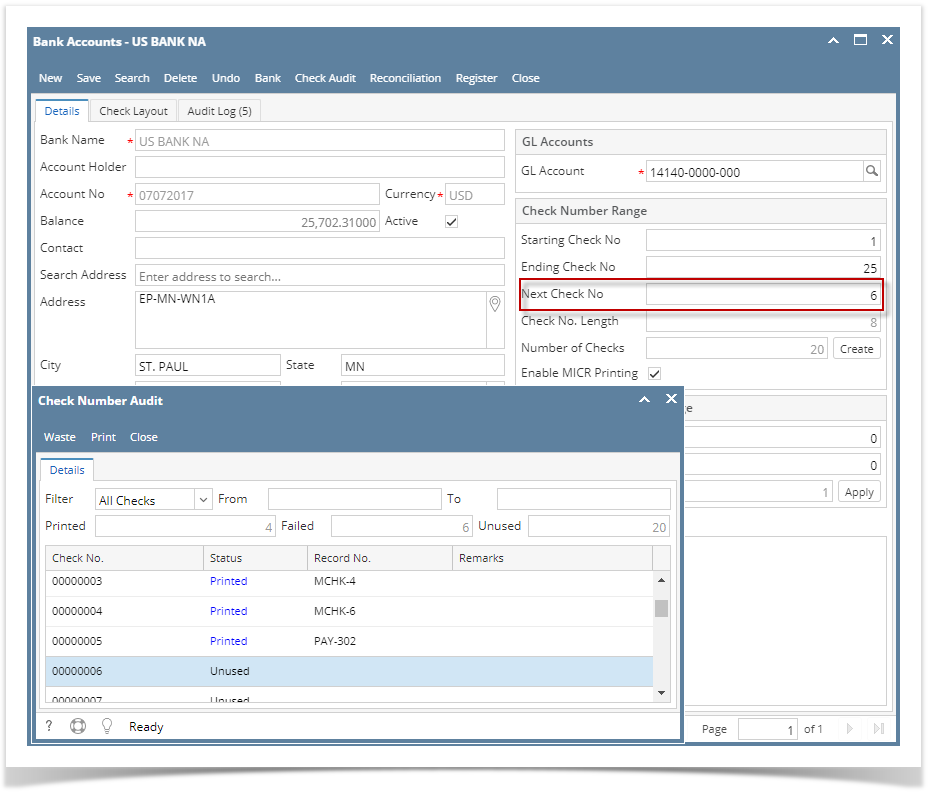
Note The system by default will convert the Check Number Range entered into an 8-digit number.
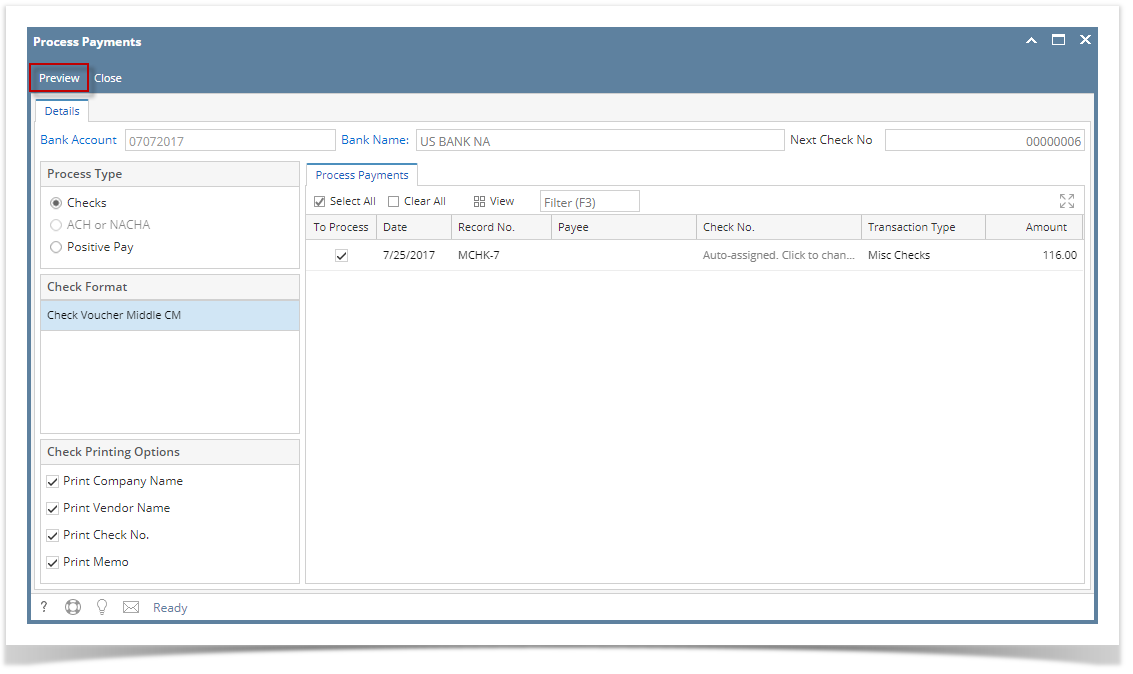
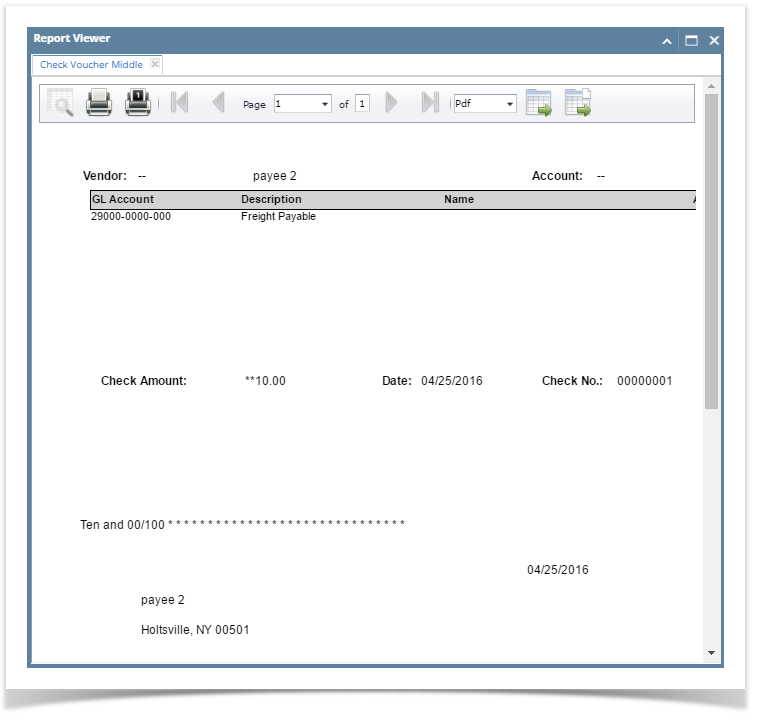
- Click Preview toolbar button.
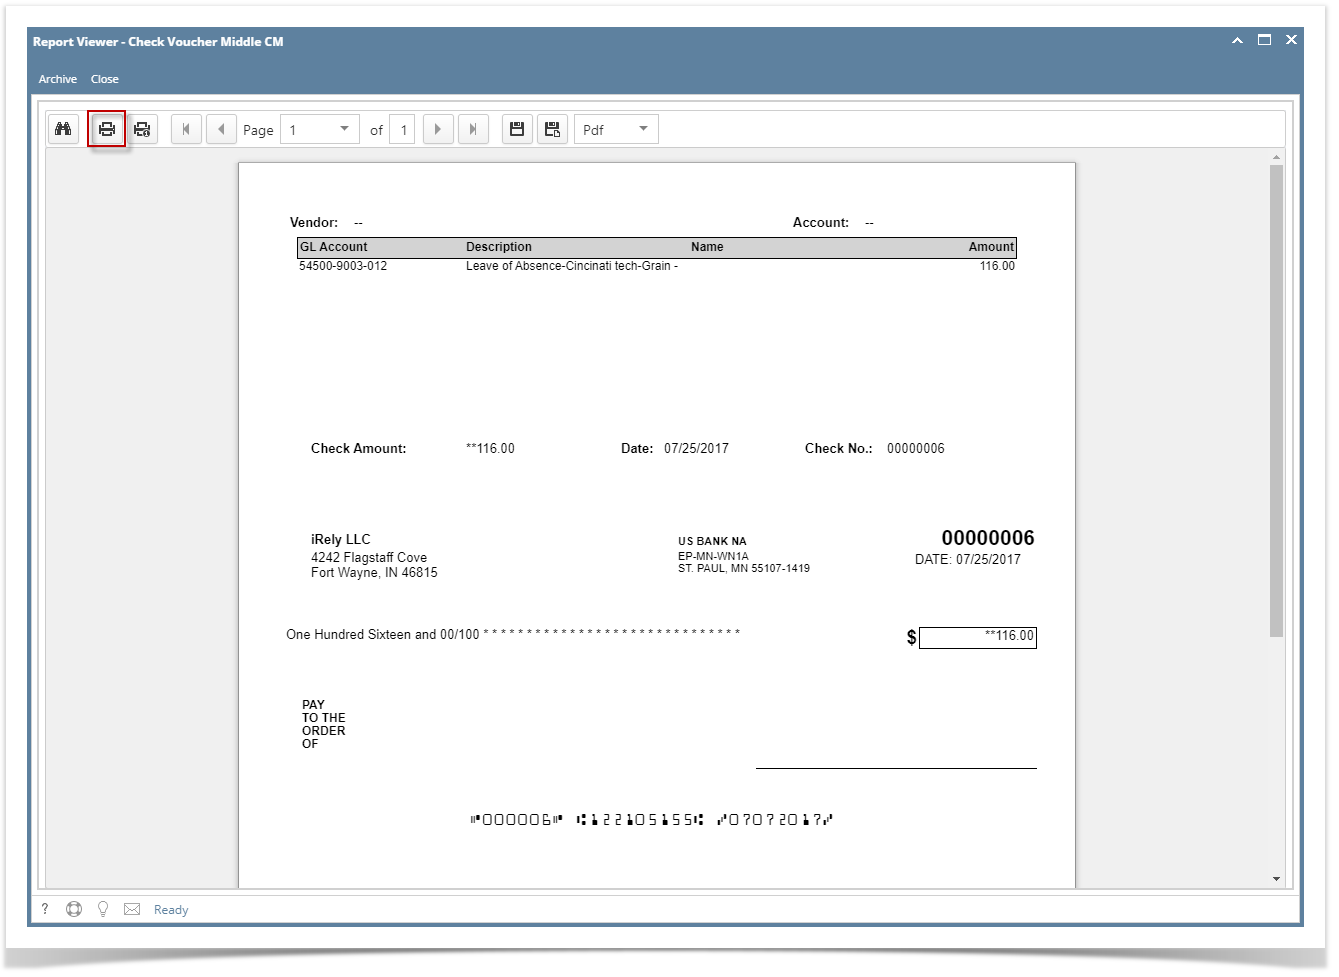
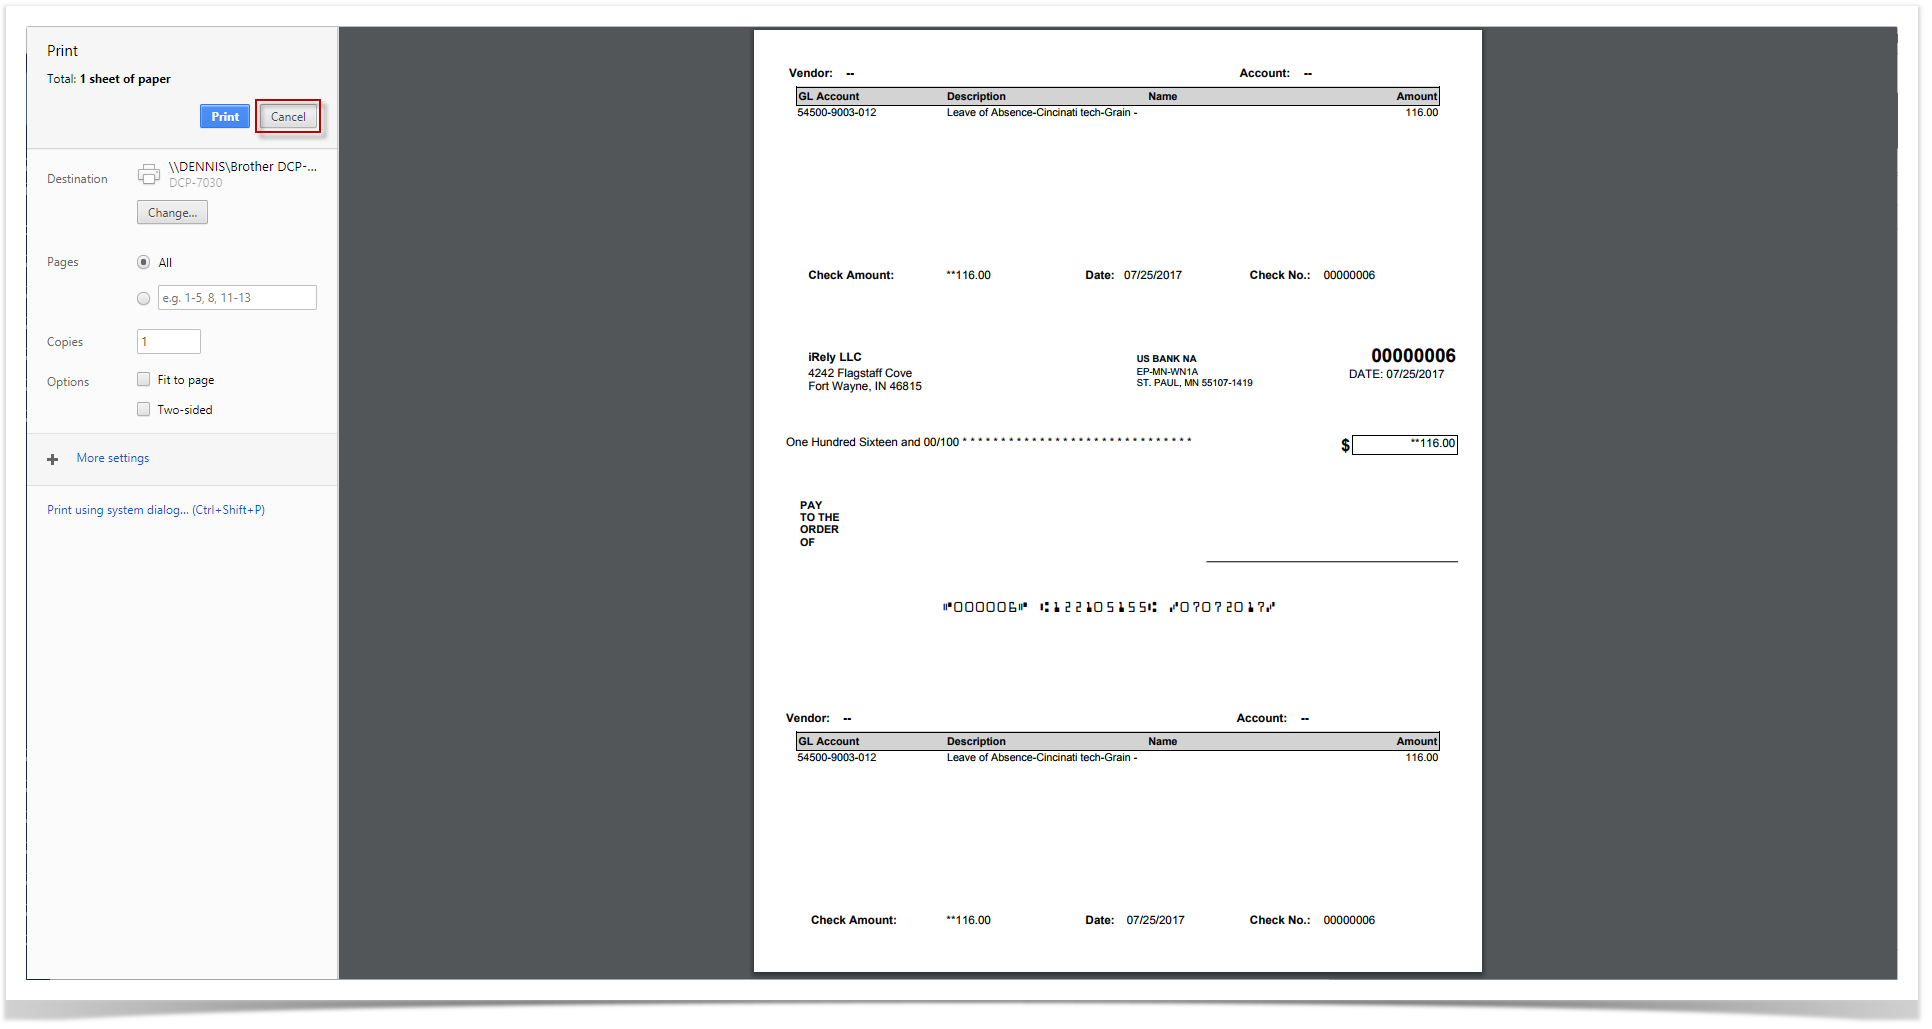
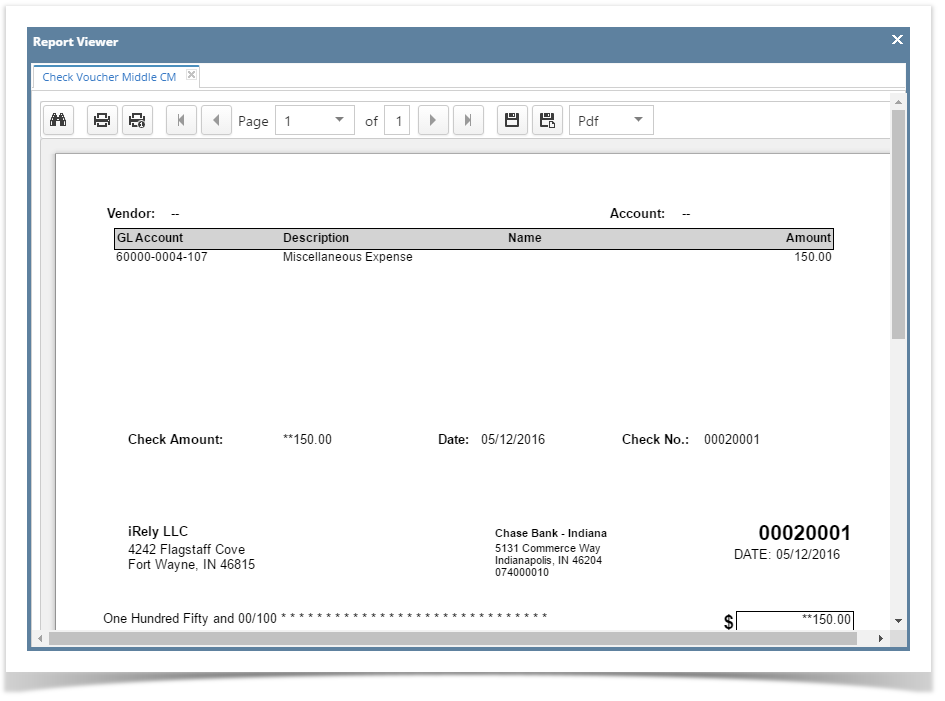
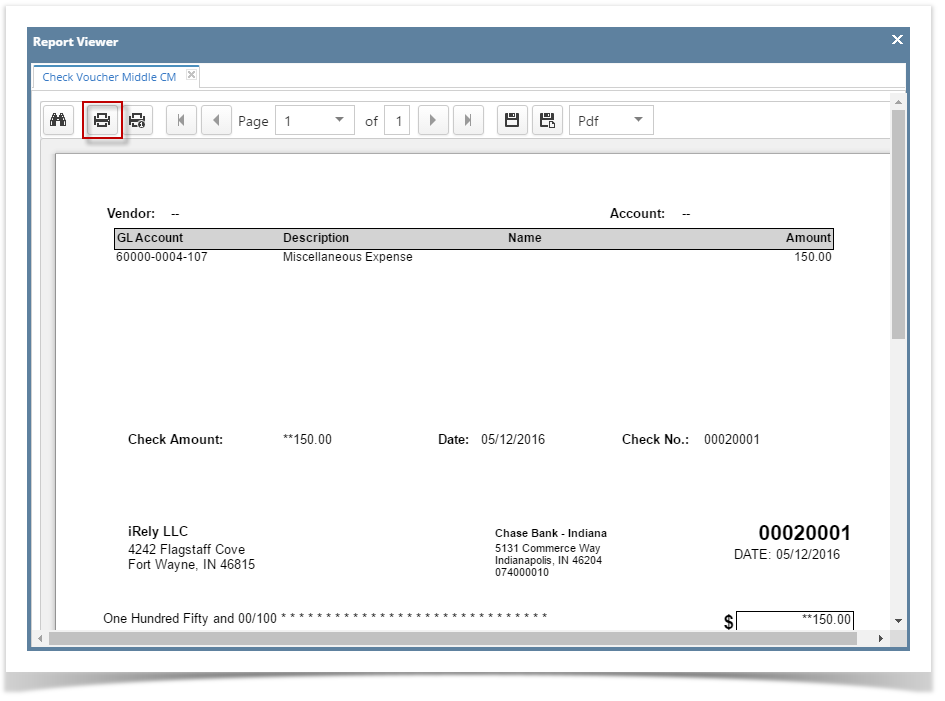
- The Report Viewer will open showing the Check Voucher Middle report.

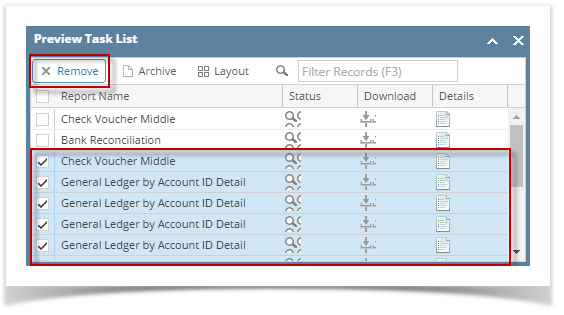
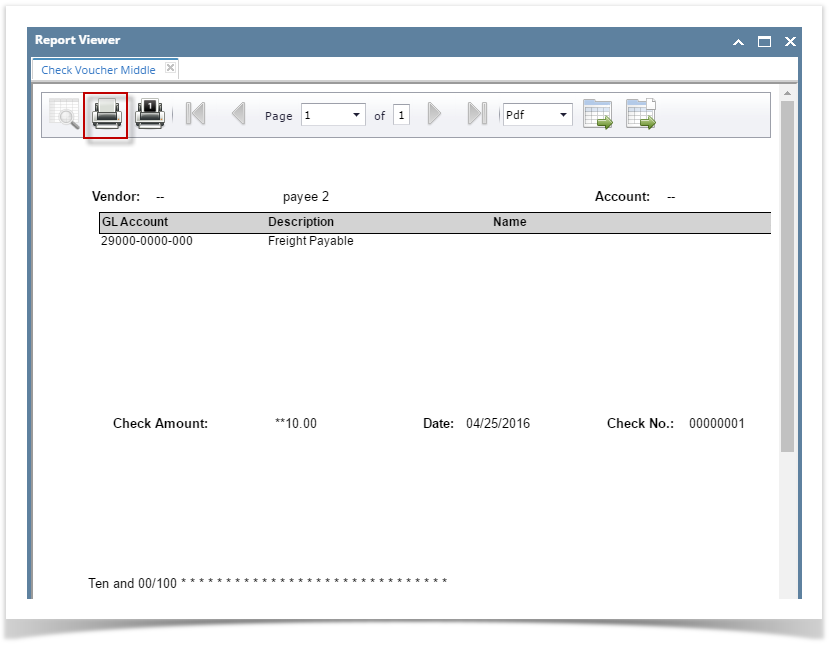
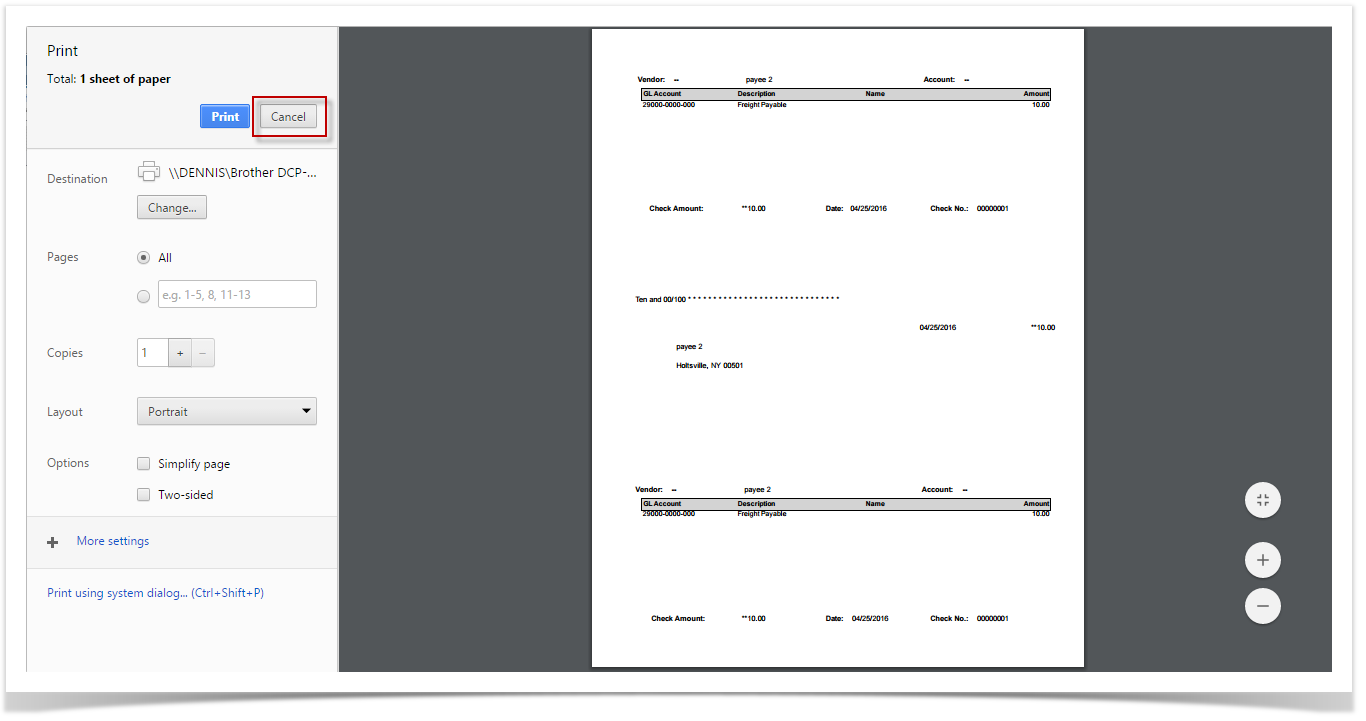
- Click Print button to open the Print Dialog box and the Print Check Verification screen.
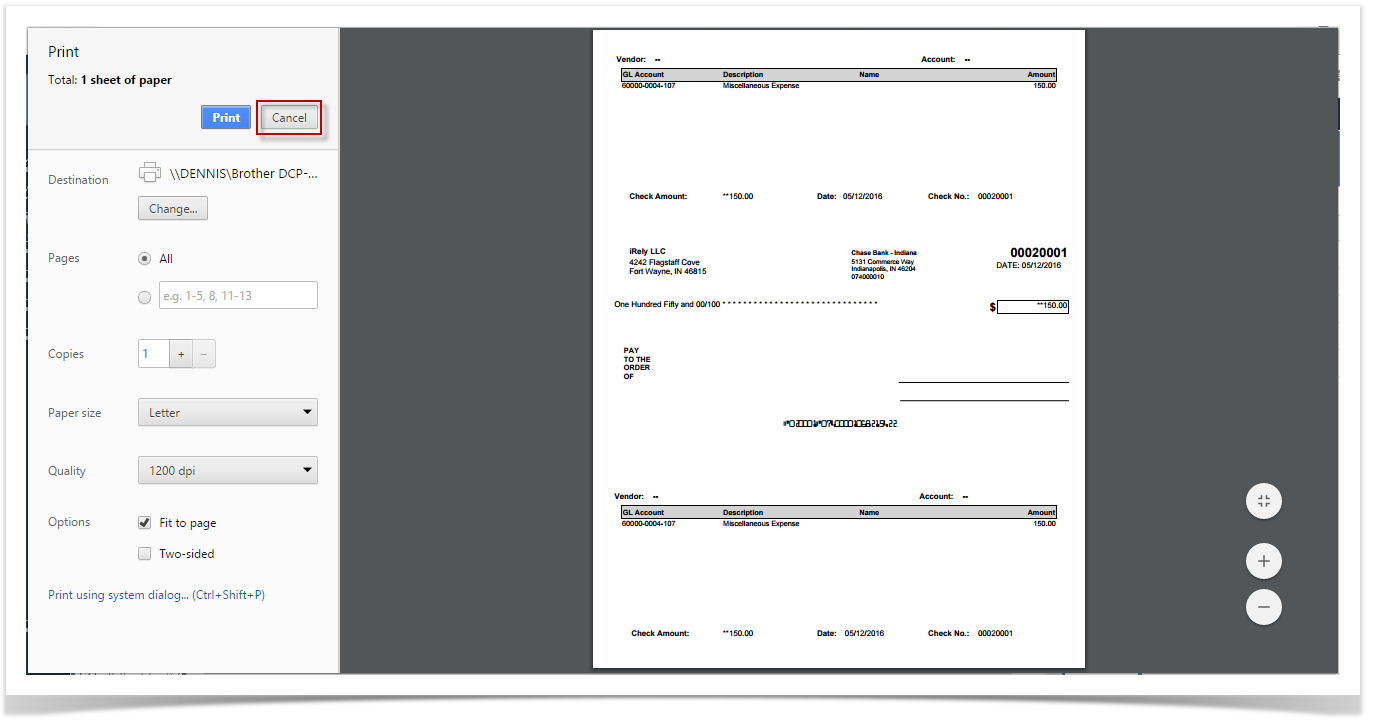
- In the Print Dialog box click Cancel button.
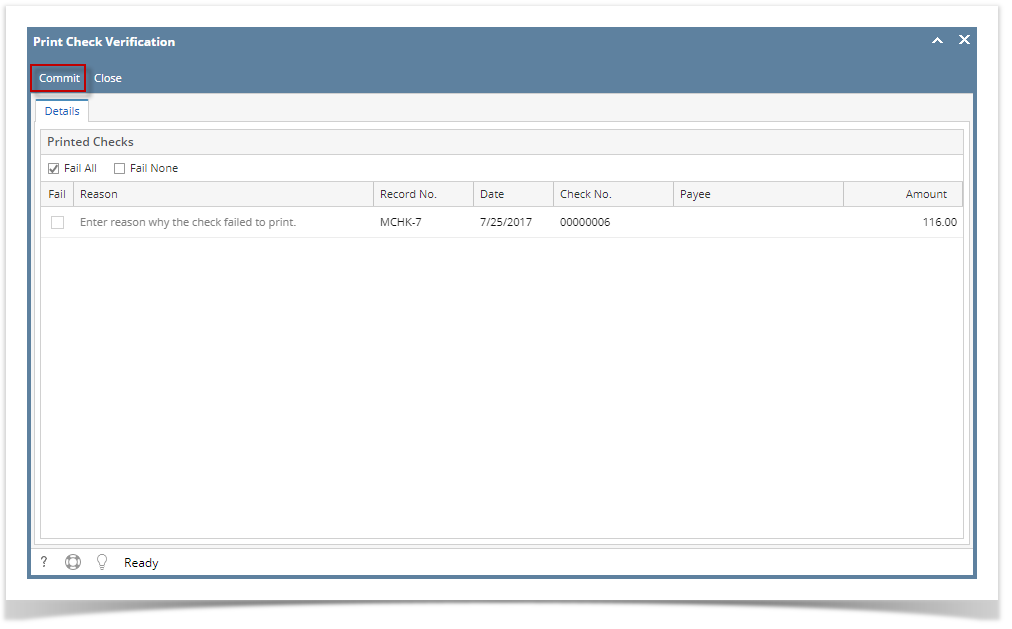
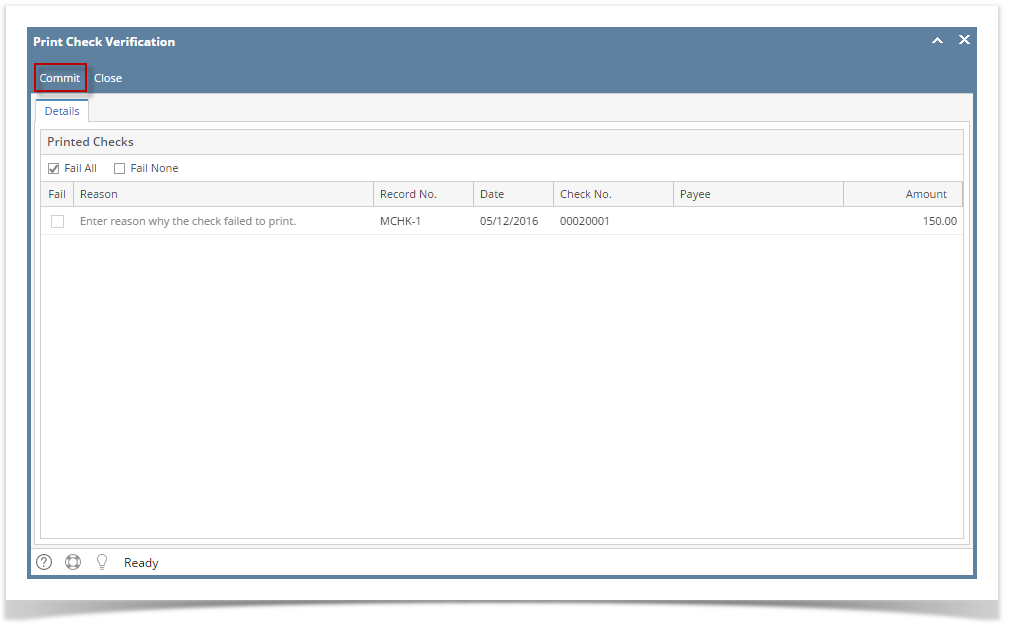
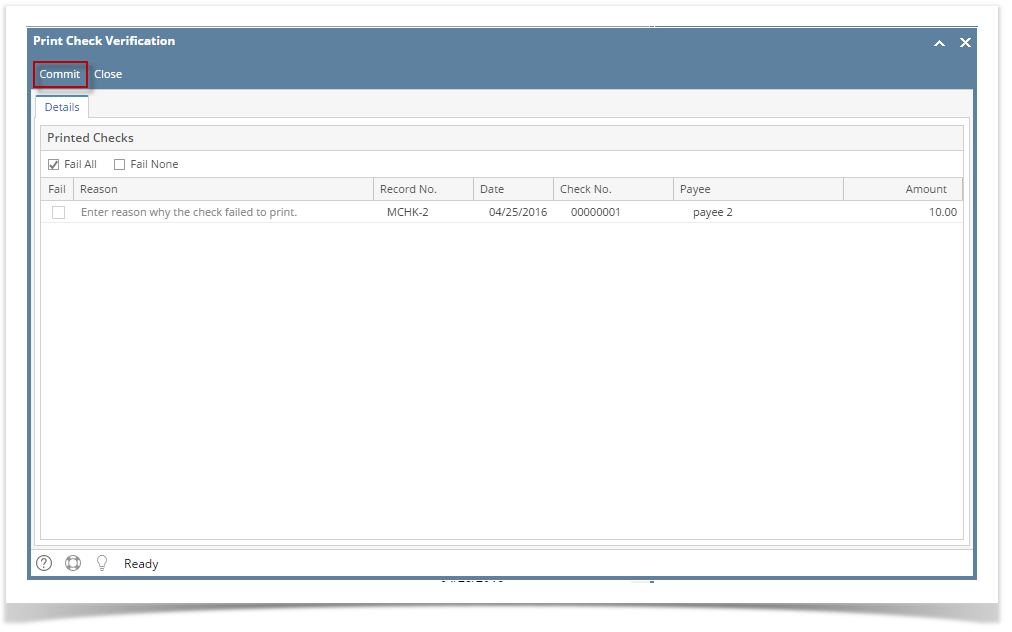
In the Print Check Verification screen click Commit toolbar button.
Click Yes button.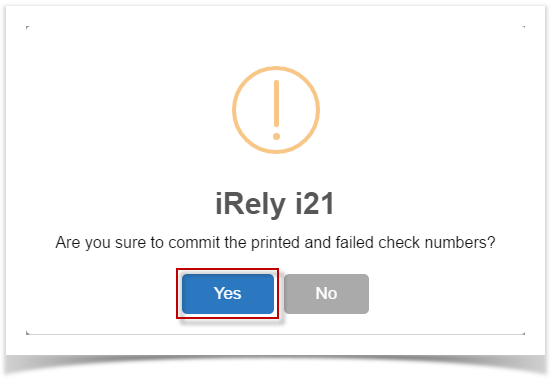
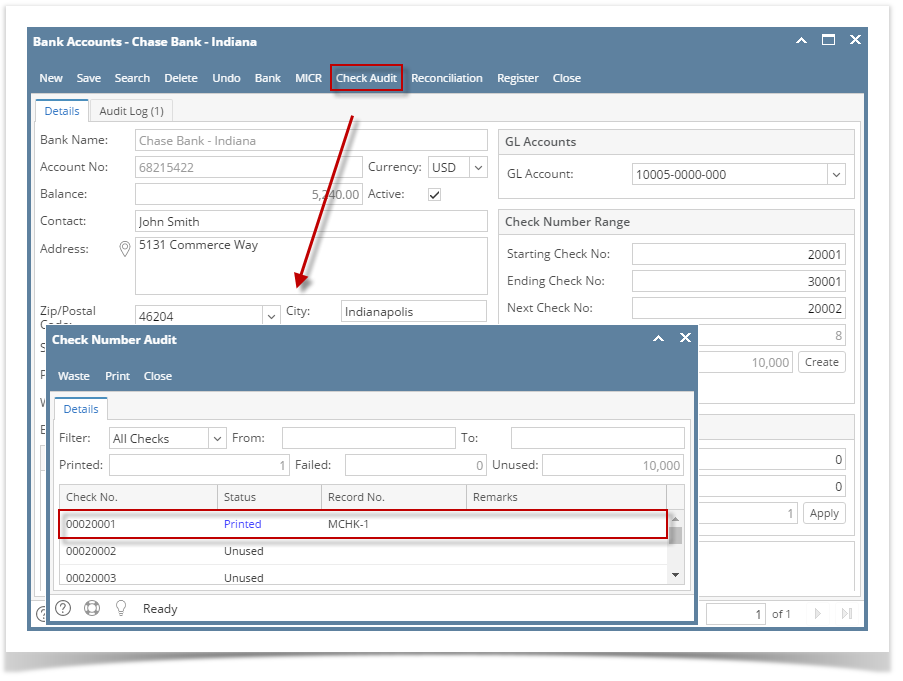
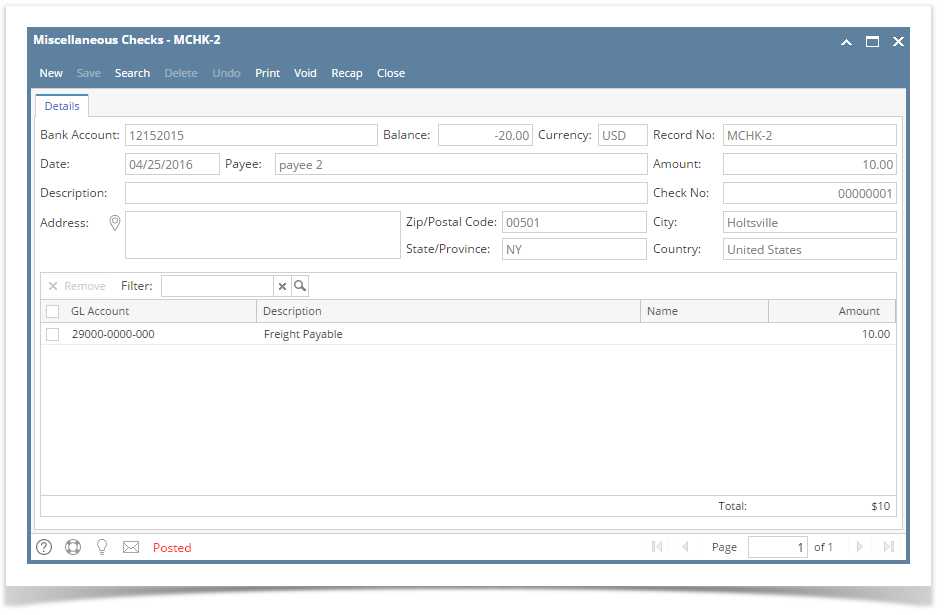
Here is the check that was already printed.
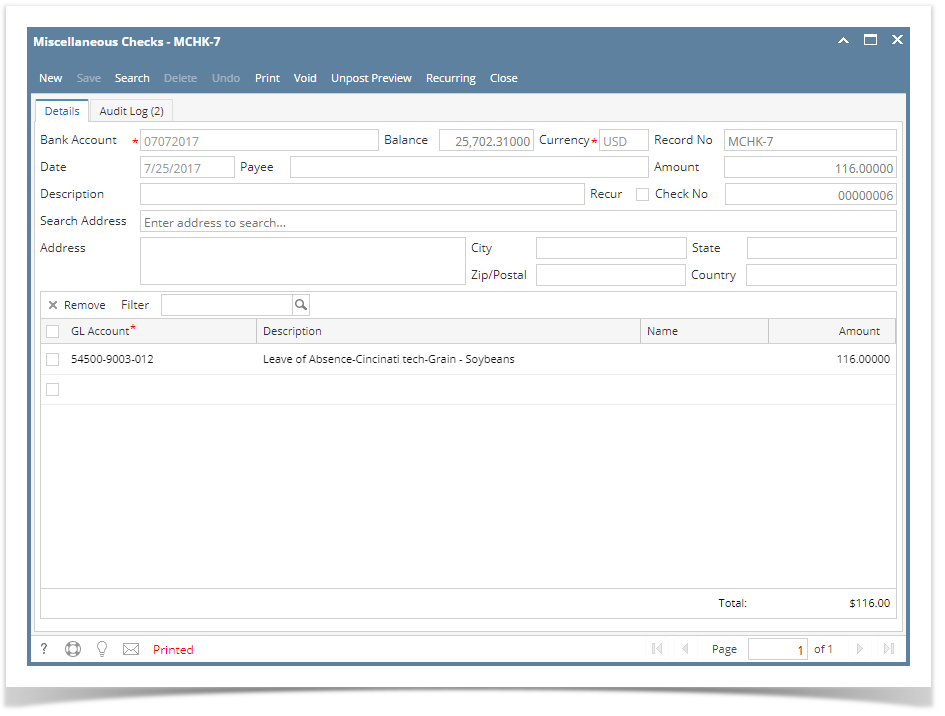
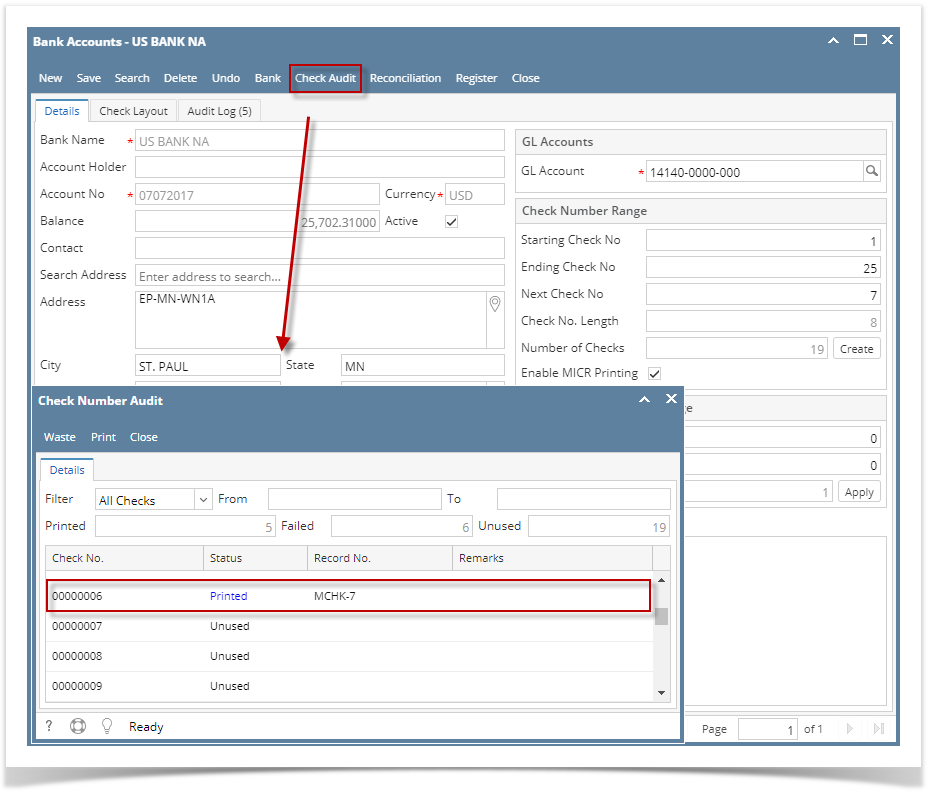
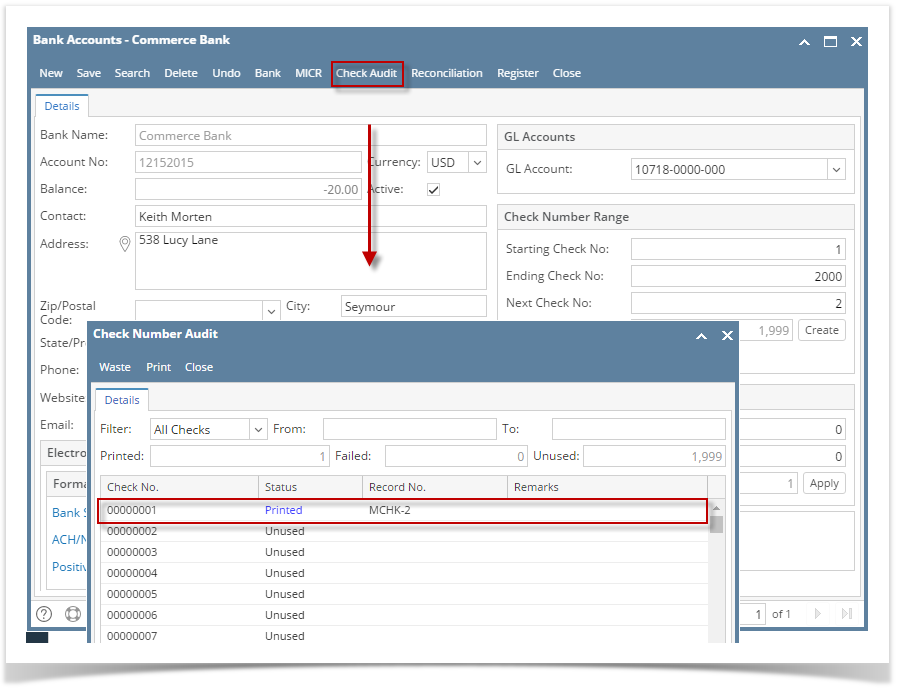
Now when you open the selected bank account from CM > Maintenance folder > Bank Accounts and click Check Audit toolbar button. The Check Number Audit screen will show that the check has Status = Printed.
| Expand | ||||
|---|---|---|---|---|
| ||||
The following steps will guide you through the process of marking an eCheck as printed check.
|
...
|
...
|
...
|
...
|
...
|
...
|

...
|
...
|
...
|
| Expand | ||||
|---|---|---|---|---|
| ||||
The following steps will guide you through the process of marking an eCheck as printed check.
|


...
Overview
Content Tools