Page History
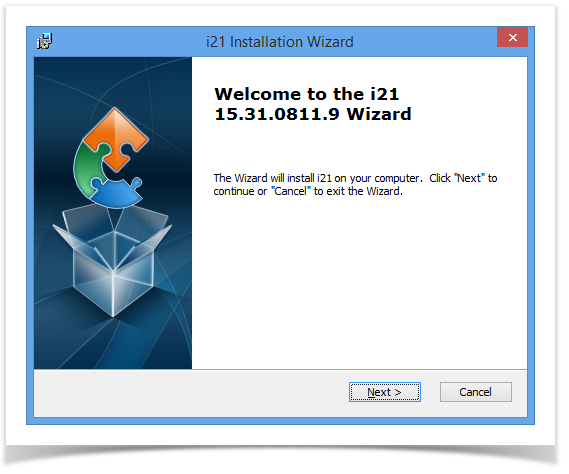
- Welcome Screen. Click Next button to proceed with the installation.
2. Select Installation Folder screen.
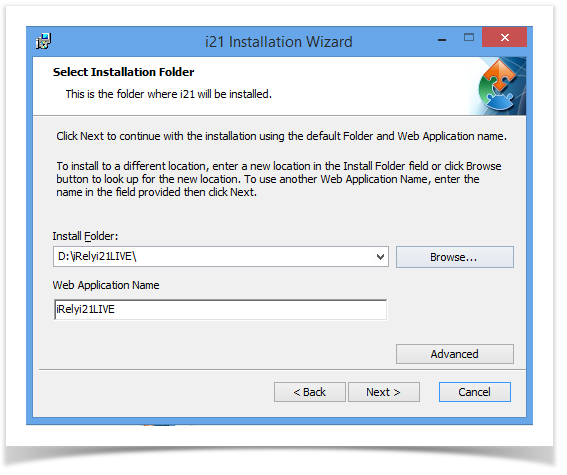
- Install Folder - By default, Install Folder field will display D:\iRelyi21TE\. Click Browse to change the folder path. It is recommended to install i21 on separate drive.
Create folder "iRelyi21LIVE" on the install folder if you will install for 01 and 99. Some of the customers may have another company like 02, 03. This will be configured in iRelyi21Live web app too.
Create folder "iRelyi21EOM" on the install folder if you will install for EOM.
Create folder "iRelyi21TE" on the install folder if you will install for TE. - Web Application Name -This is the web application name that will be installed in IIS.
Enter "iRelyi21LIVE" if you will install for 01 and 99.
Enter "iRelyi21EOM" if you will install for EOM.
Enter "iRelyi21TE" if you will install for TE.
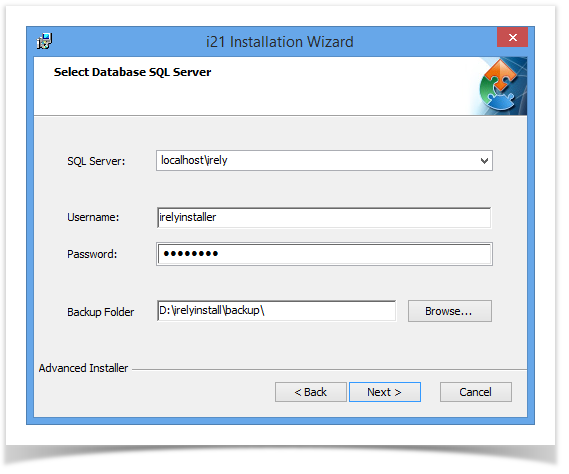
3. Select Database SQL Server screen.Click Advanced button to setup the SQL Server connection and back up folder.
...
Overview
Content Tools