Page History
...
- Open the Sales | Invoices menu. If there is no existing record yet, this will open a new Invoice screen. If not, click the New button to open a new Invoice screen.
You will notice that some of the fields, like the Source, Type, Invoice Date, Post Date, Location, Ship Date, Account, Deliver/Pickup, Currency, and Accrual are already populated by default. - Fill out the header details as needed. The required details are Customer, Location, Bill To, Ship To, Terms, and Currency.
- Set the Source to Standard.
- Set the Type to Invoice.
- Select a Customer.
- Select a different Location, Bill To, Ship To, Terms, and Currency if needed. But don't leave these fields blank.
- Enter other details that you see necessary. Refer to Invoice | Field Description | Header Details to help you in filling out the fields.
- Add details on grid. Refer to Invoice | Field Description | Grid Details to help you in filling out the fields. Note that UOM is a required detail.
Complete filling in the Item No, Shipped, UOM, Price and other fields necessary to ensure they are appropriate for the customer's invoice.
The grid will also allow you to enter miscellaneous items that do not have an Inventory Item record. You can do this by not selecting an Item No and simply entering its Description, Shipped and Price, and other necessary details..
Click Save button. Notice that the Invoice No field will be filled in with a unique and system generated number.
Note You can skip saving the record if the transaction is to be posted right away since it will be saved automatically.
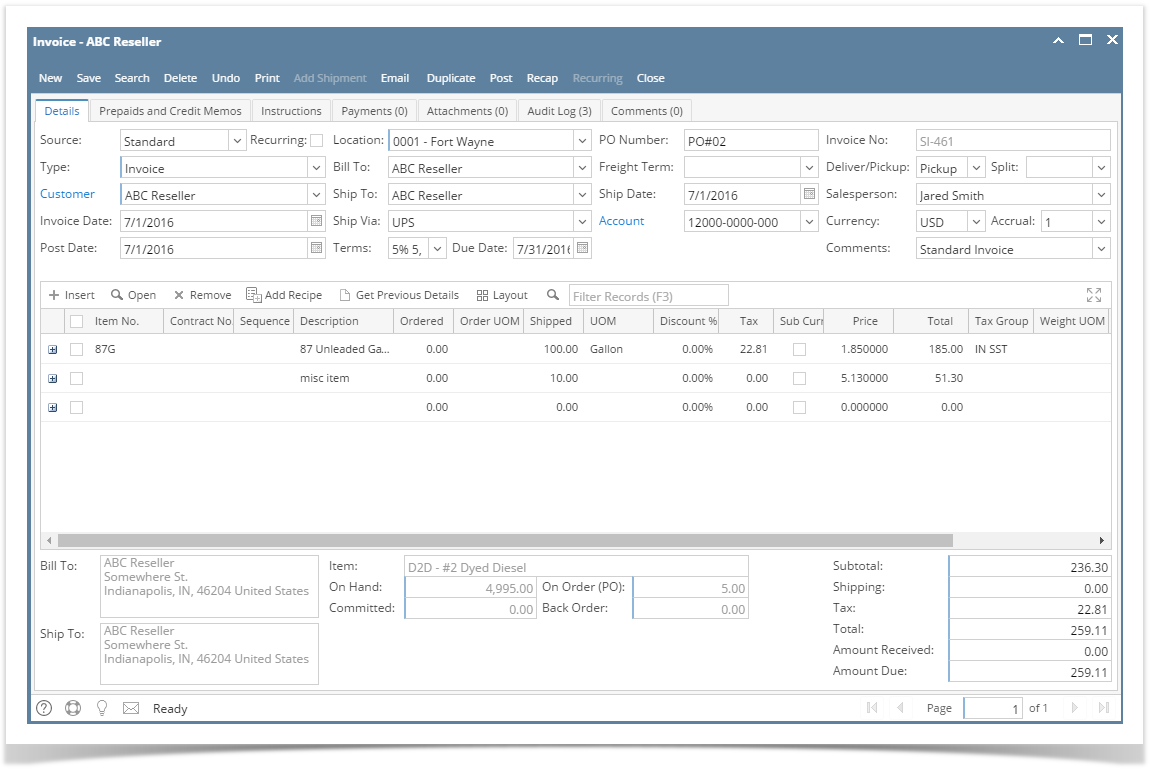
Here is a sample Invoice.
...
Overview
Content Tools