...
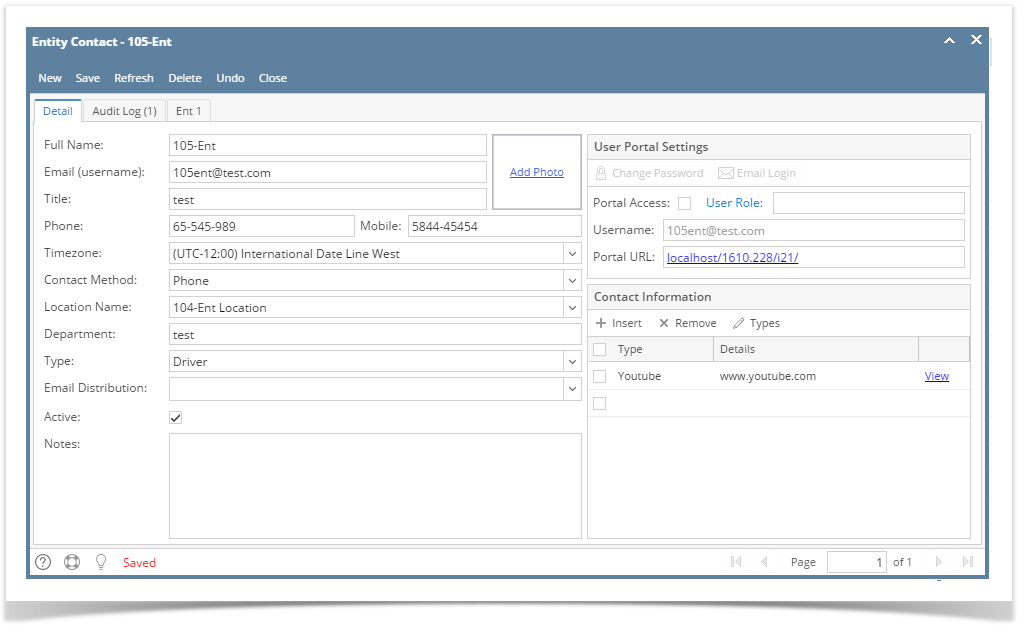
| Field | Description |
|---|
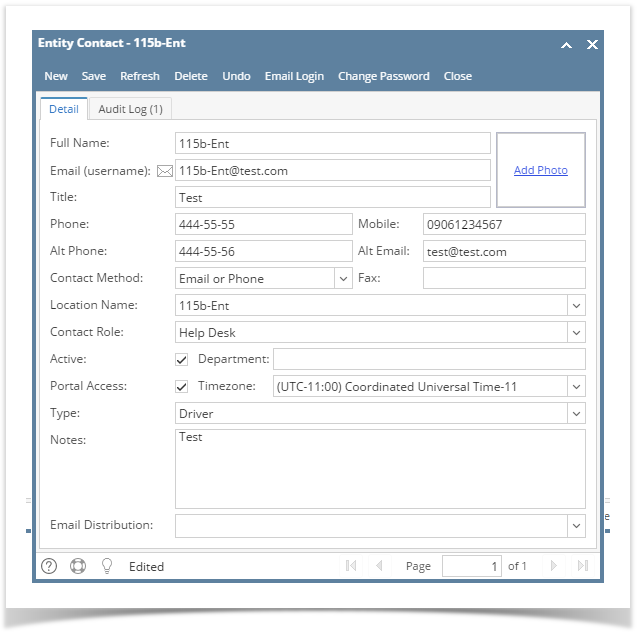
| Full Name | The first and last name of the contact |
| Email (username) | The contacts Email address which is also their Username to log into the Customer Portal |
| Title | The contacts Title at the company |
| Phone and Mobie | Phone and Mobile number for the contact |
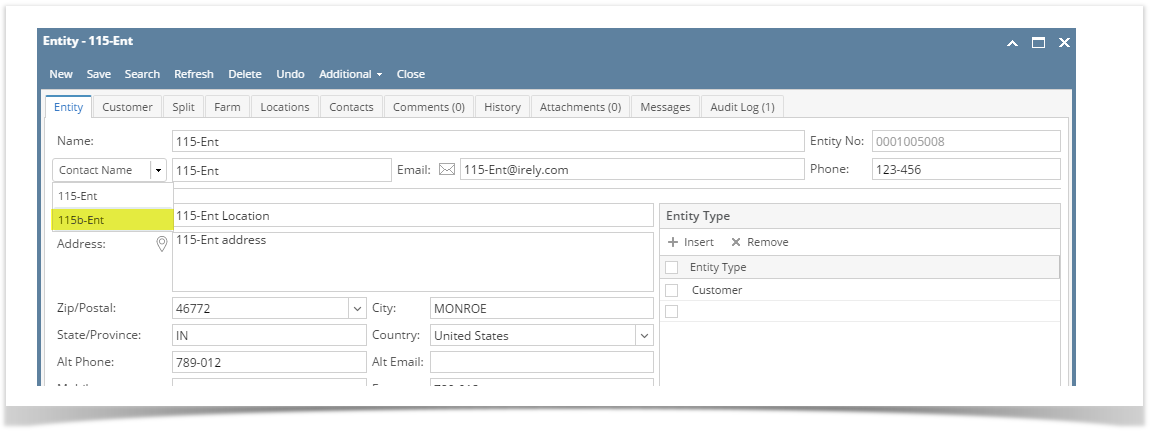
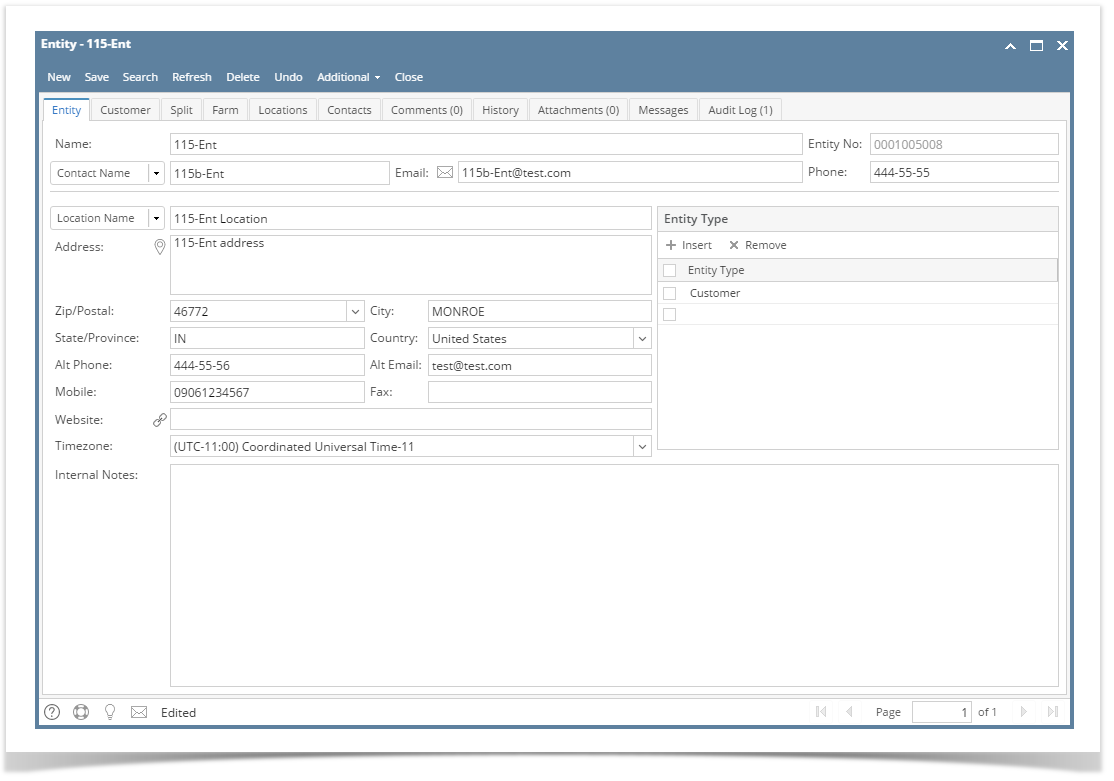
| Location Name | The contacts Location Name (Selected from the Locations tab) |
| Address | City | Zip | State | Country | Time Zone | Data will come from selected location |
| Timezone | The timezone the contact is in. This will be important when using the help desk so we know what timezone the contact is in. |
| Contact Method | This is the contacts preferred method of communication. The Drop-down options will be (Email, Phone, Email or Phone). This information needs to appear on the HelpDesk > Transactions > Tickets screen for this contact. |
| Mobile | Mobile Phone number for the contact |
| Location Name | The contacts Location Name (Selected from the Locations tab) |
| Department | The contacts deparment |
| Department | The contact's department |
| Email Distribution | Enables the email sending the selected transaction types |
| Type | Used to determine the contact type, for CRM |
| Notes | General Notes for the contact. |
| User Portal Settings | Enable |
Portal Access | Enables/Disabled global access to the Customer Portal. This should be disabled by default. When it's disabled the "Portal Permissions" tab, "Email Login" button and "Change Password" buttons should be hidden. When enabled those buttons and tab are visible. |
| Timezone | The timezone the contact is in. This will be important when using the help desk so we know what timezone the contact is in. |
Notes | General Notes for the contact. |
| User Role | Selection of portal user roles |
| Portal URL | Link to portal url |
...