Page History
...
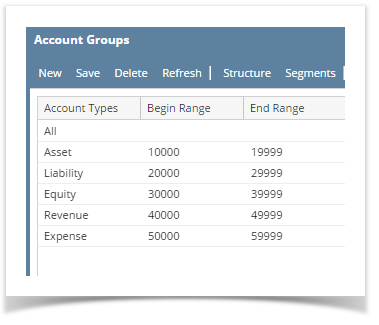
- From GL Account Detail menu, click on Group to open Account Groups.
- To add an account group, first select what type of account the group should be a part of from the Account Types area. Choose from Asset, Liability, Equity, Revenue, Expenses, Sales and Cost of Goods Soldand Expenses.
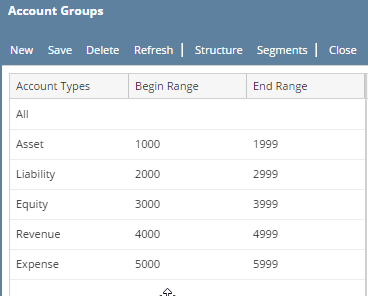
- Once you have selected the Account Type, select an account group from the right panel. You can still select the account type itself from this panel.
- Click New toolbar button on the Account Groups screen. The Account Subgroup screen of the selected account type or group will open. The account type will automatically be a Parent Group.
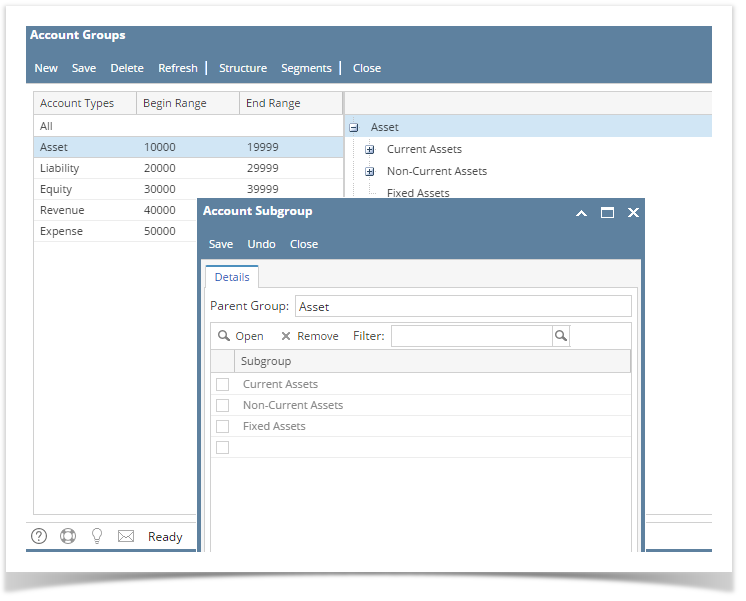
- Click on the empty row of the grid to add subgroups for the selected type or group, for this example, on Asset. And then enter the name of the subgroup you want to add.
- Click Save button to save newly added groups.
- Select one subgroup and click Edit action button. Another Account Subgroup screen will open. This time, subgroup added from the previous group will be the Parent Group. Add subgroups for the selected group.
- You can also select account subgroups directly from the Account Groups screen and click New toolbar button. Account Subgroup screen will open showing the subgroup as the Parent Group.
- Click on the empty row of the grid to add subgroups for the selected group and then enter the name of the subgroup you want to add. Click Save before closing the screen to save newly added subgroups.
- Click Refresh button to reload Account Groups screen and see the newly added groups.
- All the groups and subgroups added are displayed on Account Groups screen in tree like format.
Overview
Content Tools