Page History
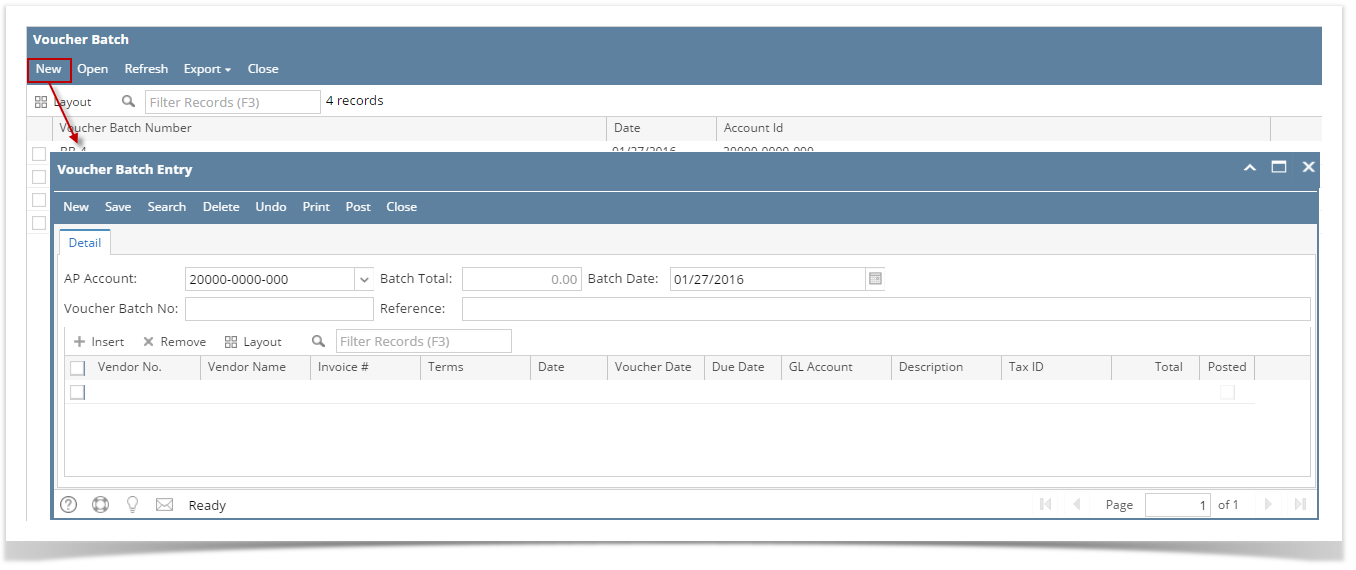
There are three ways to open a blank Voucher Batch Entry screen for new record:
- From Voucher Batch Search, click New toolbar button.
- From an existing Voucher Batch record, click New toolbar button.
- From Purchasing (A/P) menu, click New Voucher Batch Entry under Create list.
Once you open the screen you are now ready to enter data for the new voucher batch record.
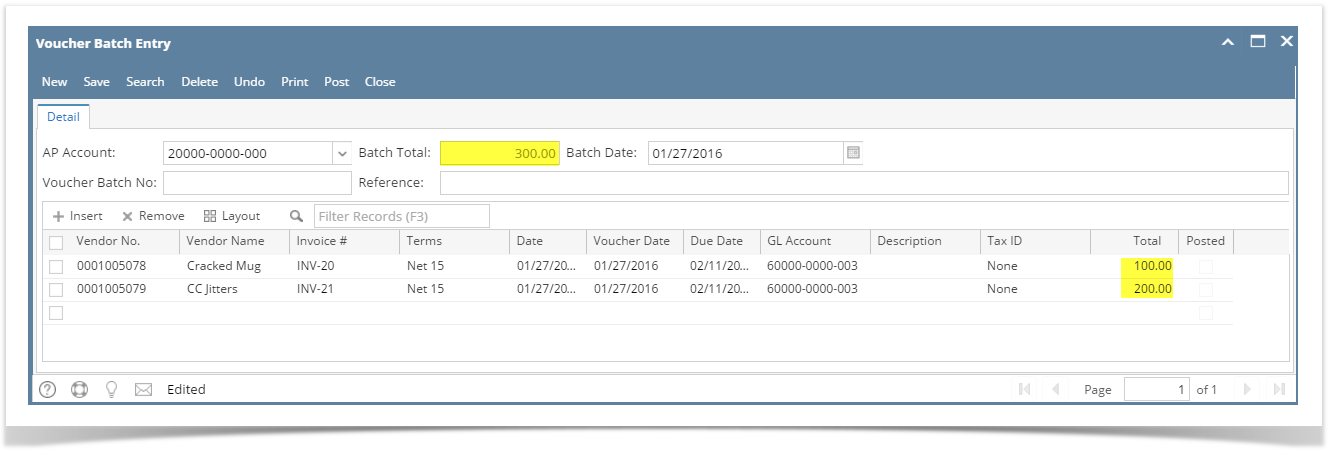
- By default, AP Account is populated by the AP account set in Common Info > Company Locations screen > GL Accounts tab. Click AP Account combo box button and select different AP account if necessary.
- Batch Date will be filled in by today's date automatically. Click date picker button and select new date or manually enter new date on the field if you wish to change the value.
- Enter Reference if necessary.
- Add details on the grid.
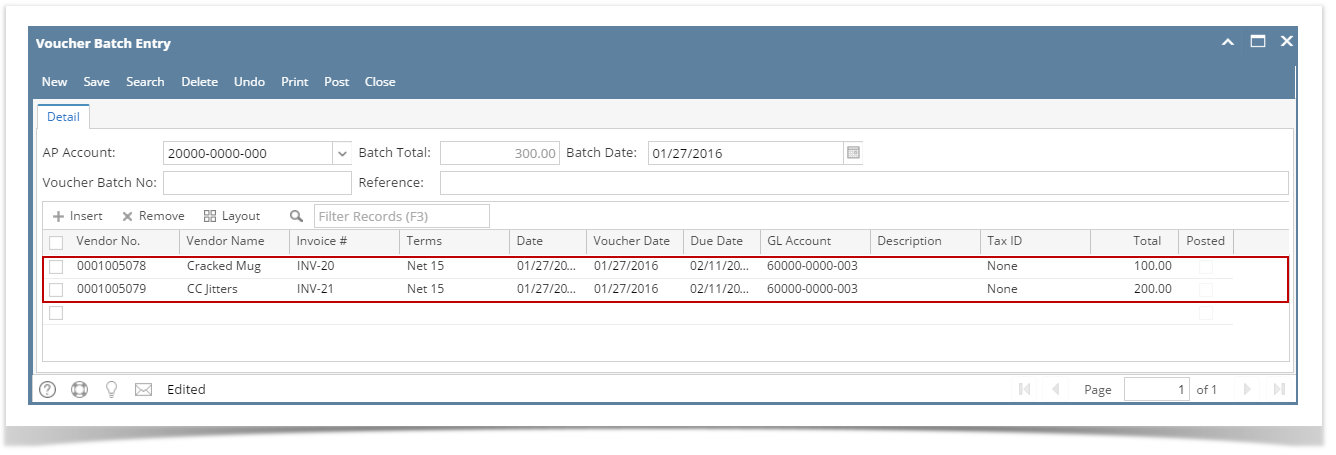
- Click Vendor combo box button and select existing Vendor from the combo box list. Name of the selected vendor will be displayed on the Vendor Name field.
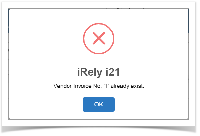
- Assign Invoice #. In any case that the entered Invoice number is already existing to the same vendor, this message will prompt on save:
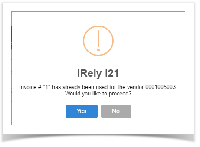
- Select Yes to re-use the Invoice #.
- Select No to enter new Invoice #.
- Terms will be automatically filled in by the Terms assigned to the selected vendor. If change is necessary, click on the combo box button and select different terms from the combo box list.
- Date will be filled in automatically with today's date, but can be changed to reflect a different date if necessary. Click the drop down button next to this field to open the mini calendar screen where you can select a different date. Manual entering of date is also allowed.
- Voucher Date will be filled in automatically with today's date, but can be changed to reflect a different date if necessary. Click the drop down button next to this field to open the mini calendar where you can select a different date. Manual entering of date is also allowed. This is the date where due date will be based depending on the terms selected in the Terms field.
- Due Date field will be automatically filled in based on the Terms used.
- GL Account will be filled in by the Account Id set for the selected vendor. Click combo box button and select another account if you wish to change the account used.
- Enter Description if necessary.
- Enter total amount of the vendor’s Voucher in the Total field.
- The over-all total of the Vouchers added in the grid will be displayed on the Batch Total field.
Click Save button. Voucher Batch No. field will now be filled in with a unique, system-generated ID automatically.
| Expand | ||
|---|---|---|
| ||
Here are the steps on how to create a Voucher Batch Entry:
|
...
|
...
|
...
|
...
|
...
|
...
|
...
|
...
|
...
|
| Expand | ||
|---|---|---|
| ||
Here are the steps on how to create a Voucher Batch Entry:
|

...
Overview
Content Tools