Page History
Here are the steps on how to create Vendor Locations:
- Create a new vendor Or Open an Existing Vendor Record
- To Create a new Vendor ( See How to Add Vendors)
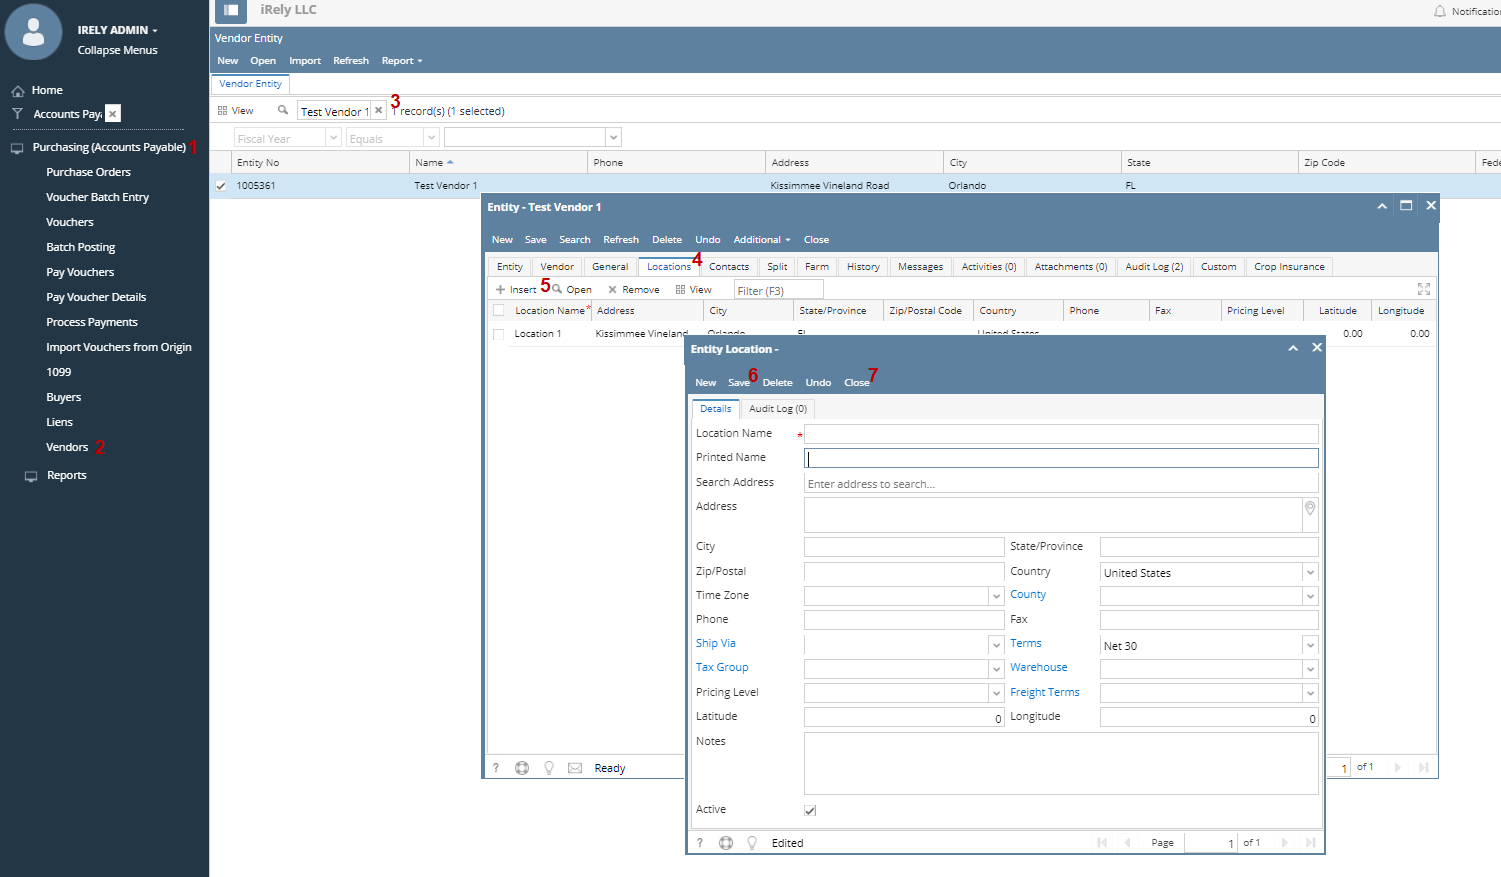
- Open existing vendor record (Navigate to Purchasing (A/P) > Vendors > Select existing record from Search Screen)
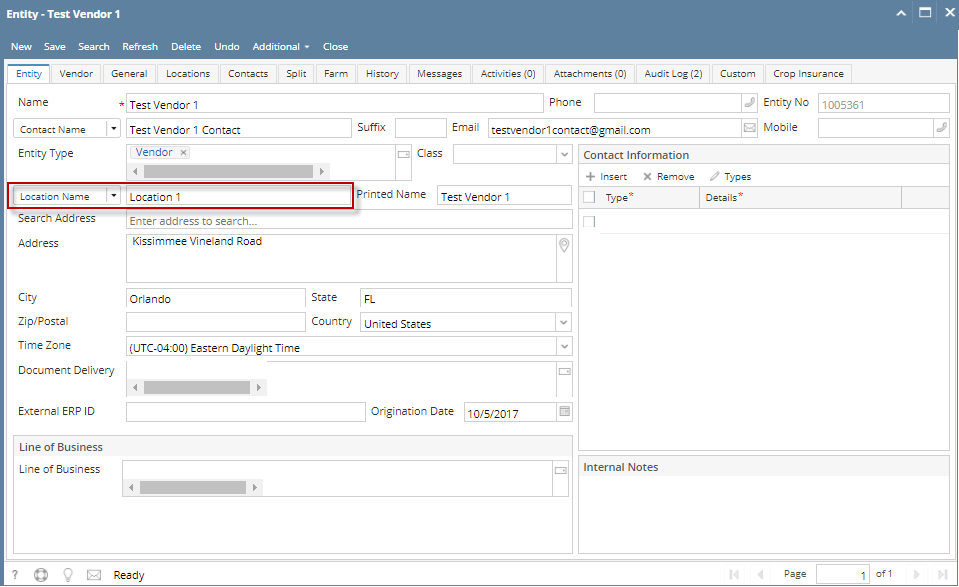
- During the creation of vendor record , entered vendor location were already set as default vendor location.
- Purchasing (Accounts Payable) > Select existing vendor record > Entity tab
- Purchasing (Accounts Payable) > Select existing vendor record > Locations tab
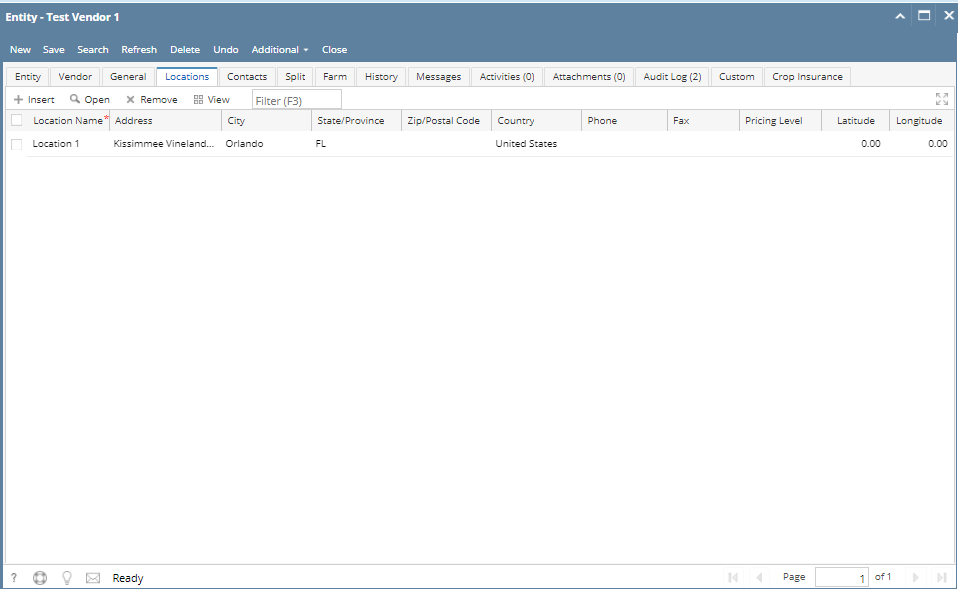
- Purchasing (Accounts Payable) > Select existing vendor record > Locations tab
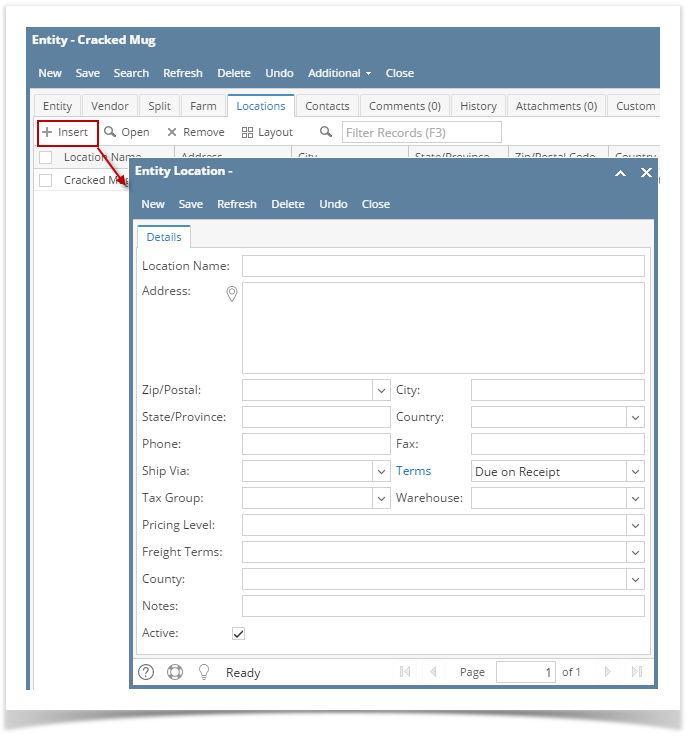
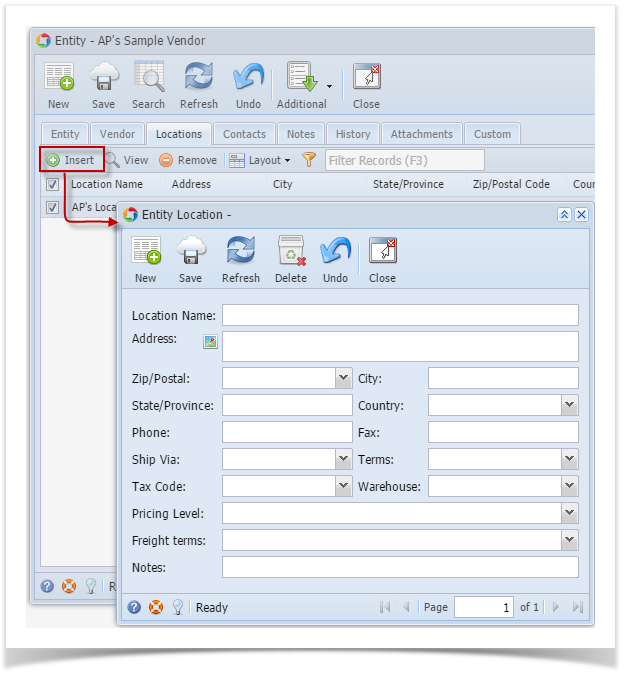
3. To enter a multiple vendor locations
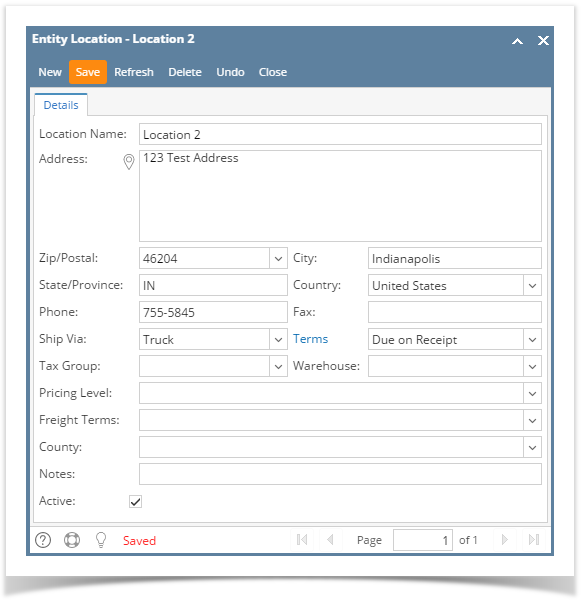
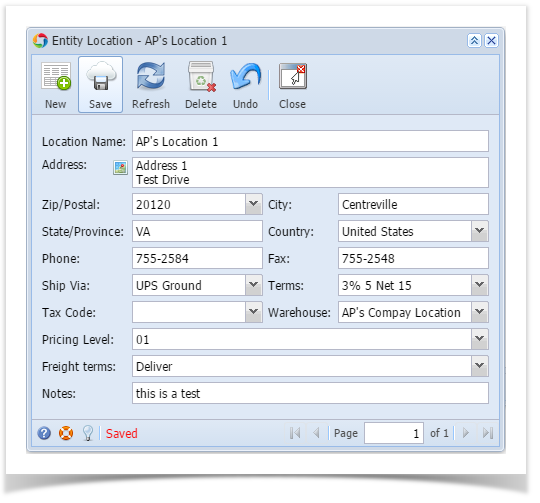
- Navigate to Purchasing (Accounts Payable) > Select existing vendor record > Locations tab > Click Insert > Populate the required fields > Save > Close
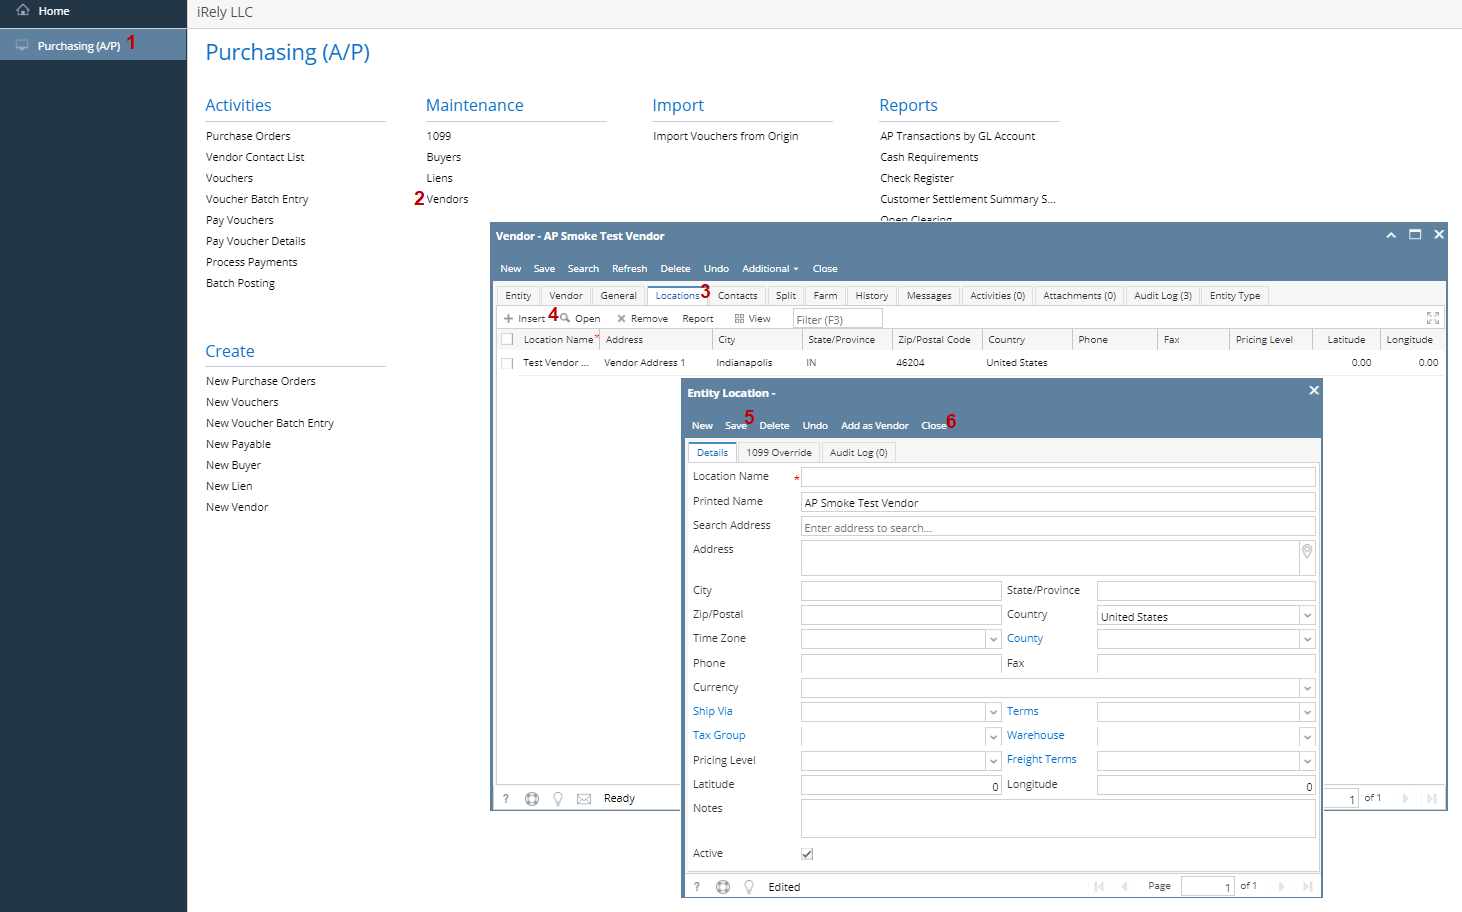
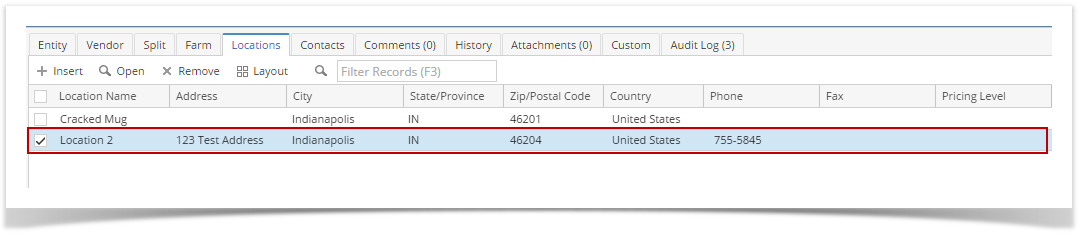
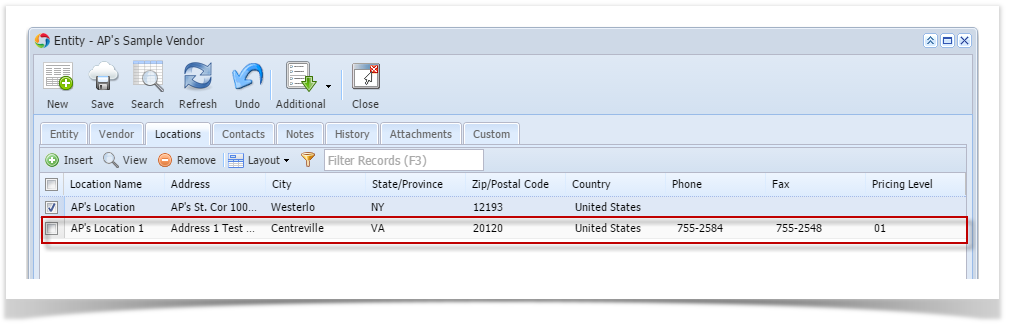
- Created locations will automatically saved on locations tab > grid
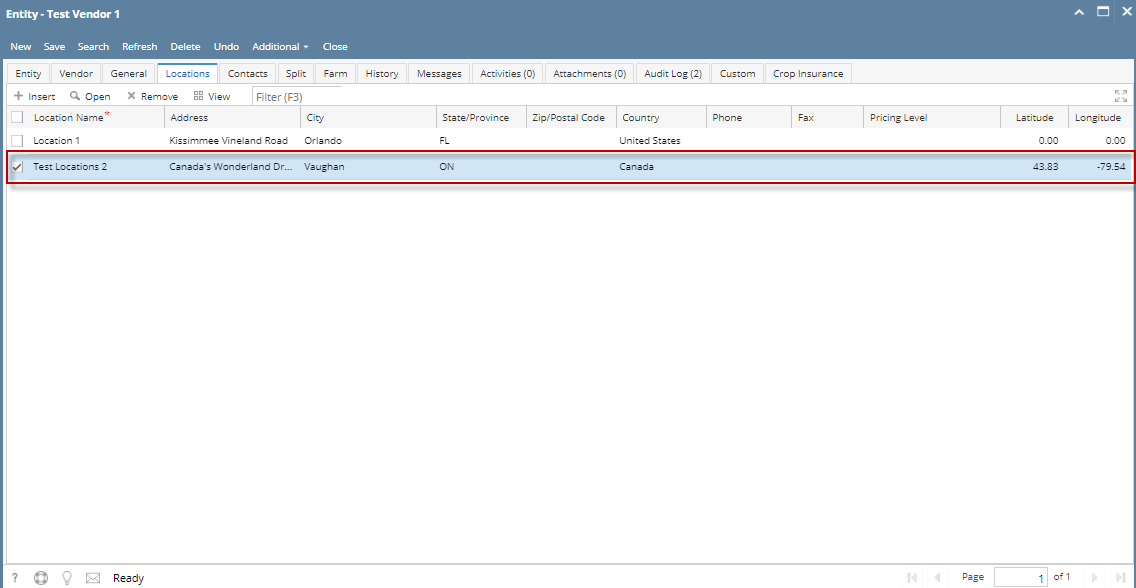
- Navigate to Purchasing (Accounts Payable) > Select existing vendor record > Locations tab > Click Insert > Populate the required fields > Save > Close
| Expand | ||
|---|---|---|
| ||
Here are the steps on how to create Vendor Locations:
3. To enter a multiple vendor locations
|
| Expand | ||
|---|---|---|
| ||
3. To enter a multiple vendor locations
|
| Expand | ||
|---|---|---|
| ||
Here are the steps on how to add vendor locations:
|
| Expand | ||
|---|---|---|
| ||
Here are the steps on how to add vendor locations:
|
...
Overview
Content Tools