Page History
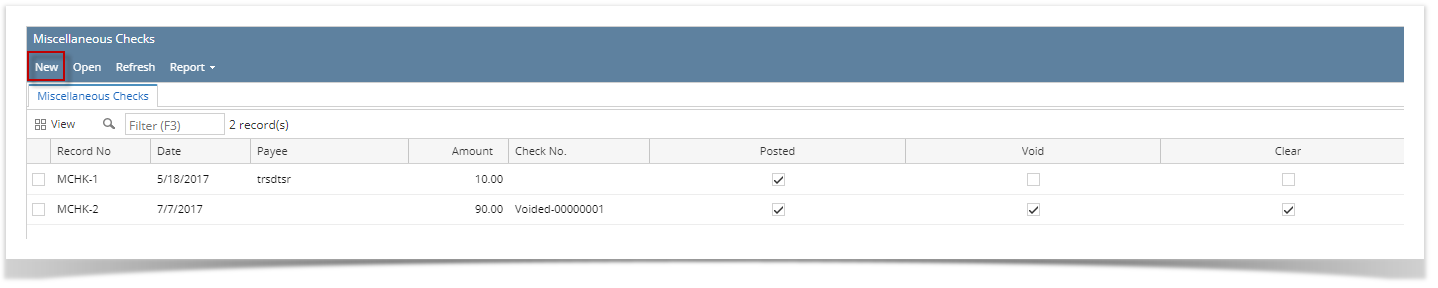
- From Cash Management module click Miscellaneous Checks.
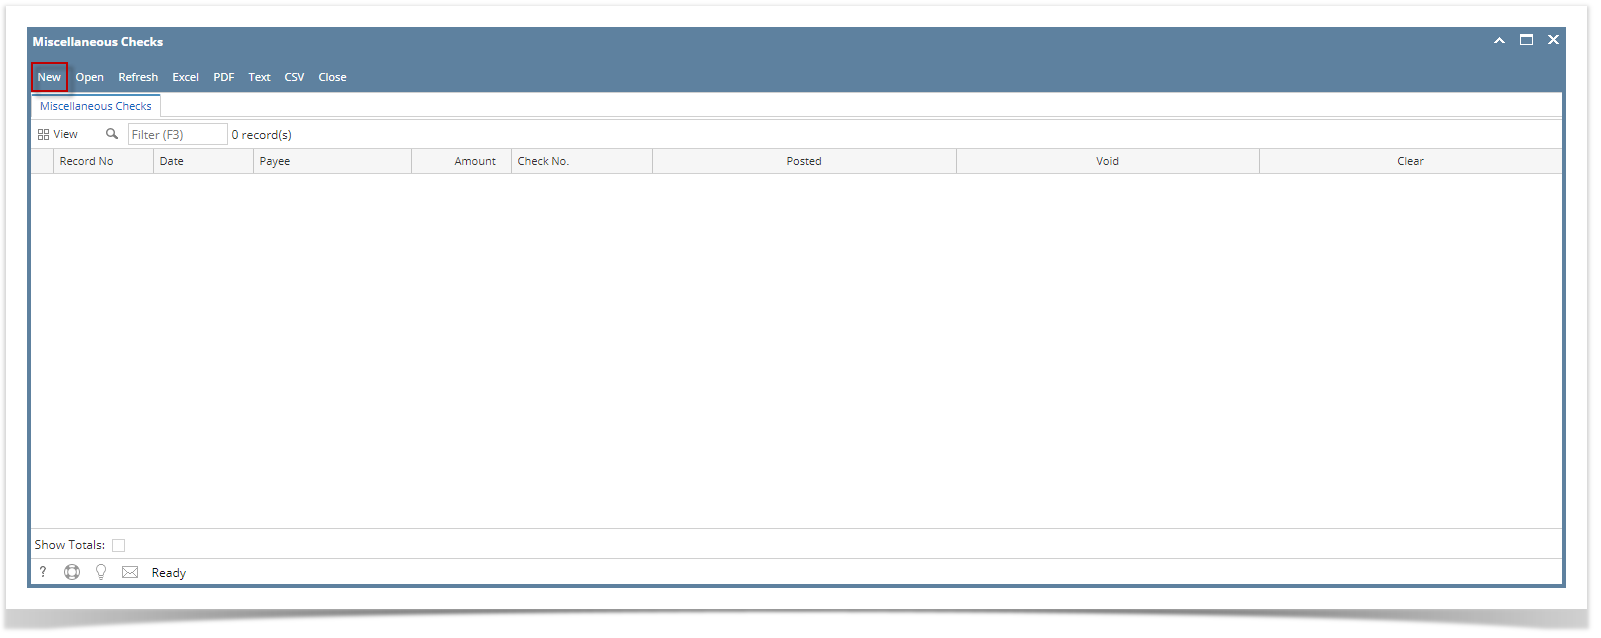
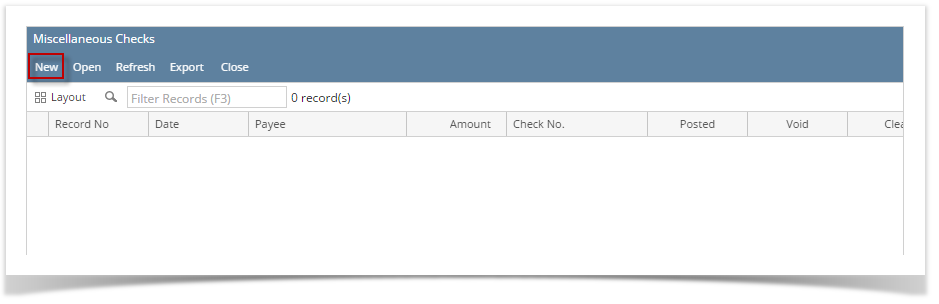
- It will open the Search Miscellaneous Checks screen where existing miscellaneous checks are displayed. Click the New toolbar button to open the new Miscellaneous Checks.
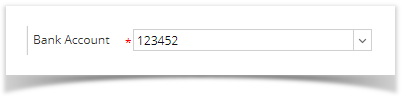
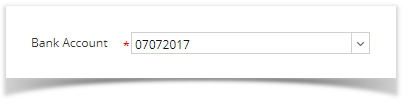
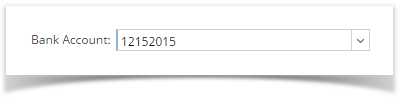
In the Bank Account field, click the dropdown combo box button to open the combo box list and select the bank account you want to issue a check out of.
Note Make sure that the bank account you want to issue a check out of had been added in the Bank Accounts screen. If not, see How to Add new Bank Account to guide you on how to add it.
If there is also Bank Account selected in company location, Bank Account is automatically assigned new miscellaneous checks screen.
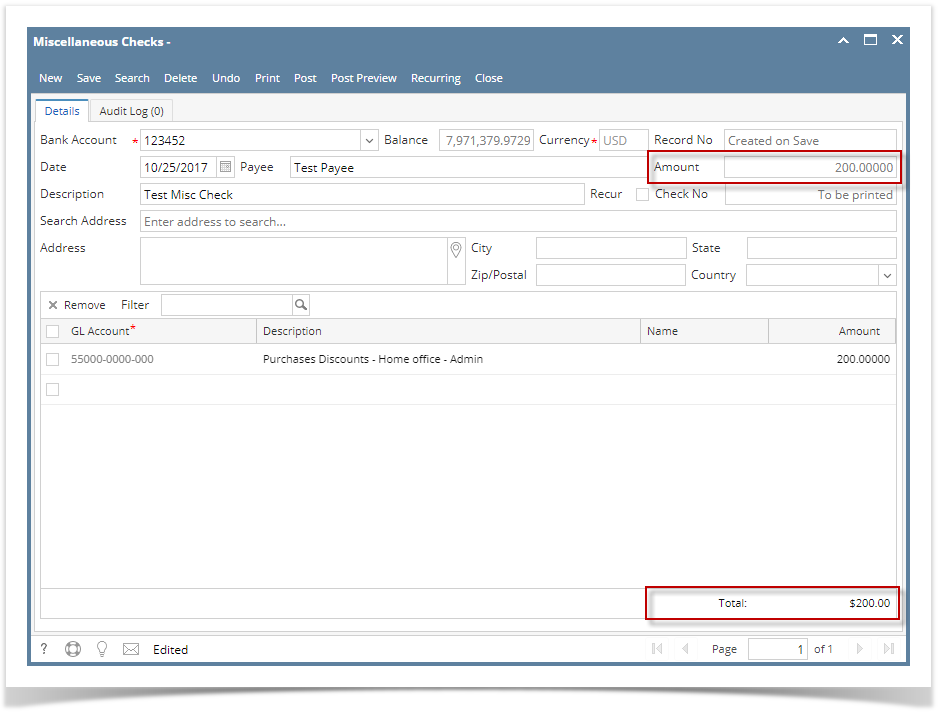
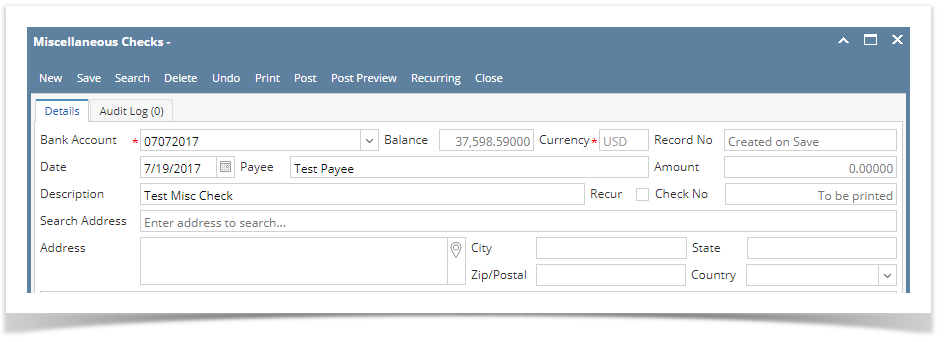
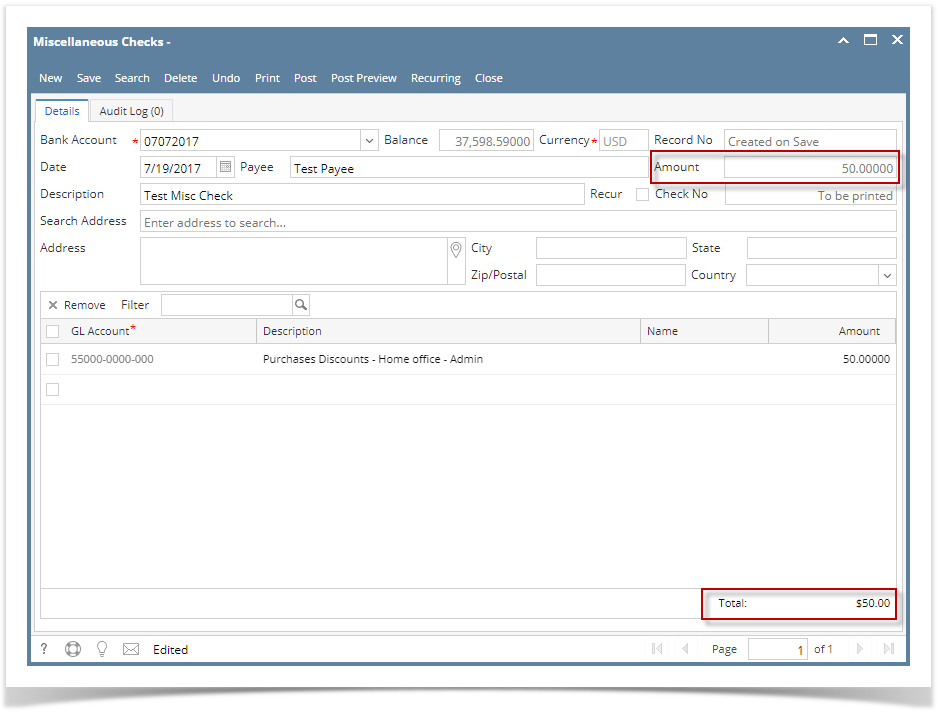
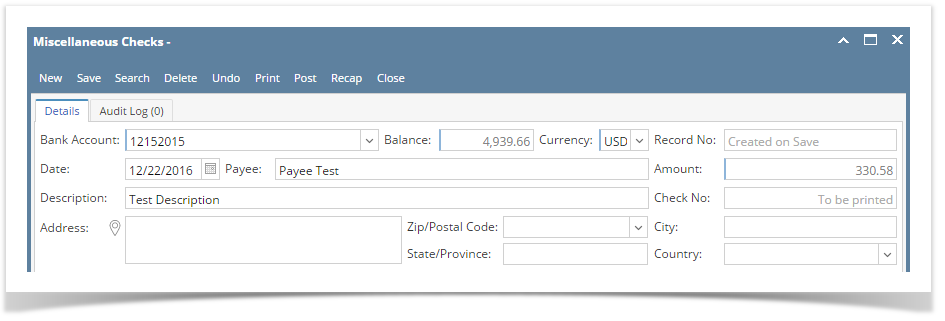
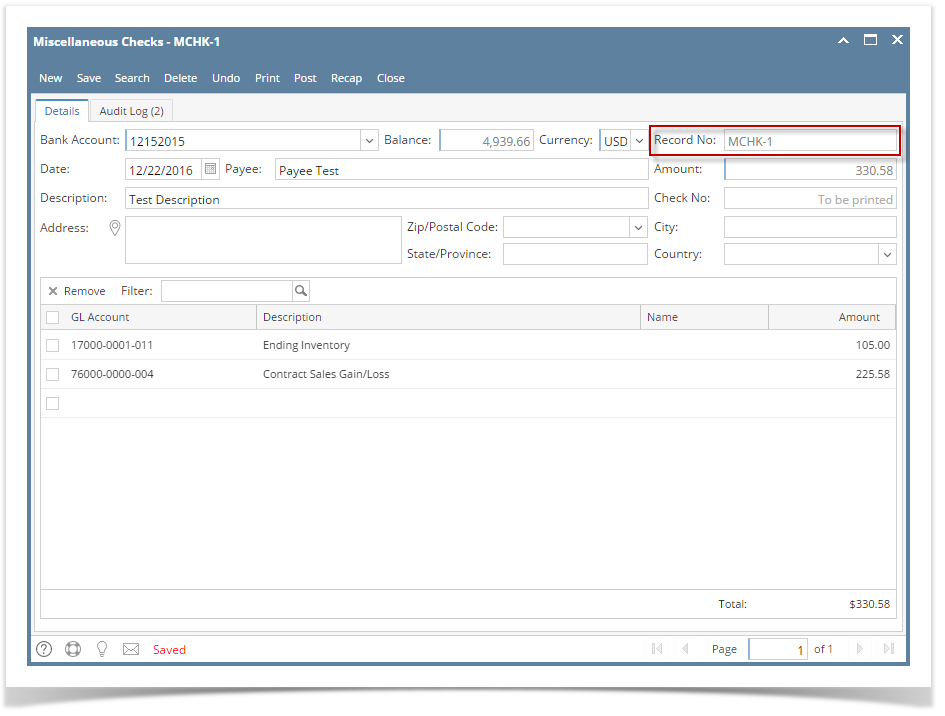
- Fill in Miscellaneous Check header information.
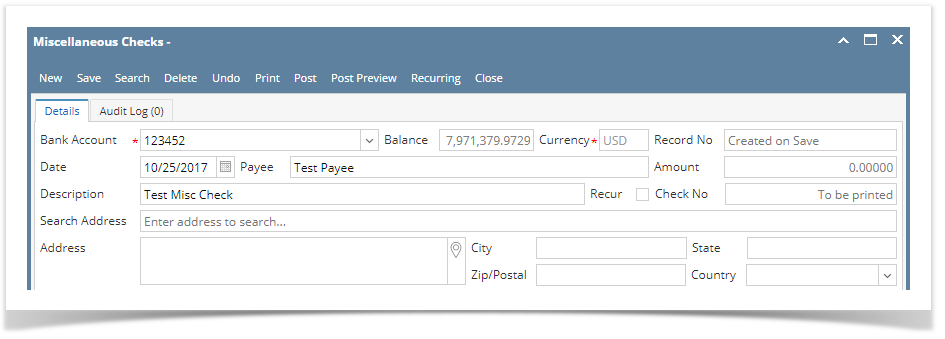
- The Balance field will show the current balance for the selected back account. This is a good way to track how much is the current bank account balance and will the fund be sufficient to issue the check.
- The Currency field by default will show the Currency setup from the selected Bank Account.
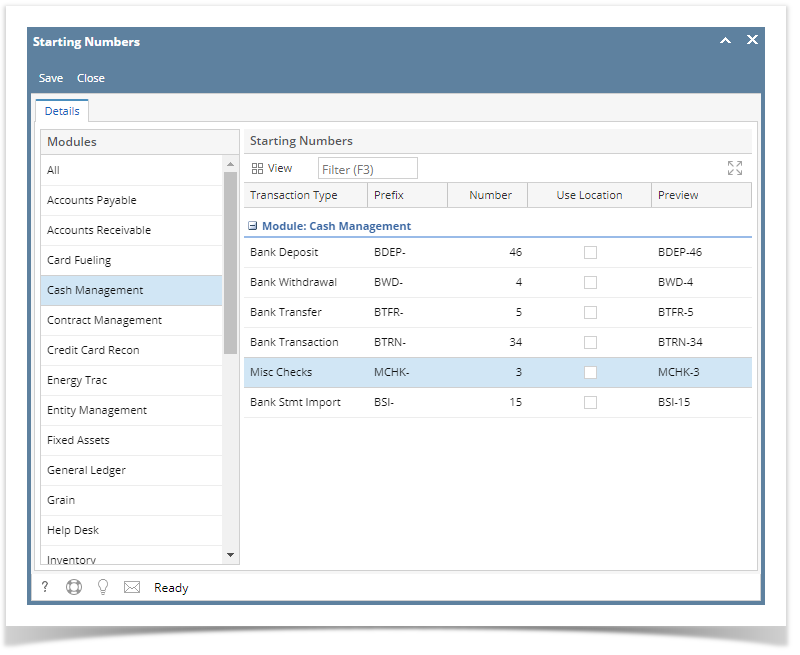
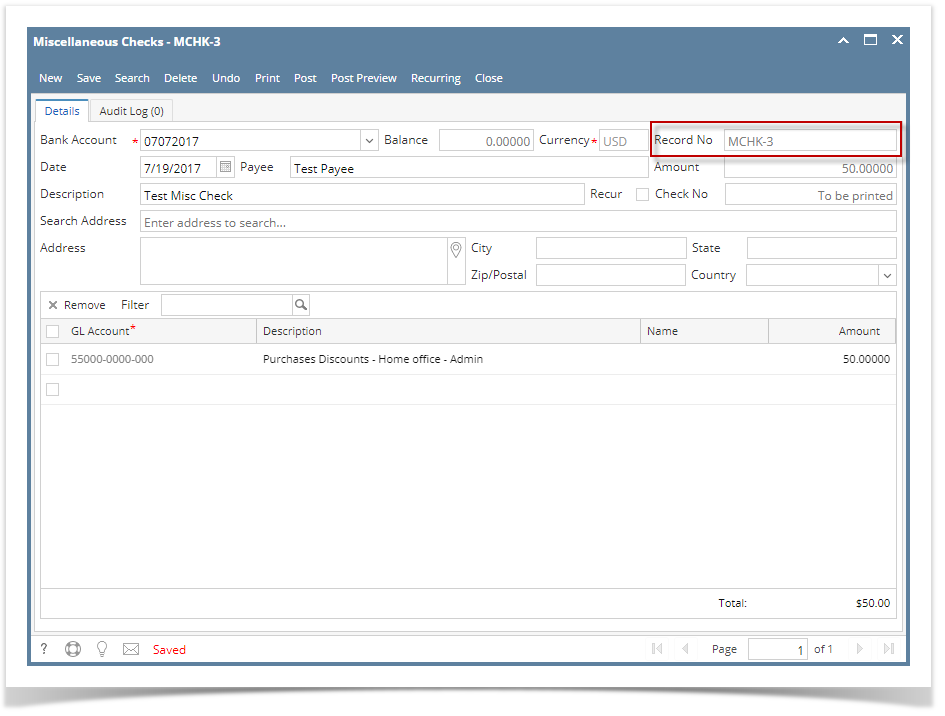
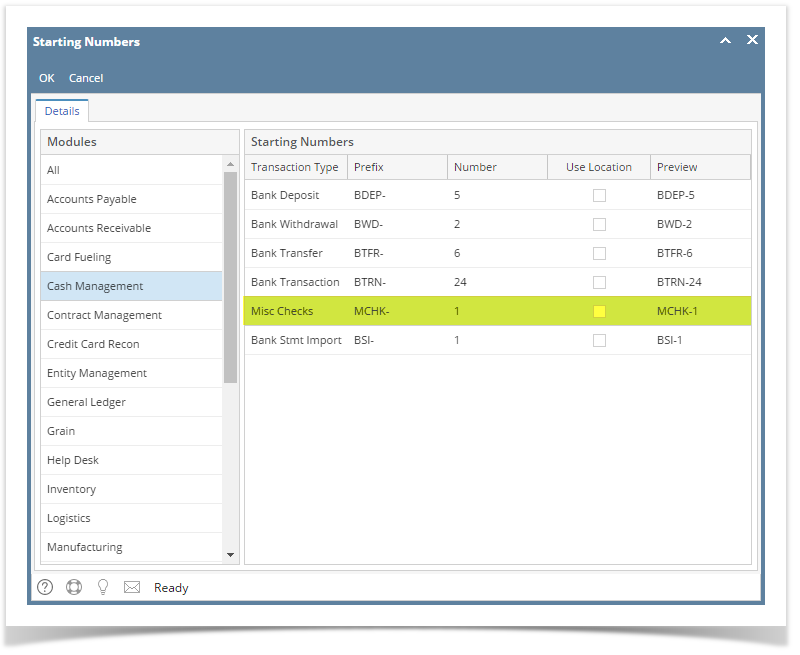
- The Record No field will only be filled with the misc check transaction number as soon as the Miscellaneous Check is saved. This will be based in the Starting Numbers setup from the Starting Numbers screen > Misc Checks. That screen can be opened from System Manager > Starting Numbers.
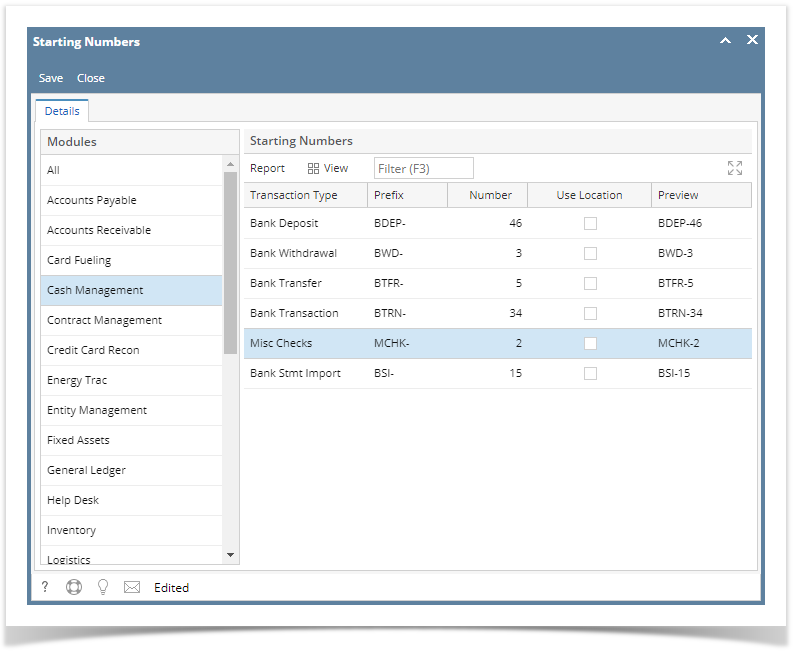
This number will also be used to track the transaction later on. - The Date field by default will show today's date. Change this date as you feel necessary.
- The Payee field is used to enter the name of an individual or company whom the check is issued to.
- Enter a description for the Miscellaneous Check in the Description field.
- Enter the address of the payee in the Address field. See Address Mapper for additional feature on Address field.
- Select the Zip/Postal Code. As you select a code, State/Province, City and Country will automatically be filled in with information based on selected zip/postal code.
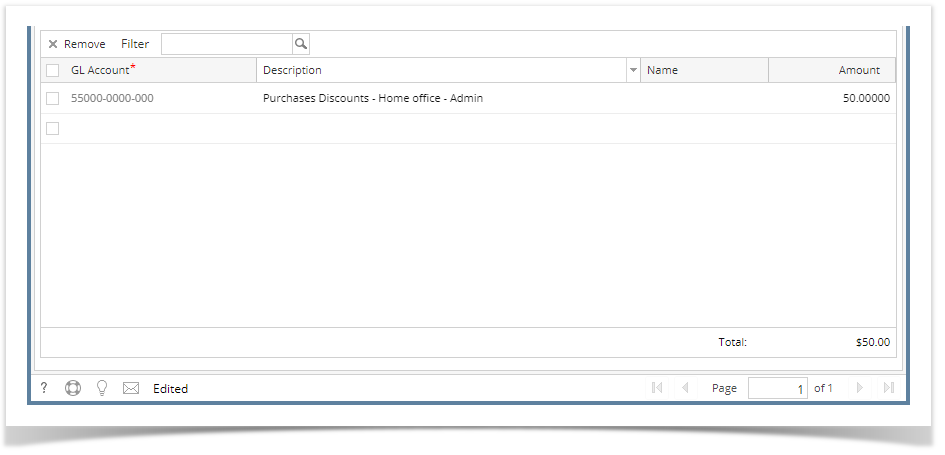
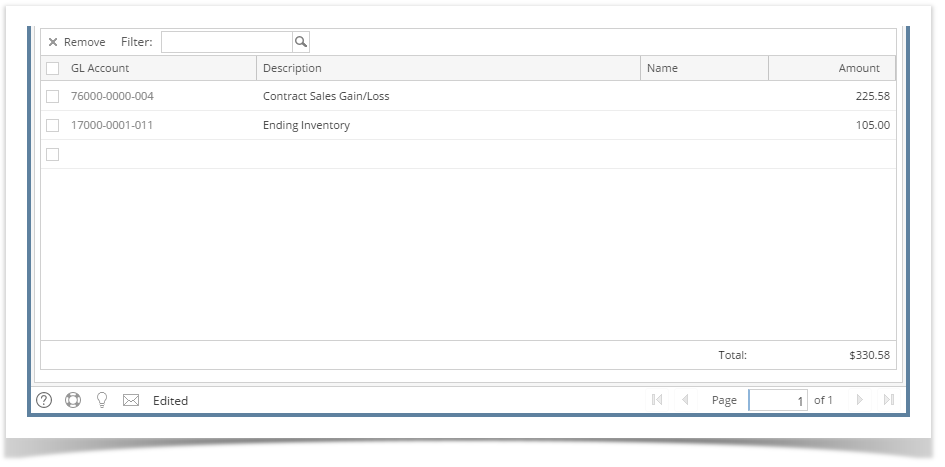
- In the grid area, add the counter-entry/ies for the cash account assigned for the bank account selected.
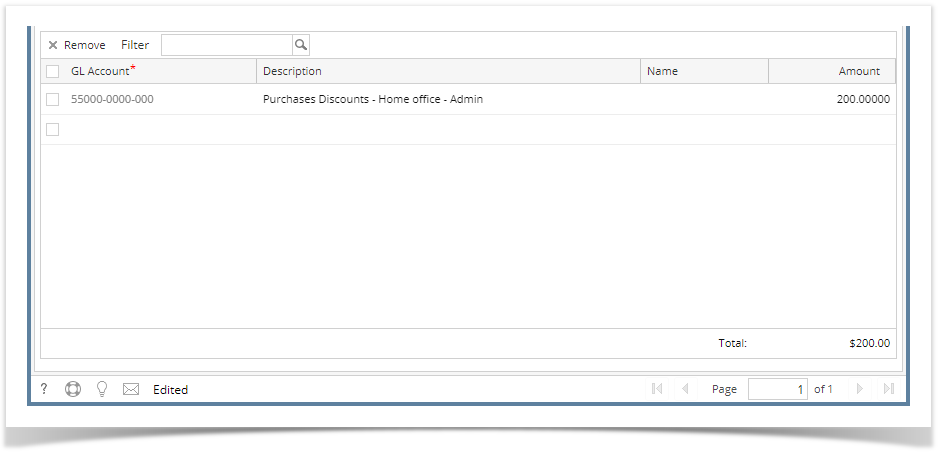
- In the GL Account field, select GL Account.
- In the Amount field, enter amount of the check to issue.
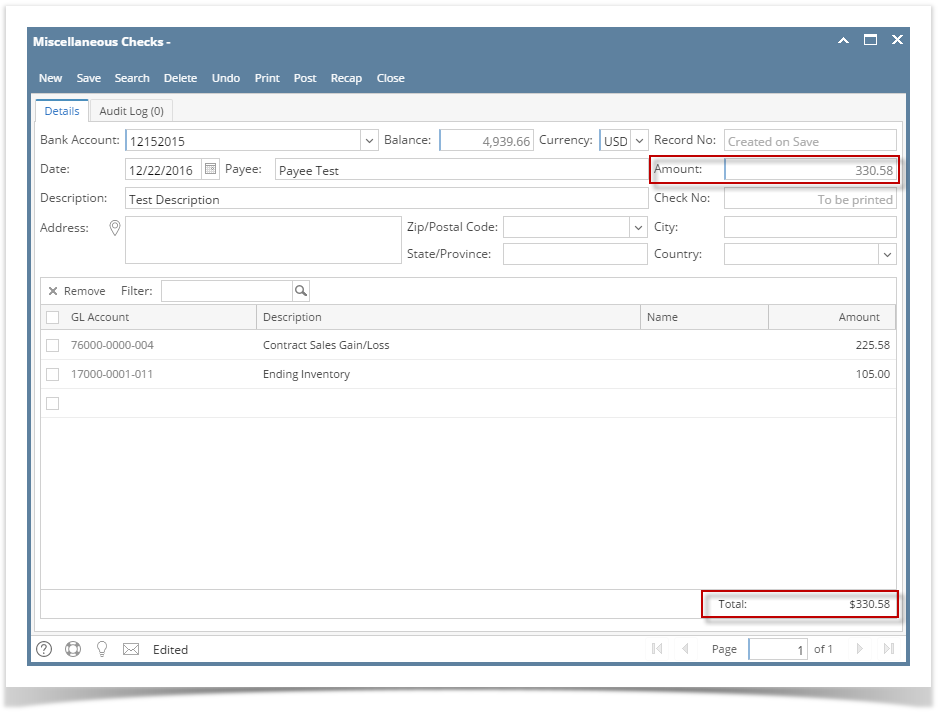
- At the bottom of the grid, a Total of line items added in the grid is shown. And that same amount is reflected as well in the Amount field in the header part of the screen.
Click Save toolbar button to save the miscellaneous check.

The Record No field will then show the miscellaneous transaction number assigned for this transaction.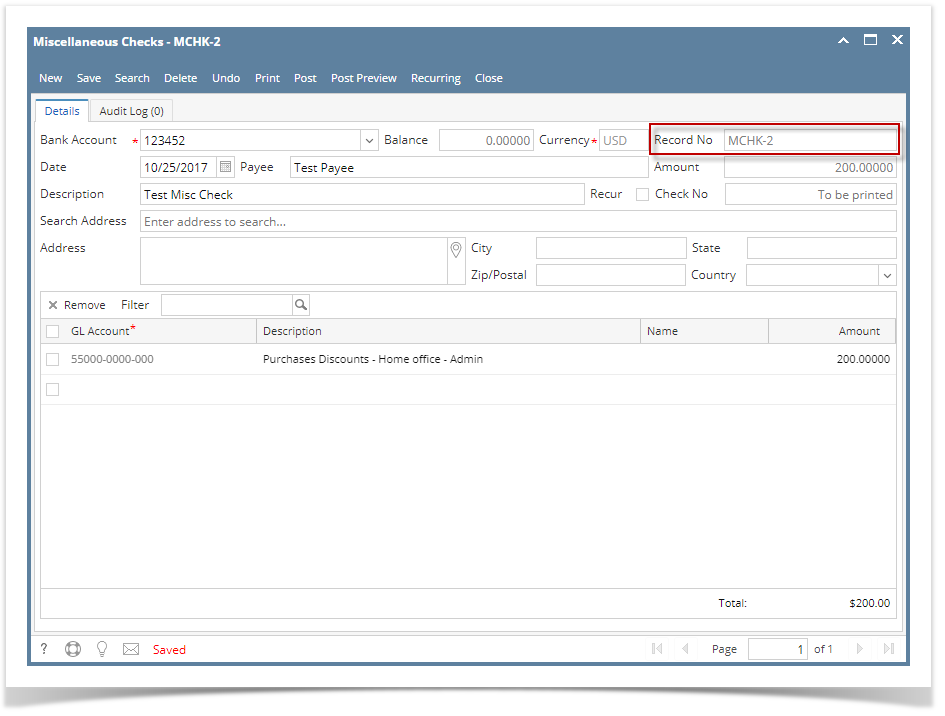
Note If the transaction is to be posted right away, you may skip saving it. Instead, click Post toolbar button and it will save and post the transaction. See How to Post the Miscellaneous Check.
Click Close toolbar button to close the screen.

| Expand | ||
|---|---|---|
| ||
|
...
|
...
|
...
|

| Expand | ||||
|---|---|---|---|---|
| ||||
|


...
Overview
Content Tools