Page History
A note receivable usually includes a specific interest rate, or a rate which is tied to another interest rate, such as a bank’s prime rate. The calculation of the interest earned on a note receivable is: Principal x Interest rate x Time period = Interest earned
Upon entry into Calculate Monthly Interest the Calculate Interest window will be displayed. This is only used for Pay Principal or Pay Interest First.
...
Last Interest Date: This field is non
...
editable and used to view the last interest date. If the monthly interest is not calculated, then current system date will be displayed.
As Of: It’s a date control, the minimum date for this control is current system date and user cannot select past dates
...
If user clicks on the button “yes” then warning message screen will be closed and return to Maintenance screen.
If user clicks on the button “No” then warning message screen will be closed and Calculate interest screen will be displayed.
Note 1:
...
On click of “Ok” button of warning message, the “OK “ button in the Calculate Interest screen will be disabled.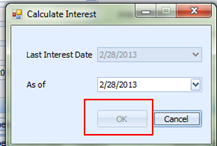
...
.
...
Note 2:
- On Calculate interest form, user can select “As Of” date till next day of last interest calculation date.
...
- Interest
...
- will be calculated till the “As Of” Date.
- Date inserted into General Ledger will be the system date in any case
...
Example: Interest Calculation Date is 03/31/2013
...
- . Also source number will be I0401 and not I0331.
...
Integration with General Ledger
...
| title | Integration with General Ledger |
|---|
: when user calculate the calculate interest then two entries will be inserted into
...
(Journal Entries) with an interest amount for respective note and for respective month.
...
Credit - GL Interest Income account
Debit - GL Notes Receivable account (which are configured in the Control file settings
...
User can verify the entries in Origin application by following the below steps.
...
)
...
Double click the record.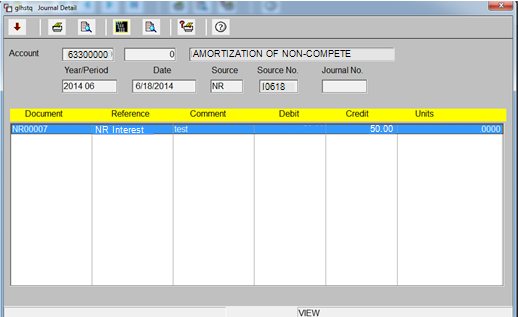
OR
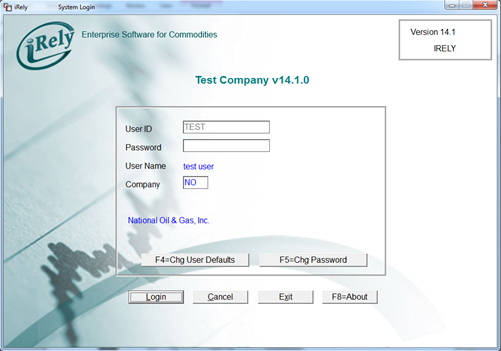
- Login to summit application
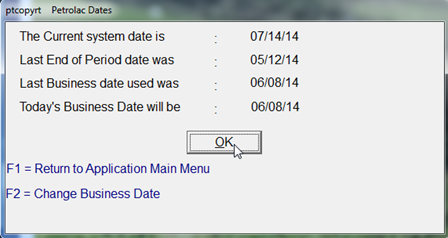
- Select /Click Petrolac Menu
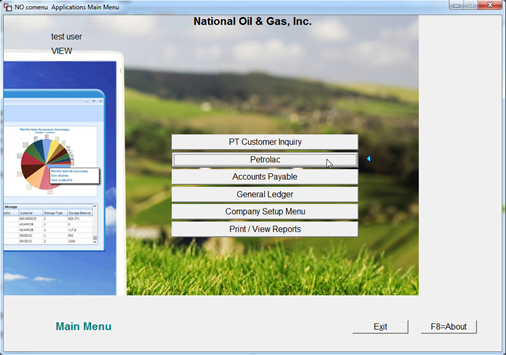
- Petrolac Dates screen will appear. Click OK.
- Select End of Period Menu on Petrolac Main Menu screen.

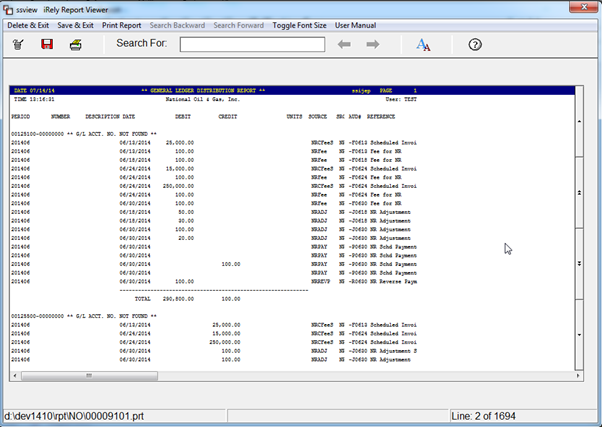
- Select G/L Distribution Report Menu on End of Period Menu screen.

- Enter Transaction Date (Beginning and ending) and click on View Report button.

Below report will give the required details
Overview
Content Tools