The following will guide you on how to create Inventory Receipt with Direct type. In this illustration also, non-lot tracked item is selected for item to be shipped.
- There are 2 ways where you can create a new Inventory Receipt.
- From Inventory module > click on Inventory Receipt menu. The Inventory Receipt search will be shown. Click New.
If there are no existing records yet, upon clicking Inventory Receipt menu, it will open a new Inventory Receipt screen. - From an existing Inventory Receipt transaction, click New.
- From Inventory module > click on Inventory Receipt menu. The Inventory Receipt search will be shown. Click New.
- The Inventory Receipt search will be shown. Click New.
- This will open a new Inventory Receipt screen.
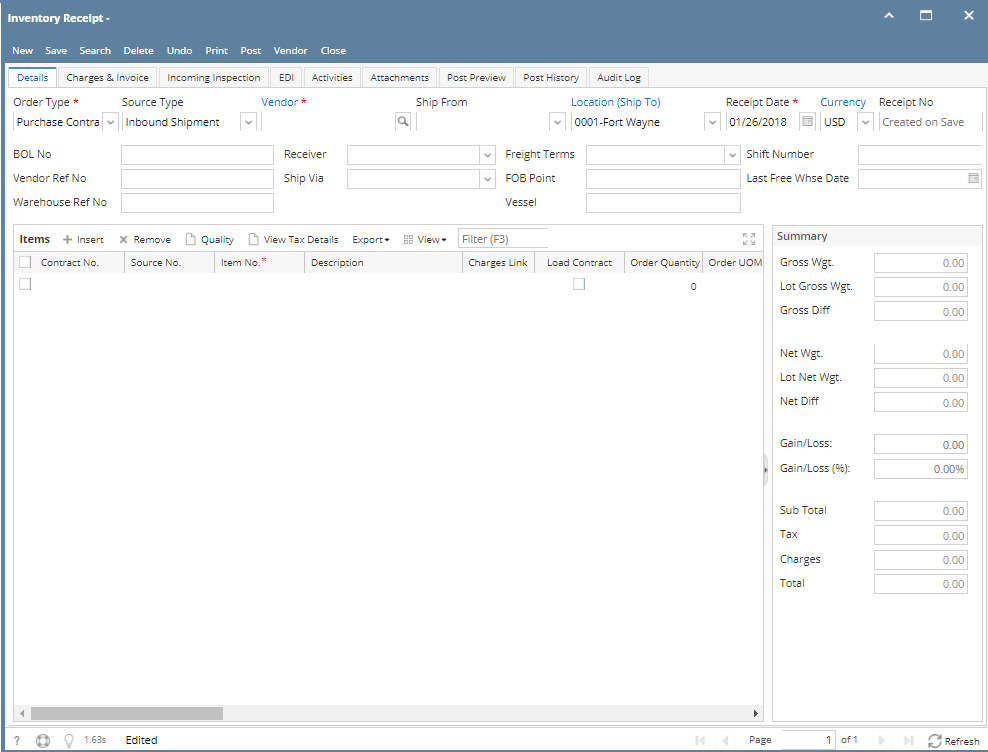
- In the Details tab,
- Select Direct in the Receipt Type field.
- Select the vendor for this Inventory Receipt in the Vendor field.
Select Location in the Location field.
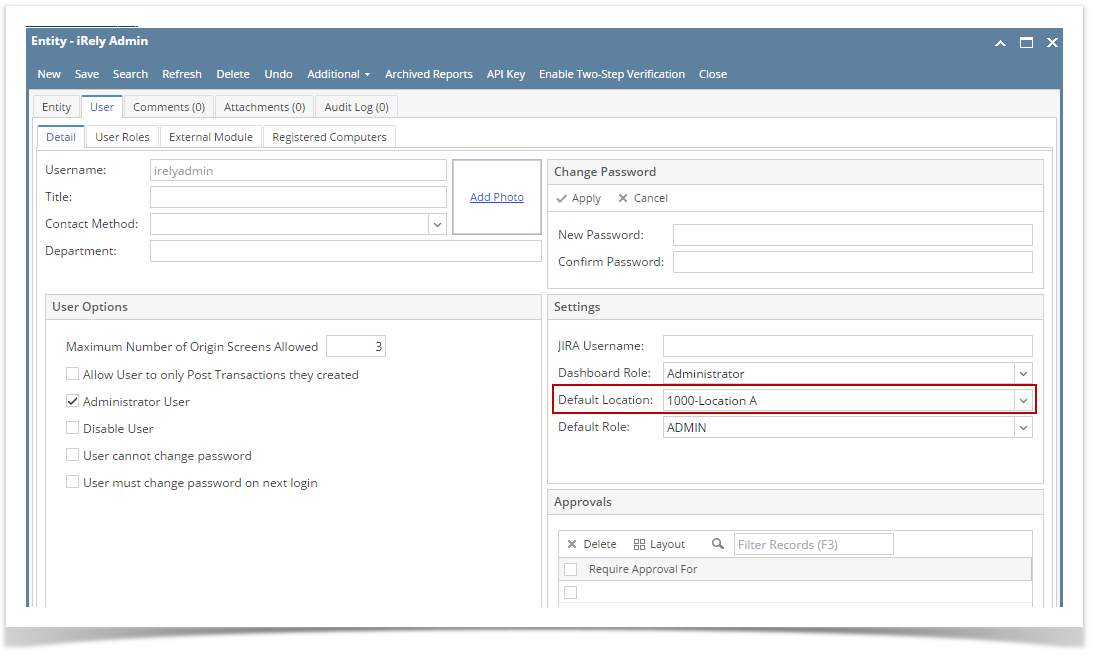
If you would like to always use your user's Location when creating Inventory Receipt, then setup the Default Location from the Users screen.
System Manager > Users > select your user > in the Default Location field select your default location.
- In the grid area,
- Select a lot tracked - serial number item to be received in the Item No field. As item is selected, all other item information will automatically be filled in like default Receipt UOM, Cost, Cost UOM, Storage Location, Storage Unit and so on.
- Enter the quantity of items to be received in the Receipt Qty field.
- Gross/Net UOM field will be defaulted to the UOM the same as Receipt UOM. Change this UOM as needed.
- Enter Gross and Net value. As you enter the Net value, Line Total field will automatically be updated.
- Enter other relevant item information. See Inventory Receipt - Field Description.
- At the bottom of the screen, the Lot Tracking grid will be shown. This grid is shown when item selected is lot tracked.
- User can leave the Lot Number field blank, the system will generate the serial number when posting this transaction or user can enter Lot Number Manually.
- In the Parent Lot Number field. enter/select a parent lot number if it applies
- Select Lot UOM.
- In the Quantity field enter the quantity to receive for the entered lot number. As you move out of the field, Gross and Net field will automatically be updated based on converted value of Lot UOM and Quantity to Lot Wgt UOM.
- Change the Gross or Tare value as needed.
- Enter Expiry Date. Note that this should be filled in especially if item to be received will be consumed in manufacturing.
- Enter other relevant lot information. See Inventory Receipt - Field Description.
- Save the record and post it later or you may directly post this transaction.
- Save the record. You can click Save or use the shortcut key Ctrl+S. In case you miss to save it and you click the Close or the x button at the top right corner of the screen or use the shortcut key Alt+X or Esc , i21 will prompt you if you would like to save it before closing the screen.
- Post Inventory Receipt. See How to Post Inventory Receipt.
Overview
Content Tools