Follow the steps below on how to use custom header and footer.
- Create a New financial report or Open an existing one.
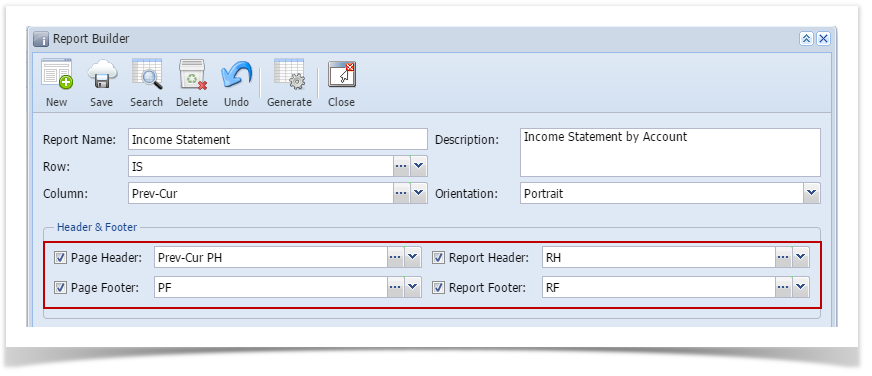
- Select header and/or footer in the Header & Footer section. Check the checkbox before the header and footer. As you check the checkbox before the Header or Footer, Show Default Header & Footer checkbox will automatically be unchecked.
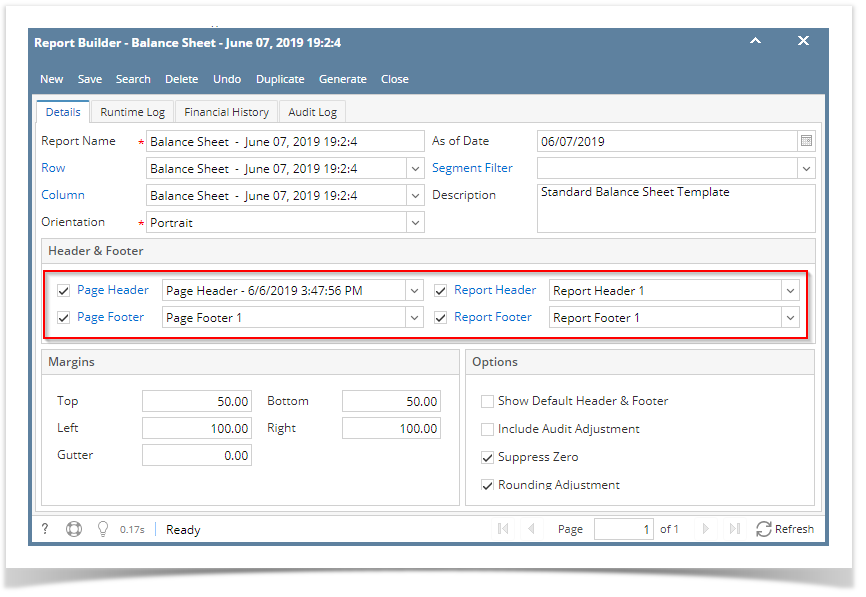
- Click Generate toolbar button to Generate a report.
See topics under How to Configure a header or footer page to show you how to configure custom report header and footer and how it will look like when previewed/printed.
Follow the steps below on how to use custom header and footer.
- Create a New financial report or Open an existing one.
- Select header and/or footer in the Header & Footer section. Check the checkbox before the header and footer. As you check the checkbox before the Header or Footer, Show Default Header & Footer checkbox will automatically be unchecked.
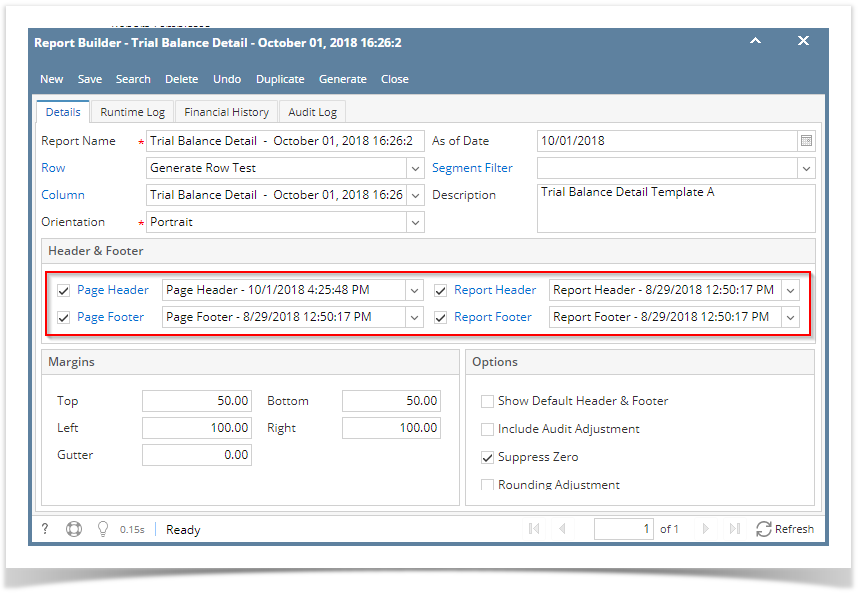
- Click Generate toolbar button to Generate a report.
See topics under How to Configure a header or footer page to show you how to configure custom report header and footer and how it will look like when previewed/printed.
Follow the steps below on how to use custom header and footer.
- Create a New financial report or Open an existing one.
- Select header and/or footer in the Header & Footer section. Check the checkbox before the header and footer. As you check the checkbox before the Header or Footer, Show Default Header & Footer checkbox will automatically be unchecked.
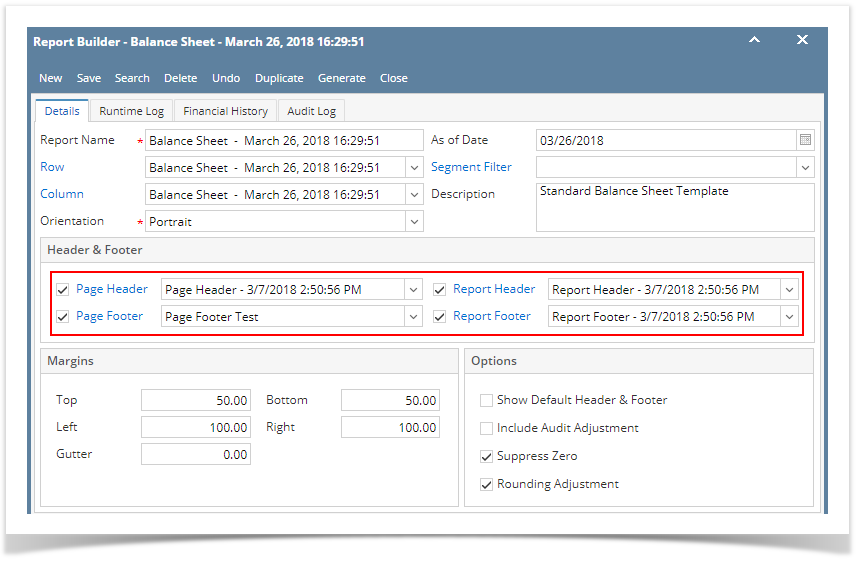
- Click Generate toolbar button to Generate a report.
If Show Report Settings checkbox is checked, Report Settings screen will open and from there you can generate the report. See How to Show Report Settings screen before report preview.
If Show Report Settings checkbox is unchecked, it will directly generate the report.
See topics under How to Configure a header or footer page to show you how to configure custom report header and footer and how it will look like when previewed/printed.
Follow the steps below on how to use custom header and footer.
- Create a New financial report or Open an existing one.
- Select header and/or footer in the Header & Footer section. Check the checkbox before the header and footer. As you check the checkbox before the Header or Footer, Show Default Header & Footer checkbox will automatically be unchecked.
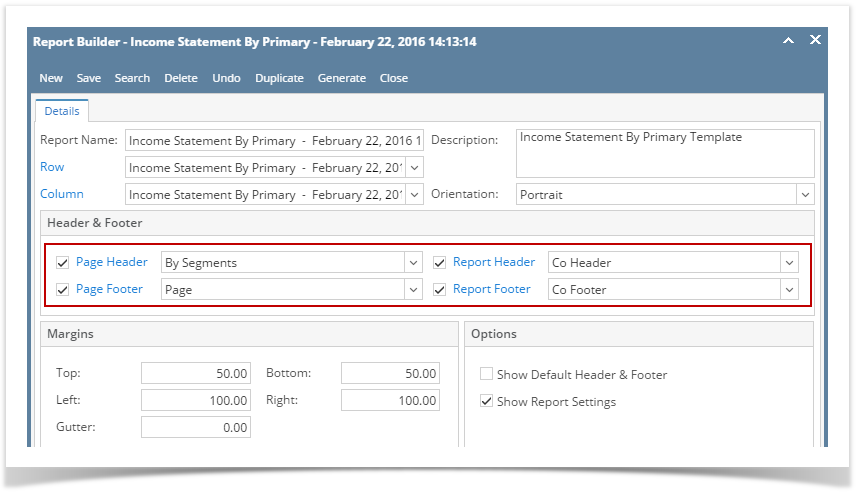
- Click Generate toolbar button to Generate a report.
If Show Report Settings checkbox is checked, Report Settings screen will open and from there you can generate the report. See How to Show Report Settings screen before report preview.
If Show Report Settings checkbox is unchecked, it will directly generate the report.
See topics under How to Configure a header or footer page to show you how to configure custom report header and footer and how it will look like when previewed/printed.
iRely i21 has default header and footer that can be readily used.
Follow the steps below on how to use this.
- Create a New financial report or Open an existing one.
- Uncheck the Show Default Header & Footer checkbox.
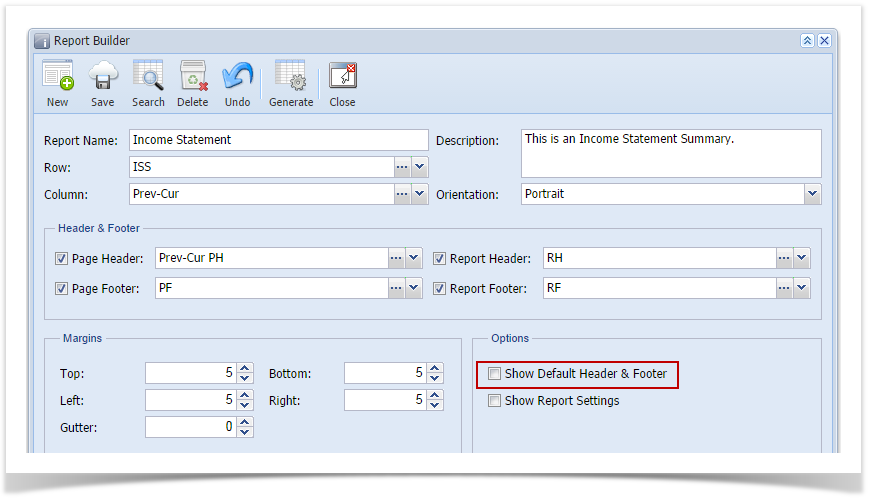
- Select header or footer in the Header & Footer section. Make sure also that the checkbox before it is checked.
- Click Generate toolbar button to Generate a report.
If Show Report Settings checkbox is checked, Report Settings screen will open and from there you can generate the report. See How to Show Report Settings screen before report preview.
If Show Report Settings checkbox is unchecked, it will directly generate the report.
See topics under How to Configure a header or footer page to show you how to configure custom report header and footer and how it will look like when previewed/printed.
Overview
Content Tools