Page History
This feature is used for generating and printing tags for the products you put in your store shelves.
Steps:
- From Store Module > Activities >
In Store menu, click
Generate Shelf Tags.
- The Generate Shelf Tags screen should display.

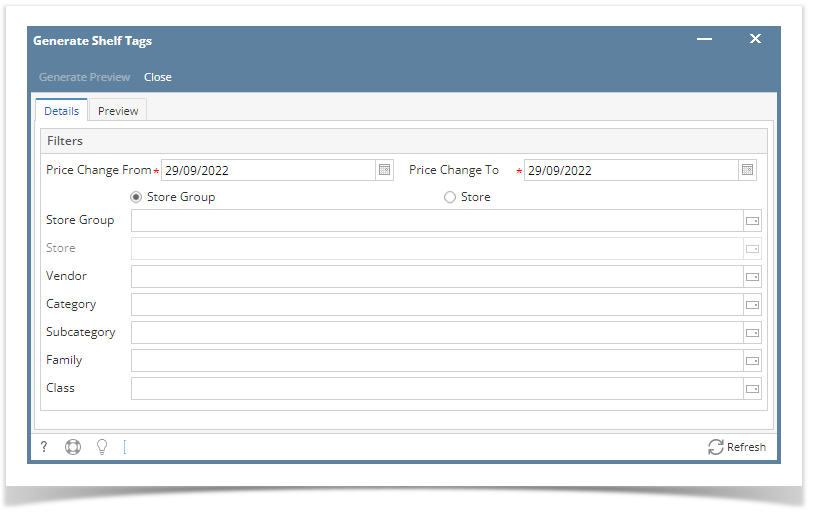
- In Generate Shelf Tags screen, enter/select the filter details:
- Price Change From
- Price Change To, this field should not be empty.
- Select Radio buttons
- Store Group
- Store
- Store Group, this field will be active once Store Group radio button is selected.
- Store, this field will be active once Store radio button is selected.
- Select any Vendor
- Select any Category
- Select any Subcategory
- Select any Family
- Select any Class
Example:
- - Select the beginning date covered of the items you want to include in the printing of tags.
- Price Change To - Select the ending date covered of items you want to include in the printing of tags.
- Store Group - Choose a store group you want to pull item records from. When this option is selected, Store filter option will be disabled.
- Store, - Choose a single store you want to pull item records from. When this option is selected, Store Group filter option will be disabled. Note that you can still select multiple store records to include in your filter.
- Vendor - Select 1 or more vendor records to include in the filter criteria.
- Category - Select 1 or more category records to include in the filter criteria.
- Subcategory - Select 1 or more subcategory records to include in the filter criteria.
- Family - Select 1 or more family records to include in the filter criteria.
- Class - Select a class records to include in the filter criteria.
Example: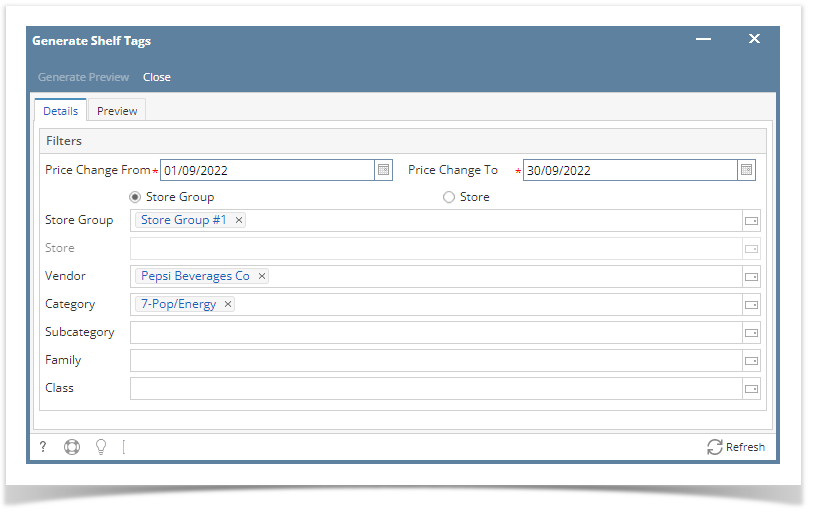
- After filling After to fill up all necessary details on Filters Panelpanel, click Preview tab. The following details should display based on the given filters.

- Click Generate Preview button, should display the Report Viewer screen.

- Click Export a report and save to the disk button, the file should be downloaded on local machine.
- All item records that match the filters will be listed on the grid.
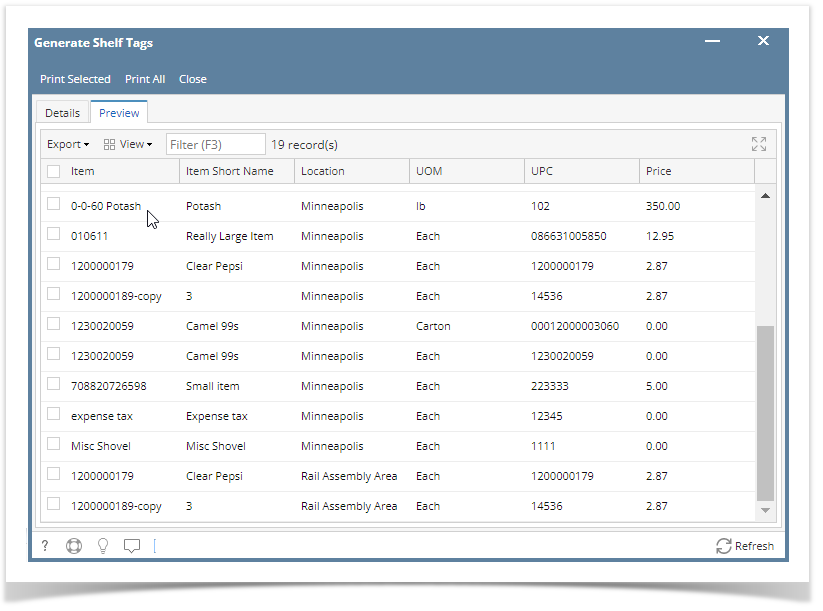
- You can manually select each individual items and click Print Selected to generate a preview of the tags for printing, or...
- You can click Print All to have the whole document included in the printing process.
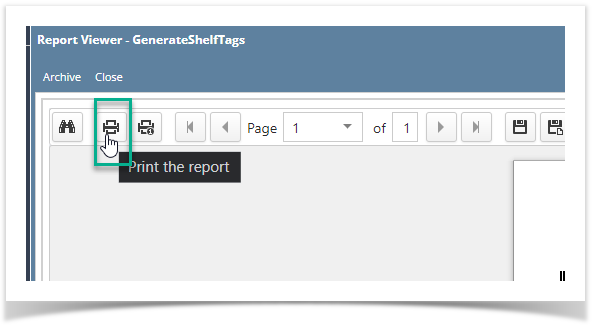
- A screen will open and show the generated shelf tag preview. Details shown on-screen will be the same output once printed.
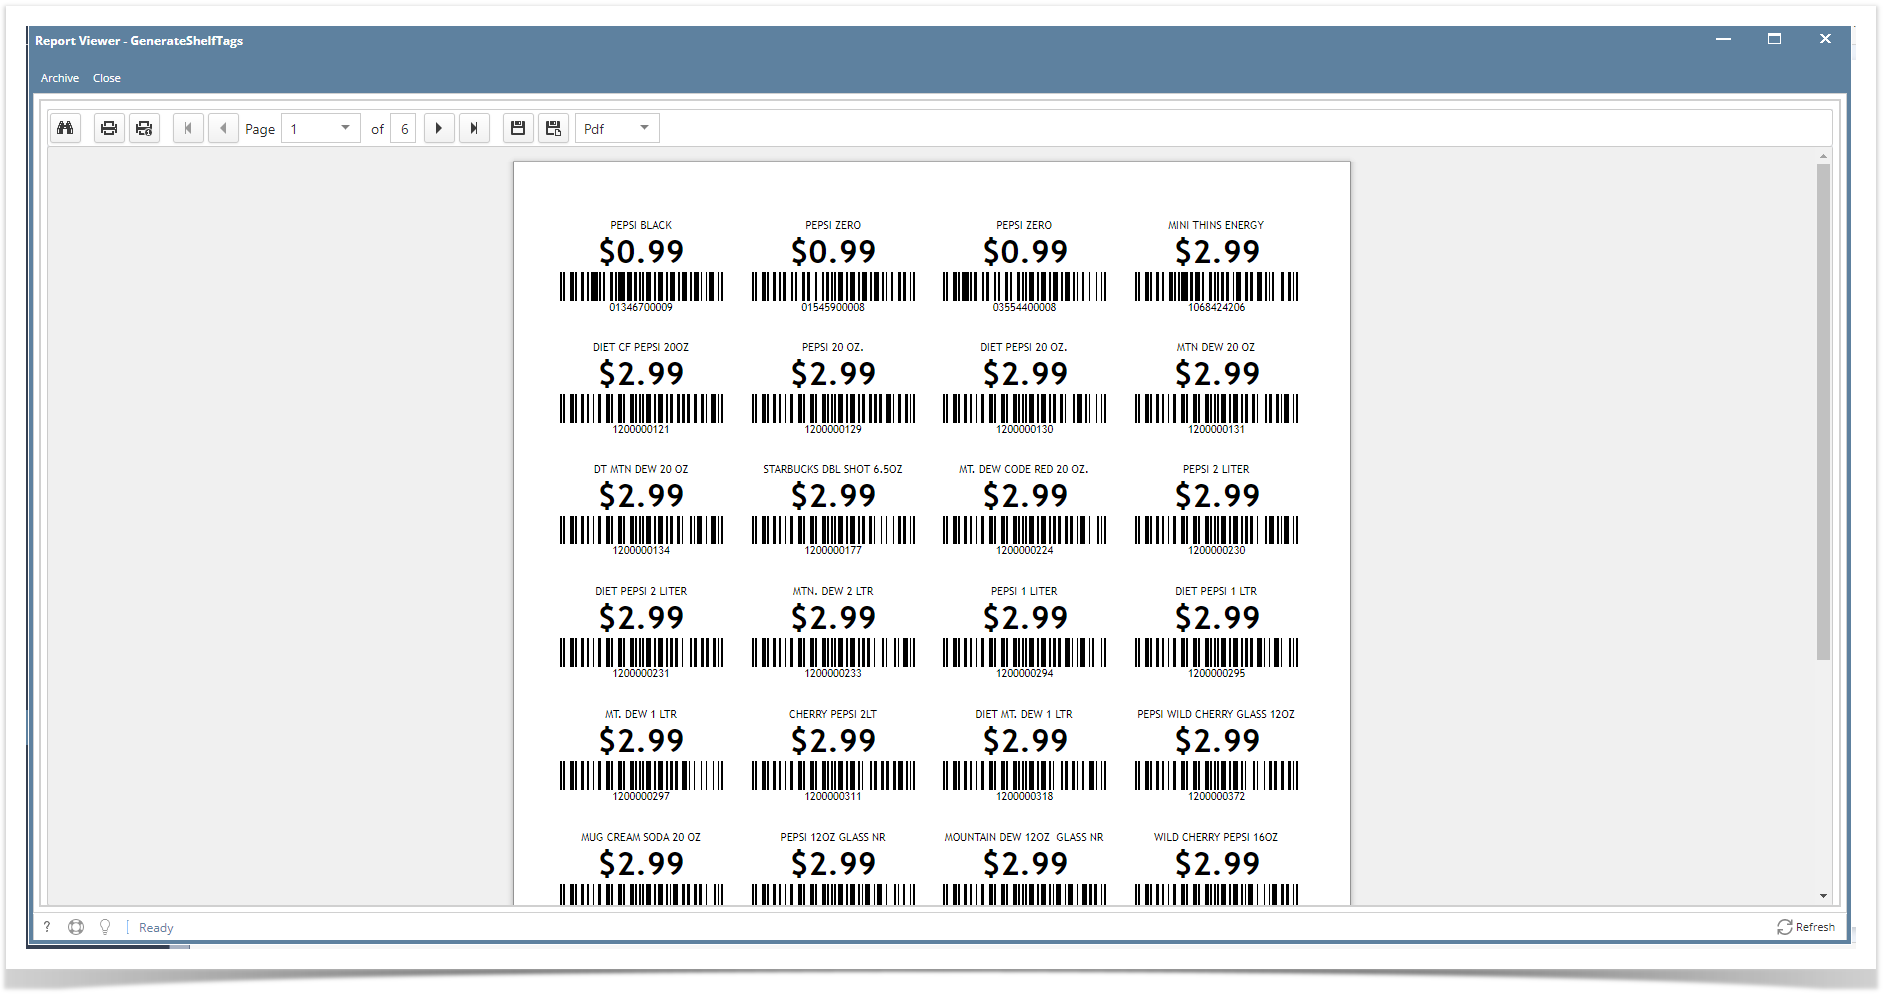
- Click the Printer icon to print the document.
Overview
Content Tools