Page History
...
Here are the steps on how to setup the Control Permissions:
- Login as Admin Security User
- On the User's menu panel, expand the System Manager folder
- Click the Security Listing Generator, a loading process will show

Once the list of control are generated the Security Listing Generator screen will show
- Click Commit button

- Click OK on successful message

- Click the User Roles menu
- Select and open a User Role on Search User Roles

- Click the Control Permissions tab
- Click the Add button

- Select a control controls from the list on Add Control Permissions screen, then click Open Selected toolbar button

- Select Permission of the control:
- Editable - Allows a user to edit data in the control.
- Disable - Makes a field read-only or a button/tab disabled.
- Hide - Hides/Removes a field, button or tab from the screen.
- Bypass - Applies to fields where you do not want the cursor to appear when tabbing through the fields.

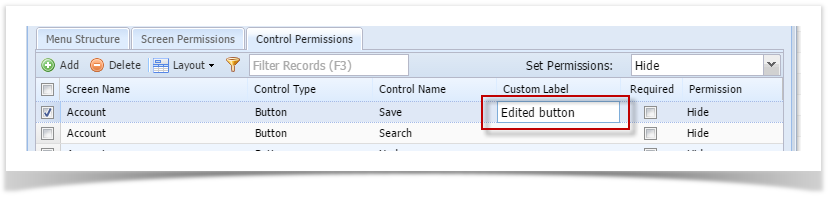
- To change the label of the control, click the field under Custom Label column and enter the desired label.
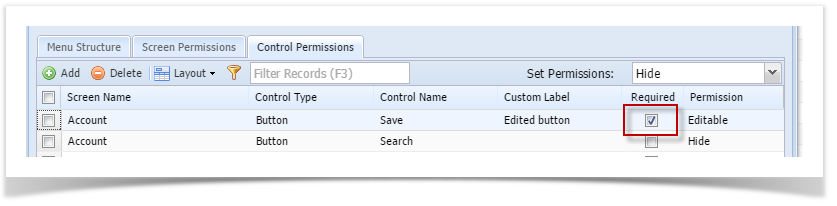
- To set a control to be a required field, tick the check box under Required column.
- Click Save toolbar button
Overview
Content Tools