Page History
...
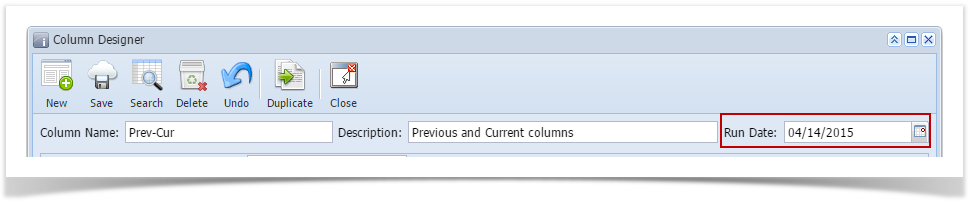
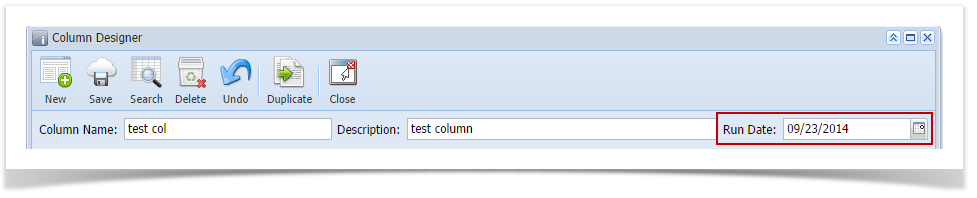
- First is, set the Run Date. By default, this field will show today's date. Change this field as you feel necessary.
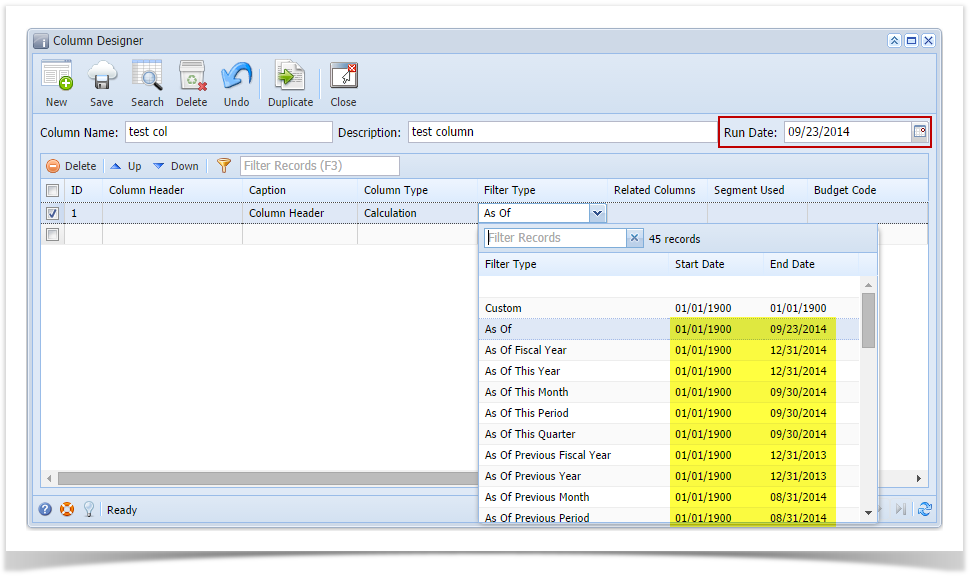
- Add Budget, Calculation, Credit, Credit Units, Debit, Debit Units, Ending Balance, GL Trend, Segment Filter or Units column.
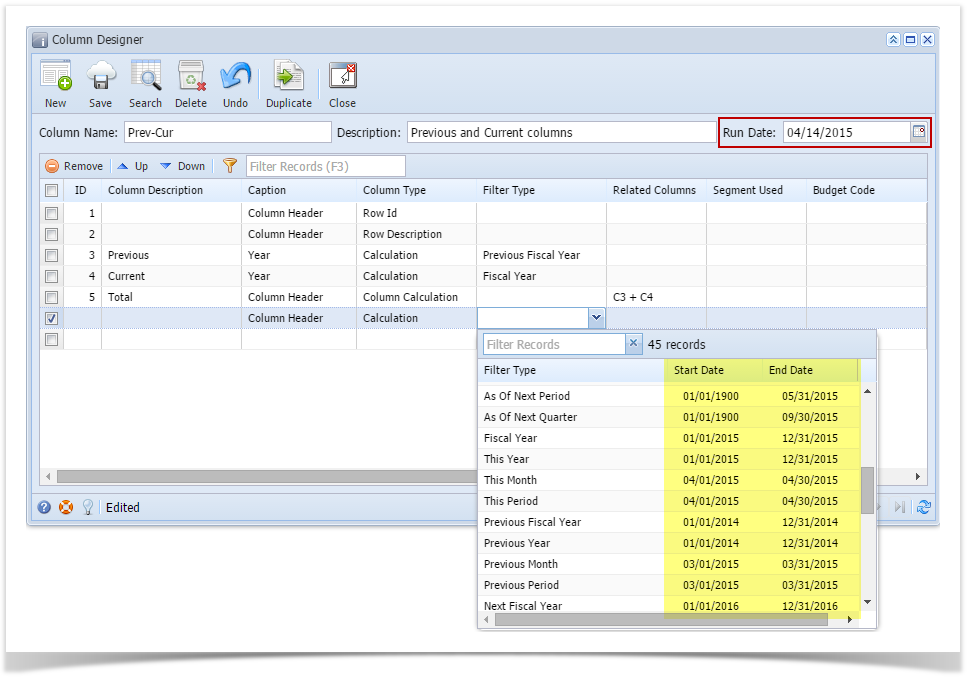
- In the Filter Type field click the dropdown combobox button. All available filter types will show a Start and End Dates based on Run Date selected. The Start and End Dates will show you exactly the date range for the selected Filter Type. This helps you visualize the date coverage of the date filter based on the Run Date selected.
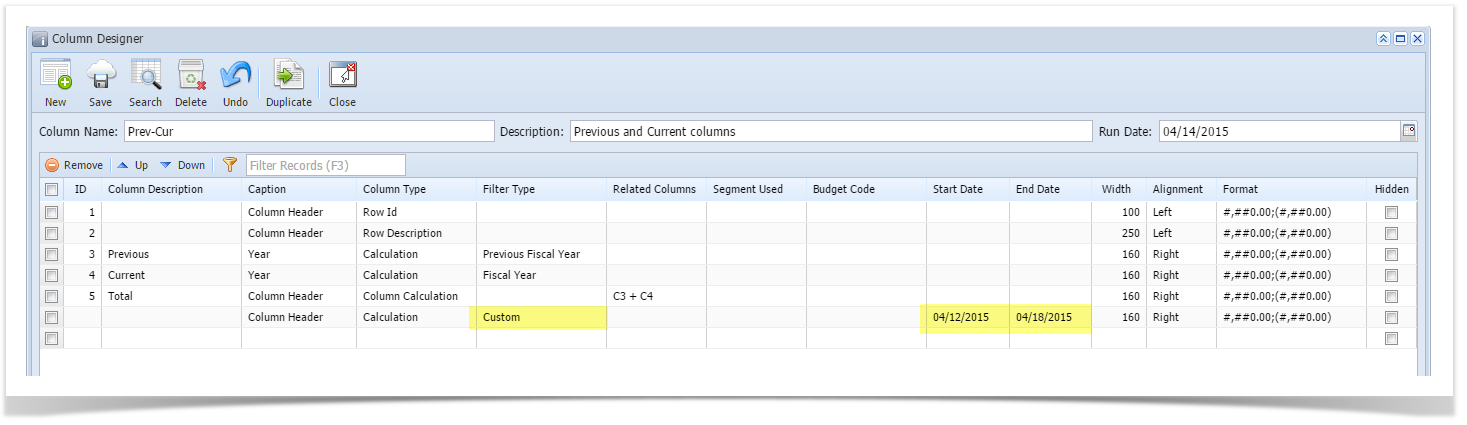
As for Custom filter type, it will show today's date and you will need to setup the Start and End Dates.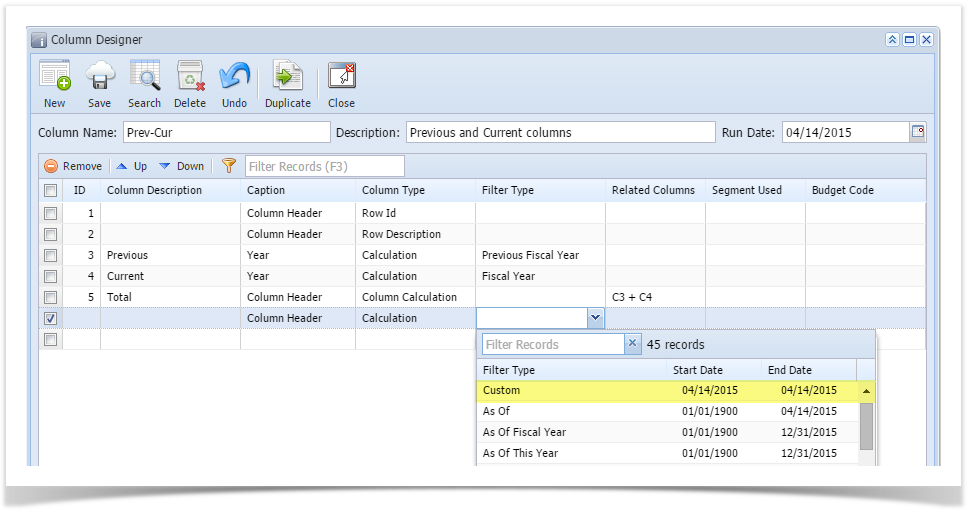
When printing report and you use a column designer with Filter Type setup columns, it will be the As of Date field that is being used as basis for the date filters.
Ex:
If this is the column designer setup, take note that the first part is using the Caption - Column Name while the 2nd part is using the Caption - Filter Type.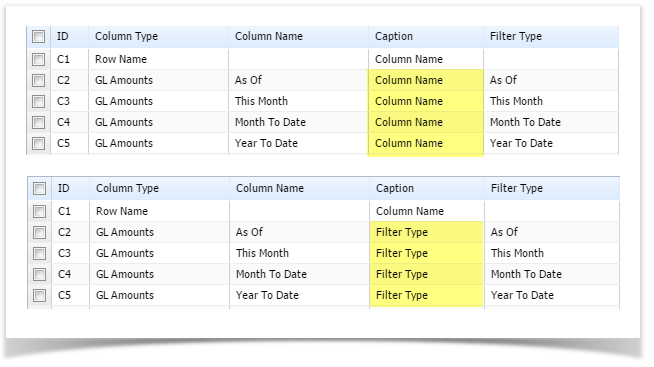
>As of Date is using today's date.
This is how the report will look like.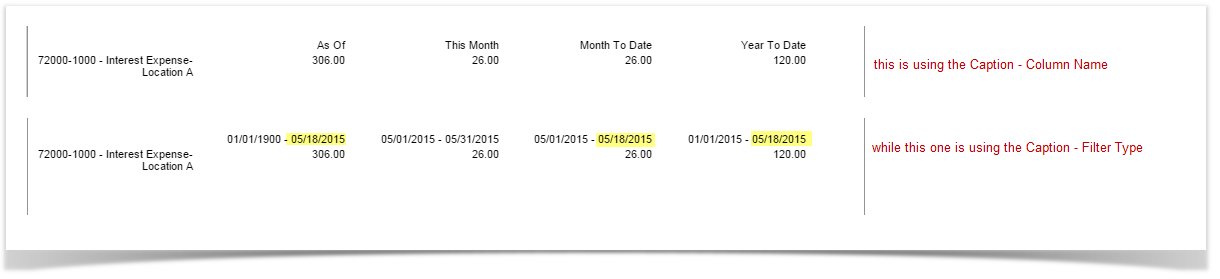
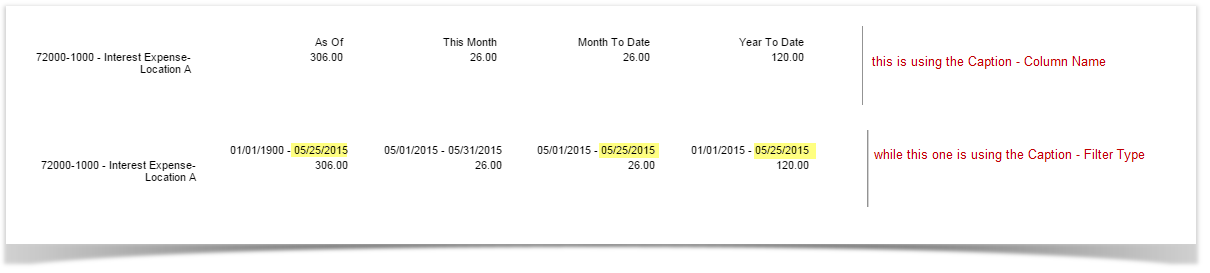
>As of Date is setup with other dates within the fiscal year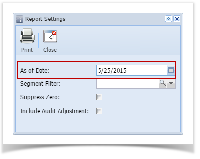
>As of Date is setup with a date that is from previous fiscal year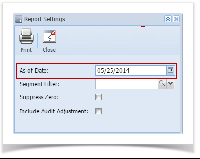

| Expand | ||
|---|---|---|
| ||
There are columns that require date filter and this page will help you understand how date filter works and how you should use it.
|
Overview
Content Tools