Page History
...
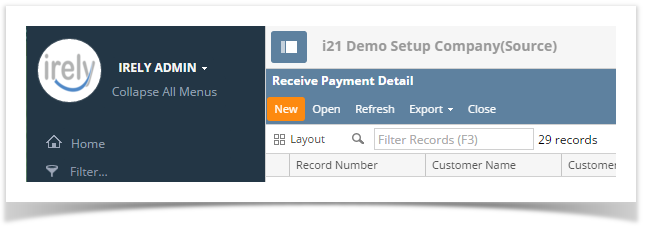
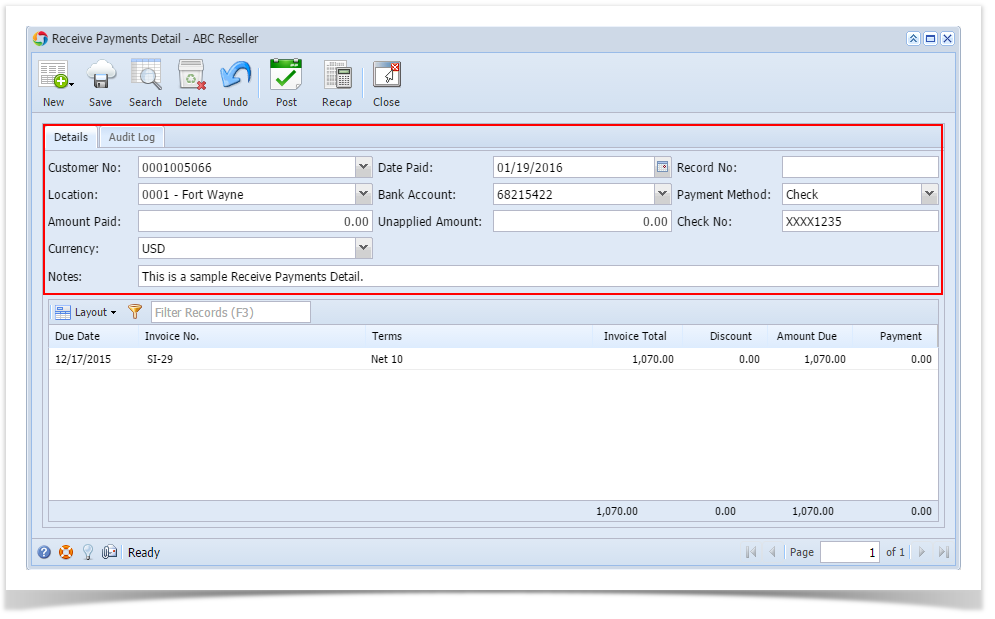
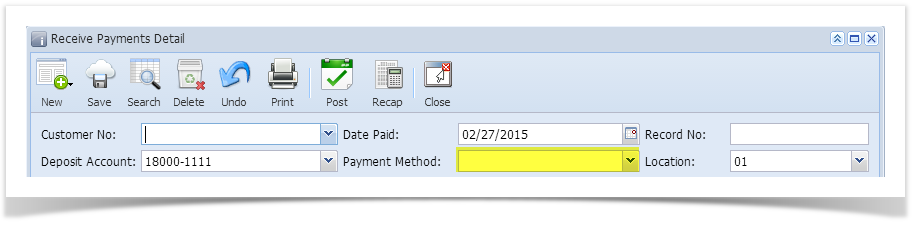
- Open the Sales | Receive Payment Details menu. If there is no existing record yet, it will open a new Receive Payments Detail screen.
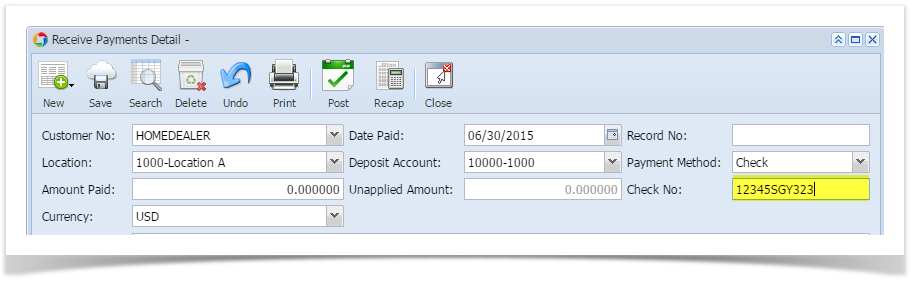
- On the integrated search grid, click the New button to open a new Receive Payments Detail screen. Some of the fields, like Location, Currency, and Date Paid, are populated by default. You can still change the value of these fields if necessary.
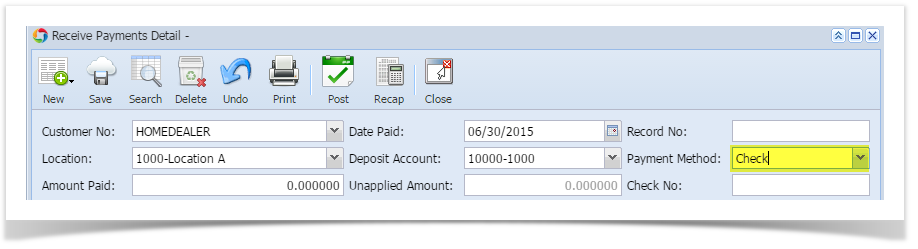
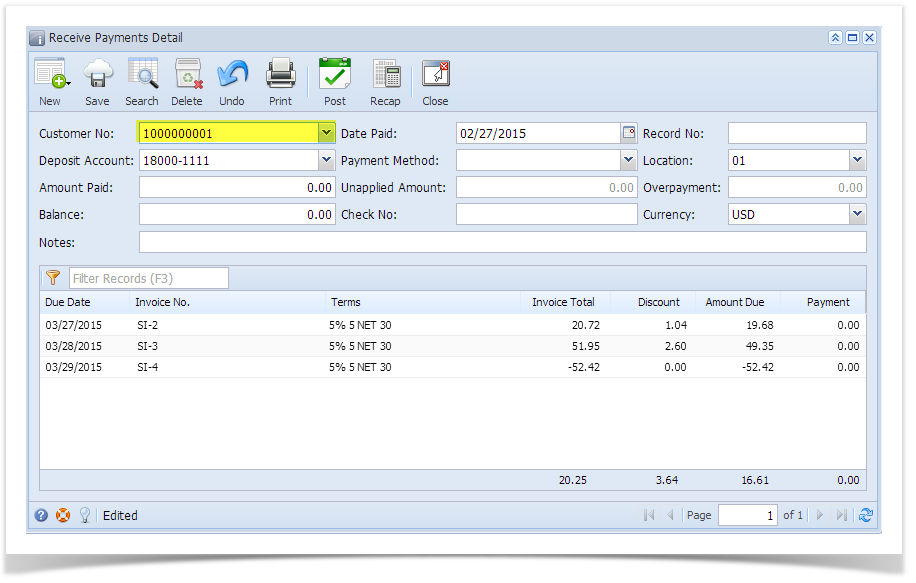
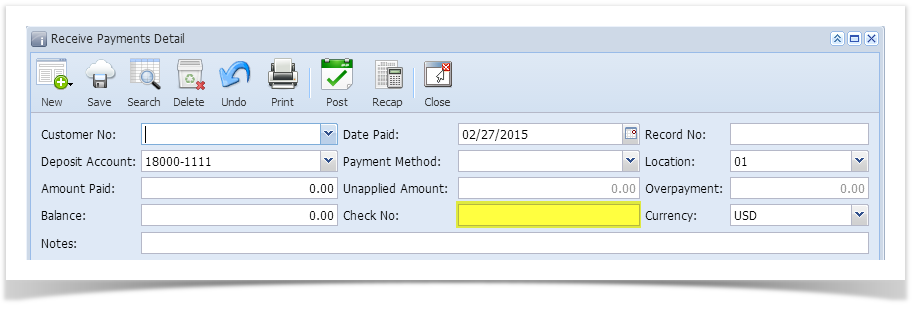
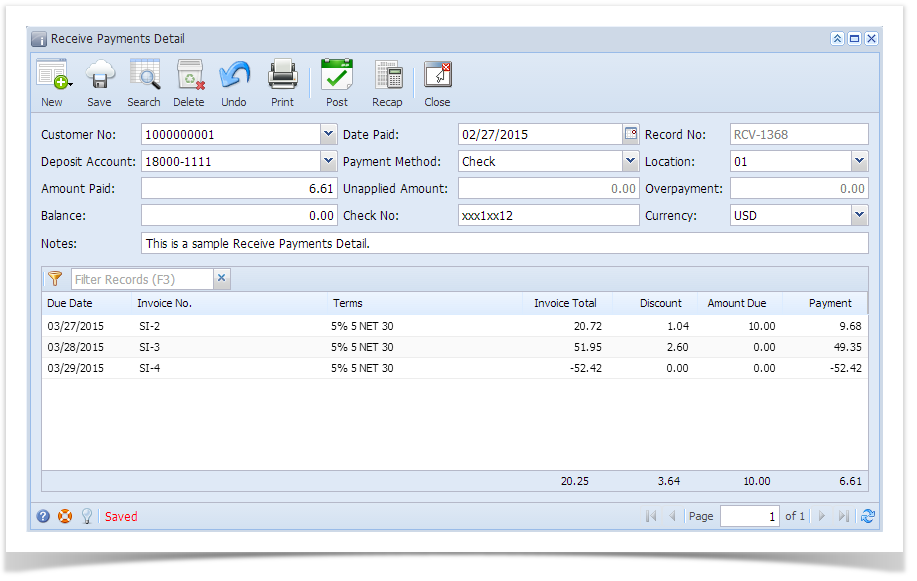
- Fill out the Customer No, Location, Currency, Deposit Account, and Payment Method fields. These are the required details on this screen. Notice that upon selecting the customer, the grid area will show all the posted and unpaid Invoices, Credit Memos, Prepayments that belongs to the selected customer. Refer to Receive Payments Detail | Field Description | Header Details to help you in filling out the fields.
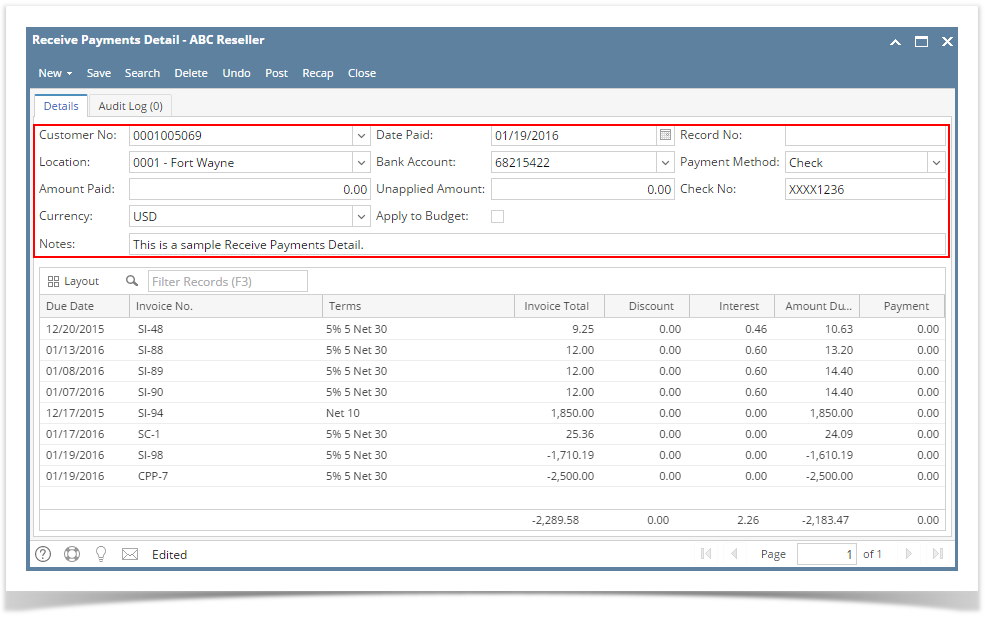
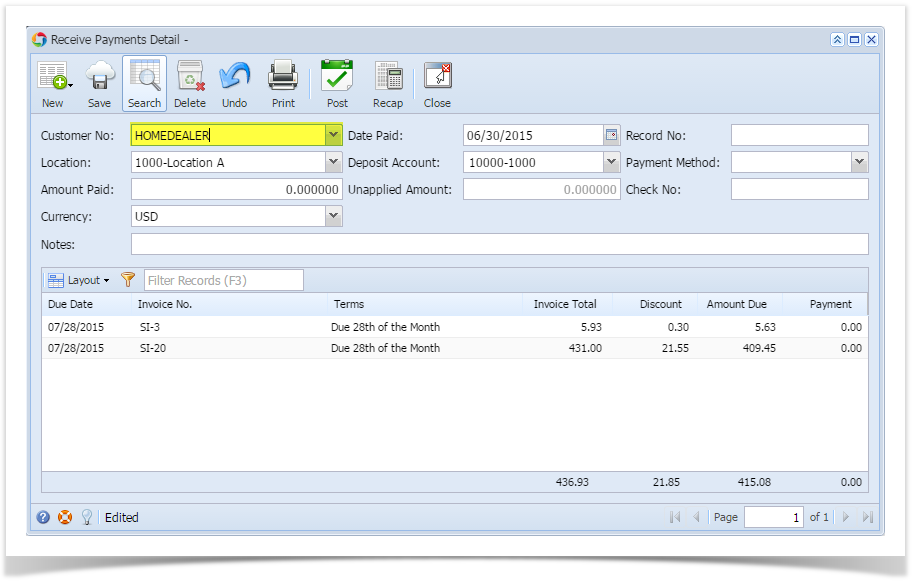
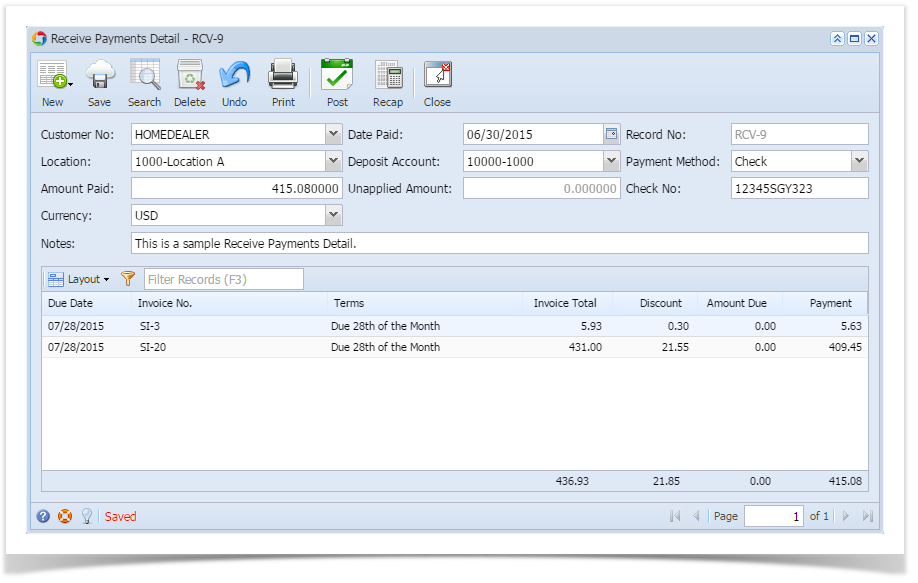
- Enter the grid details. Refer to Receive Payments Detail | Field Description | Grid Details to help you in filling out the fields.
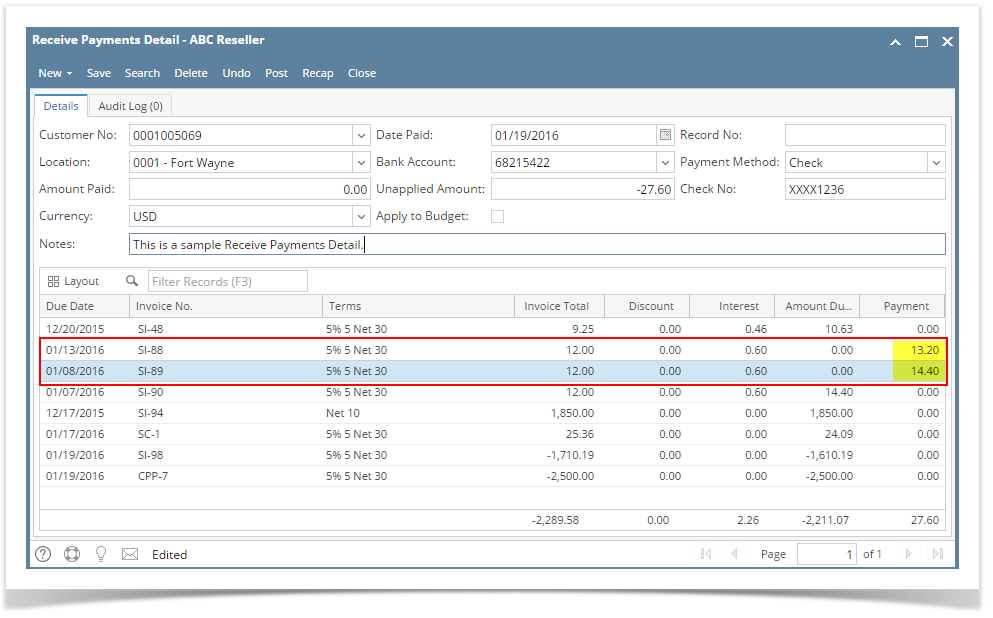
- Manually override the Discount or Interest amount if necessary.
- Enter a full payment for the a grid row by double clicking the Payment field or manually entering the amount. You can also enter a partial payment by manually typing the amount in the Payment field.
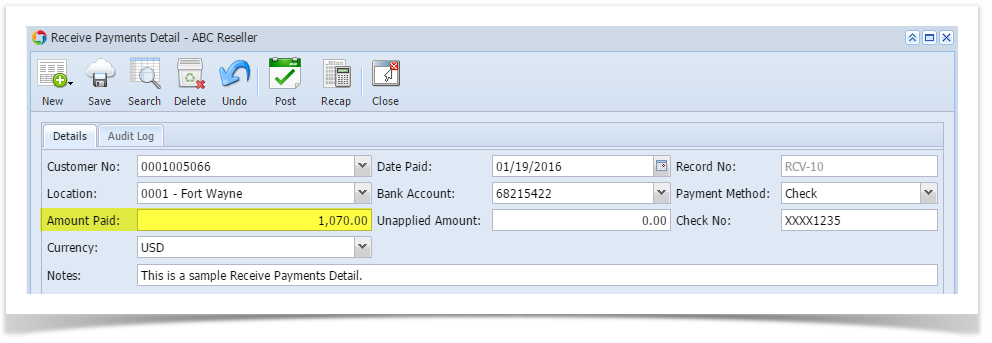
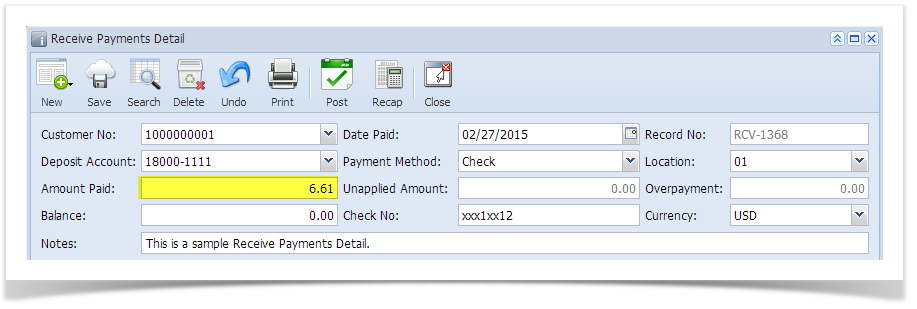
- Enter in the Amount Paid field the total amount you received from your customer. You can either manually type in the amount, or double click in the field to automatically enter the total of the payments in the grid.
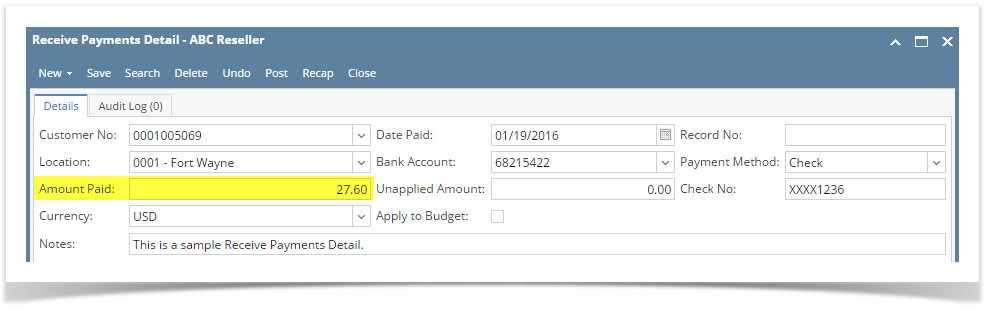
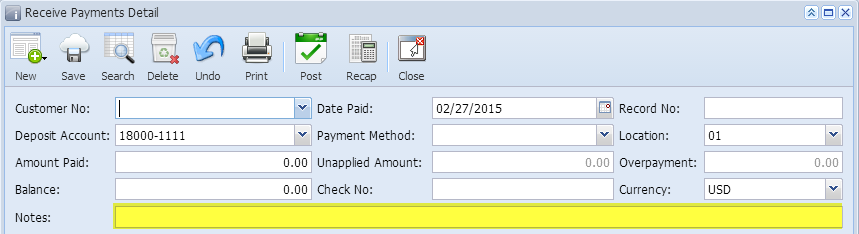
Click Save button.
Note You can skip saving the record if the transaction is to be posted right away since it will be saved automatically.
| Expand | ||
|---|---|---|
| ||
Below are the steps in creating a Receive Payments Detail.
|

| Expand | ||
|---|---|---|
| ||
Below are the steps in creating a Receive Payments Detail.
|
...
|
...
|
...
|
...
|
...
|
...
|
...
|
...
|

...
|
...
|
...
|
...
|
...
|
...
|

...
|
...
|
...
|
| Expand | ||
|---|---|---|
| ||
Below are the steps in creating a Receive Payments Detail.
|

Overview
Content Tools