Page History
...
- From Inventory module > click on Inventory Receipts menu.
The Search screen for Inventory Receipts will be shown. Click New.
Note If this is the first record you are creating, it will automatically open a new Inventory Receipt screen.
- This will open a new Inventory Receipt screen.
- In the Details tab > Receipt Type field select Direct.
- Select Vendor in the Vendor ID field.
Select Location in the Location field.
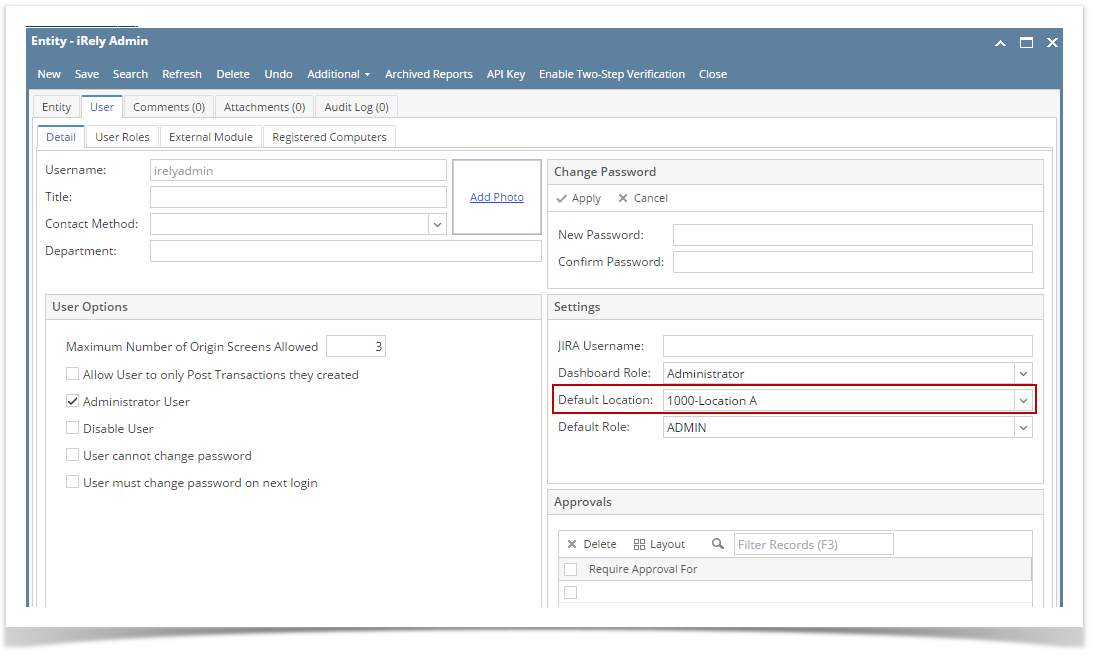
Expand title Set Default Location If you would like to always use your user's Location when creating Inventory Receipt, then setup the Default Location from the Users screen.
System Manager > Users > select your user > in the Default Location field select your default location.
- In the Item grid select items to receive.
Select Receipt UOM and enter Qty to Receive. This would be the number of items you would want to receive the item as per Receipt UOM selected.
Expand title Set Default Receipt UOM If you are always receiving the selected item in a specific UOM, then you can setup the selected UOM as the default Receipt UOM. In that way you will not select the UOM every time you purchase and receive the item. To set this up, go to:
Item screen > Setup tab > Location tab > Purchase UOM field

Expand title Example: You will receive 100 pounds.

- In this example, we will not use Gross and Net Weights. Therefore, leave these fields as is.
- Fill up other remaining fields as necessary.
- Here is an example of a Inventory Receipt - Direct type with a non lot item and does not use Gross and Net Weight.

- Click Save to save the the Inventory Receipt and post it later when item/s are received.
When item/s are ready to be received, prior to Posting it, click Recap to give you preview on what the GL entries would be when this transaction is posted.

Click Post to post the transaction. See also How to Post Inventory Receipt.
Overview
Content Tools