Page History
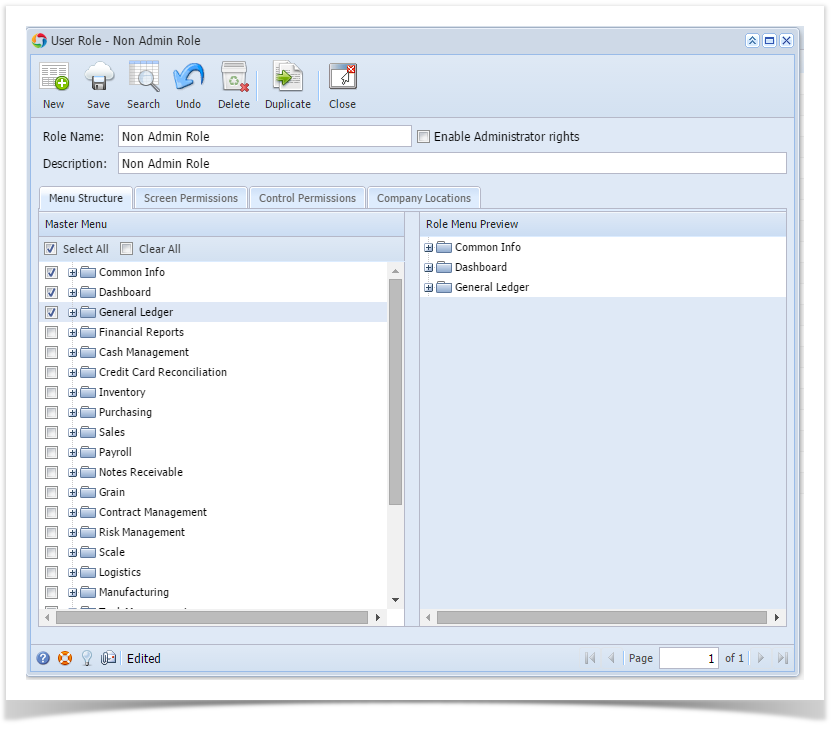
Only an Only Admin type users are allowed to have access to this screen. They have the ability to control and assign what permissions will be given to all the other users on each of the menus within the system.

Here are the steps on How to Add different User Role types:
- Log in as an as Admin user
- On user’s menu panel, go to System Manager folder then click User Roles
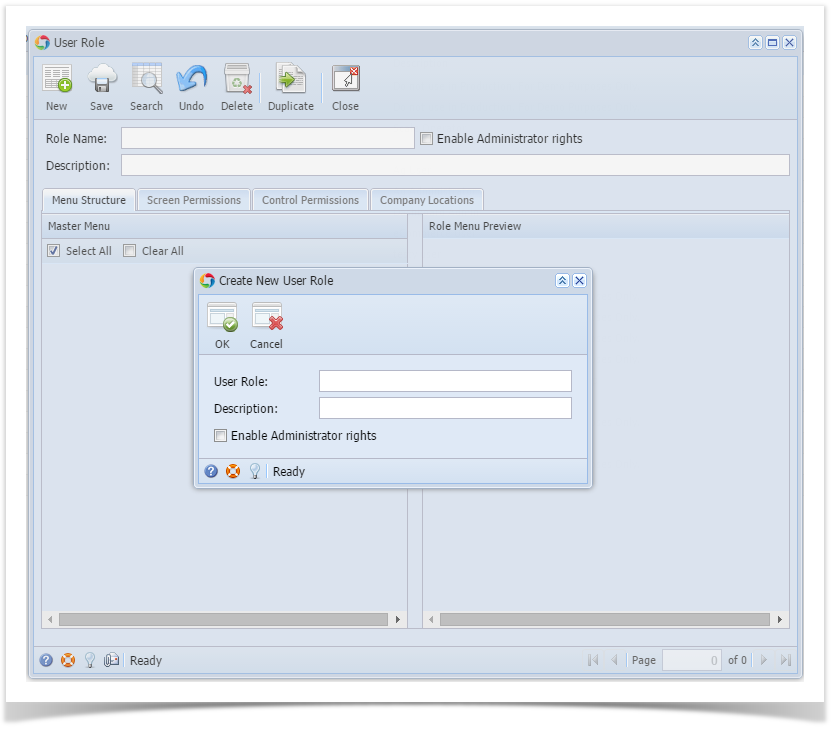
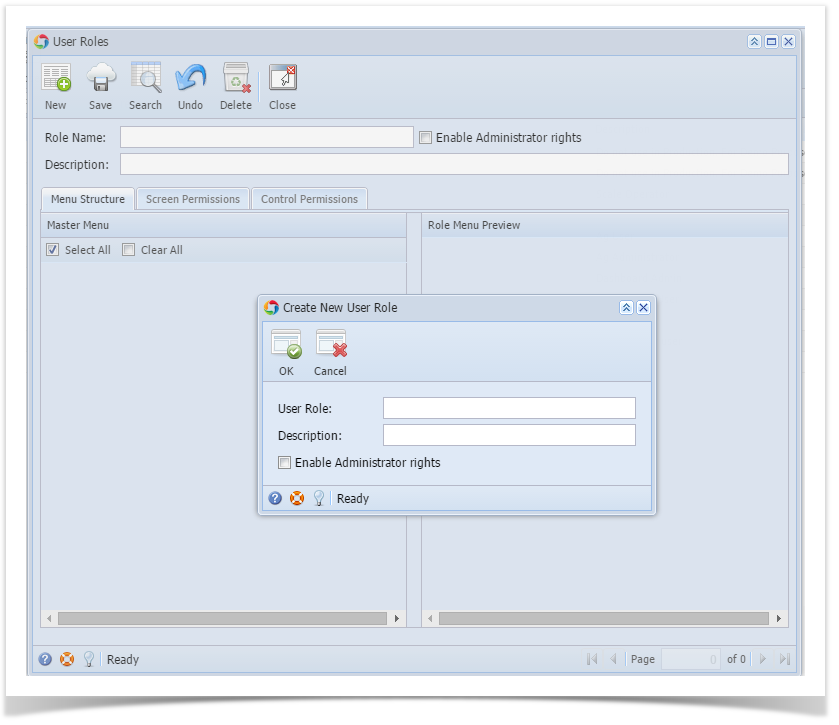
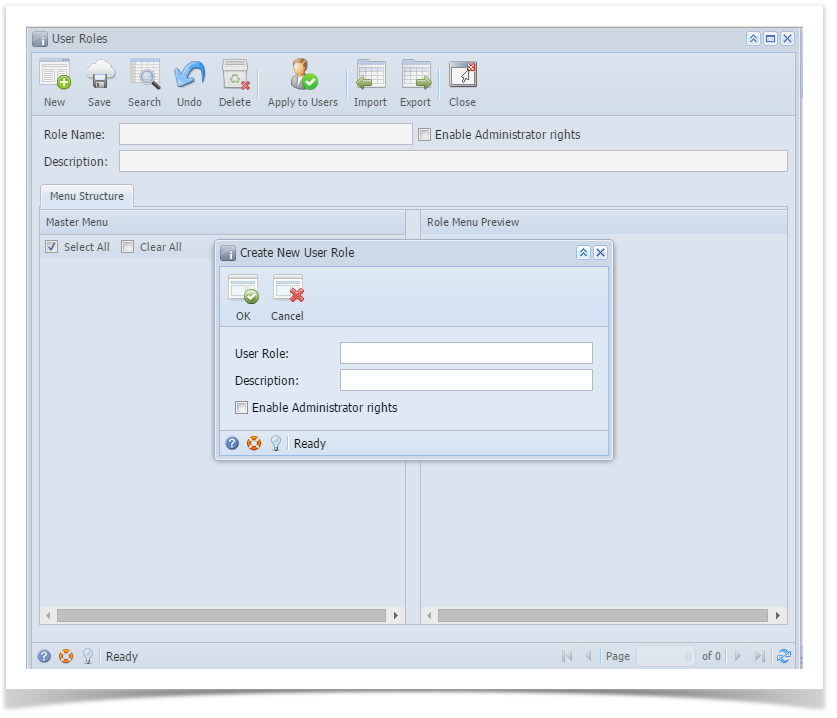
- Click the Click New action button to open a new record.
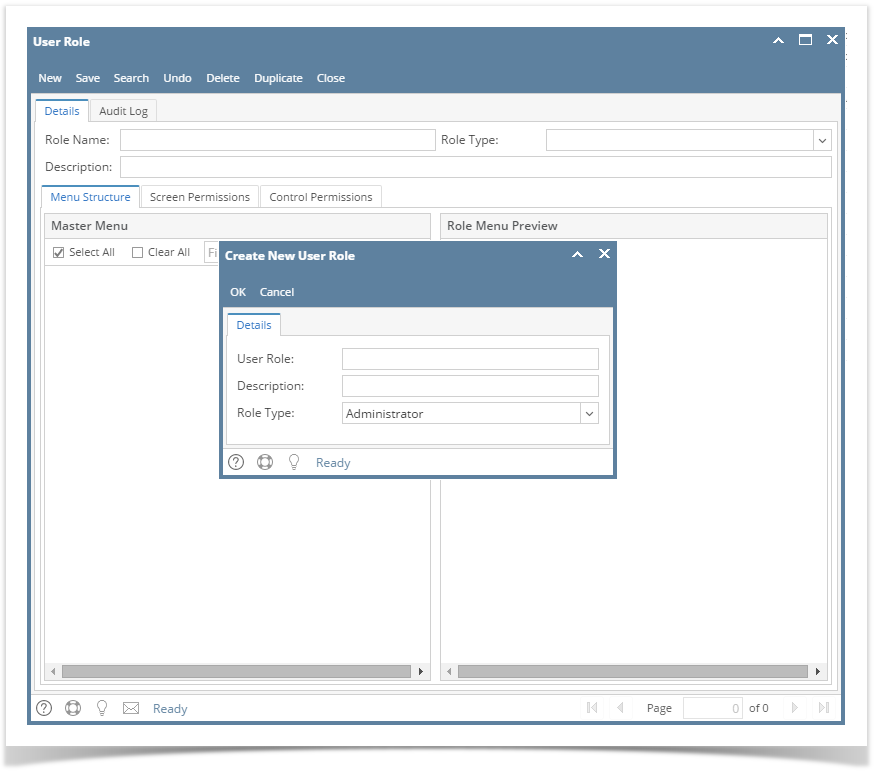
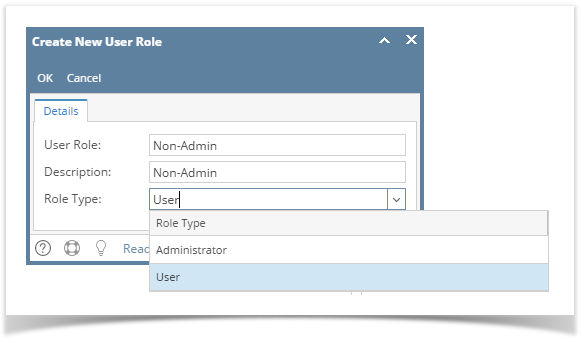
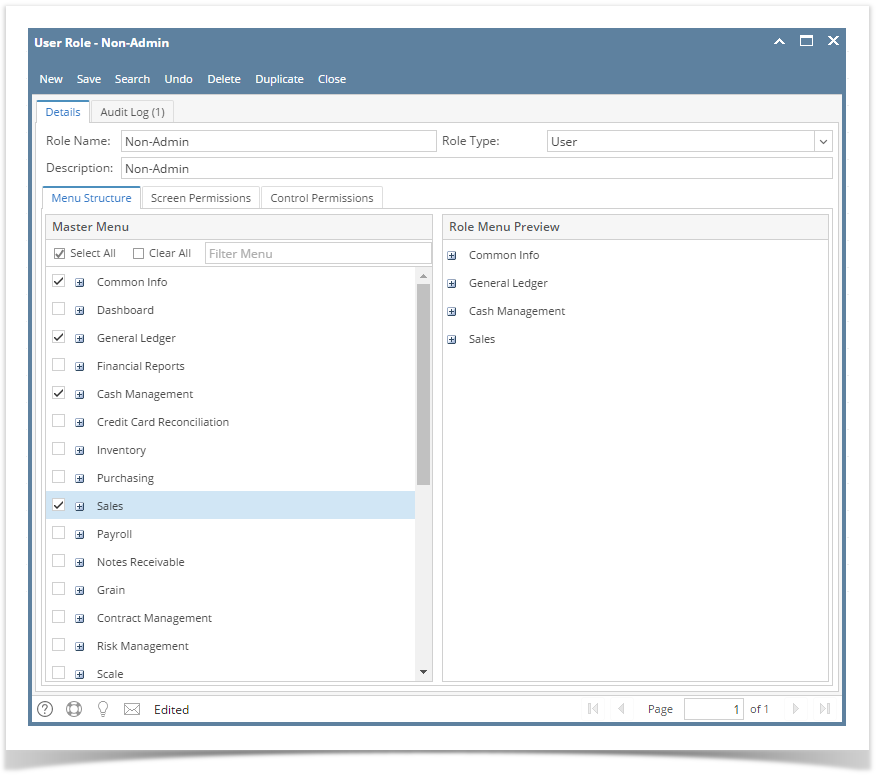
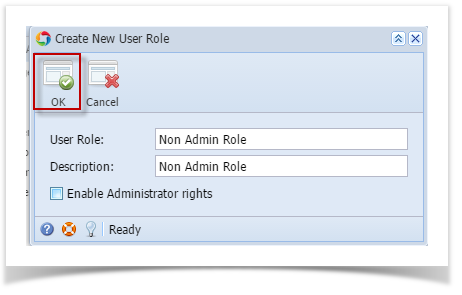
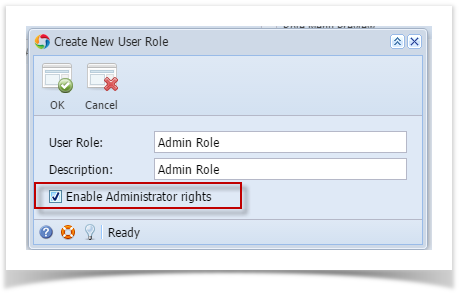
- To create a Non-admin role, enter User Role and Description and select User on the Role Type drop down
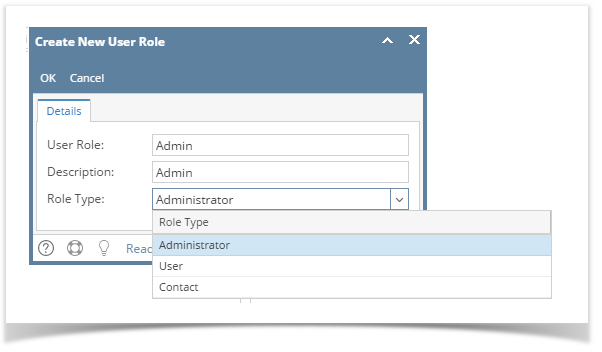
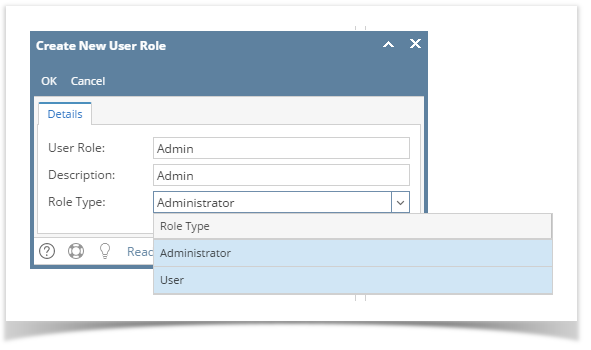
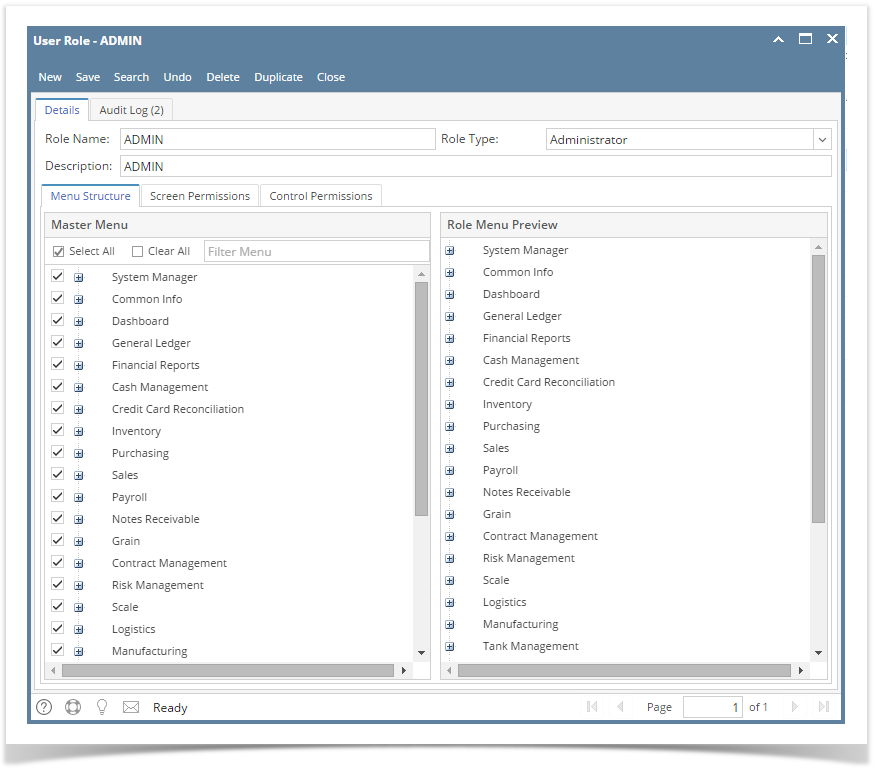
- To create an Admin role, enter User Role and Description and select Administrator on the Role Type drop down
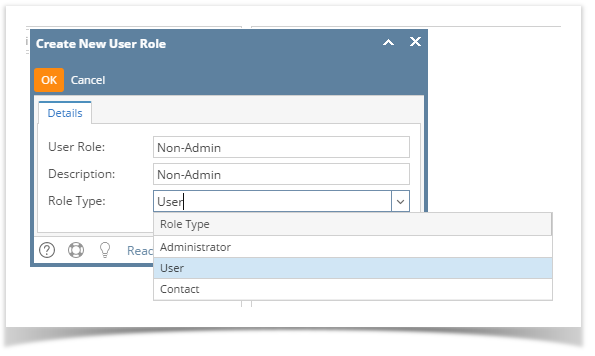
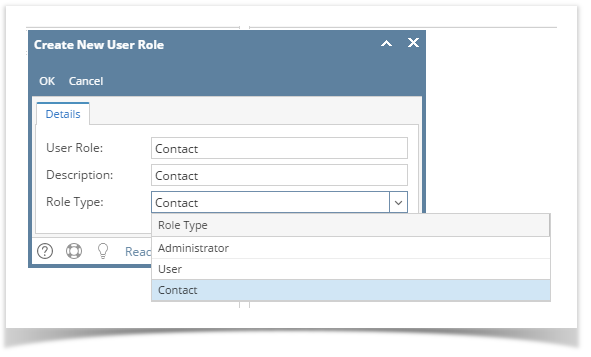
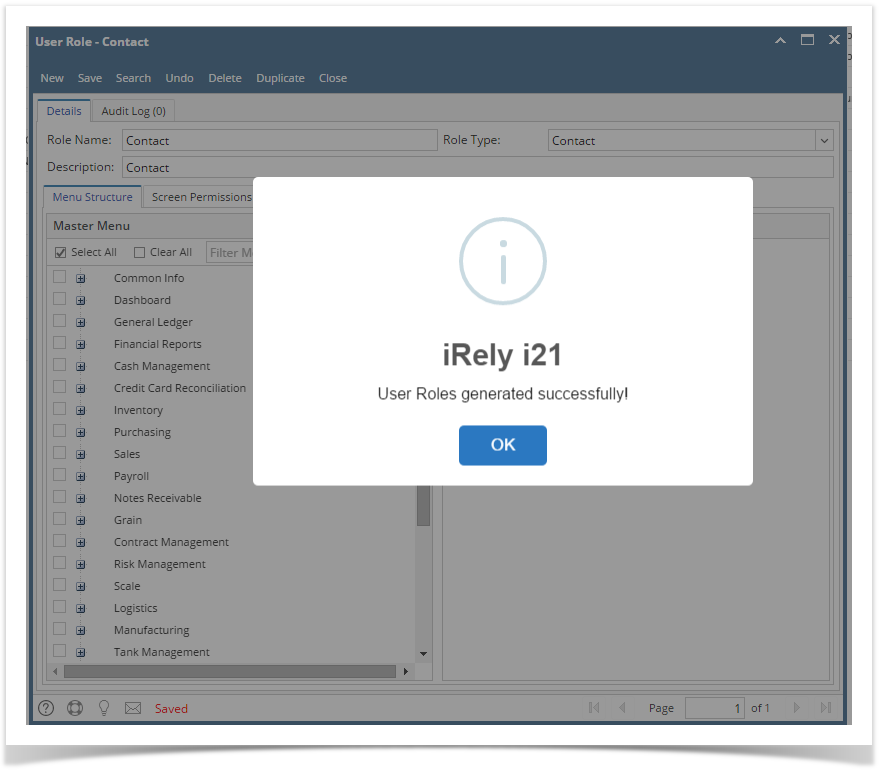
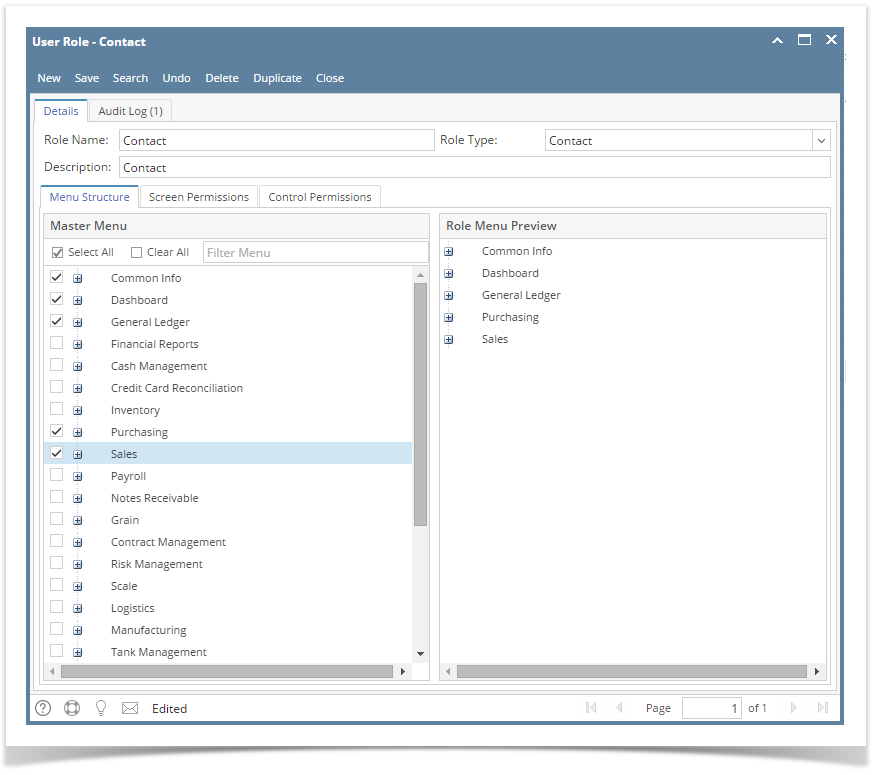
- To create a Contact role, enter User Role and Description and select Contact on the Role Type drop down
- To create a Non-admin role, enter User Role and Description and select User on the Role Type drop down
- Click OK on Create New User Role screen. Click OK on the next message box to dismiss
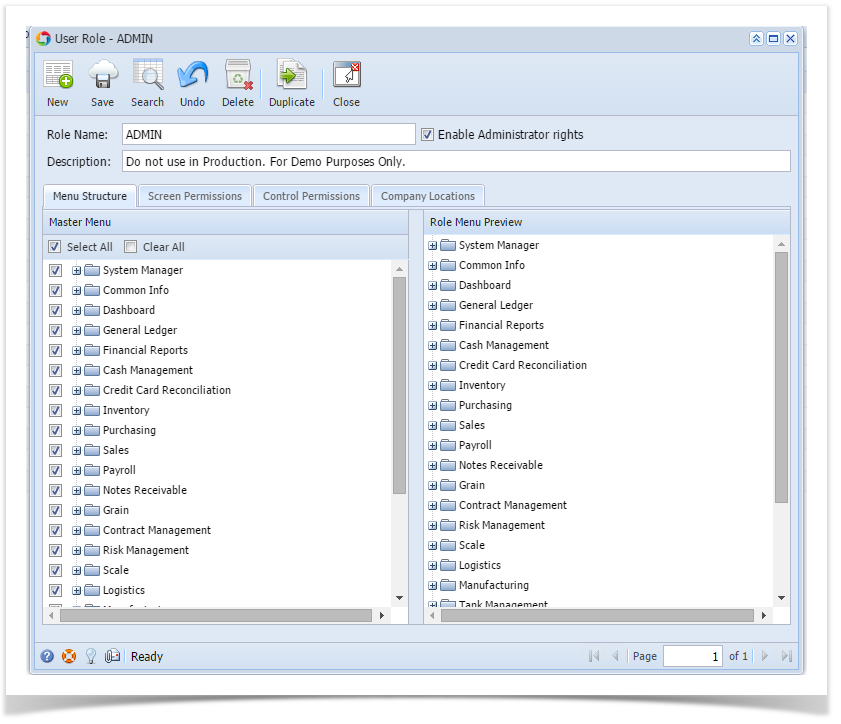
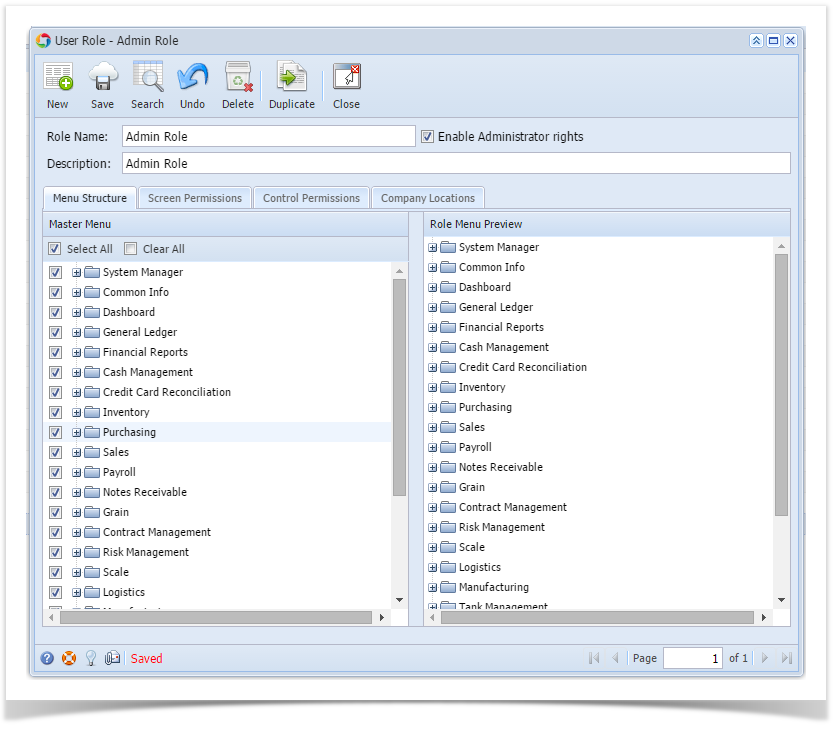
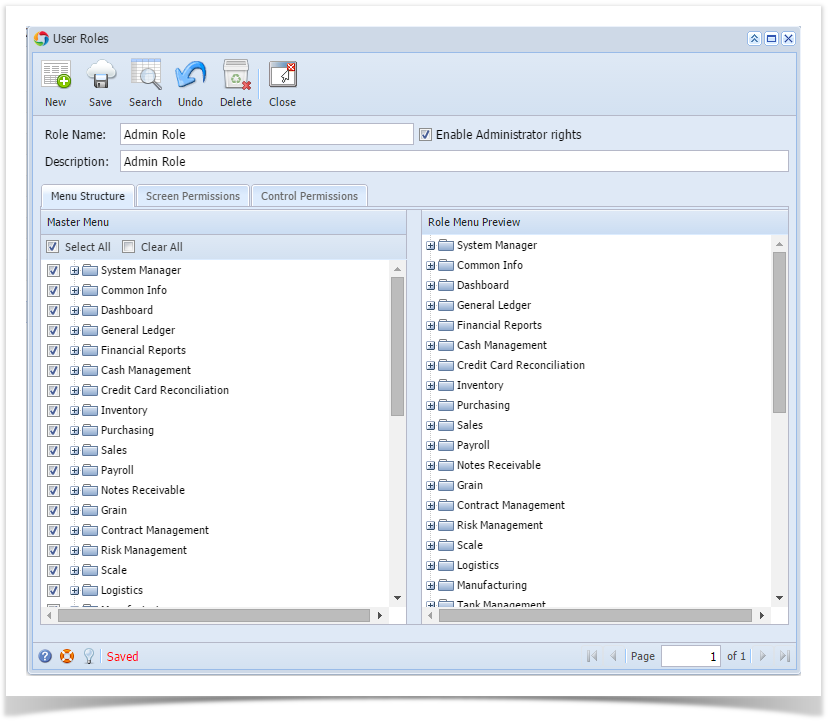
- For Admin User Role type: All menus on the Menu Structure will automatically have a check mark and System Manager folder is displayed:
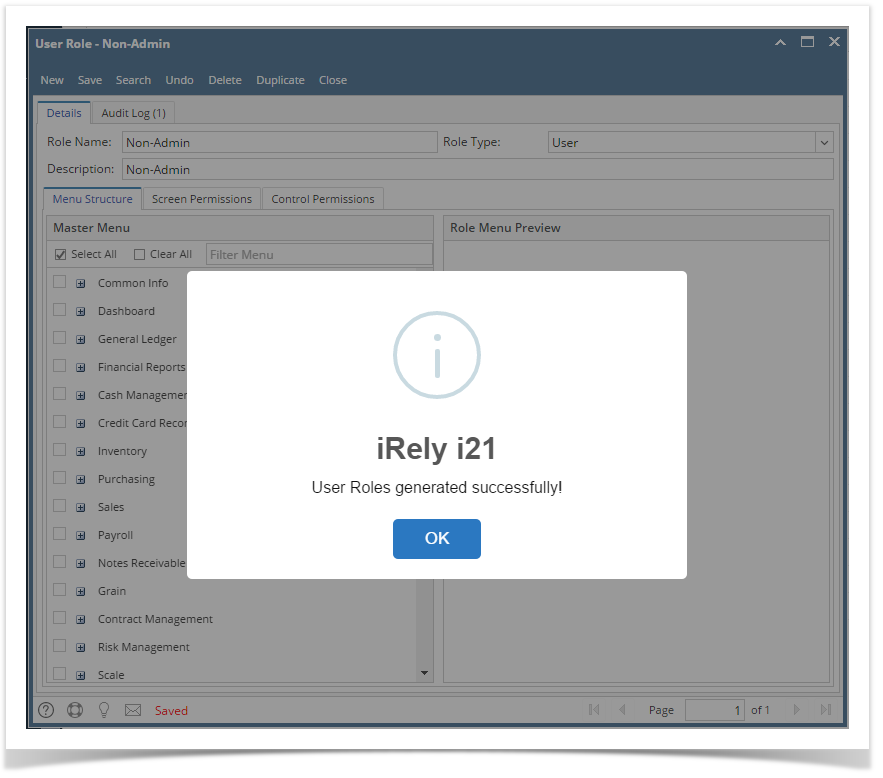
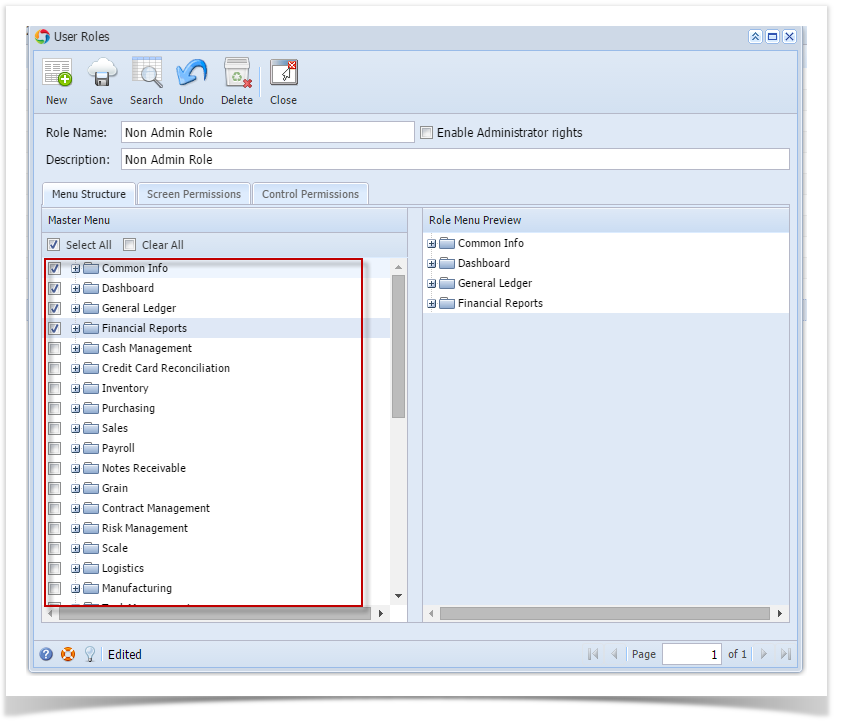
- For Non-Admin and Contact User Role type: User should manually select the menus that needs to be applied. When you select/deselect the root folder, all its sub-menus will also be selected/deselected. Note that whatever menu you select on this screen will be accessible to the users with this role.
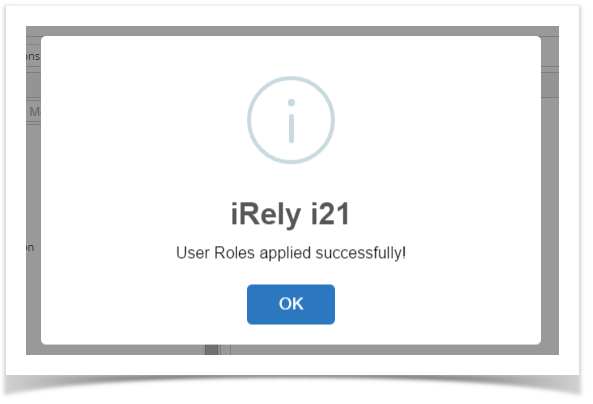
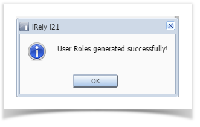
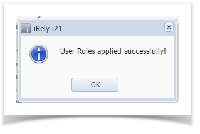
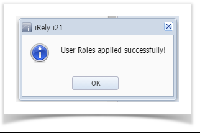
- Click Save button to save the new User Role type. This message will prompt.
| Expand | ||
|---|---|---|
| ||
Only Admin type users are allowed to have access to this screen. They have the ability to control and assign what permissions will be given to all the other users on each of the menus within the system.
Here are the steps on How to Add an Admin User Role Type:
After the menus are generated successfully, all menus on the Menu Structure will have a check mark and System Manager folder is displayed |
| Expand | ||
|---|---|---|
| ||
Here are the steps on How to Add a Non-Admin User Role Type:
|
...
Here are the steps on How to Add an Admin User Role Type:
After the menus are generated successfully, all menus on the Menu Structure will have a check mark and System Manager folder is displayed |
Overview
Content Tools