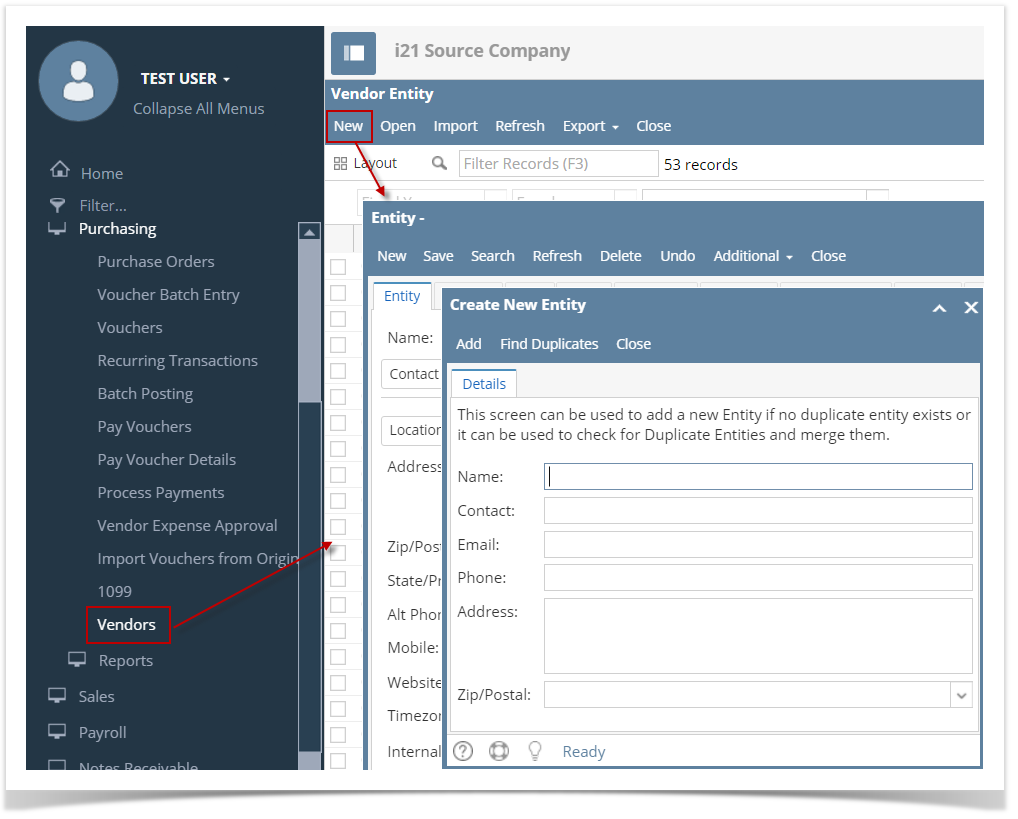
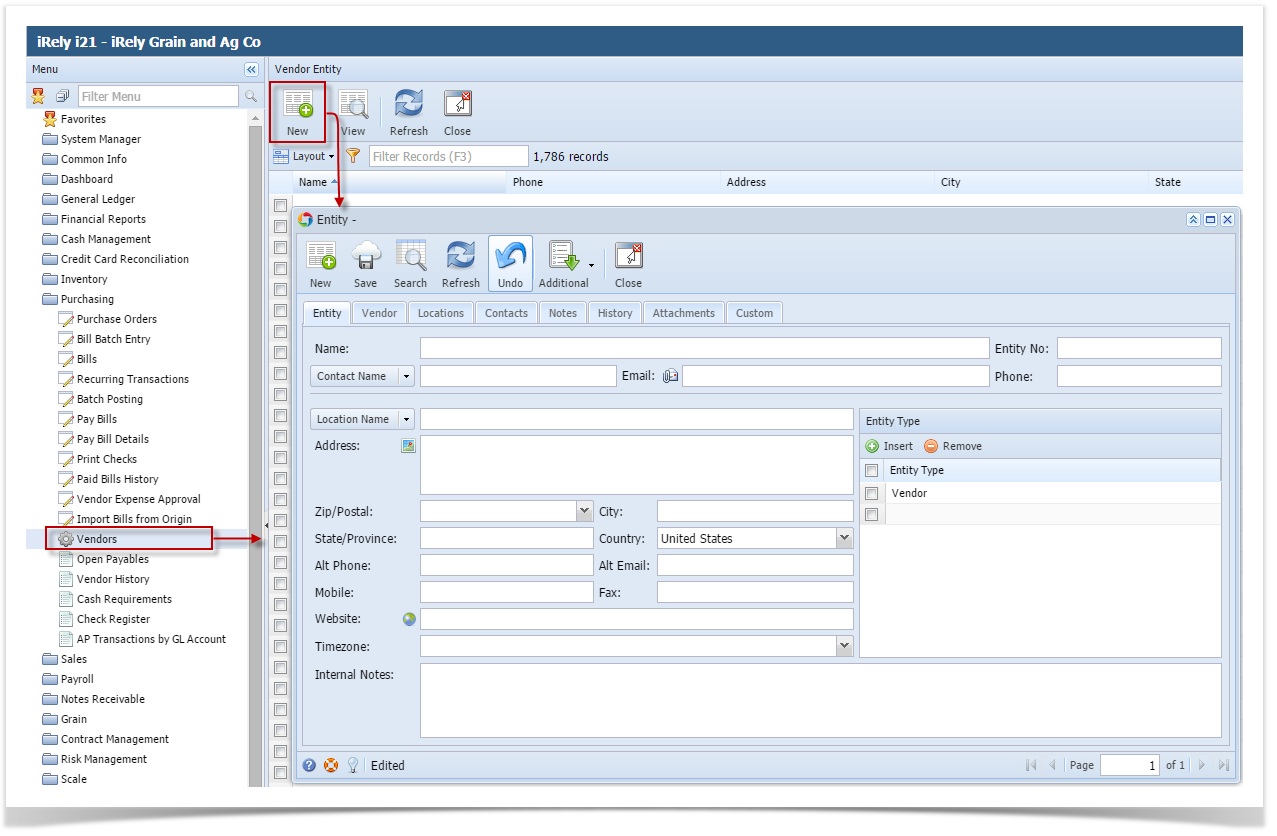
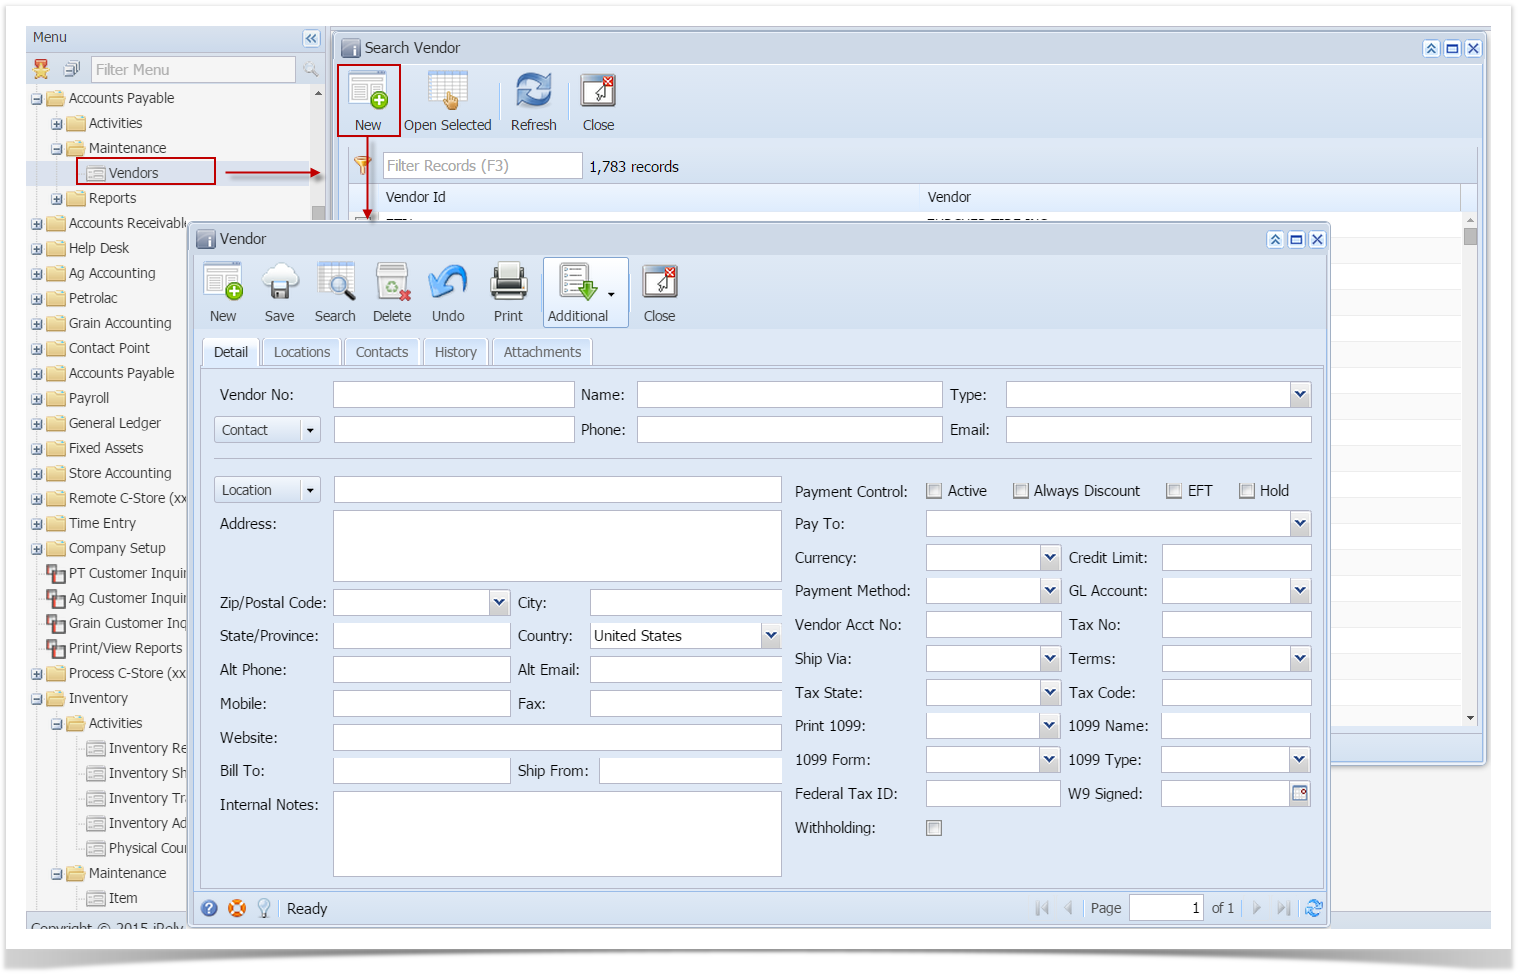
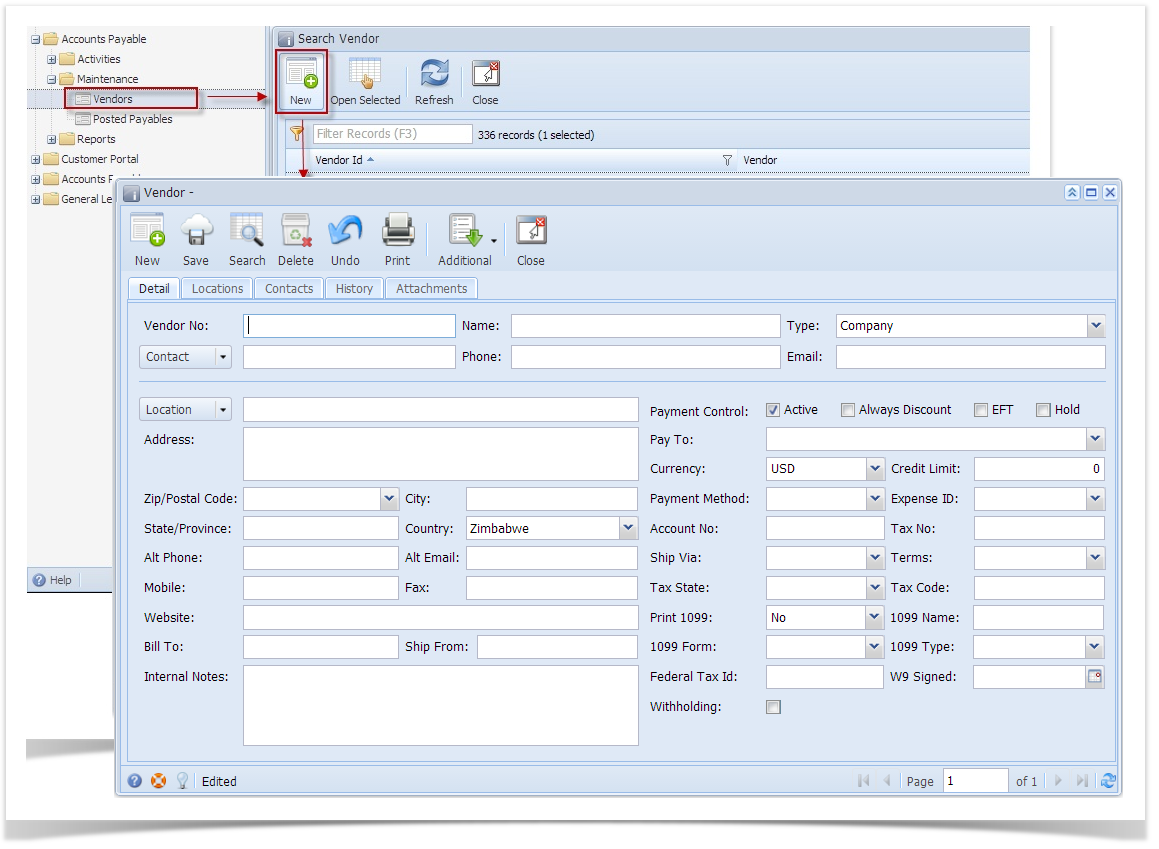
Here are the steps on how to add vendors: - From Main Menu, expand Purchasing and then click on Vendors to openSearch Vendor screen.
- Click on New button. Create New Entity screen will open
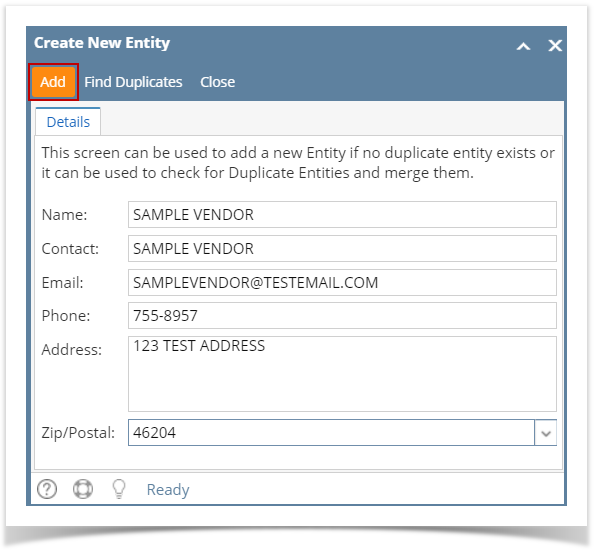
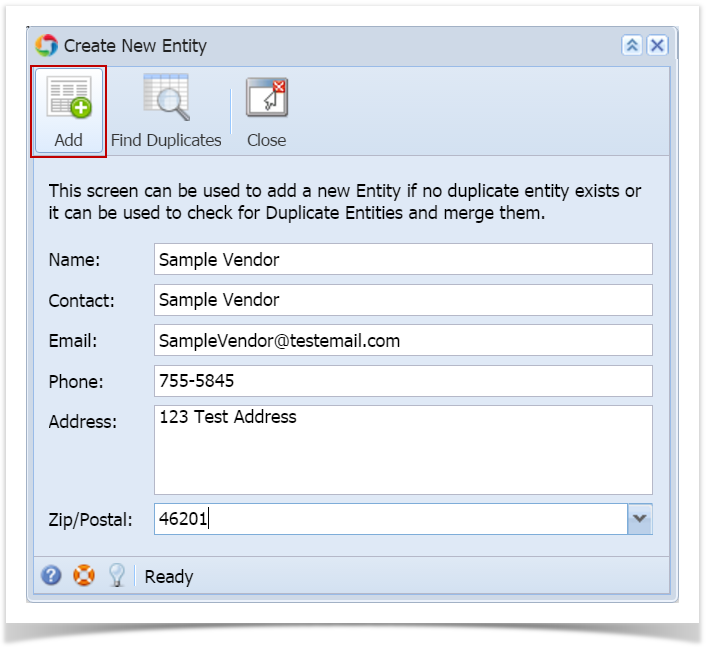
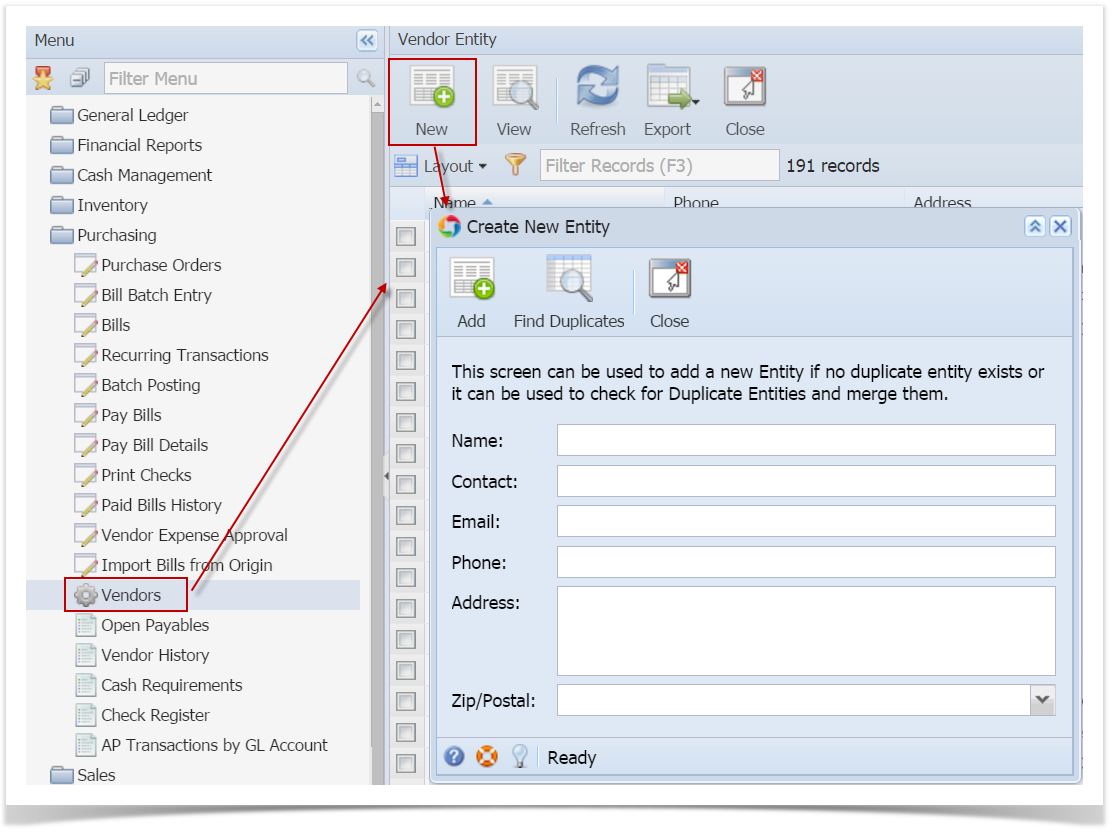 - Enter Name, Contact, Email, Phone, Address and select Zip Code.
- Click Add button.
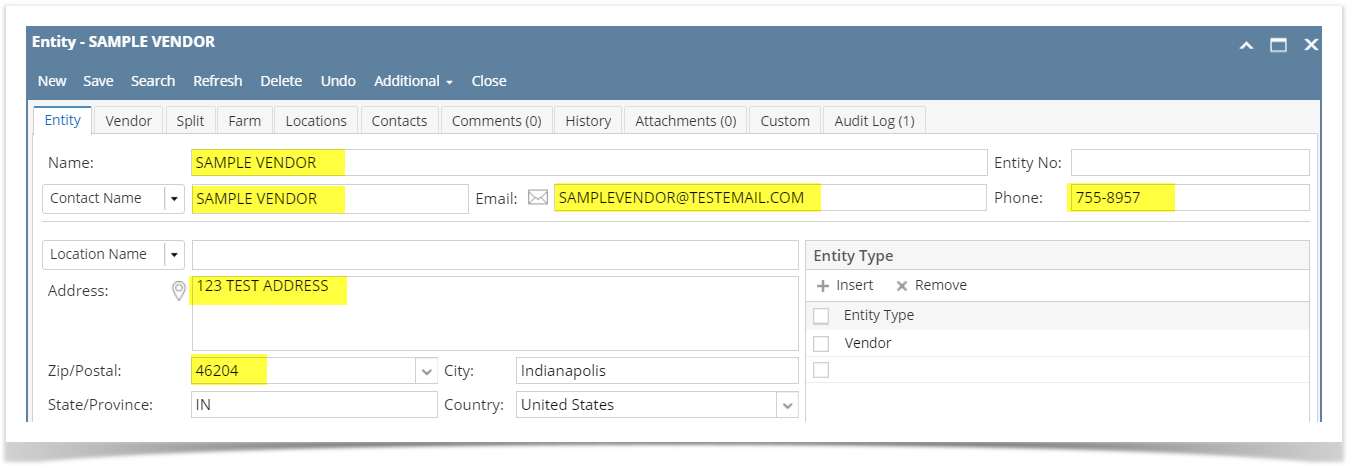
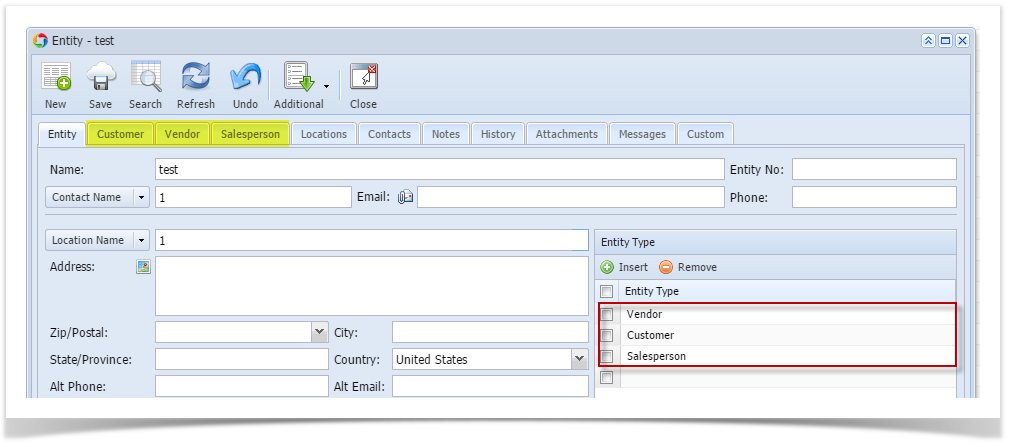
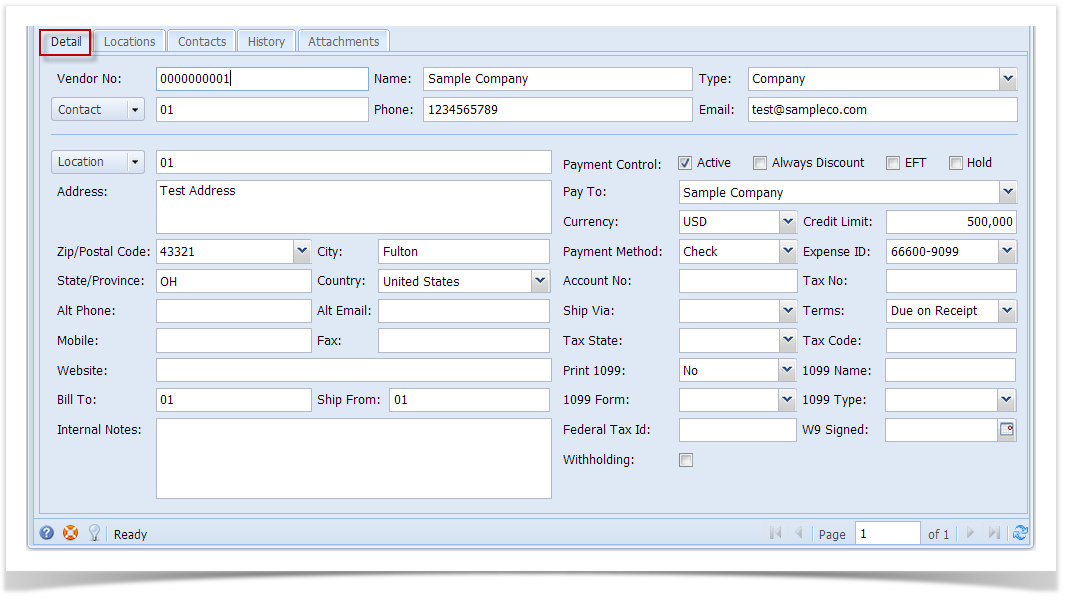
 - Vendor Entity screen will open with the details entered in Create New Entity screen.
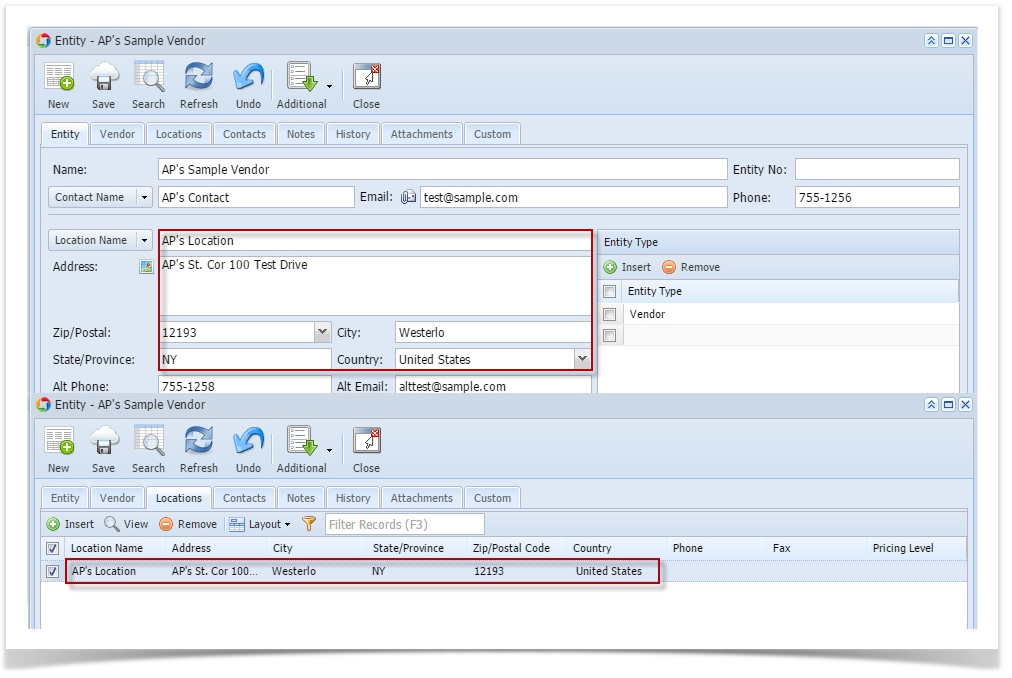
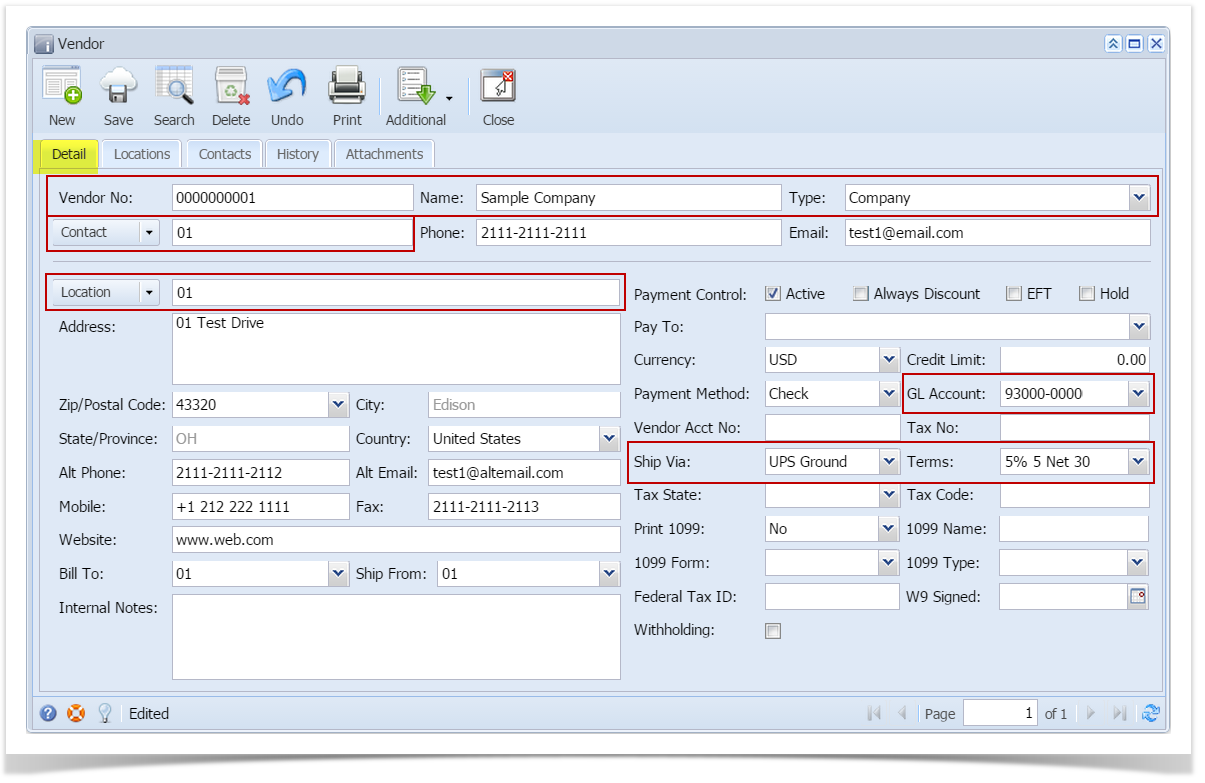
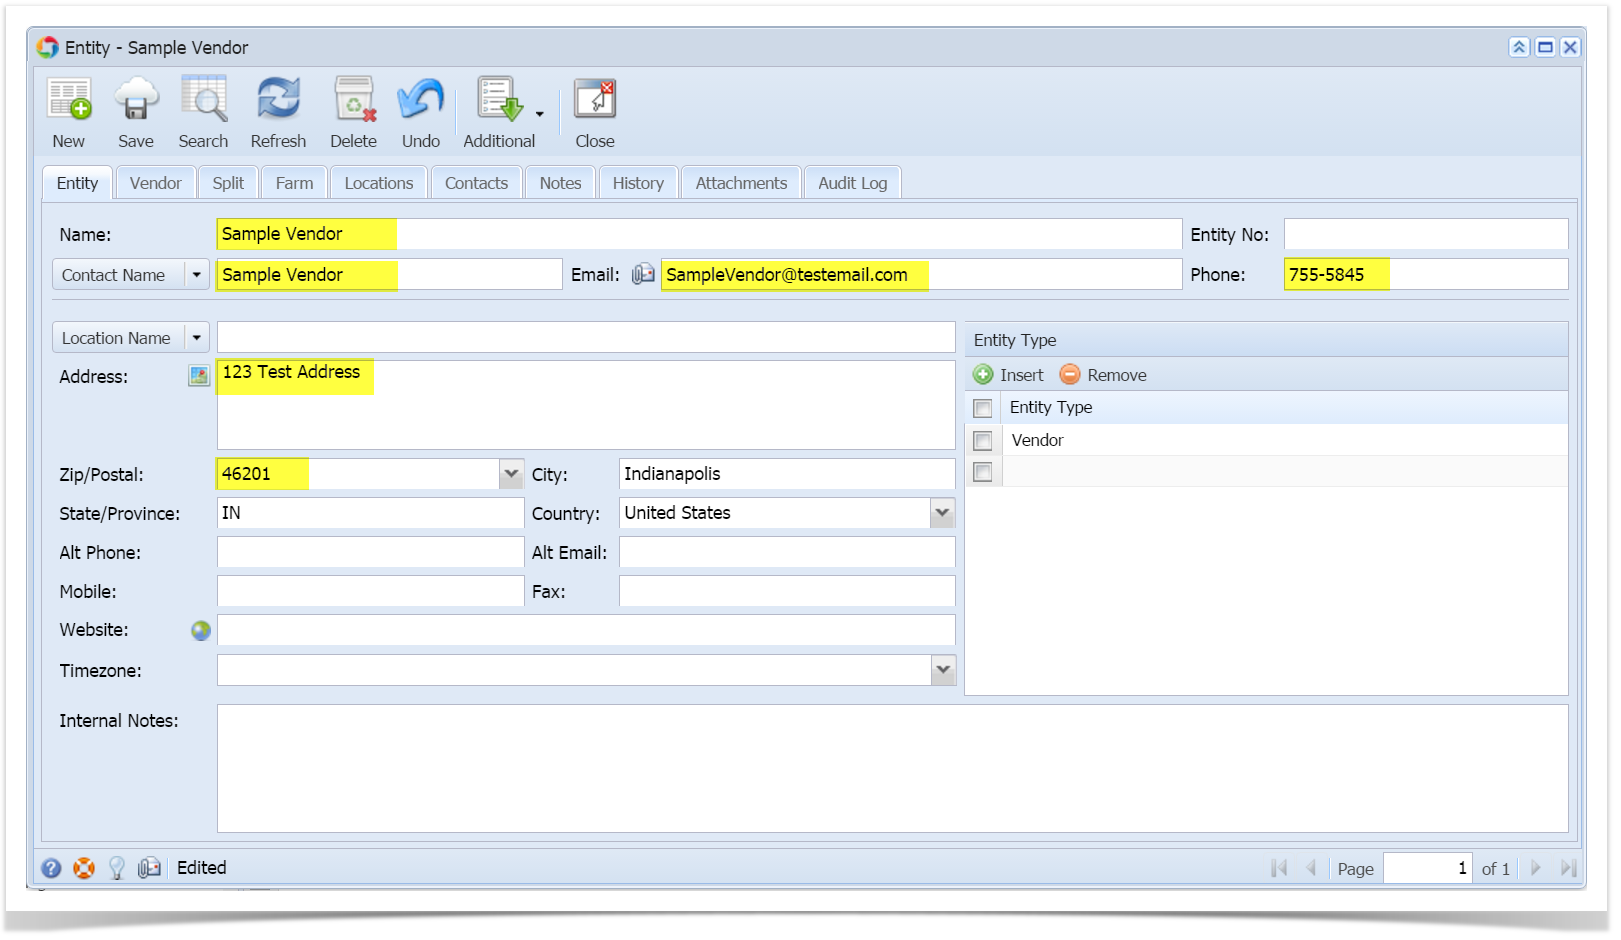 - Enter details on Entity Tab specially the required fields like Location.
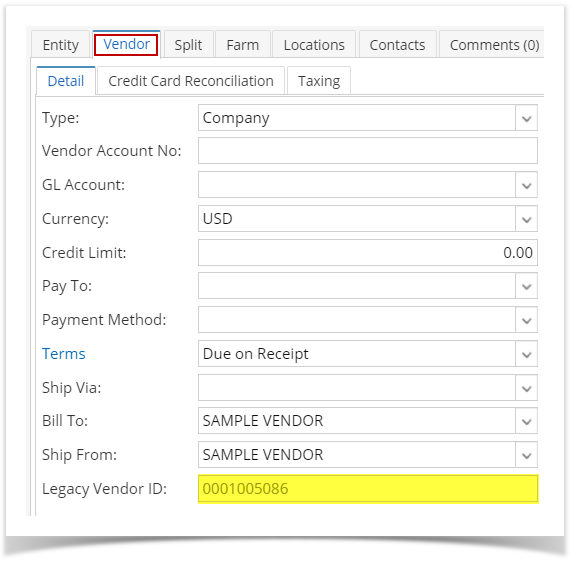
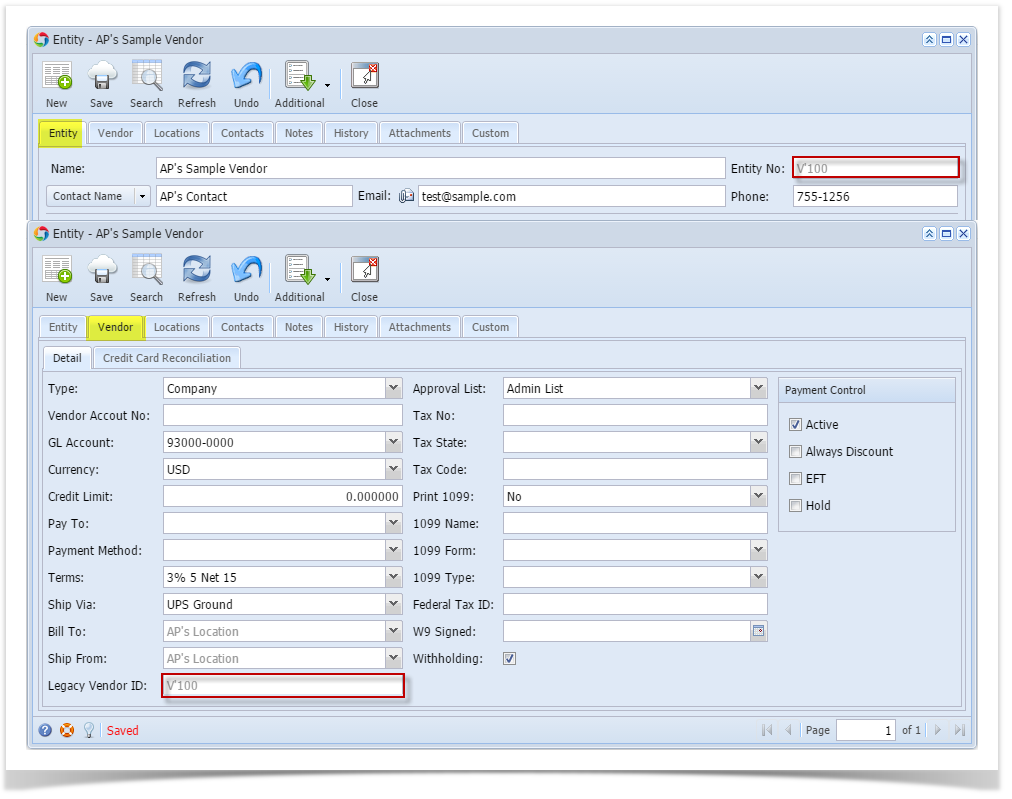
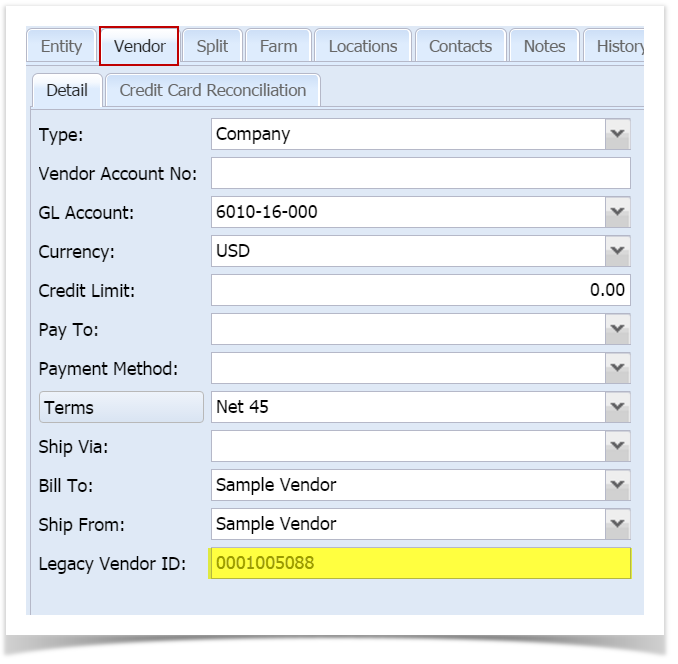
- Do the same on the Vendor Tab. Required fields on this tab are GL Account and Terms.
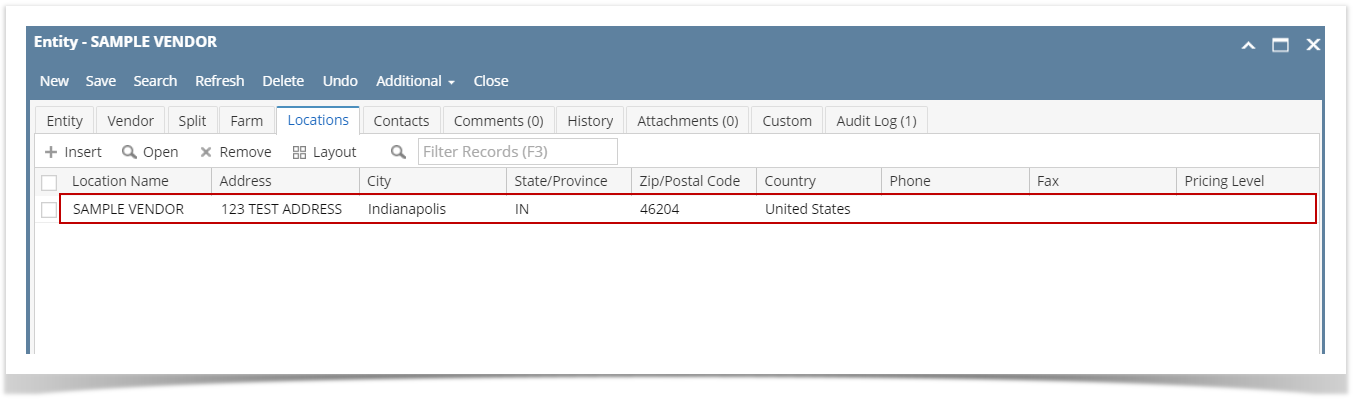
- Navigate to Locations Tab. Location entered on the Entity Tab together with its details will be displayed on the grid. Add more locations if necessary by clicking Insert button.
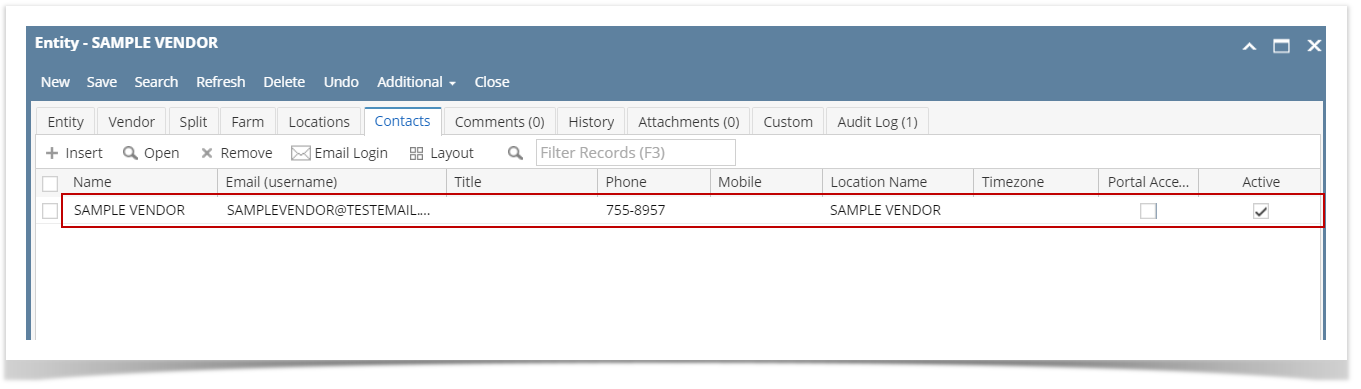
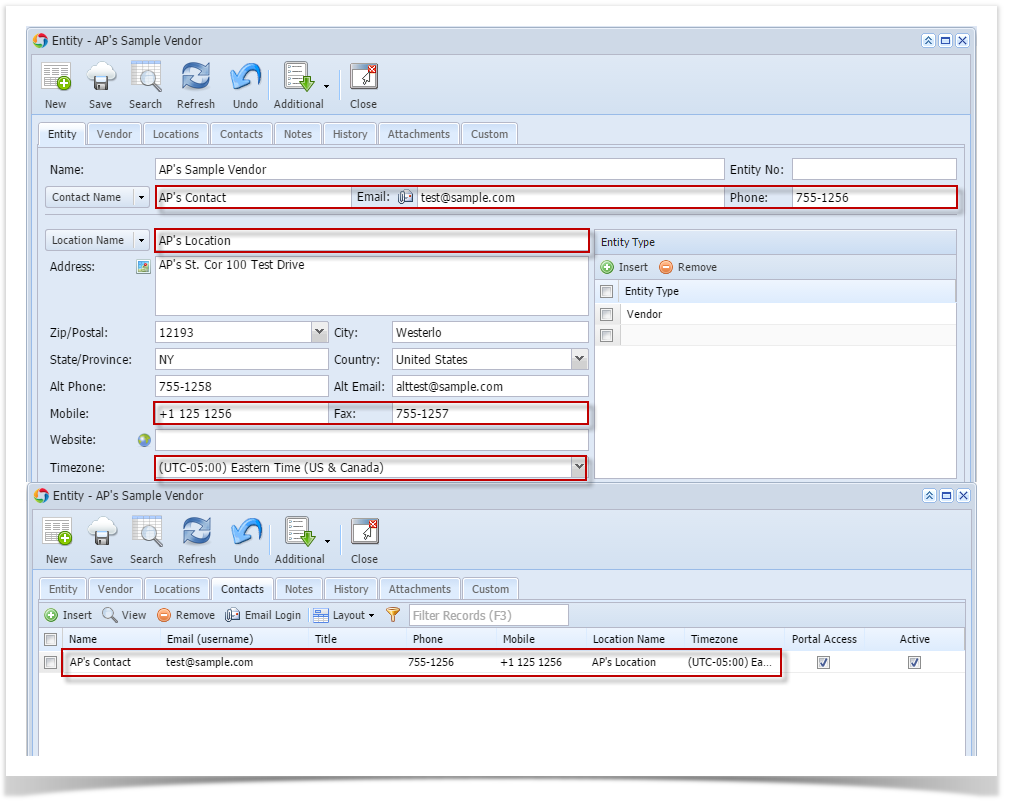
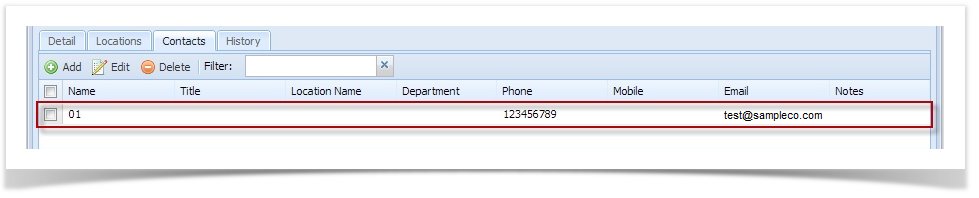
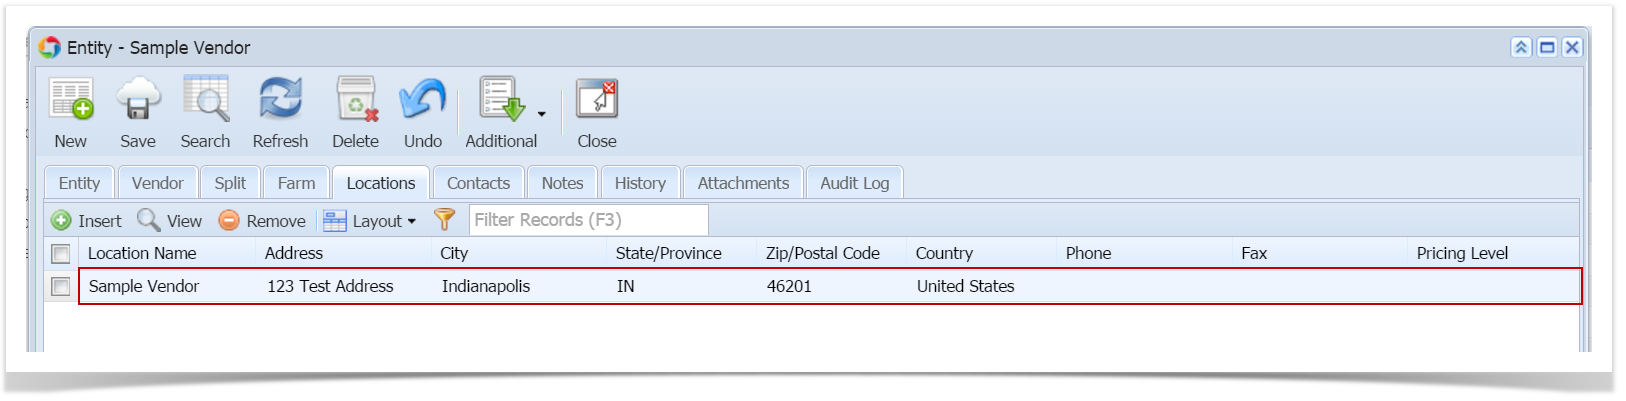 - Navigate to Contacts Tab. Contact entered on the Entity Tab together with its details will be displayed on the grid. Add more contacts if necessary by clicking Insert button.
 - Click Save toolbar button to save newly created vendor. However Entity No is entered (manually or system-generated), whatever is entered on this field will also be the vendor's Legacy Vendor ID.

|