Page History
...
- Log in as Admin user
- On user’s menu panel, go to System Manager folder then click User Roles
- Select and open a User Role on Search User Roles
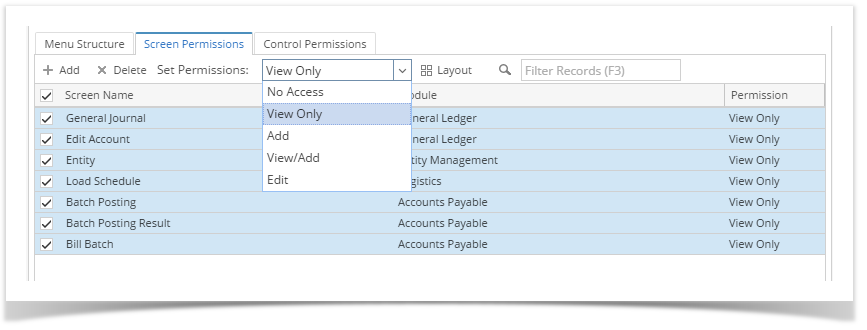
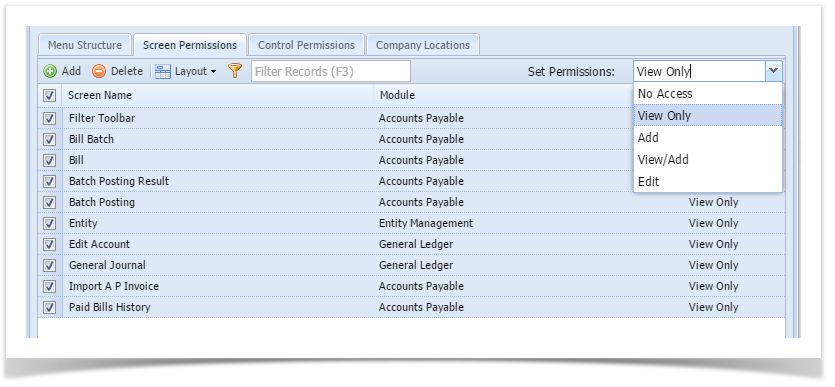
- Click the Screen Permissions tab
- Click the Add button.

If the add button is clicked for the first time on the build, Generating of listings will appear before Add Screen Permissions screen
- Select the screen/s from the list on Add Screen Permissions screen, then click Open Selected toolbar button

- Select Permission of the screens:
- No Access- User will receive a message saying they do not have permissions to open the selected screen
- View Only- All fields are read only
- All controls for editing will be disabled
- All controls for editing will be disabled
- Add Only- User can only add new records and not view existing
- Search and delete buttons will be disabled.
- Search and delete buttons will be disabled.
- View / Add- User can View (read-only) or add new records
- If record is new, rules will not apply. If existing, all controls for editing will be disabled
- If record is new, rules will not apply. If existing, all controls for editing will be disabled
- Edit - User can view, and edit and add new recordsexisting records
- New and delete buttons will be disabled.
- New and delete buttons will be disabled.
- Click Save toolbar button
...
2. View/Add
3. Add
4. No Access
| Role | Permission Setting | Expectation |
|---|---|---|
| Role 1 = Administrator | Edit | The user will be able to access/open the screen even if one role does not have access |
| Role 2 = ADMIN | No Access |
- However, if one of the roles has permission and the other do not or has a full access
| Role | Permission Setting | Expectation |
|---|---|---|
| Role 1 = Administrator | None / Full access | The user will not be able to access/open the screen |
| Role 2 = ADMIN | No Access |
| Expand | ||
|---|---|---|
| ||
Here are the steps on how to setup the Screen Permissions:
|


...
Overview
Content Tools