Page History
...
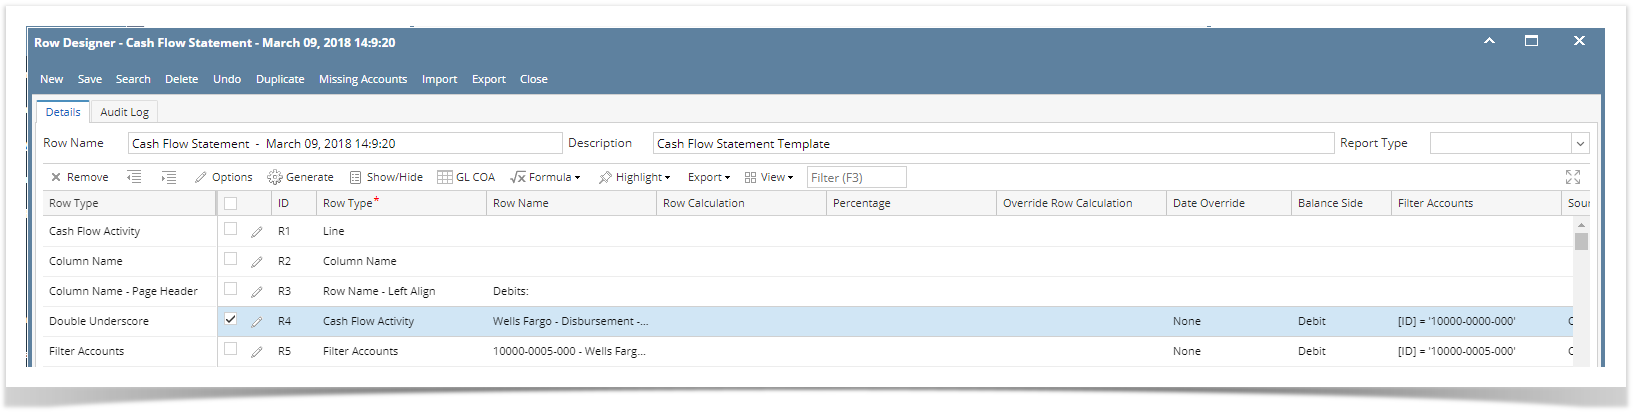
- Click on the dropdown button in the Filter Accounts field of the Filter Accounts row.
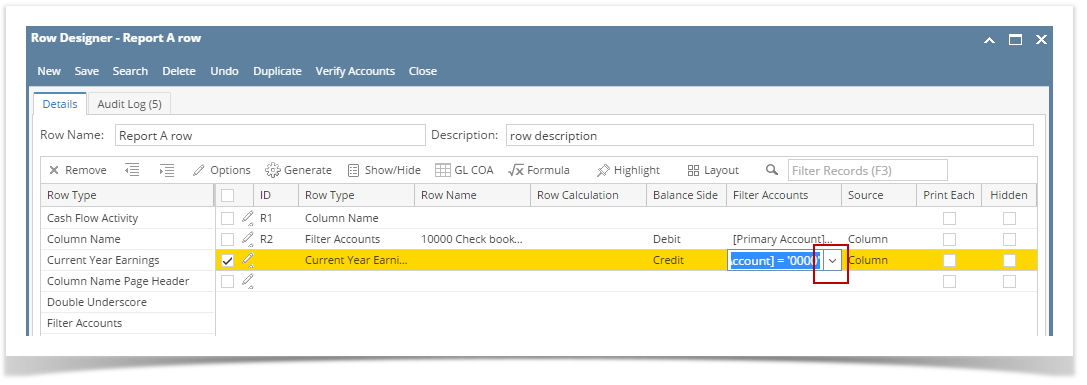
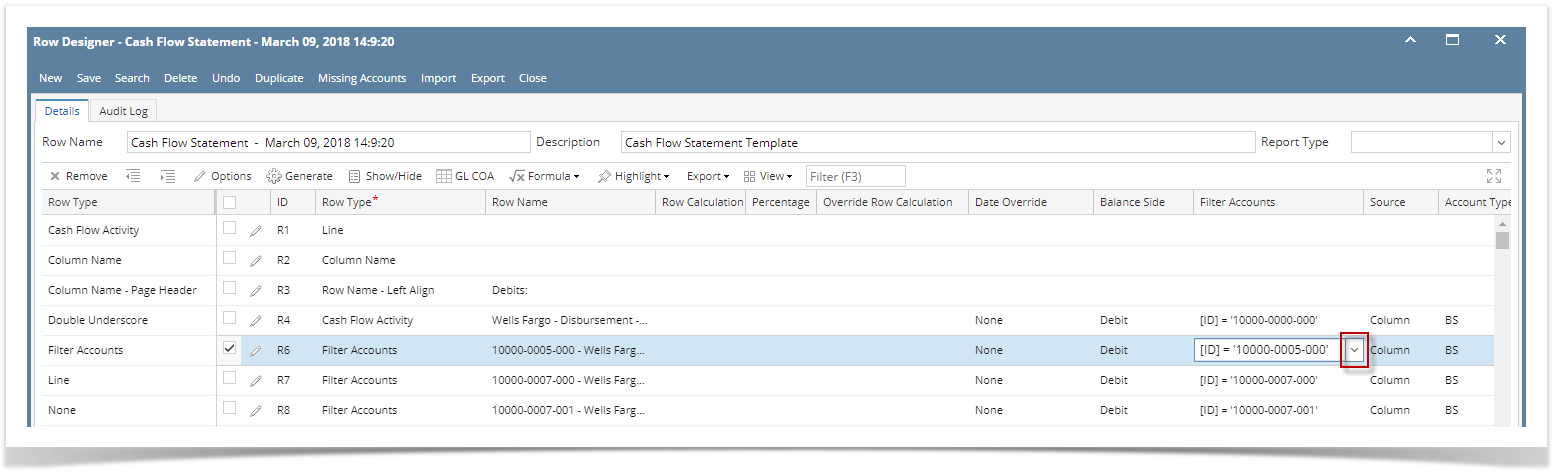
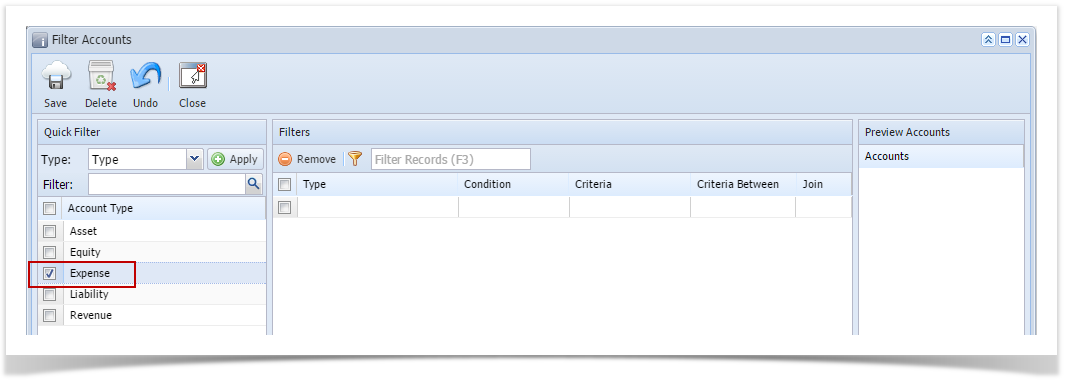
- The Filter Accounts screen will be opened.
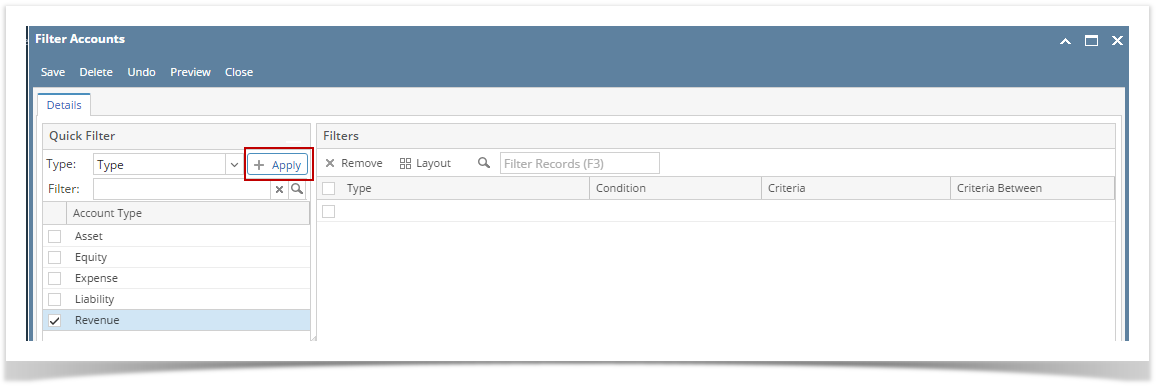
- In the Quick Filter grid configure the account filter by checking the box before it. Then click Apply button.
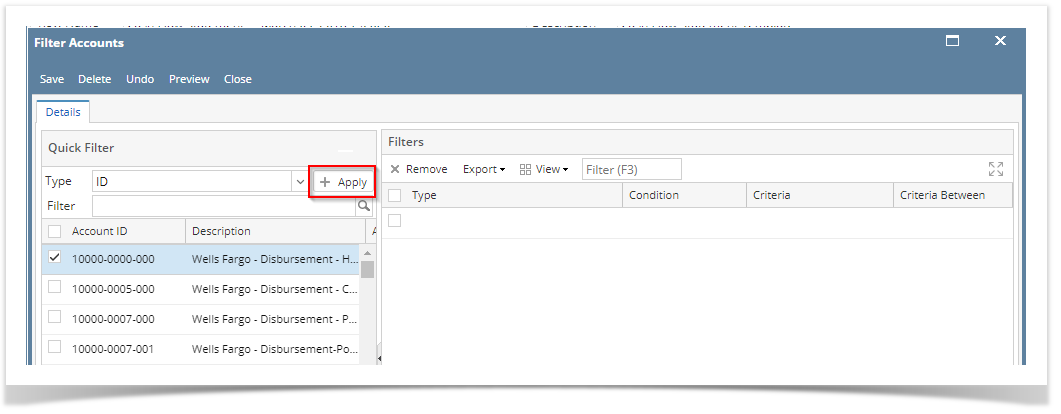
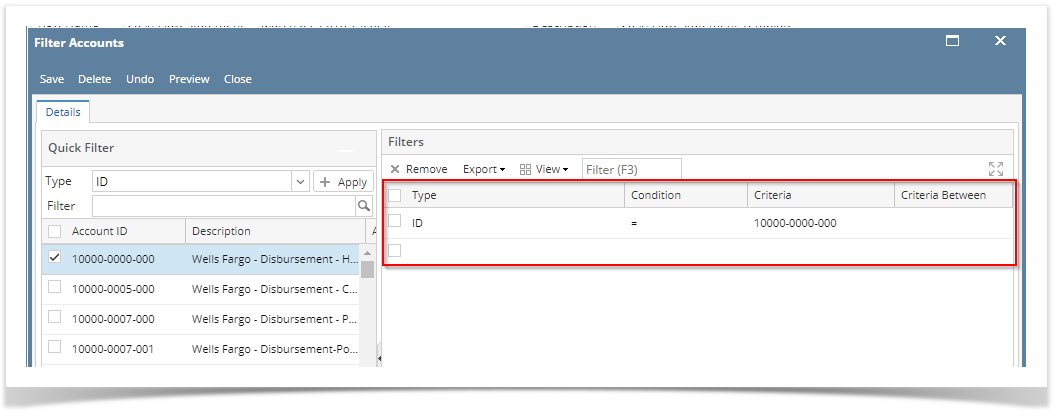
There are different ways to configure filter accounts depending on your need. See below how the grid changes and how accounts can be configured depending on Type selected from Quick Filter grid > Type field.- If ID is selected, Account IDs will be shown in the grid below it. Select the Account ID/s and click Apply button.
- If Description is selected, Account Descriptions will be shown in the grid below it. Select the Account Description/s and click Apply button.
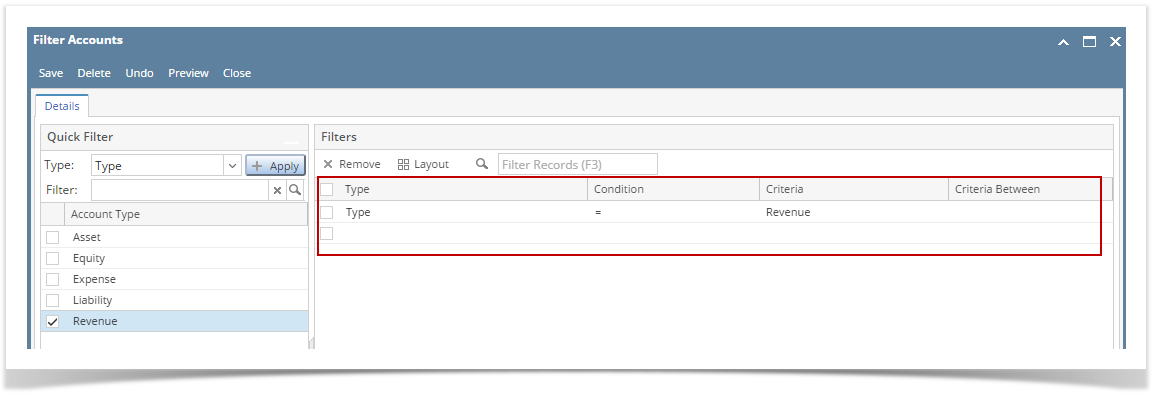
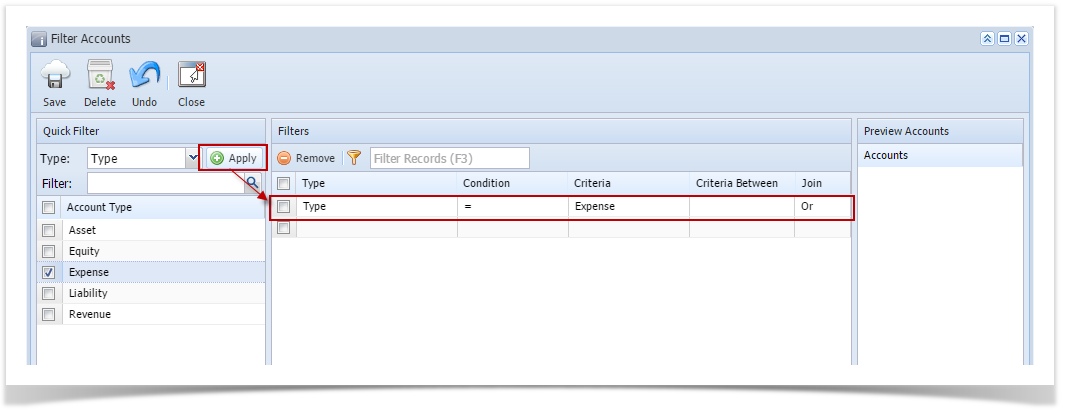
- If Type is selected, Account Types will be shown in the grid below it. Select the Account Type/s and click Apply button.
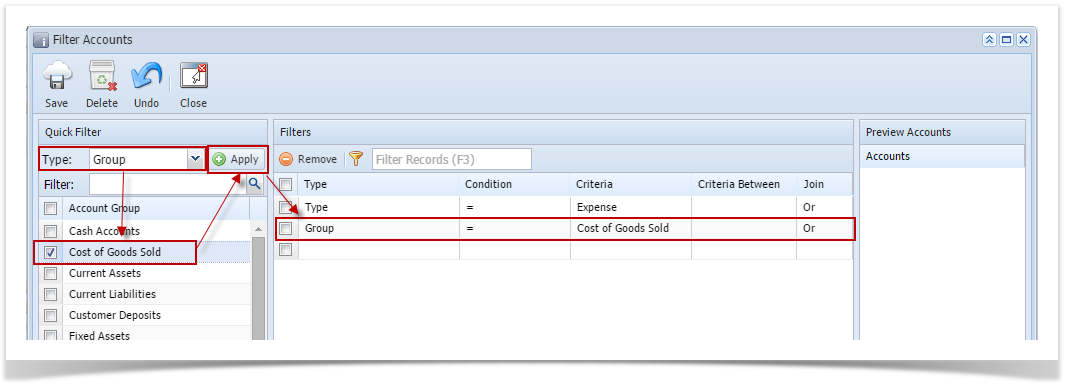
- If Group is selected, Account Groups will be shown in the grid below it. Select the Account Group/s and click Apply button.
- If Primary Account is selected, Primary Accounts will be shown in the grid below it. Select the Primary Account/s and click Apply button.
- If Location is selected, Locations will be shown in the grid below it. Select the Location/s and click Apply button.
- The configured Account Filter will then be show in the Filters grid.
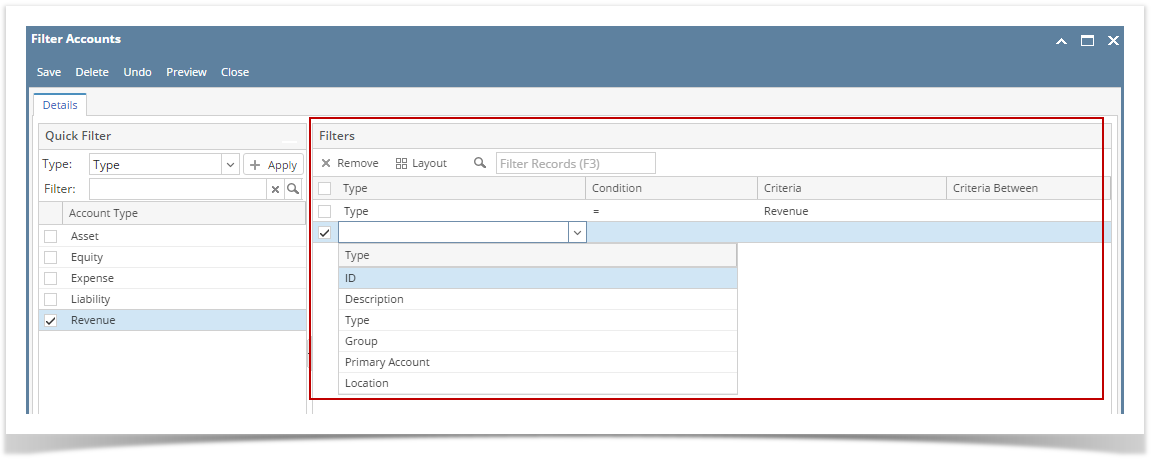
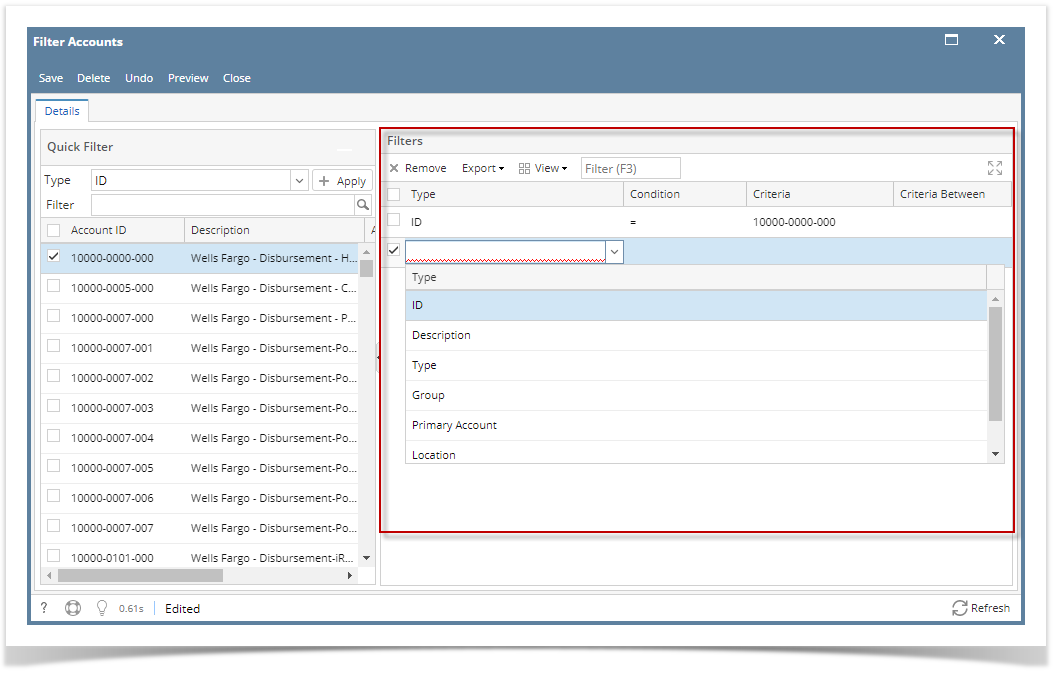
or directly configure the account filter from Filters grid
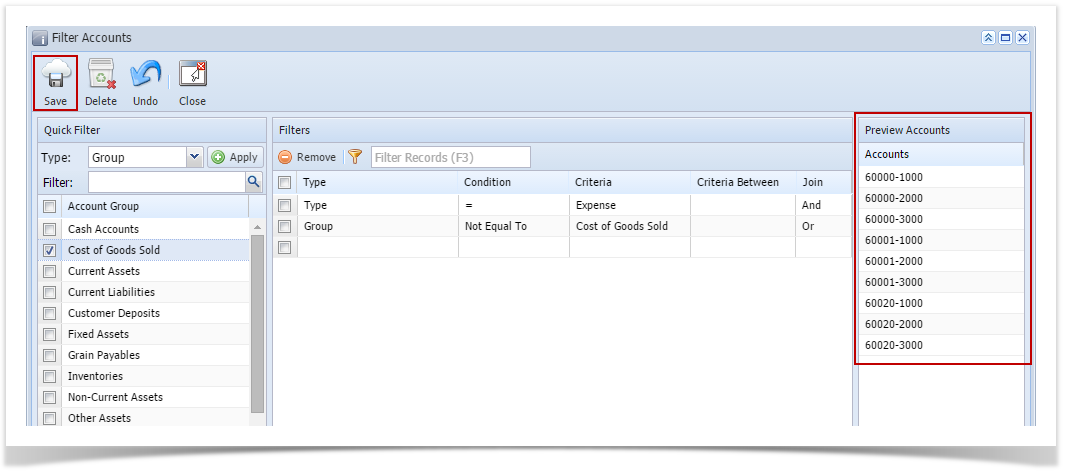
- Click Save.
- Click Preview to open the Preview screen where Accounts that matched the filter configured will be shown.


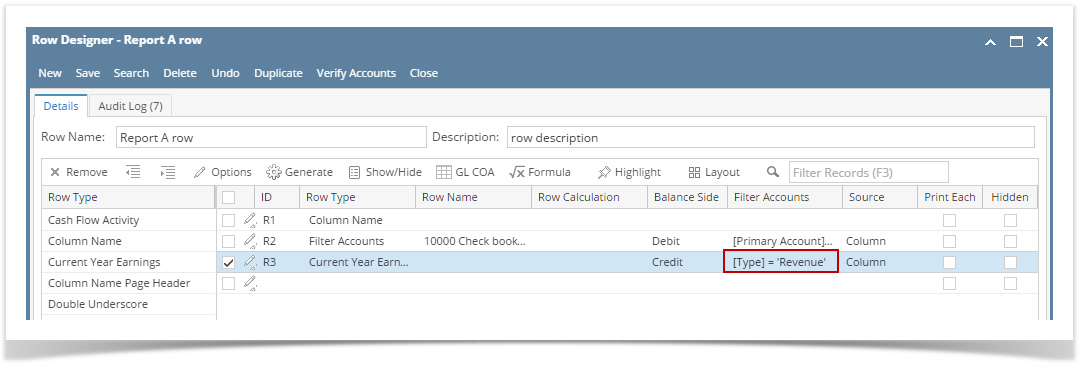
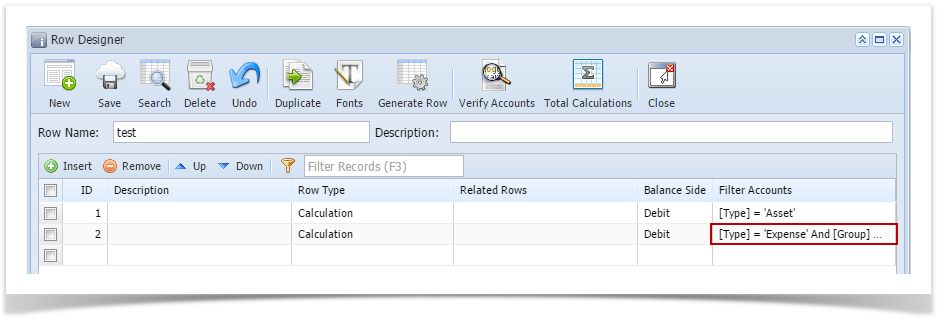
- Click Close. Filter Accounts screen is closed. You will be back in the Row Designer screen, this time Filter Accounts field will show the account filter configured.
| Expand | ||
|---|---|---|
| ||
The Filter Accounts screen is used to configure accounts filter for the following rows.
The following steps will guide you on how to setup filter accounts.
|
| Expand | ||
|---|---|---|
| ||
The Filter Accounts screen is used to configure accounts filter for Calculation or Hidden rows. The following steps will guide you on how to filter accounts.
|


...
Overview
Content Tools