Page History
- From Cash Management module > Activities folder > double-click Bank Deposits.
- If this is the first record you are to create, it will open directly on new Bank Deposit screen where you can then add the transaction. Otherwise, it will open the Search Bank Deposits screen where existing bank deposits are displayed. Click the New toolbar button to open the new Bank Deposit screen.
In the Bank Account field, click the dropdown combo box button to open the combo box list and select the bank account you want to make a deposit to.
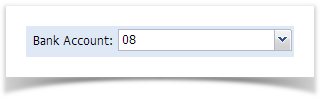
Note Make sure that the bank account you want to make a deposit to had been added in the Bank Accounts screen. If not, see How to Add new Bank Account to guide you on how to add it.
- Fill in Bank Deposit header information.
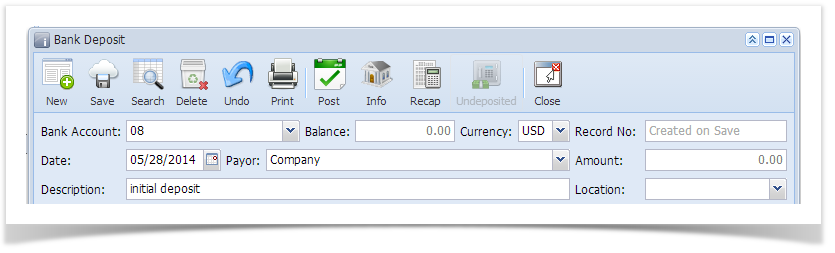
- The Balance field will show the current balance for the selected back account. This is a good way to track how much is the current bank account balance.
- The Currency field by default will show the Currency setup from the selected Bank Account.
- The Record No field will only be filled with the deposit transaction number as soon as the Bank Deposit is saved. This will be based in the Starting Numbers setup from the Starting Numbers screen > Bank Deposit. That screen can be opened from Admin folder > Starting Numbers.
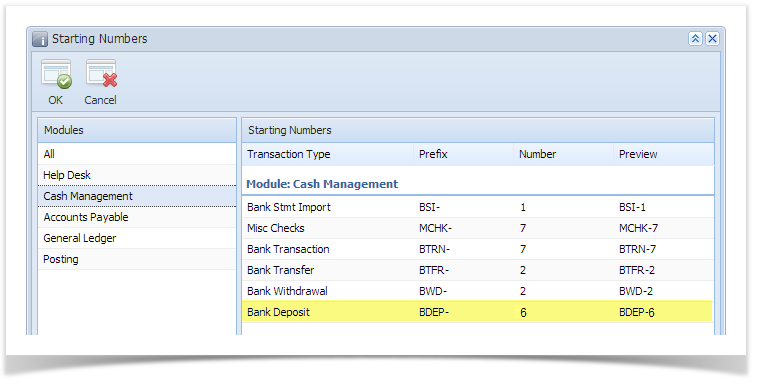
This number will also be used to track the transaction later on. - The Date field by default will show today's date. Change this date as you feel necessary.
- Select Payor from the combo box list or add it on the fly. The Payor field is used to enter the name of an individual or company who pays in the form of deposit. Can be a customer or can be a memo for what the Receipt of cash is for. Click the dropdown combo box button to bring down the combo box list and . This list will show all customers added in the Accounts Receivable module . You can select from the list or you can add the payor along with contacts added on the fly. Once the payor is added, it then becomes part of the list and will be available on succeeding deposit transactions.
- Enter a description for the Bank Deposit in the Description field.
- In the grid area, add the counter-entry/ies for the cash or checking account assigned for the bank account selected.

- Each line has Date field that allows you to set specific date for each entry. This is useful if you are grouping together deposit transactions within a period and such is to be entered as one deposit transaction.
Overview
Content Tools