Page History
Here are the steps on how to access the Generate Loads screen:
From Load Schedule Search Screen:
- Go to Logistics module> Generate Loads. If there's an existing allocation batch, Search Generate Loads screen will open. Otherwise, New Generate Loads screen will open automatically.Click on the New button of Generate Loads- search screen and a new fresh Generate Loads screen will open.
 Logistics module> Load Schedule. From Load Schedule search screen, click on Generate button.
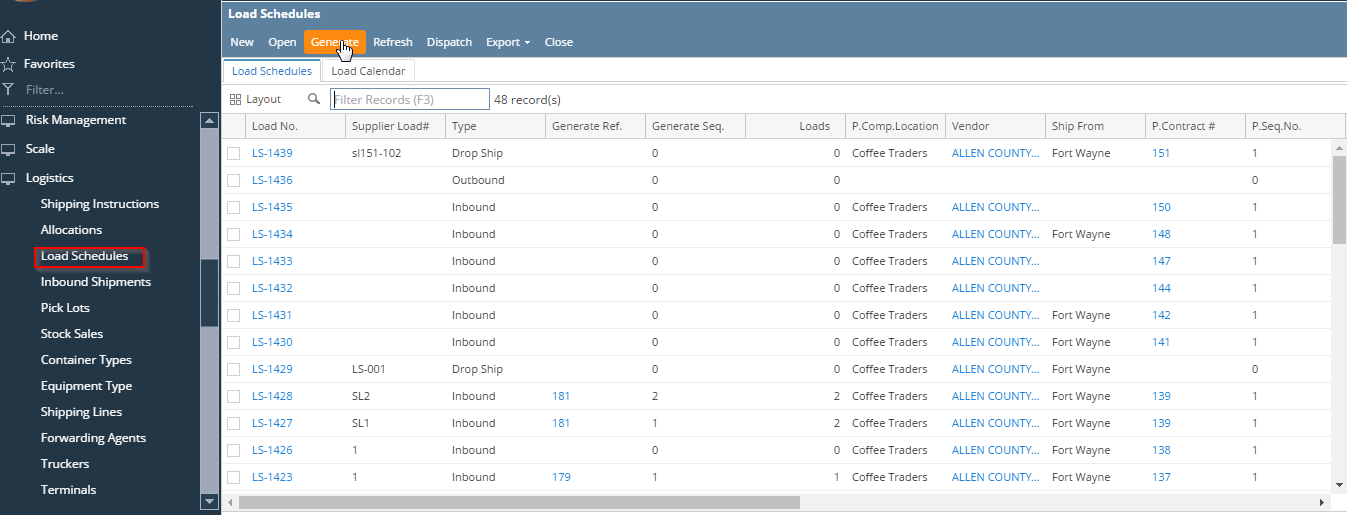
A Generate Load screen in entry mode will appear.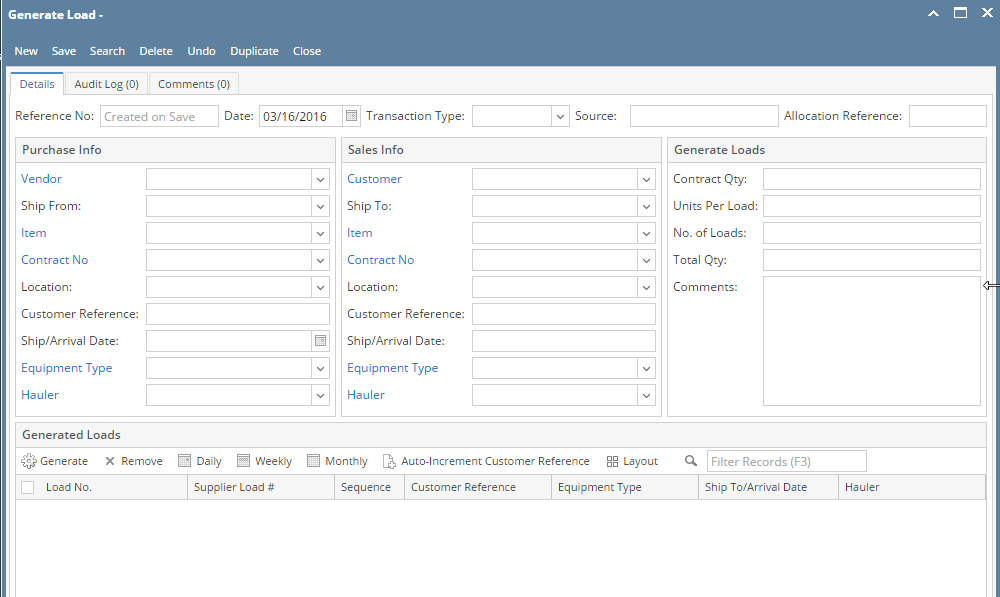 From Allocation Screen:
Go to Logistics -> Allocations. Open a saved allocation batch and go to allocated tab. Select an allocated line and click on Load Schedule button. A Generate Load screen will open with Contract Qty as allocated Qty, Transaction Type will be Drop Ship and Source will be Allocation and Allocation reference will be populated. Vendor, Customer, Ship From, To, Item, Contract No, Location will get auto filled.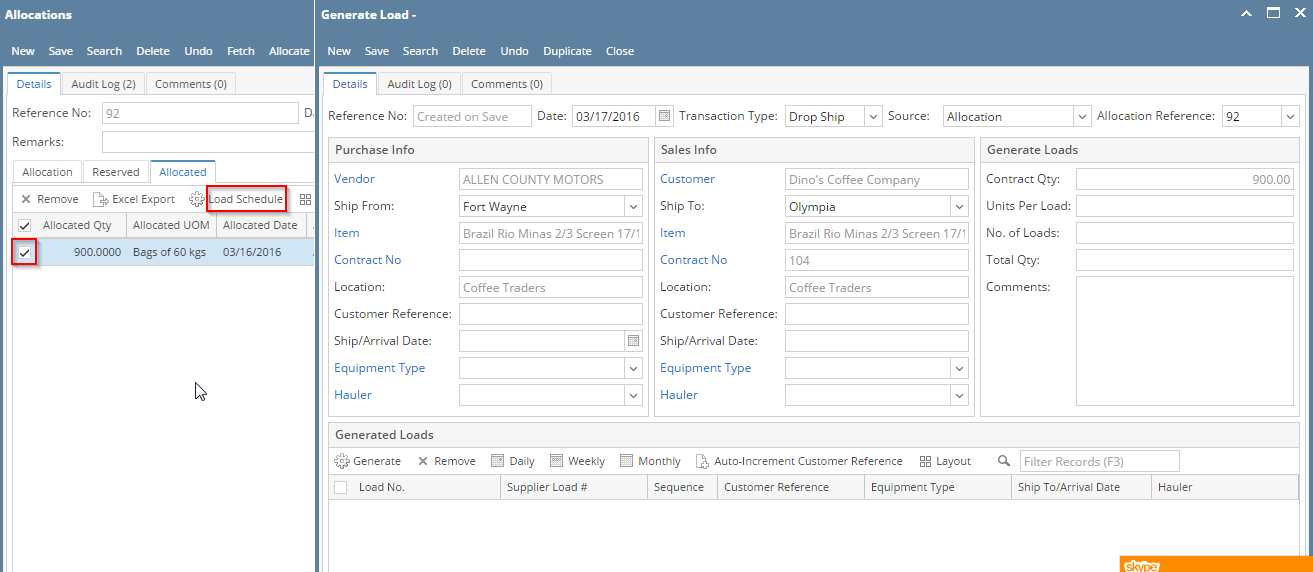
From Contract Screen:
Go to Contract Management -> Contract. Open any existing contract and click on Load Schedule button. A Generate Load will be auto created with Transaction Type (Inbound for Purchase and Outbound for Sales Contract), Purchase/Sale Info like Vendor/Customer, Ship From/To, Contract No, Location information auto-filled.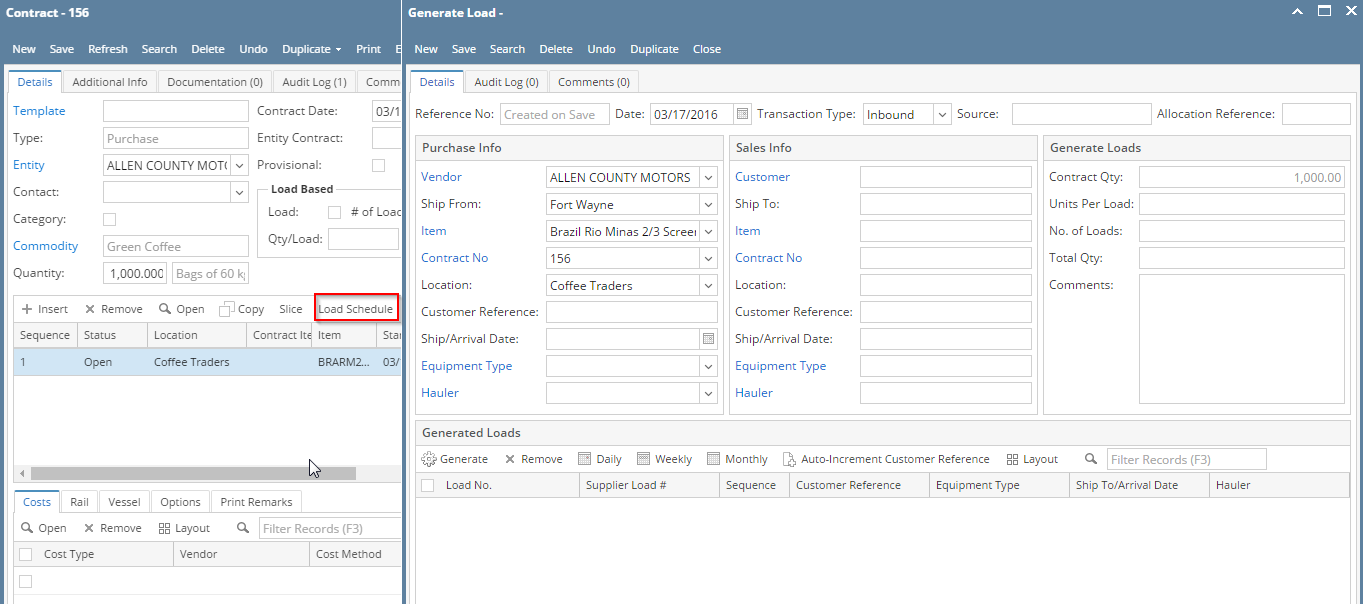
Overview
Content Tools