Pre-requisite: There should be an email address before you can assign a Portal Admin:
Here are the steps on how to assign a Portal Admin:
- Log in as an Admin/internal user
- Open an entity record
- Click the General tab
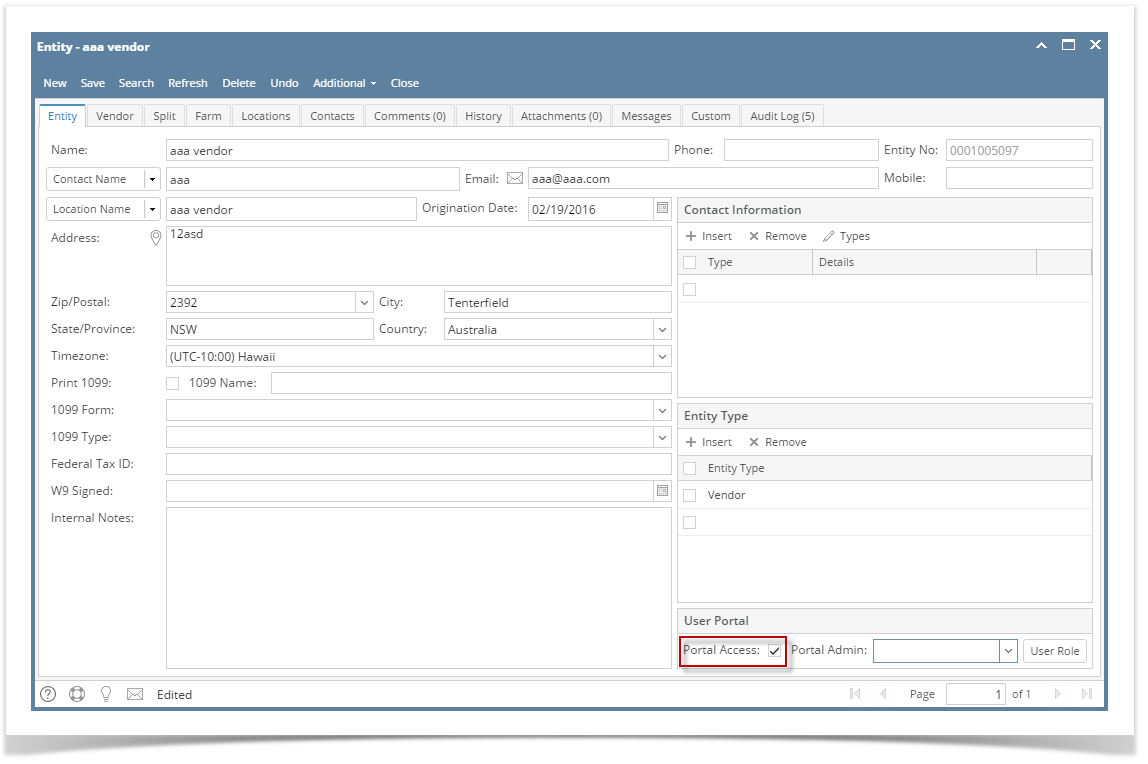
- On the General tab's Web Portal panel, check the Enable check box to enable the selection for portal admin
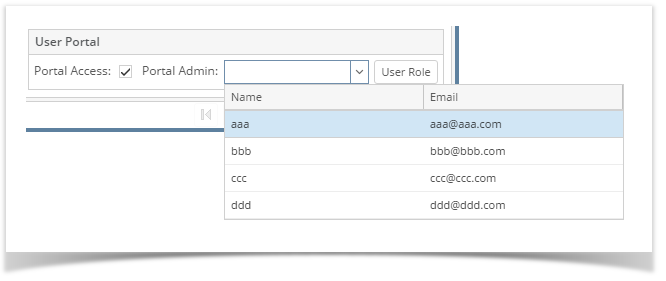
- Select a Portal Admin from the drop down
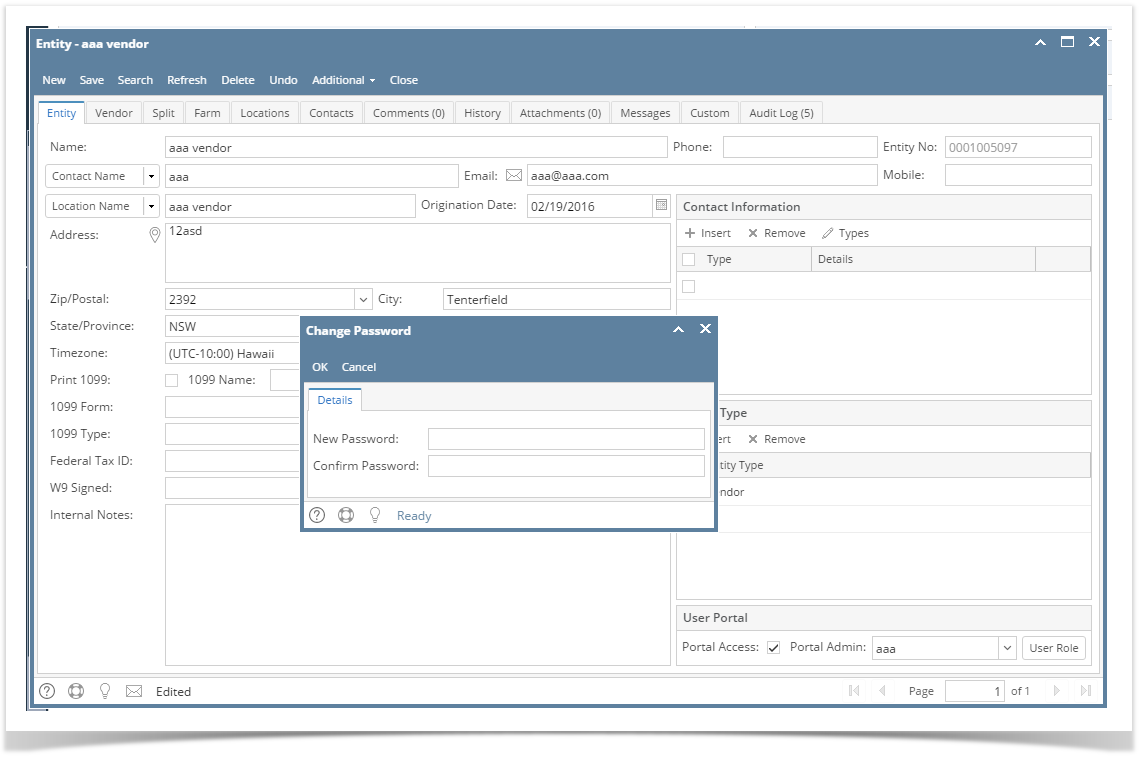
- After selecting a portal admin, a change of password will be required. Enter the New Password and Confirm Password.
 Image Added
Note: If Change Password is cancelled, portal access will be removed. - Select a Portal Role
- Click the Save button.
- Go to Contacts tab and select the assigned portal admin.
- Open the record
- Click Additional button to show more options then select Portal Access
 Image Removed
 Tick the Portal Access check - and check on the User Role field. It should be labeled as Portal Admin.
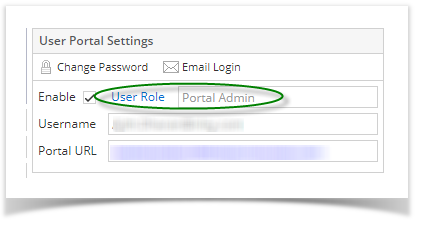 Image Added
11. Login to the system using the newly created portal admin
| Expand |
|---|
|
Pre-requisite: The following fields must be filled in before you can assign a Portal Admin: - Email
- Timezone
- Approval List (if the entity is vendor)
Here are the steps on how to assign a Portal Admin: - Log in as an Admin/internal user
- Open an entity record
- Click the General tab
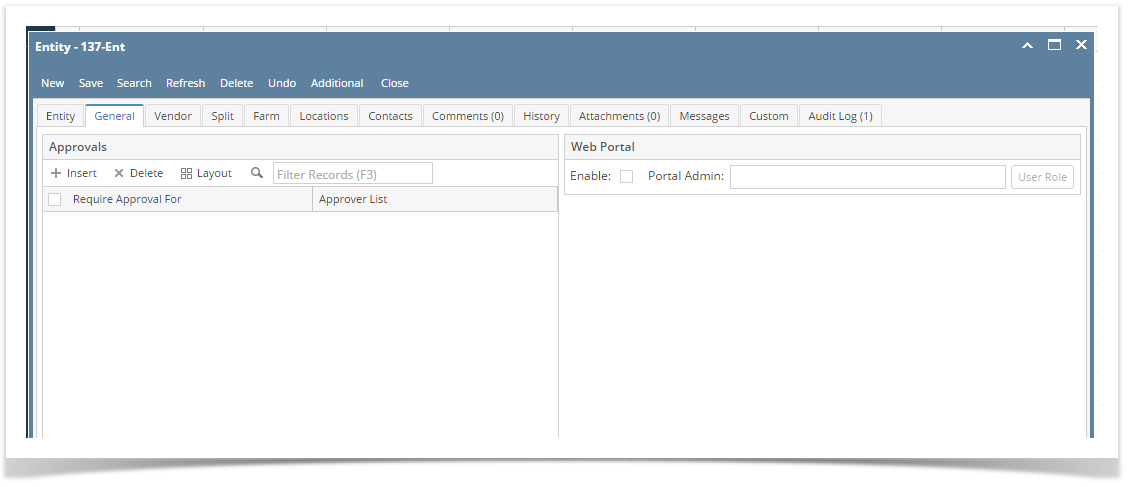 Image Added Image Added - On the General tab's Web Portal panel, check the Enable check box to enable the selection for
|
...
...
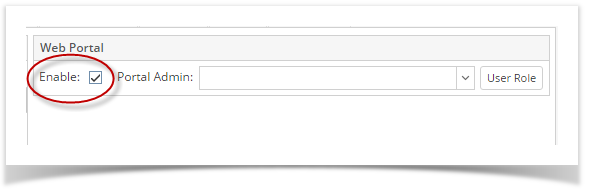 Image Added Image Added- Select a
|
...
- Portal Admin from the drop down
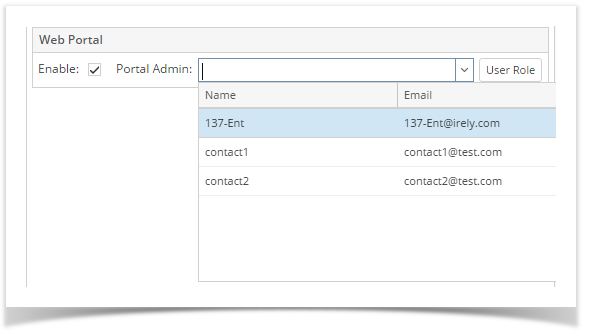 Image Added Image Added - After selecting a portal admin, a change of password will be required. Enter the New Password and Confirm Password.
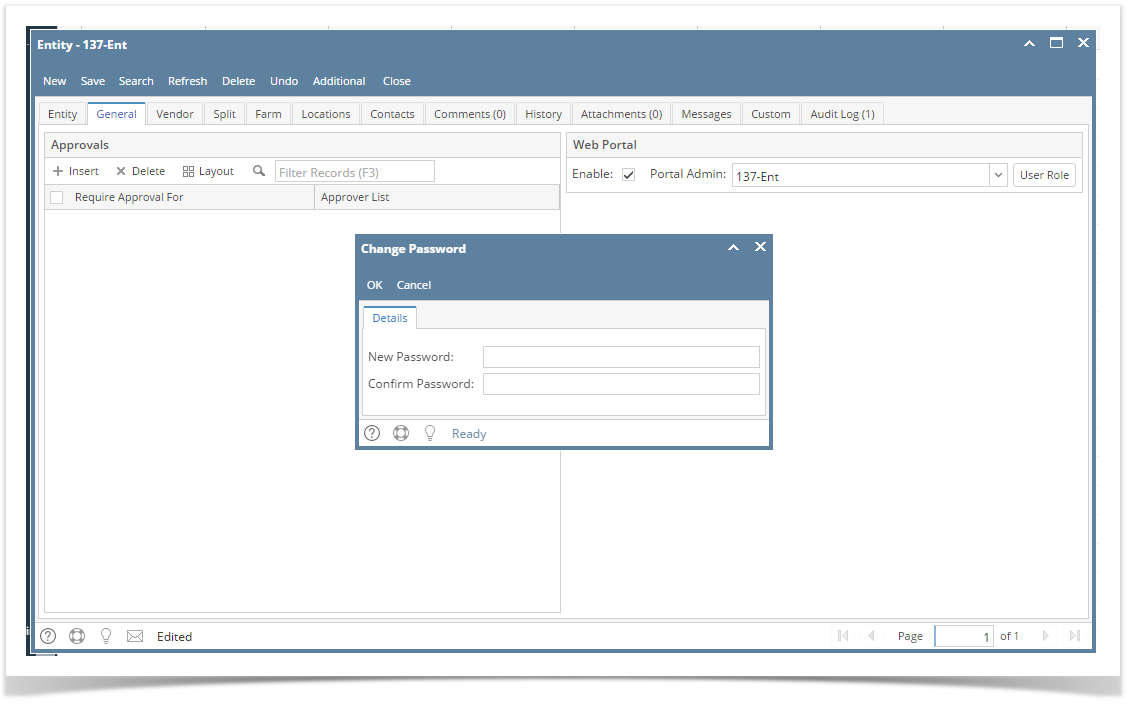 Image Added Image Added
Note: If Change Password is cancelled, portal access will be removed. - Click the Save button.
|
If you check on Contacts tab, the Group Admin will have Portal Access checked.
 Image Removed
His contact information will be updated
...