Page History
This screen is used to setup a store record. A store record is a virtual representation of your physical store. All important configuration is located in this screen that will be necessary for connecting to the POS and creating an End-Of-Day transactions.
StepsHere are the steps on how to create a Store record:
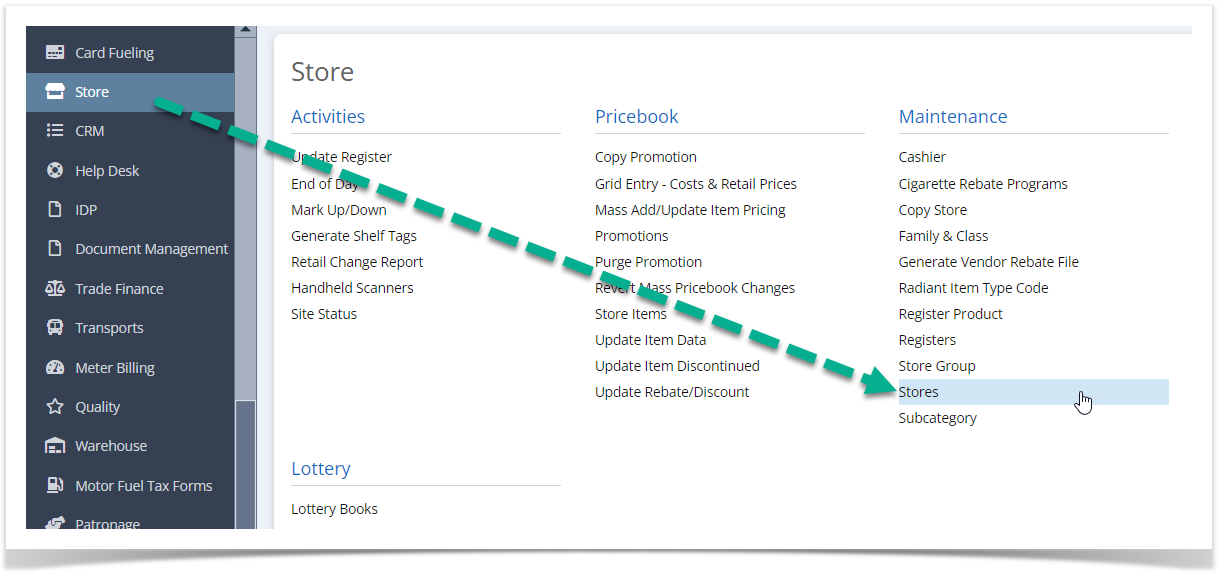
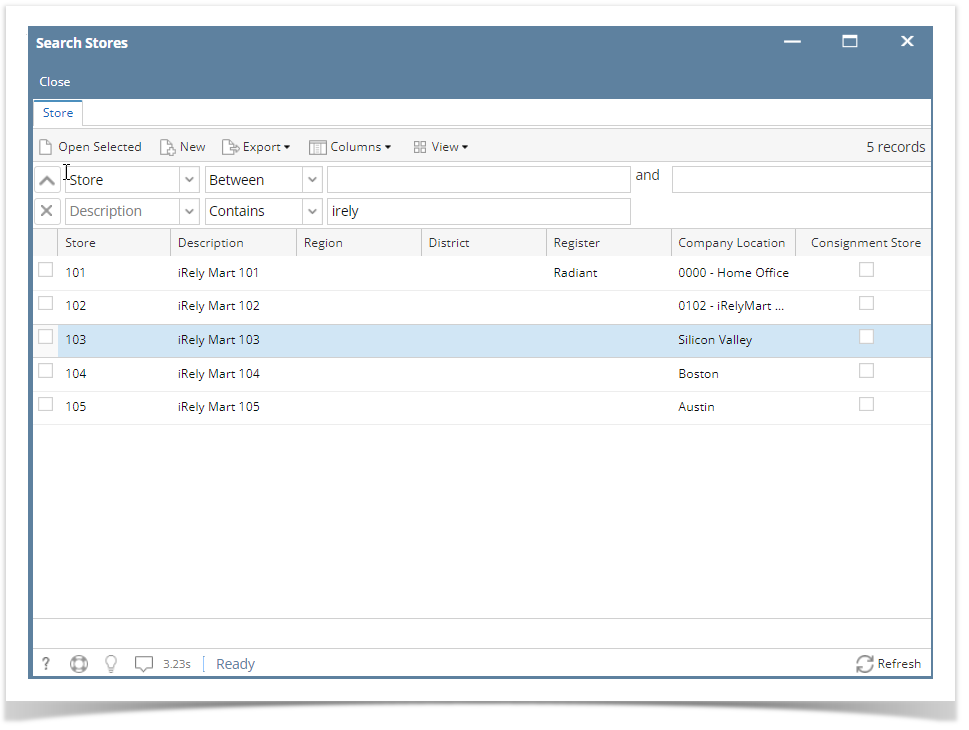
In Store menu, click Stores. A search screen for Stores will open
- Click New to open a blank store screen.
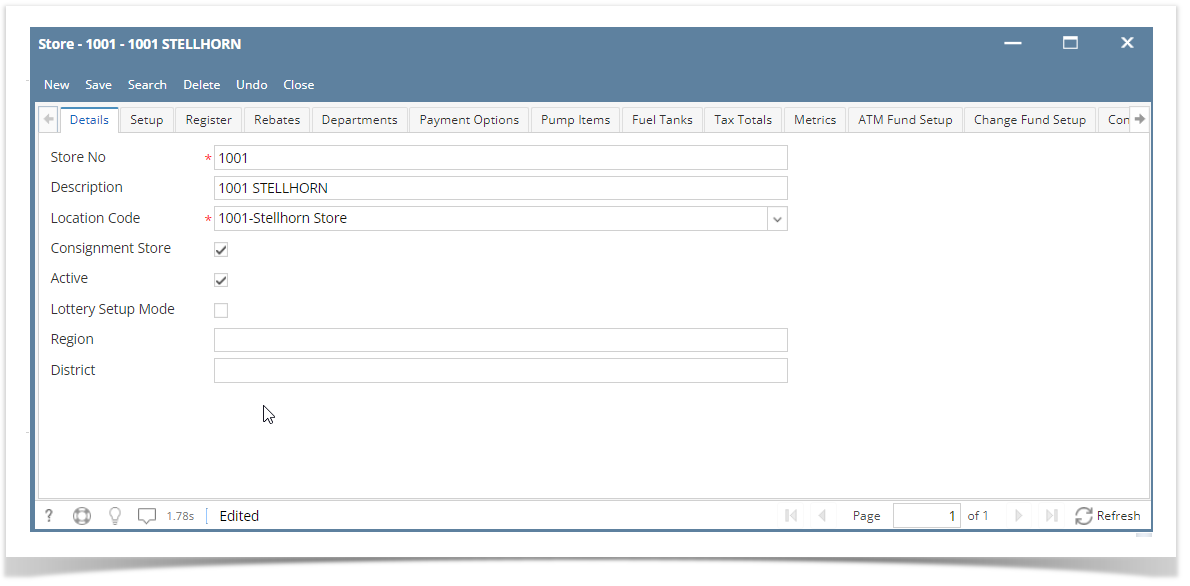
- Enter the following:
- Enter Store No -this this will serve as the name of the store.
- Enter Description Description - enter any that describes your store
- Enter Location Code-this field is required to save the store.* - Lets you select the location based on the Company Locations setup
- Check or Uncheck Lottery Setup Mode - if checked, it is will be used to validate the Lottery Games if have Sale UOM and Vendor in Item Location.
- Enter Region. - Enter appropriate region to where your store belongs
- Enter District

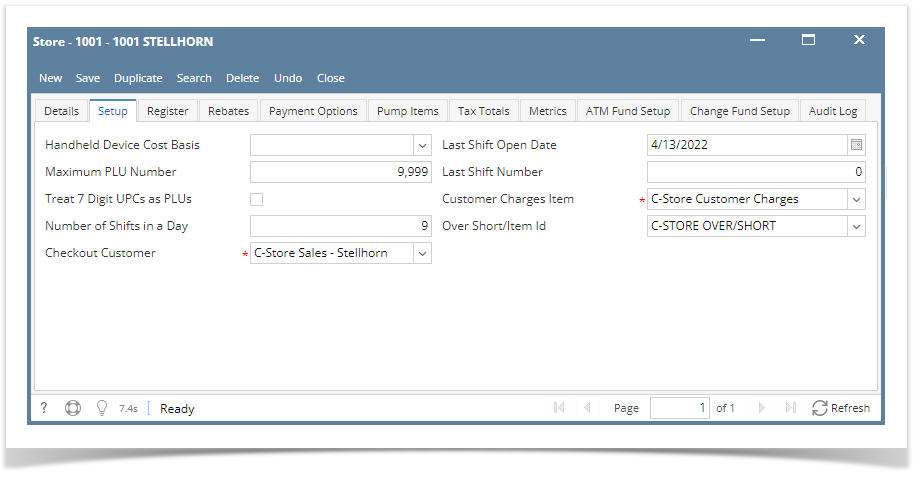
Click Setup tab
- District - Enter appropriate district to where your store belongs
Setup tab
- After completing the steps above, go ahead and click the Setup tab. It is located next to the Details tab.
- Enter the following values:
- Select a Handheld Device Cost Basis, - can be either last or current cost.
Enter Maximum PLU Number . - Usually a 4 or 5 digits.
- Check or Uncheck Treat 7 Digit UPCs as PLUs
Enter Number of Shifts in a Day.
- as PLUs - When enabled, any 7-digit UPC code will be treated as a PLU
Number of Shifts in a Day - Default value is 9. Some number needs to be added in this field otherwise it prevent you from having more than one shift in a day.
End of Day Customer* - Selection will be based on the Select Checkout Customer, this is required. Will be setup on Sales (A/R) > → Create > → New Customer
Select Customer Charges Item, this is required. Will be * - Selection will be based on the setup on Inventory > → Maintenance > → Items
Select- Over Short/Item Id, this is required. Will be * - Selection will be based on the setup on Inventory > → Maintenance > Items
- Fill up other details in the setup tab.
- Select a MOP for Customer Charges. Will be setup from Store - Payment Options Tab
- Select a MOP for Cash Transactions. Will be setup from Store - Payment Options Tab
- Select POS Register ID, Will be setup from Store > Maintenance > Register Select
- → Items

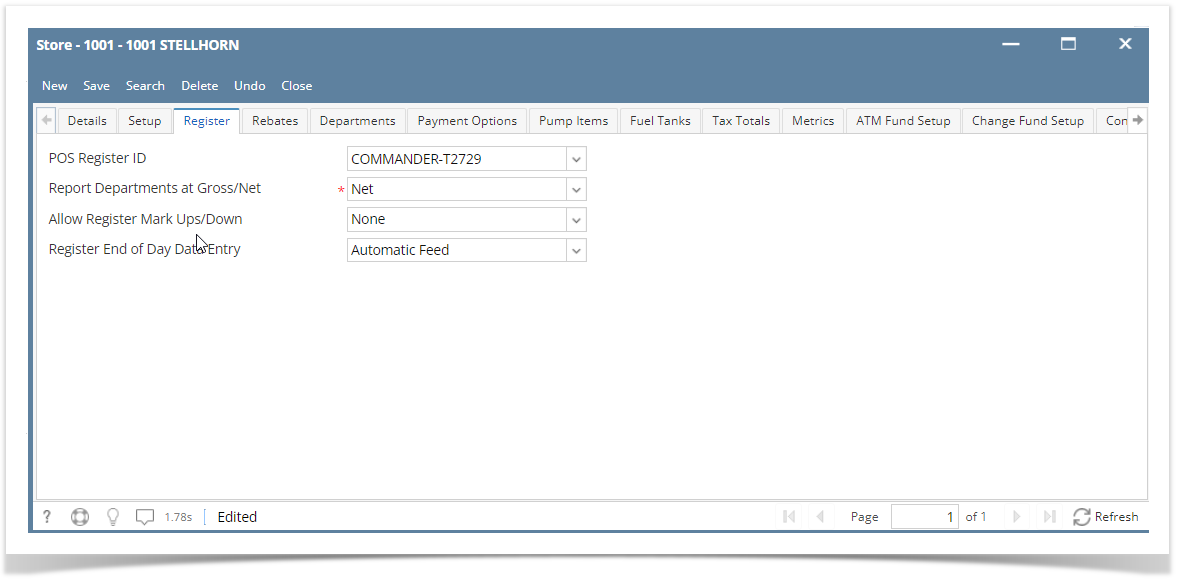
Register tab
- After completing the steps above, go ahead and click the Register tab. It is located next to the Setup tab.
- This tab contains the necessary information when linking to a POS device that is setup in Store → Registers
- Enter the following values:
- POS Register ID - lets you select details from the setup in Store → Maintenance → Register
- Report Departments at Gross/Net
- - this is a required required.
- Let's you choose where Gross or Net
- Allow Register Mark Ups/Down - When enabled, this store record will be allowed to be used in the Mark Up / Down process.
- Register End of Day Data Entry - Lets you choose the default end-of-day method; Automatic Feed or Full Manual Entry
- Register End of Day Data Entry - Lets you choose the default end-of-day method; Automatic Feed or Full Manual Entry
Rebate tab
- After completing the steps above, go ahead and click the Rebate tab. It is located next to the Register tab.
- This tab contains the necessary information you want a rebate
- Enter the following values:
- Department - Select the department you want a rebate
- Tobacco - Ticked the box if it is considered a tobacco if not unticked it.

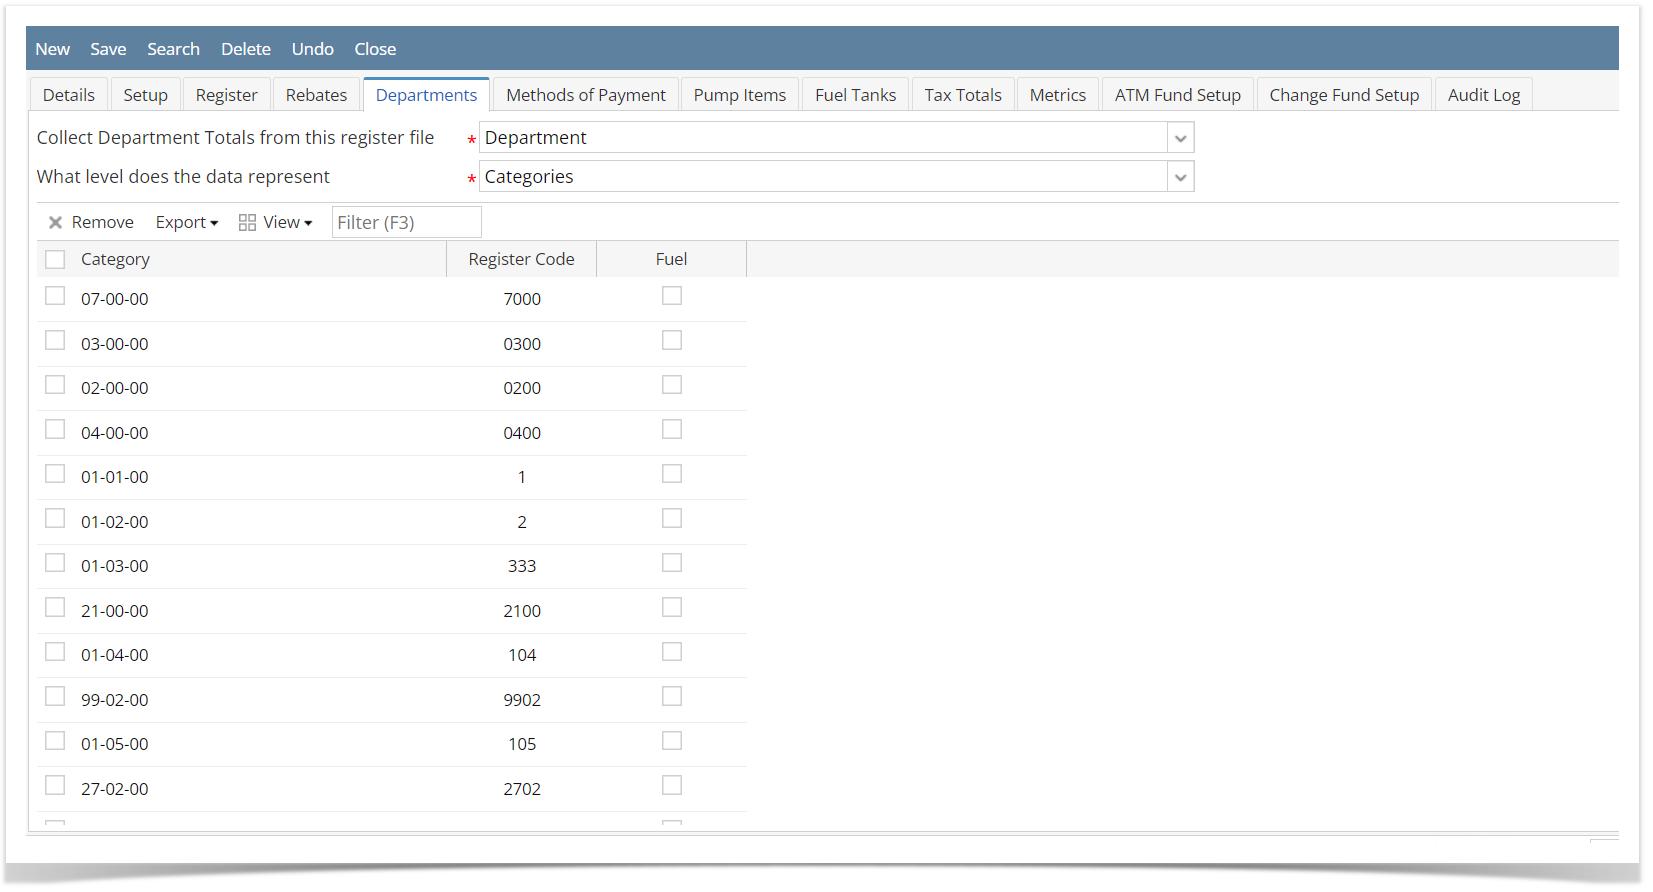
Departments tab
- After completing the steps above, go ahead and click the Departments tab. It is located next to the Rebate tab.
- This tab contains the departments available in your store
- Enter the following values:
- Collect Department Totals from this register file - Choose between where department will be coming from (Dropdown: Department or Category)
- What level does the data represent - Choose the level representation (Dropdown: Category or Subcategory)
- Category - Contains the code for your department
- Register Code - Assigned Register for your Category
- Fuel - Ticked the box if it is considered a fuel if not unticked it.
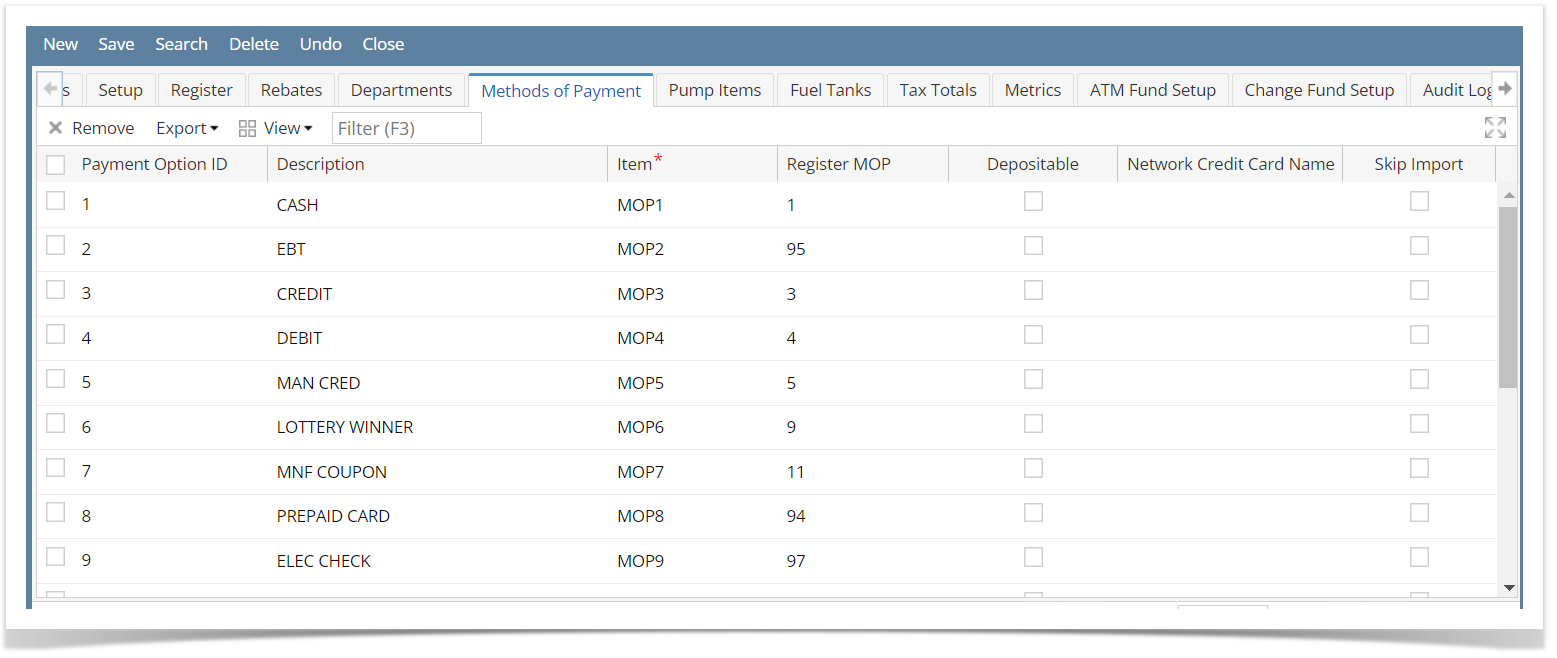
Method of Payment tab
- After completing the steps above, go ahead and click the Method of Payment tab. It is located next to the Departments tab.
- This tab contains the mode of payment available in your store
- Enter the following values:
- Payment Option ID
- Description
- Item
- Register MOP
- Depositable
- Network Credit Card Name
- Skip Import
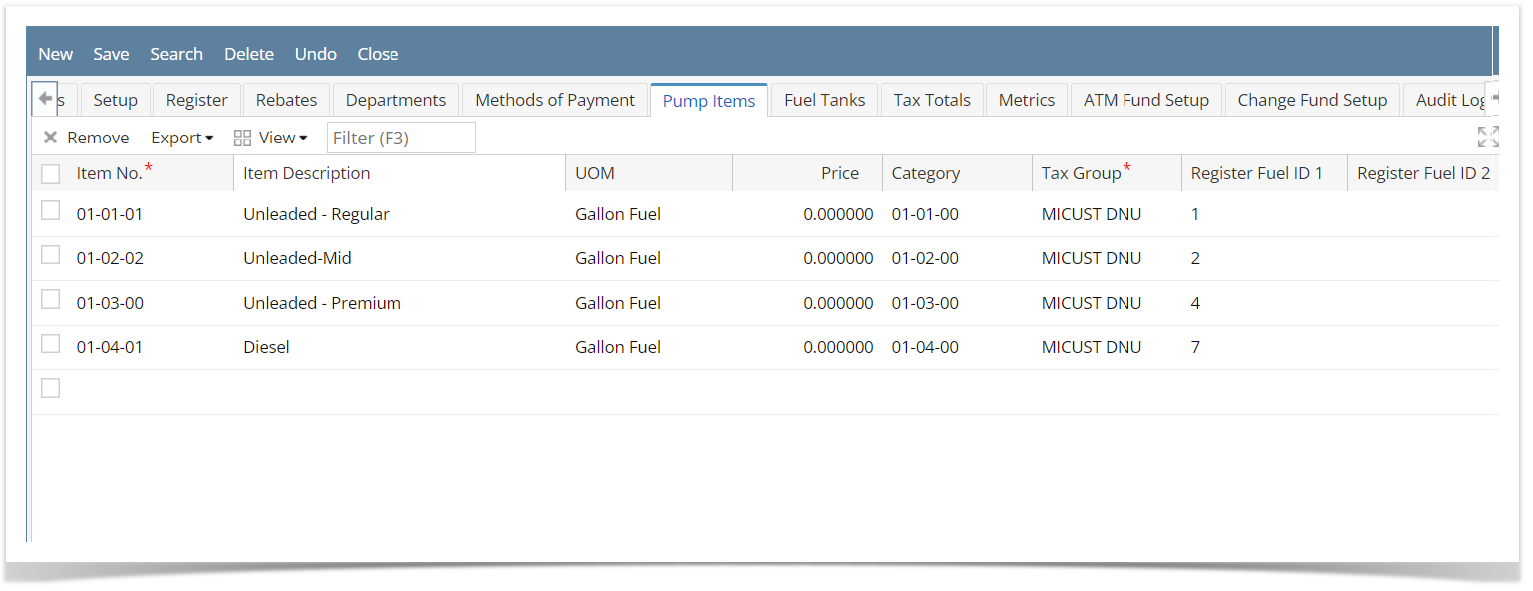
Pumps Items tab
- After completing the steps above, go ahead and click the Pump Items tab. It is located next to the Methods of Payment tab.
- This tab contains the Pump Items available in your store Checkout Data Entry
- Click Payment Options tab.
- Fill up the grid details:
- Enter Payment Option Id
- Enter Description
- Select available Item

- Fill up the grid details:
- Click Pumps Items tab.
- Fill up the grid details:
- :
- Select Item No, Item Description,
UOM - and UPC will automatically filled out
- Enter Price
- Enter Category
- Enter Tax Group, this is required

- Register Fuel ID 1 & 2

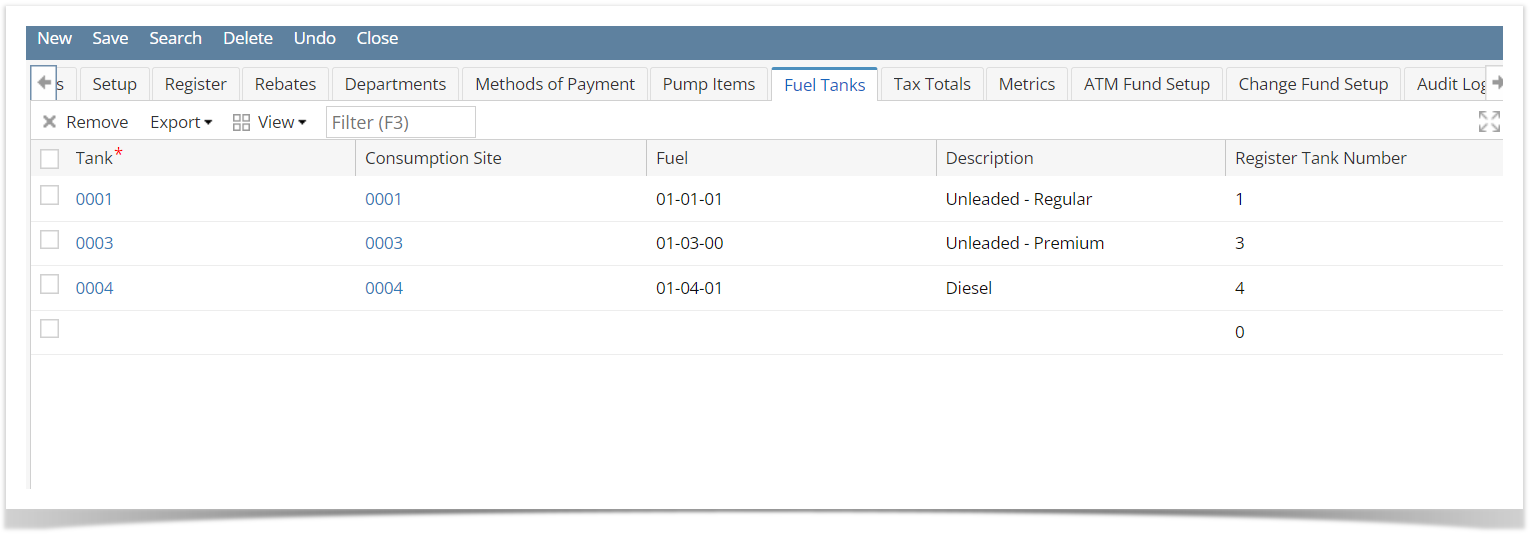
Fuel Tanks tab
- After completing the steps above, go ahead and click the Fuel Tanks tab. It is located next to the Pump Items tab.
- This tab contains the Fuel tanks Items available in your store
- Fill up the grid details:
- Tank
- Consumption Site
- Fuel
- Description
- Register Tank Number
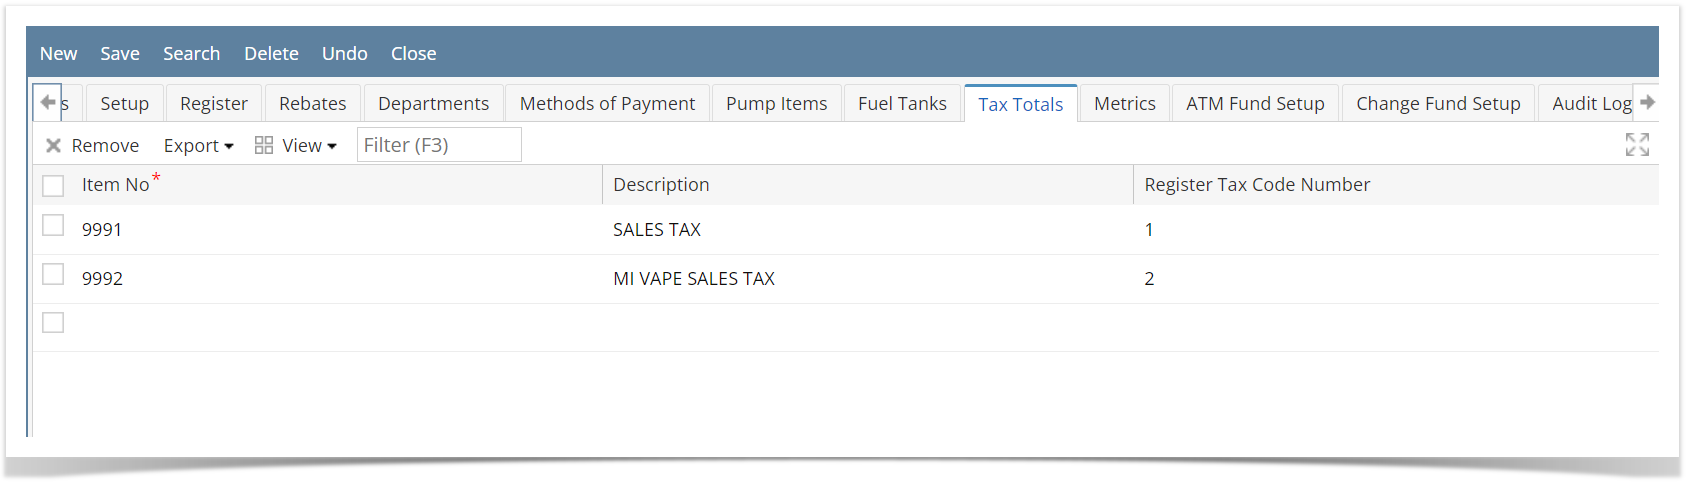
Tax Totals tab
- After completing the steps above, go ahead and click the Tax Totals tab. It is located next to the Fuel Tanks tab.
- This tab contains the Tax Totals Items available in your store
- Fill up the grid details::
- Enter Tax Code
- Select Item No
- Description
- Register Tax Code Number

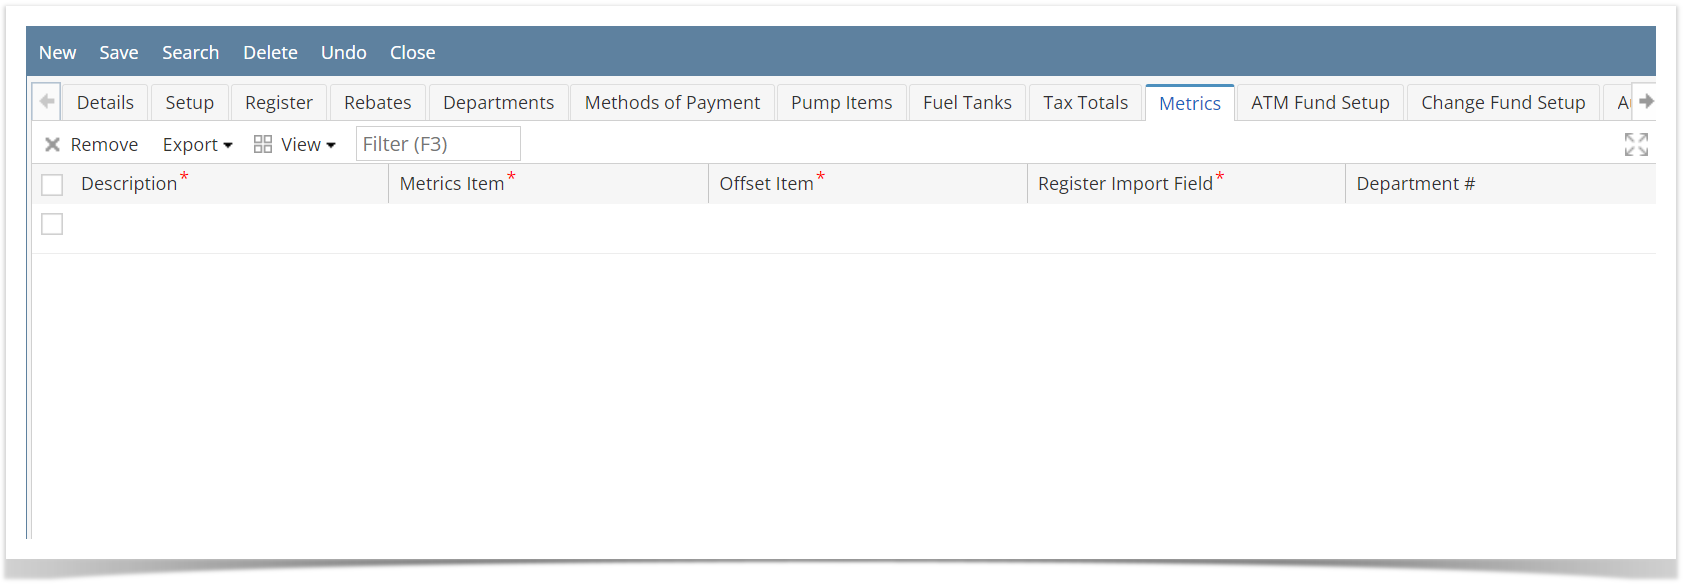
Metrics tab
- After completing the steps above, go ahead and click the Metrics tab. It is located next to the Tax Totals tab.
- This tab contains the Metrics Item available in your store
- Fill up the grid details:
- Description
- Metrics Item
- Offset Item
- Register Import Field
- Department #
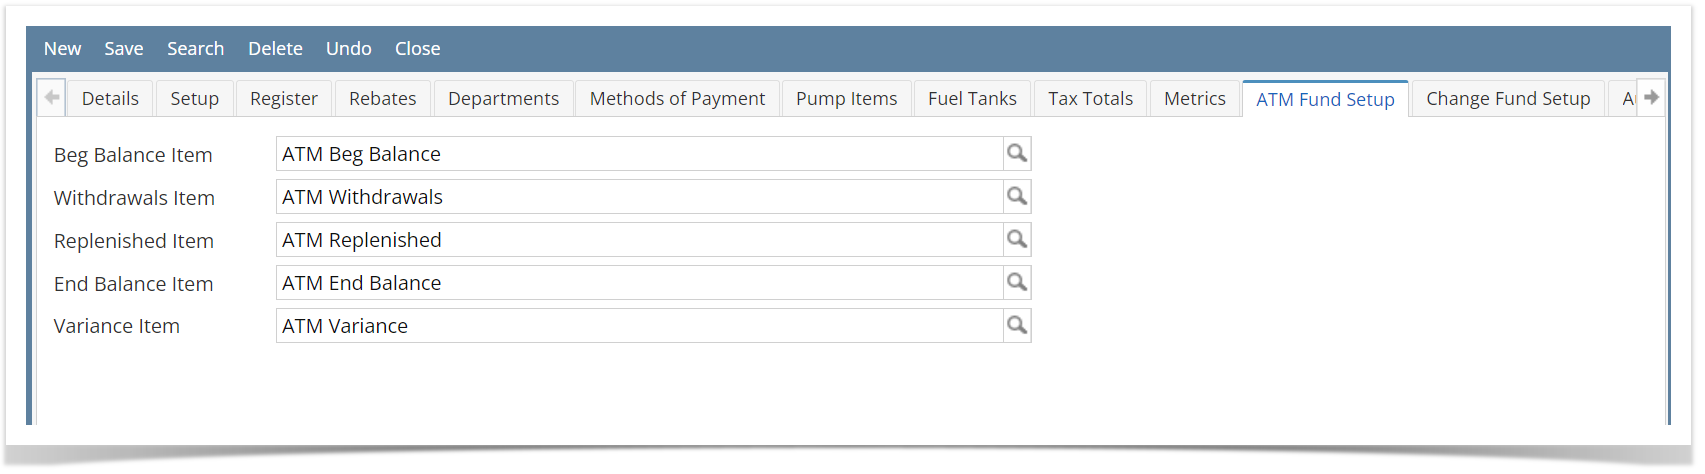
ATM Fund Setup tab
- After completing the steps above, go ahead and click the ATM Fund Setup tab. It is located next to the Metrics tab.
- This tab contains the ATM Fund Item available in your store
- Fill up the grid details:
- Beg Balance Item
- Withdrawals Item
- Replenished Item
- End Balance Item
- Variance Item
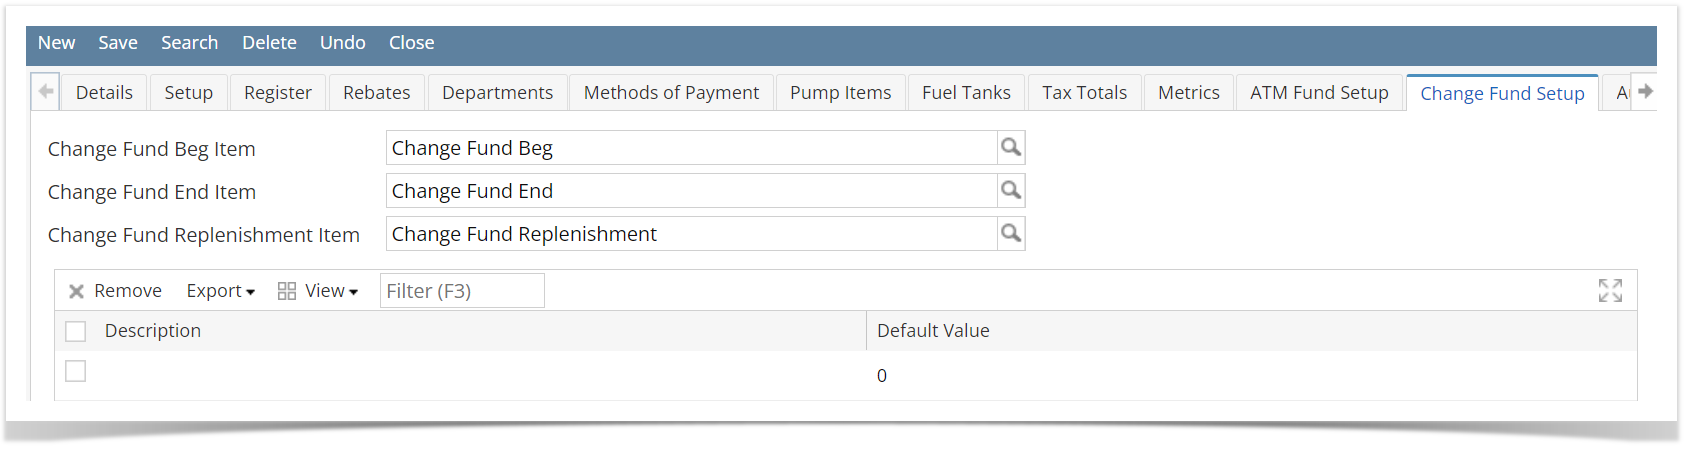
Change Fund Setup tab
- After completing the steps above, go ahead and click the Change Fund Setup tab. It is located next to the ATM Fund Setup tab.
- This tab contains the Change Fund Item available in your store
- Fill up the grid details:
- Change Fund Beg Item
- Change Fund End Item
- Change Fund Replenishment Item
- Description & Default Value
Audit Log tab
- This tab contains the all logs happen in this store.
Click Save to proceed.
| Expand | |||||||||||||||
|---|---|---|---|---|---|---|---|---|---|---|---|---|---|---|---|
| |||||||||||||||
Here are the steps on how to create a Store:
|
Overview
Content Tools