Here are the steps on how to add Vendors:
- From the Main Menu, Navigate to Purchasing (Accounts Payable) and click on Vendors to open Search Vendor Screen
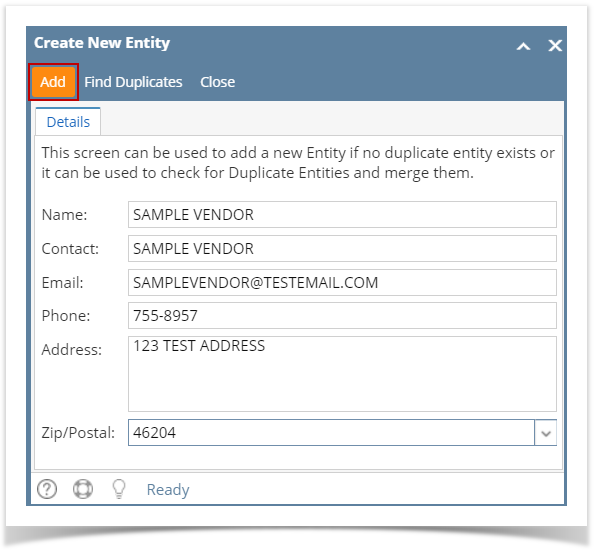
- Upon click of New toolbar button, Create New Entity Screen will open.
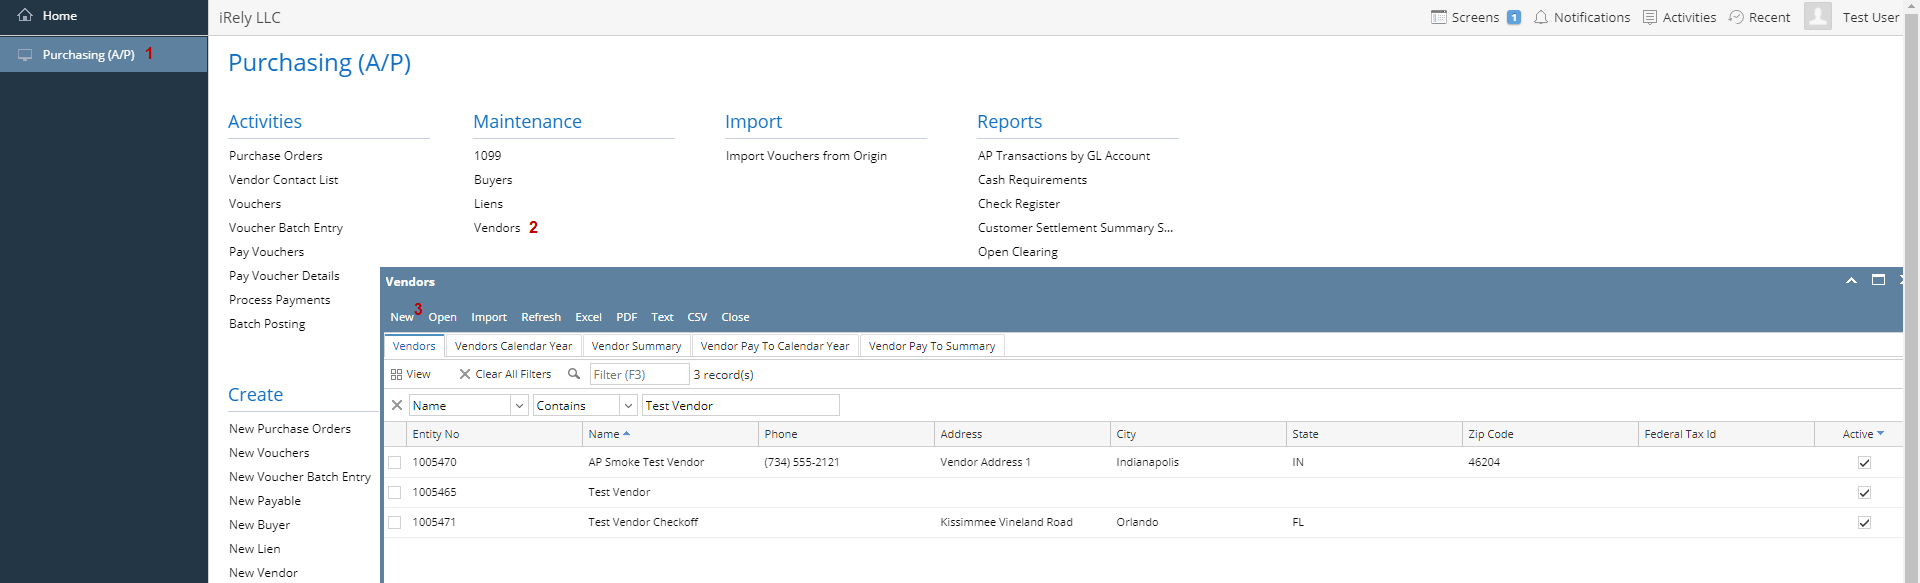 Image Added
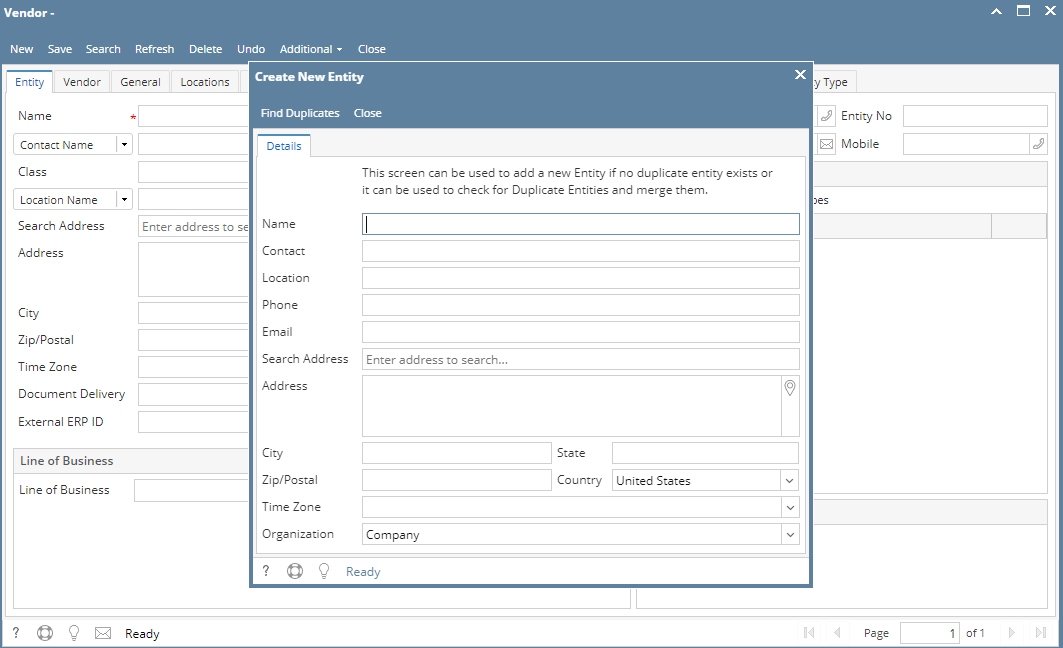 Image Added
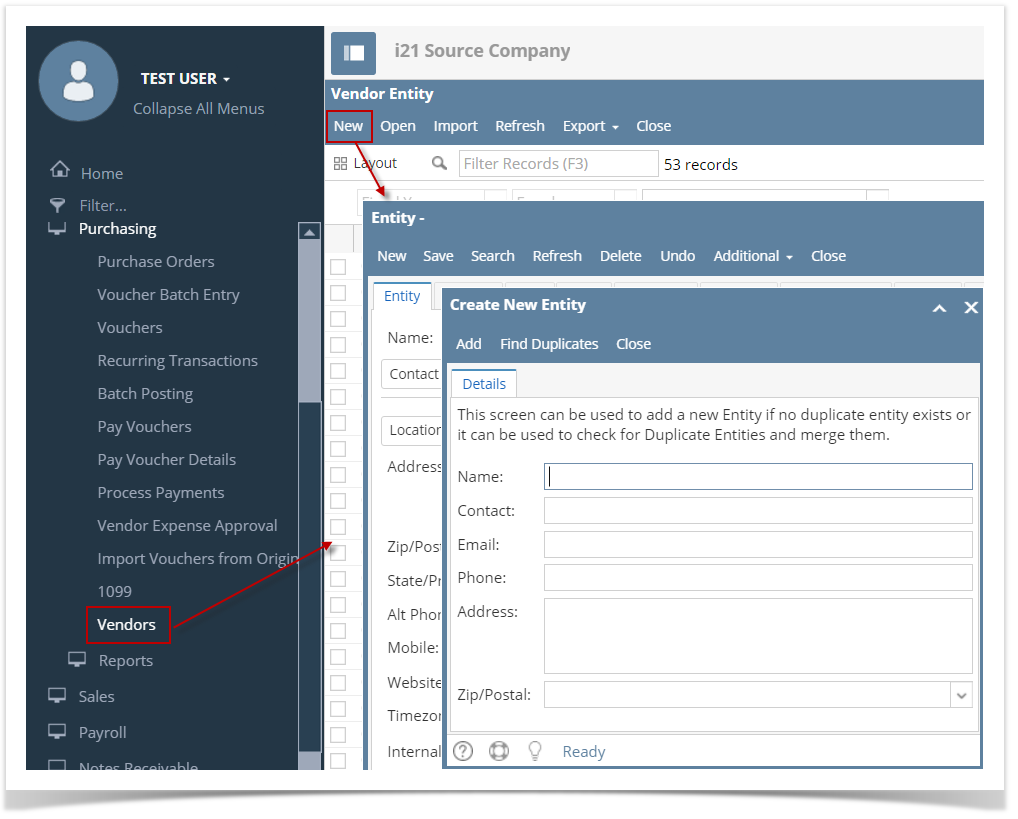
- Populate fields. Enter values on the fields > Click Find Duplicates
- Name
- Contact
- Phone
- Email
- Address (City , State, Zip/Postal, Country)
- Time Zone
- Person
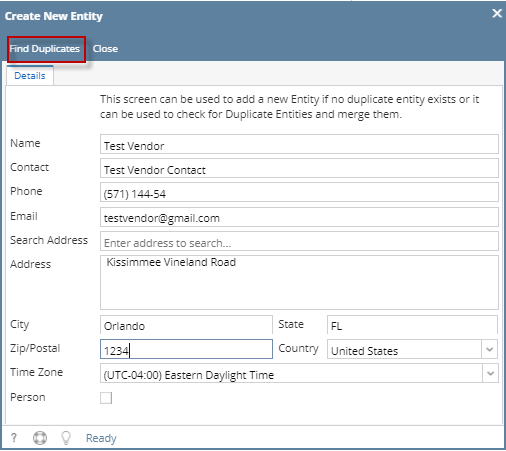 Image Added
 - Click Add
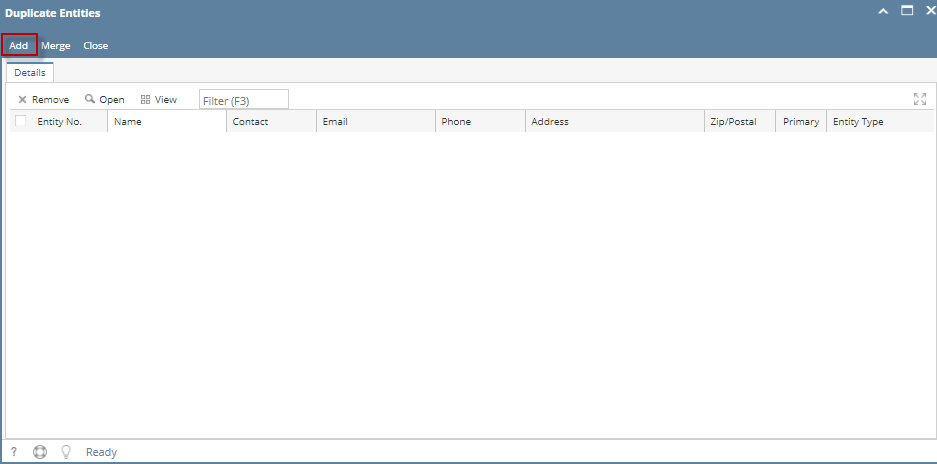 Image Added
- Vendor Entity screen will open with the details entered in Create New Entity screen. Also the Entity screen will be named as Vendor Name
- Enter Location Name on entity tab
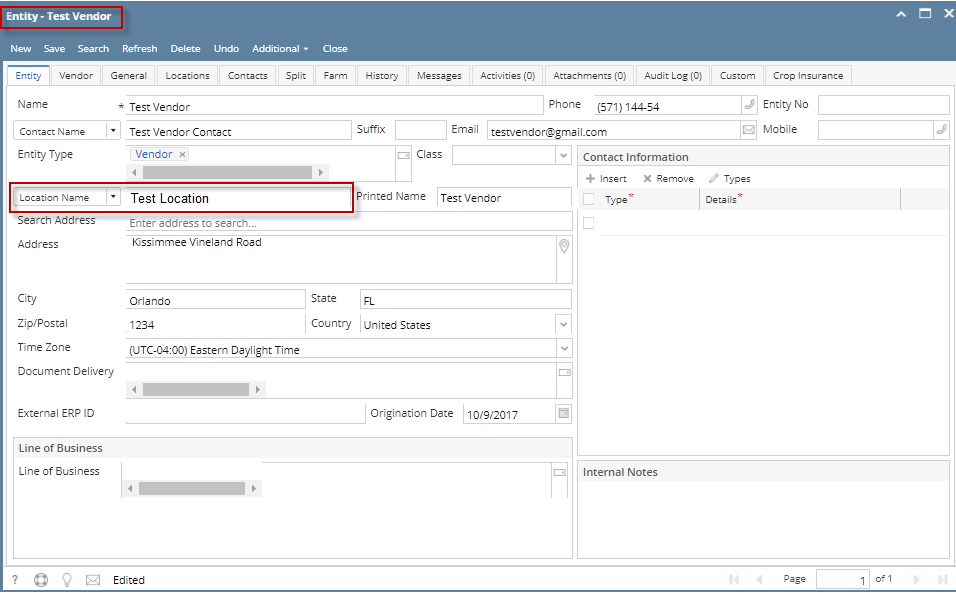 Image Added
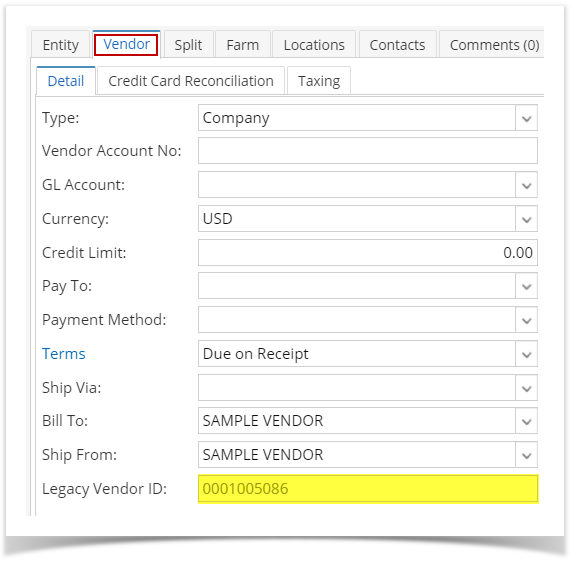
Click on the Vendor Tab > Detail tab
- Select default terms on the dropdown
- Selected value on default terms should also selected on the specific terms panel
- User can enter multiple terms under specific terms
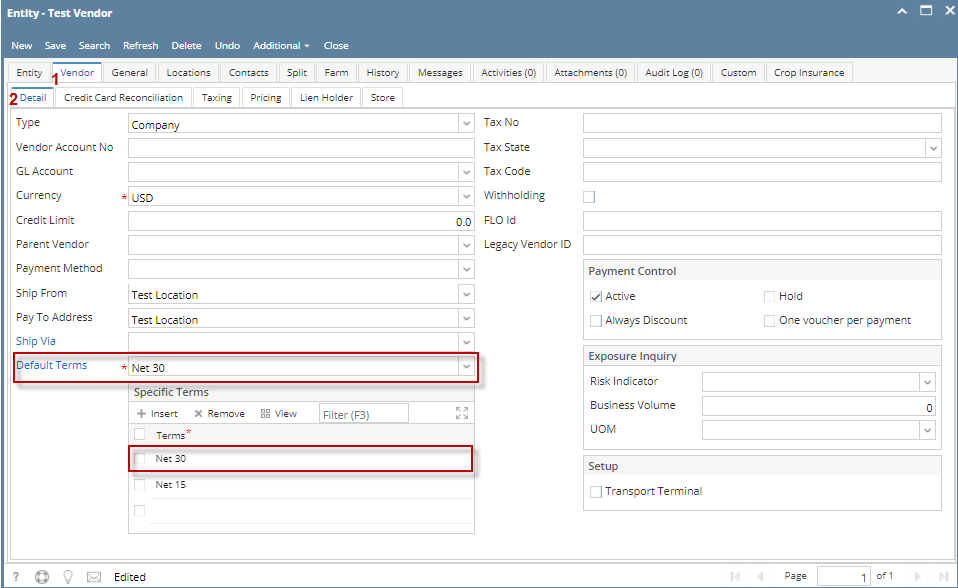 Image Added
Click Save
| Expand |
|---|
|
Here are the steps on how to add Vendors:
- From the Main Menu, Navigate to Purchasing (Accounts Payable) and click on Vendors to open Search Vendor Screen
- Upon click of New toolbar button, Create New Entity Screen will open.
 Image Removed Image Removed
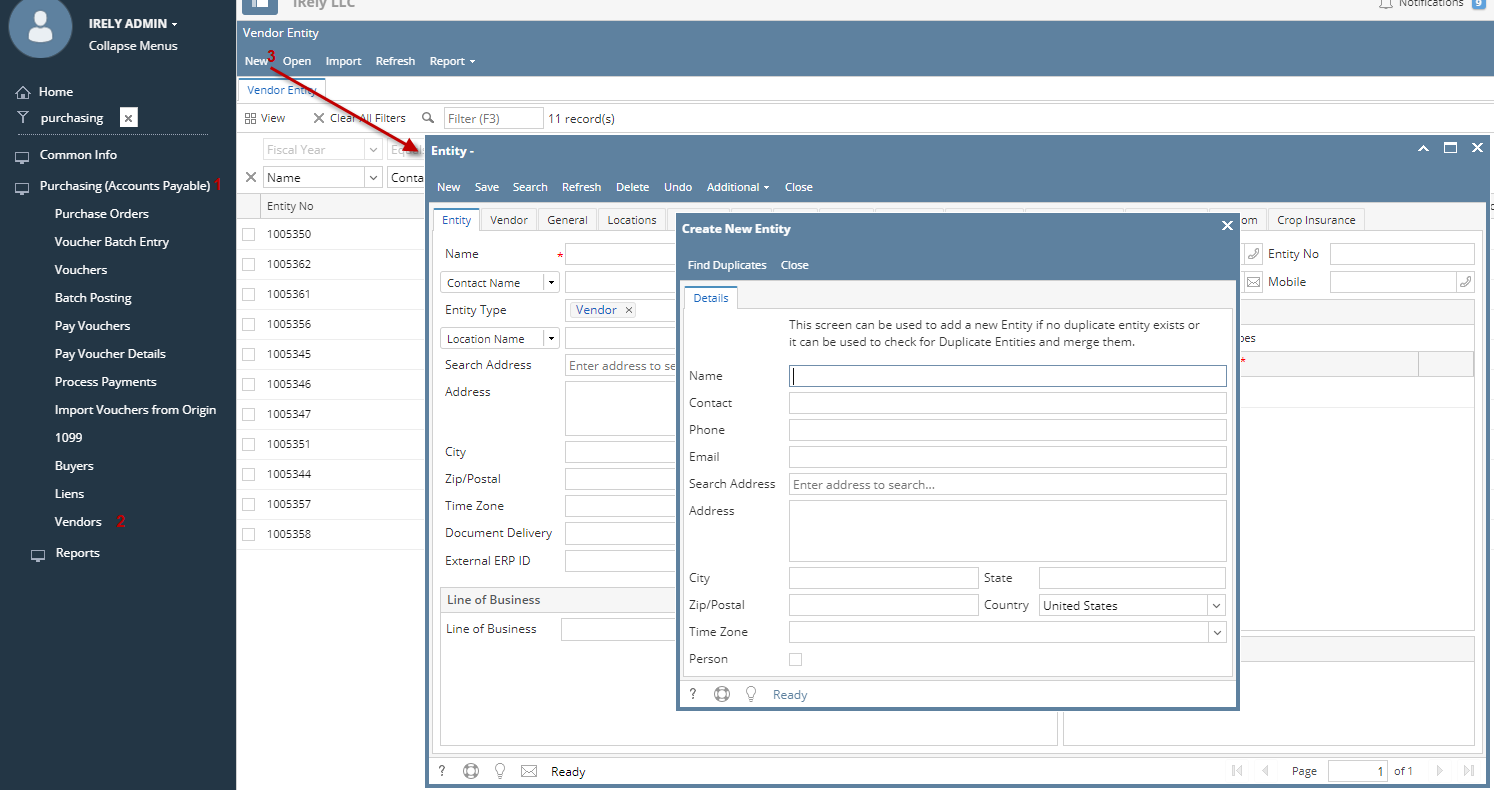 Image Added Image Added
- Populate fields. Enter values on the fields > Click Find Duplicates
- Name
- Contact
- Phone
- Email
- Address (City , State, Zip/Postal, Country)
- Time Zone
- Person
Image Modified - Click Add
Image Modified
- Vendor Entity screen will open with the details entered in Create New Entity screen. Also the Entity screen will be named as Vendor Name
- Enter Location Name on entity tab
Image Modified
Click on the Vendor Tab > Detail tab - Select default terms on the dropdown
- Selected value on default terms should also selected on the specific terms panel
- User can enter multiple terms under specific terms
Image Modified
Click Save
|
...
| Expand |
|---|
|
- Here are the steps on how to add vendors:
- From Main Menu, expand Purchasing and then click on Vendors to openSearch Vendor screen.
- Click on New button. Create New Entity screen will open
 - Enter Name, Contact, Email, Phone, Address and select Zip Code.
- Click Add button.
 - Vendor Entity screen will open with the details entered in Create New Entity screen.
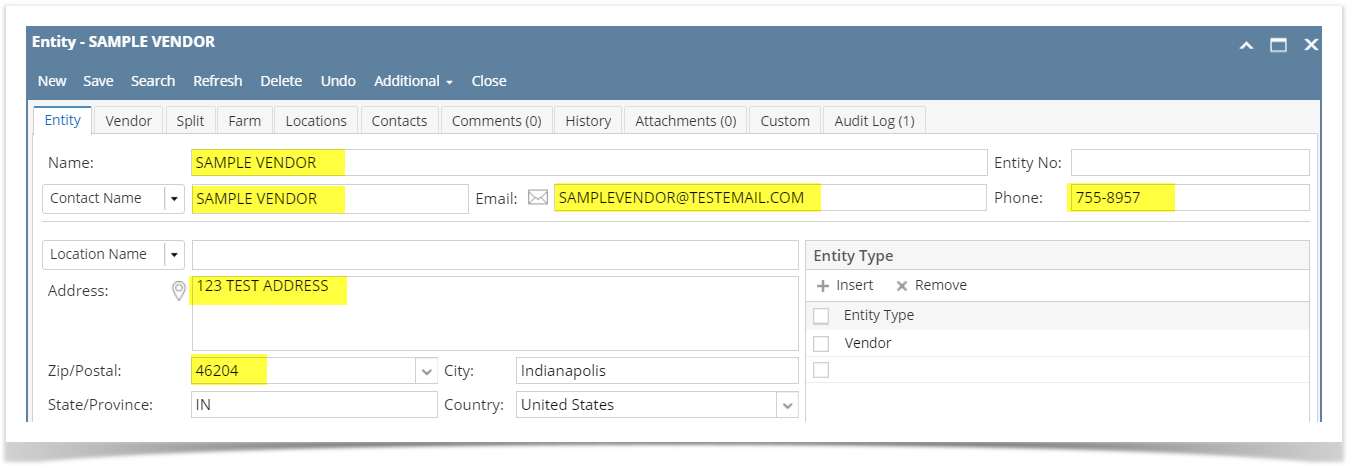 - Enter details on Entity Tab specially the required fields like Location.
- Do the same on the VendorTab. Required fields on this tab are GL Account and Terms.
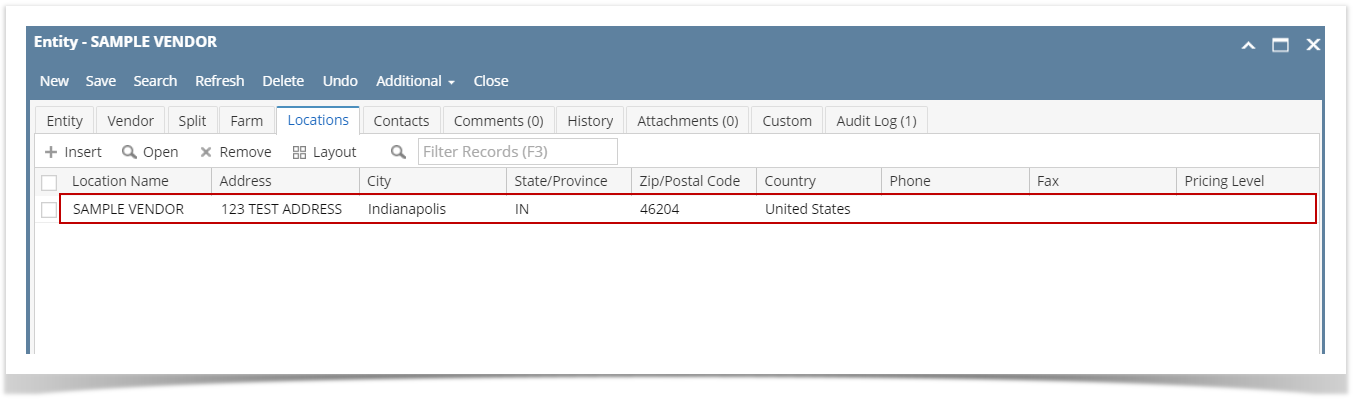
- Navigate to Locations Tab. Location entered on the Entity Tab together with its details will be displayed on the grid. Add more locations if necessary by clicking Insert button.
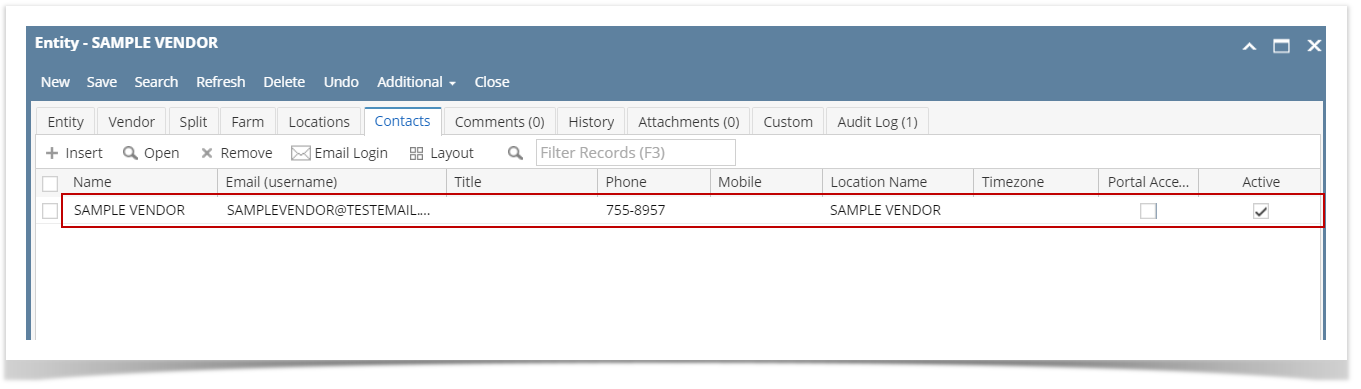
 - Navigate to Contacts Tab. Contact entered on the Entity Tab together with its details will be displayed on the grid. Add more contacts if necessary by clicking Insert button.
 - Click Save toolbar button to save newly created vendor. However Entity No is entered (manually or system-generated), whatever is entered on this field will also be the vendor's Legacy Vendor ID.

|
...