Page History
- Via Lease menu
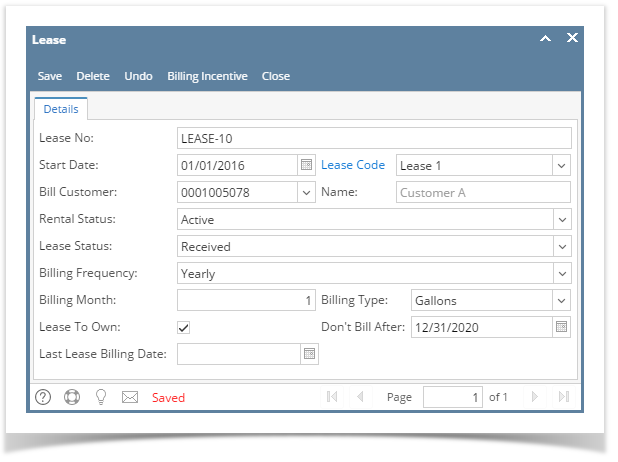
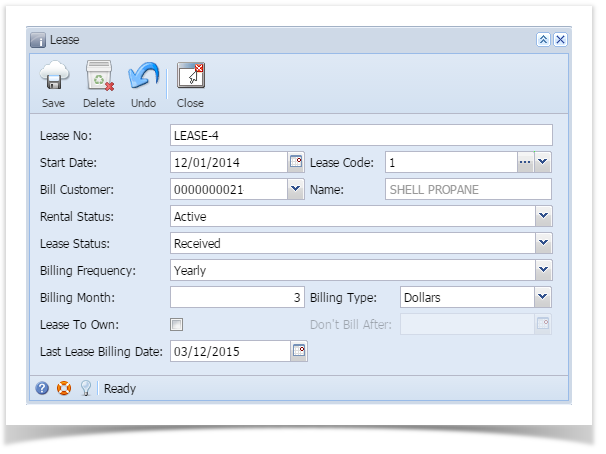
1. Open the Lease screen.
2. Enter the lease details. Lease No is auto generated while Billing Type is a required field. Make sure to fill out the necessary details in Info and Billing Panel since those values is needed when generating invoice from Lease Billing screen. Refer to Lease for the field description.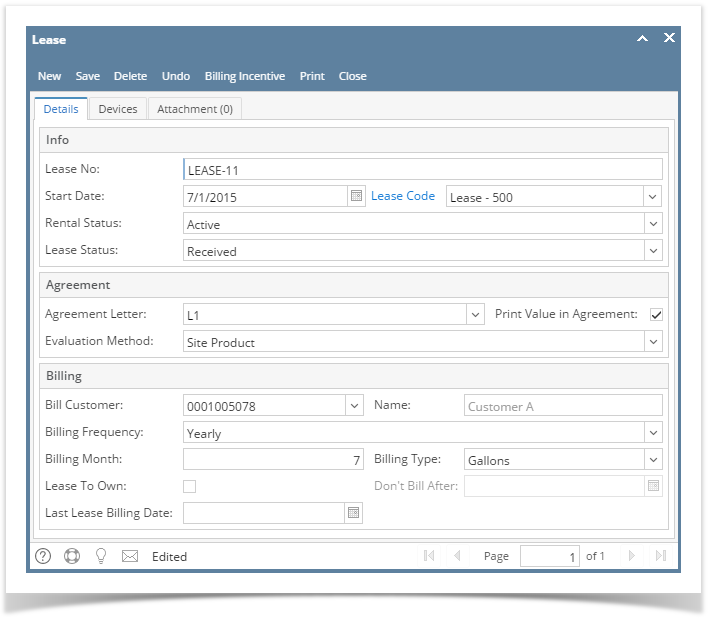
4. Navigate to Devices tab. Select a device from the dropbox to assign the lease created. You can have multiple devices linked in one lease.
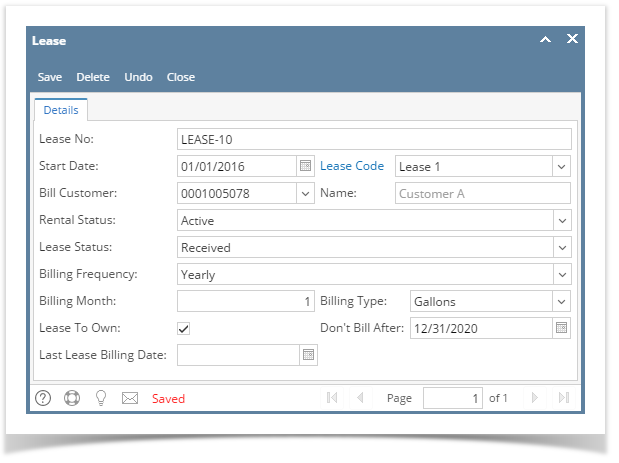
5. Click Save toolbar button to save the created lease.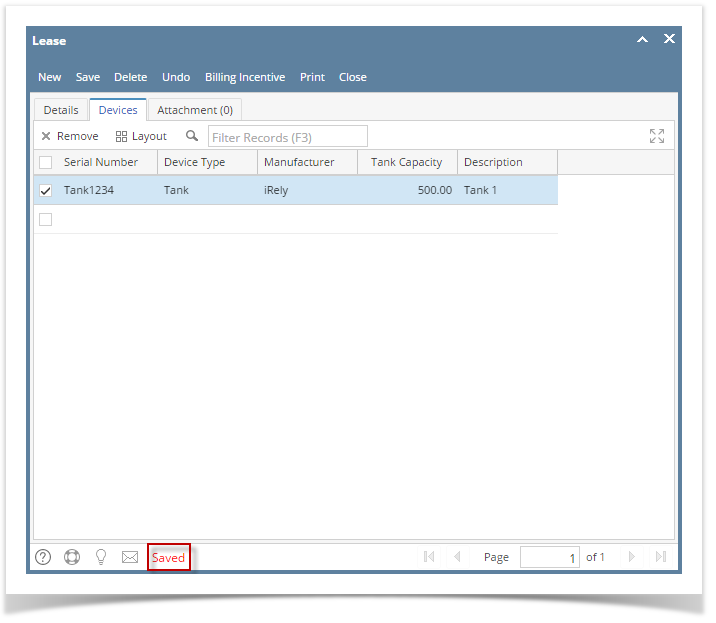
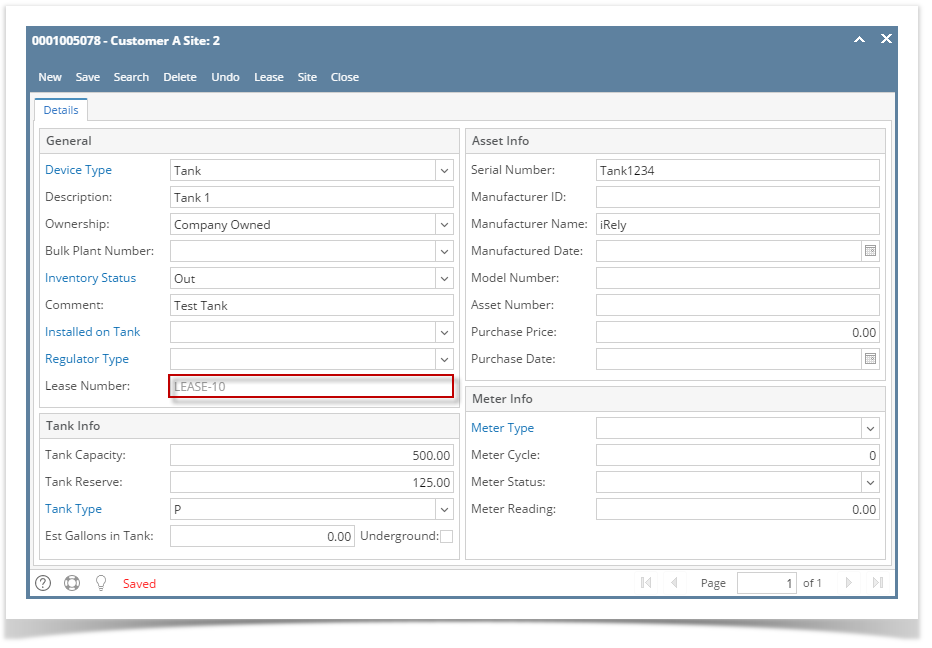
6. The Lease should be visible in Lease Search screen and Consumption Site's attached device. - Via Devices screen
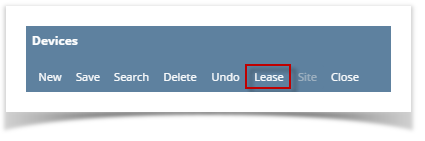
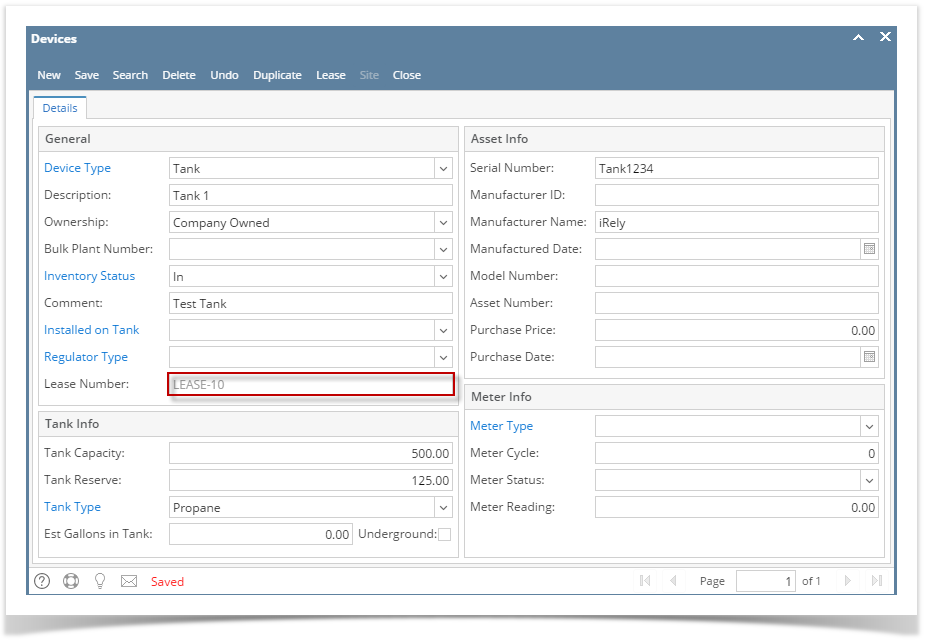
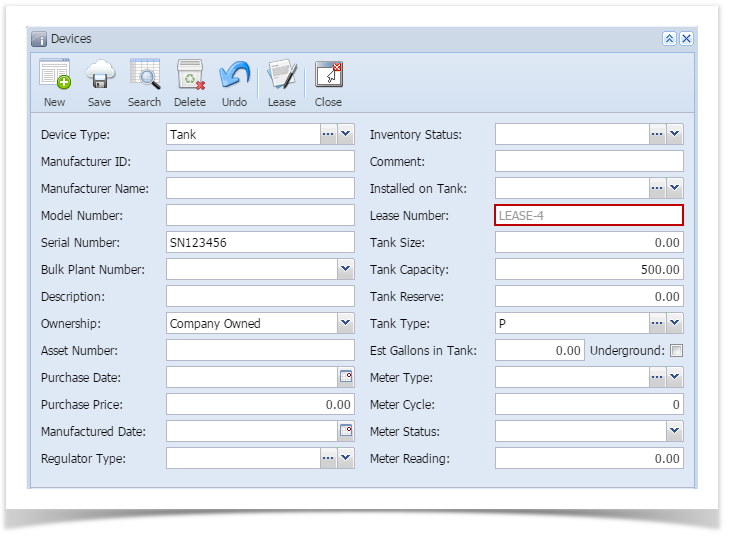
1. Open the Device record where the Lease will be attached.
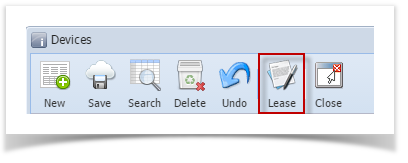
2. Click the Lease toolbar button to open the Lease screen. Note that this button is not enabled in a Customer Owned device.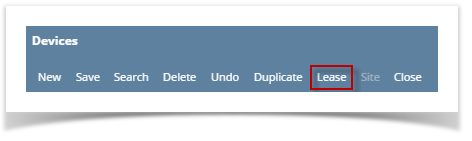
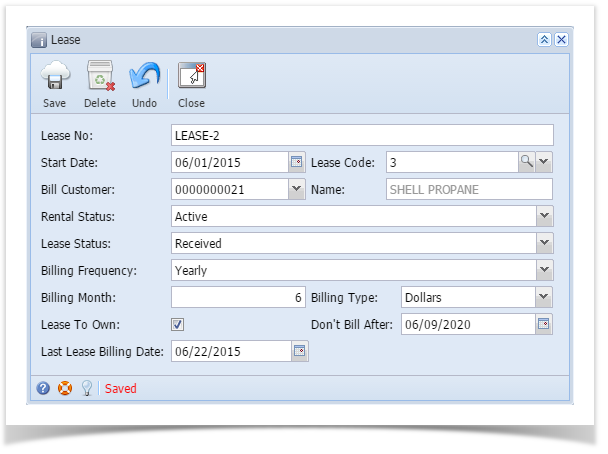
3. Enter the Lease details. Lease No is auto generated while Billing Type is a required field. Make sure to fill out the necessary details in Info and Billing Panel since those values is needed when generating invoice from Lease Billing screen. Refer to Lease for the field description.
4. Navigate to Devices tab. The device serial number should automatically display on the grid. You can have multiple devices linked in one lease.
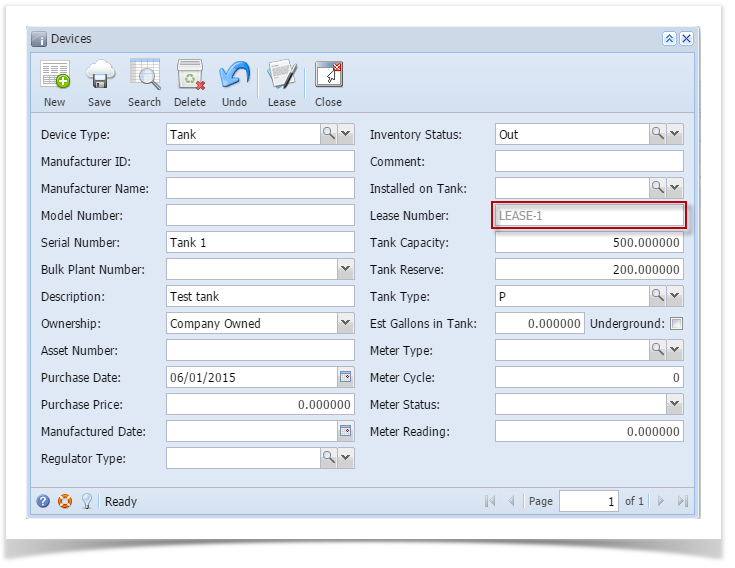
5. Save then Close the screen. The Lease No will be displayed in the Devices > Lease Number field.

| Expand | ||
|---|---|---|
| ||
|
...
|
| Expand | ||
|---|---|---|
| ||
|
| Expand | ||
|---|---|---|
| ||
|
| Expand | ||
|---|---|---|
| ||
|
...
|
...
|
...
|
...
|
Overview
Content Tools